Love this? Save it for later!
Share the inspiration with your friends
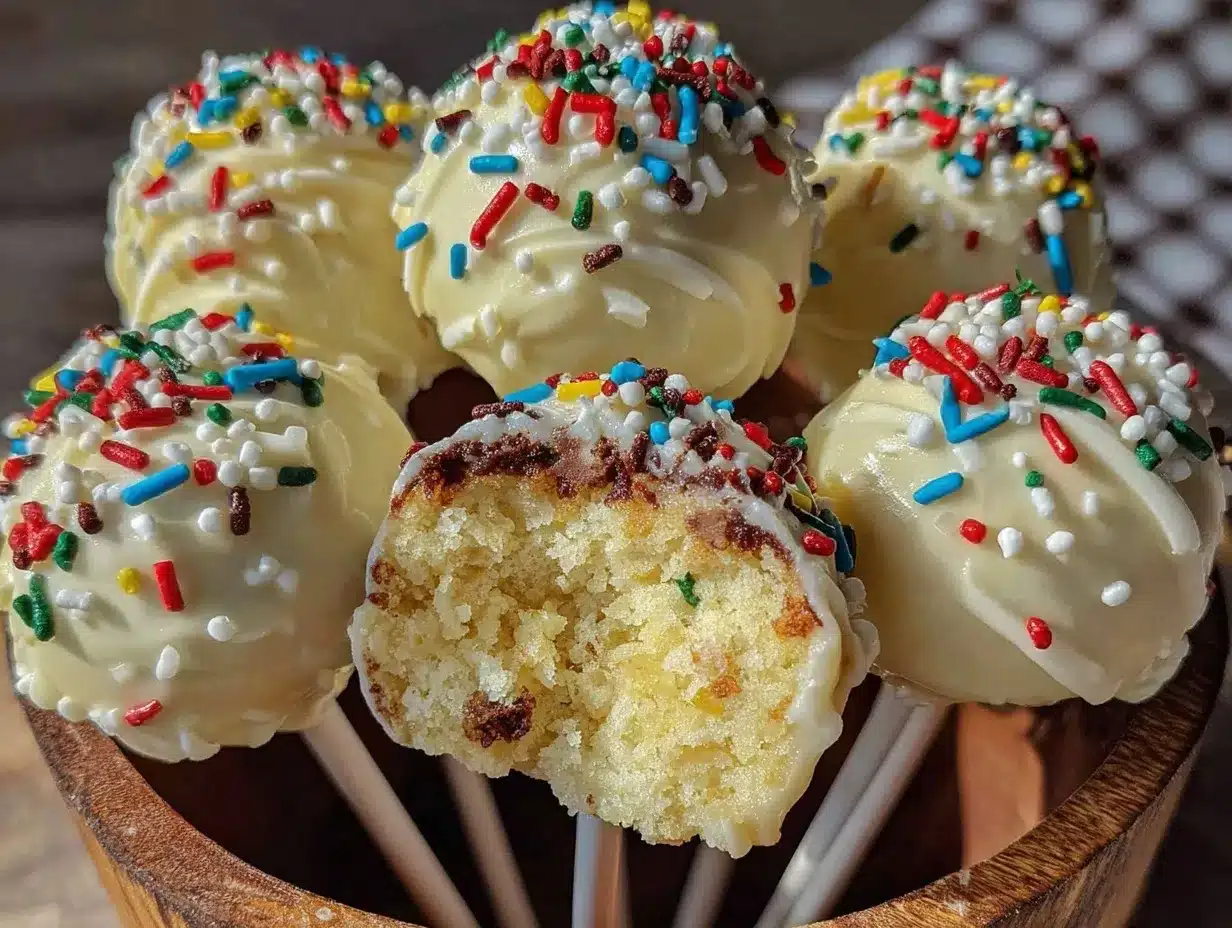
“I wasn’t even planning to bake that day,” I admitted to my friend as we juggled last-minute graduation party prep. It was the afternoon of my niece’s big day, and the house was already buzzing with excitement. Somehow, in the chaos of balloons, banners, and school pennants, I found myself elbow-deep in cake crumbs and frosting. You know that feeling when you want something festive but simple enough to whip up in a flash? That’s exactly how these festive sprinkle-dipped graduation cake pops in school colors came to life.
Honestly, it started with a little kitchen mishap. I accidentally mixed a bit too much frosting into the cake crumbs, creating this irresistibly smooth, moldable dough. With a couple of colorful sprinkles from the craft drawer and some leftover candy melts, what could have been a mess turned into these fun, vibrant cake pops that perfectly matched my niece’s school colors. I remember her grin when she saw them lined up—those pops felt like tiny, edible trophies celebrating her hard work.
Maybe you’ve been there, scrambling to pull together something that feels special without hours of fuss. These cake pops are just that—easy, joyful, and bursting with personality. They bring a pop of color and a bite-sized celebration to any graduation party, and after making them, I keep thinking about all the other celebrations they could brighten up. Let me tell you, these aren’t just cake pops; they’re a little party on a stick, and I’m pretty sure they’ll steal the show at your next event, too.
Why You’ll Love This Recipe
From my many trials in the kitchen, I can say these festive sprinkle-dipped graduation cake pops have become my go-to for celebrations that call for a bit of fun and flair without a ton of stress. Here’s why you’re going to love them:
- Quick & Easy: You can have these ready in under an hour, which means no last-minute panic before the festivities start.
- Simple Ingredients: No need to hunt down fancy supplies—most ingredients are pantry staples or easy to find at your local store.
- Perfect for Graduation Parties: Tailor the colors to match any school’s palette, making them a personalized hit for grads of all ages.
- Crowd-Pleaser: Kids and adults alike go nuts for these bite-sized treats—they’re just the right combo of sweet and festive.
- Unbelievably Delicious: The cake crumbs blended with creamy frosting create a moist, melt-in-your-mouth texture that’s simply irresistible.
What makes these pops stand out? It’s the sprinkle-dip technique that adds a playful crunch and vibrant pop of color. Instead of just rolling the pops in sprinkles, dipping them in melted candy coating first gives the sprinkles something to stick to, creating a smooth, glossy finish that’s as pretty as it is tasty. Plus, the method is forgiving—you can tweak the firmness of the cake ball mixture to your liking, making this recipe adaptable for beginners and seasoned bakers alike.
This recipe isn’t just a sweet treat; it’s a moment of joy, a little burst of celebration you can hold in your hand. Whether you’re celebrating a high school senior, a college grad, or just marking the end of a school year, these cake pops bring that extra sparkle to the table without any fuss.
What Ingredients You Will Need
This recipe uses simple, wholesome ingredients to deliver bold flavor and satisfying texture without the fuss. Most items are pantry staples or easy to find at any grocery store, and the school-color sprinkles let you customize the look effortlessly.
- For the Cake Base:
- 1 box of yellow or chocolate cake mix (any brand you trust, like Betty Crocker or Duncan Hines)
- Ingredients called for on the cake mix box (usually eggs, oil, and water)
- For the Frosting Mixture:
- 1 cup (240 g) of cream cheese frosting or homemade buttercream (softened)
- For the Coating & Decoration:
- 12 oz (340 g) white candy melts or almond bark
- School-color sprinkles (I like Wilton brand for variety and quality)
- 15-20 cake pop sticks
- Optional:
- Edible glitter or shimmer dust for an extra festive touch
Ingredient tips: I recommend using a cake mix you love since it’s the base flavor here. For frosting, cream cheese frosting adds a slight tang that balances the sweetness perfectly. If you need a dairy-free option, swap in coconut cream frosting and use dairy-free candy melts accordingly.
Seasonal variation? If you’re making these during spring or summer, fresh edible flowers or colored sanding sugar can be a creative alternative to sprinkles.
Equipment Needed
- Mixing bowls (one for cake, one for frosting, and one for coating)
- Electric mixer or hand whisk (to mix cake batter and frosting smoothly)
- Baking pan (usually 9×13 inches for the cake)
- Cooling rack or tray (to cool the cake after baking)
- Cake pop sticks (available at most craft or baking stores)
- Microwave-safe bowl or double boiler (for melting candy melts)
- Styrofoam block or cake pop stand (to hold pops upright while drying)
- Spoon or small spatula (for mixing the cake and frosting)
If you don’t have a cake pop stand, a block of floral foam wrapped in foil works just as well. When melting the candy melts, I prefer the microwave method—short bursts with stirring in between to avoid overheating. Also, using a non-stick silicone mat or parchment paper can help keep your workspace clean. Honestly, these tools are affordable and reusable, making this a budget-friendly project you can revisit again and again.
Preparation Method
- Bake the Cake: Prepare the cake mix according to the package instructions (usually this means mixing 1 box of cake mix with eggs, oil, and water). Pour the batter into a greased 9×13 inch pan and bake at 350°F (175°C) for 30-35 minutes. Use a toothpick to test doneness—it should come out clean. Allow the cake to cool completely on a wire rack, about 45 minutes.
- Crumble the Cake: Once cooled, crumble the cake into a large mixing bowl using your hands or a fork until it resembles fine crumbs. This part can get a little messy (I always drop some on the floor!), but that’s part of the fun.
- Mix in the Frosting: Add 1 cup (240 g) of softened cream cheese frosting to the cake crumbs. Stir gently with a spoon, then use your hands to knead the mixture until it holds together but isn’t too sticky. It should feel like pliable dough. If it’s too wet, add a tablespoon of cake crumbs; if too dry, a little more frosting.
- Form the Cake Balls: Roll the mixture into 1 ½ inch (4 cm) balls. Place them on a parchment-lined baking sheet. Chill in the refrigerator for at least 30 minutes to firm up—this helps them stay on the sticks later.
- Prepare Candy Melts: Melt the 12 oz (340 g) of white candy melts in a microwave-safe bowl in 30-second intervals, stirring in between until smooth. Be careful not to overheat; the melts should be fluid but not burnt.
- Assemble Cake Pops: Dip one end of a cake pop stick into the melted candy, then gently insert it halfway into a chilled cake ball. This ‘glue’ step secures the stick inside. Repeat with all balls, then chill again for 10-15 minutes to set.
- Coat and Decorate: Dip each cake pop into the melted candy, letting excess drip off. Before the coating sets, quickly dip or sprinkle the cake pops with the school-color sprinkles. Place them upright in the styrofoam block or cake pop stand to dry completely, about 15-20 minutes.
- Finishing Touches: Optionally, dust with edible glitter or add a small ribbon tied around the stick for extra festivity.
Pro tip: If the candy coating thickens as you work, microwave it gently again to restore smoothness. Also, keep the cake pops refrigerated if not serving immediately but bring them to room temperature before eating for the best flavor and texture.
Cooking Tips & Techniques
Making cake pops can seem tricky, but a few tricks make all the difference. First, chilling the cake balls before dipping is key—it prevents them from falling off the sticks. Trust me, I’ve learned this the hard way after several pops crashed mid-dip!
When melting candy melts, avoid overheating; stir frequently to keep the mixture smooth and shiny. If the coating is too thick, add a tiny bit of vegetable oil to thin it out, but only a teaspoon at a time.
For an even coating, dip the cake pop quickly but fully, then gently tap your wrist to shake off excess. If you’re adding sprinkles, do it immediately after dipping before the coating sets.
Multitasking helps here: while some pops chill, melt candy or prep sprinkles. This keeps the process flowing smoothly without long waiting periods.
Finally, don’t worry about perfect shapes. Slightly uneven pops add charm and show your homemade touch. I always remind myself that a cake pop’s personality is in its imperfections!
Variations & Adaptations
These cake pops are versatile and easy to tweak according to your needs or preferences:
- Dietary Variation: Use gluten-free cake mix and dairy-free frosting to make gluten-free and vegan-friendly pops. Brands like King Arthur and Enjoy Life offer great options.
- Seasonal Flavor: Add a teaspoon of pumpkin spice to the cake batter for fall graduations, or zest of lemon for a bright, springtime twist.
- Flavor Swaps: Instead of white candy melts, use dark or milk chocolate melts for a richer coating. You can even drizzle contrasting colors over the dipped pops for a fun two-tone effect.
- Alternative Decorations: Swap sprinkles for crushed nuts, mini chocolate chips, or edible pearls for a more elegant look.
- Personal Favorite: I once added a drop of almond extract to the frosting mixture—unexpected but it gave the pops a subtle, irresistible flavor that guests kept asking about.
Serving & Storage Suggestions
Serve these cake pops at room temperature for the best texture and flavor. Display them upright in a decorative stand or a festive container filled with colored tissue paper to match the school colors. They pair well with light beverages like sparkling lemonade or iced tea, balancing their sweetness.
To store, keep the pops in an airtight container in the refrigerator for up to 5 days. For longer storage, freeze them individually wrapped in plastic wrap and then placed in a container for up to 3 months. When ready to serve, thaw in the refrigerator for a couple of hours, then bring to room temperature before enjoying.
Interestingly, the flavors tend to meld and deepen after sitting overnight, making the next day’s pops taste even better. So if you can make them a day ahead, that’s a little kitchen magic you’ll appreciate.
Nutritional Information & Benefits
Each cake pop roughly contains 150-180 calories, depending on the size and ingredients used. They are a treat to enjoy in moderation but offer some perks:
- The cake base provides carbohydrates for quick energy, which might come in handy during those long graduation celebrations.
- Cream cheese frosting adds a bit of protein and calcium, especially if you make it from scratch with quality cream cheese.
- Using high-quality candy melts without artificial additives can make this treat feel a bit more wholesome.
- Customizing with gluten-free or dairy-free ingredients ensures those with dietary restrictions can still enjoy the fun.
While these cake pops aren’t health food, they’re a joyful way to celebrate milestones—and as a food enthusiast, I believe celebrations matter as much as nutrition sometimes!
Conclusion
These festive sprinkle-dipped graduation cake pops in school colors are more than just a sweet treat—they’re a celebration in miniature form. Easy to make, customizable, and absolutely crowd-pleasing, they bring that perfect touch of color and happiness to any graduation party.
Feel free to tweak the flavors, colors, and decorations to match your grad’s personality or your party theme. I hope you find this recipe as joyful and rewarding as I have. Honestly, the smiles these pops bring make every crumb and sprinkle worth it.
Go ahead and give them a try—then come back and tell me how your pops turned out or what creative twists you added. I love hearing your stories as much as sharing mine!
FAQs
Can I use homemade cake instead of cake mix for these cake pops?
Absolutely! Homemade cake works wonderfully. Just make sure it’s fully cooled before crumbling and mixing with frosting.
How do I prevent the cake pops from falling off the sticks?
Chilling the cake balls before inserting the sticks and dipping helps them firm up and stay in place. Also, dipping the stick end in melted candy before inserting acts like glue.
Can I make these cake pops ahead of time?
Yes! You can make them a day or two ahead and store them in the refrigerator. Just bring to room temperature before serving for best taste.
What if I don’t have candy melts? Can I use chocolate chips?
You can use chocolate chips, but they may need a bit of added shortening or coconut oil to thin them out for dipping smoothly.
How do I customize the colors for different schools?
Choose sprinkles and candy melts in the school’s colors, or mix colored sanding sugar for a perfect match. You can also drizzle contrasting colors for extra flair.
By the way, if you love celebrating milestones with sweet treats, you might enjoy trying my crispy garlic chicken recipe for a savory party snack or my classic chocolate chip cookies to satisfy any sweet tooth after the cake pops. Both have been favorites at my family gatherings and could add variety to your celebration table.
Pin This Recipe!
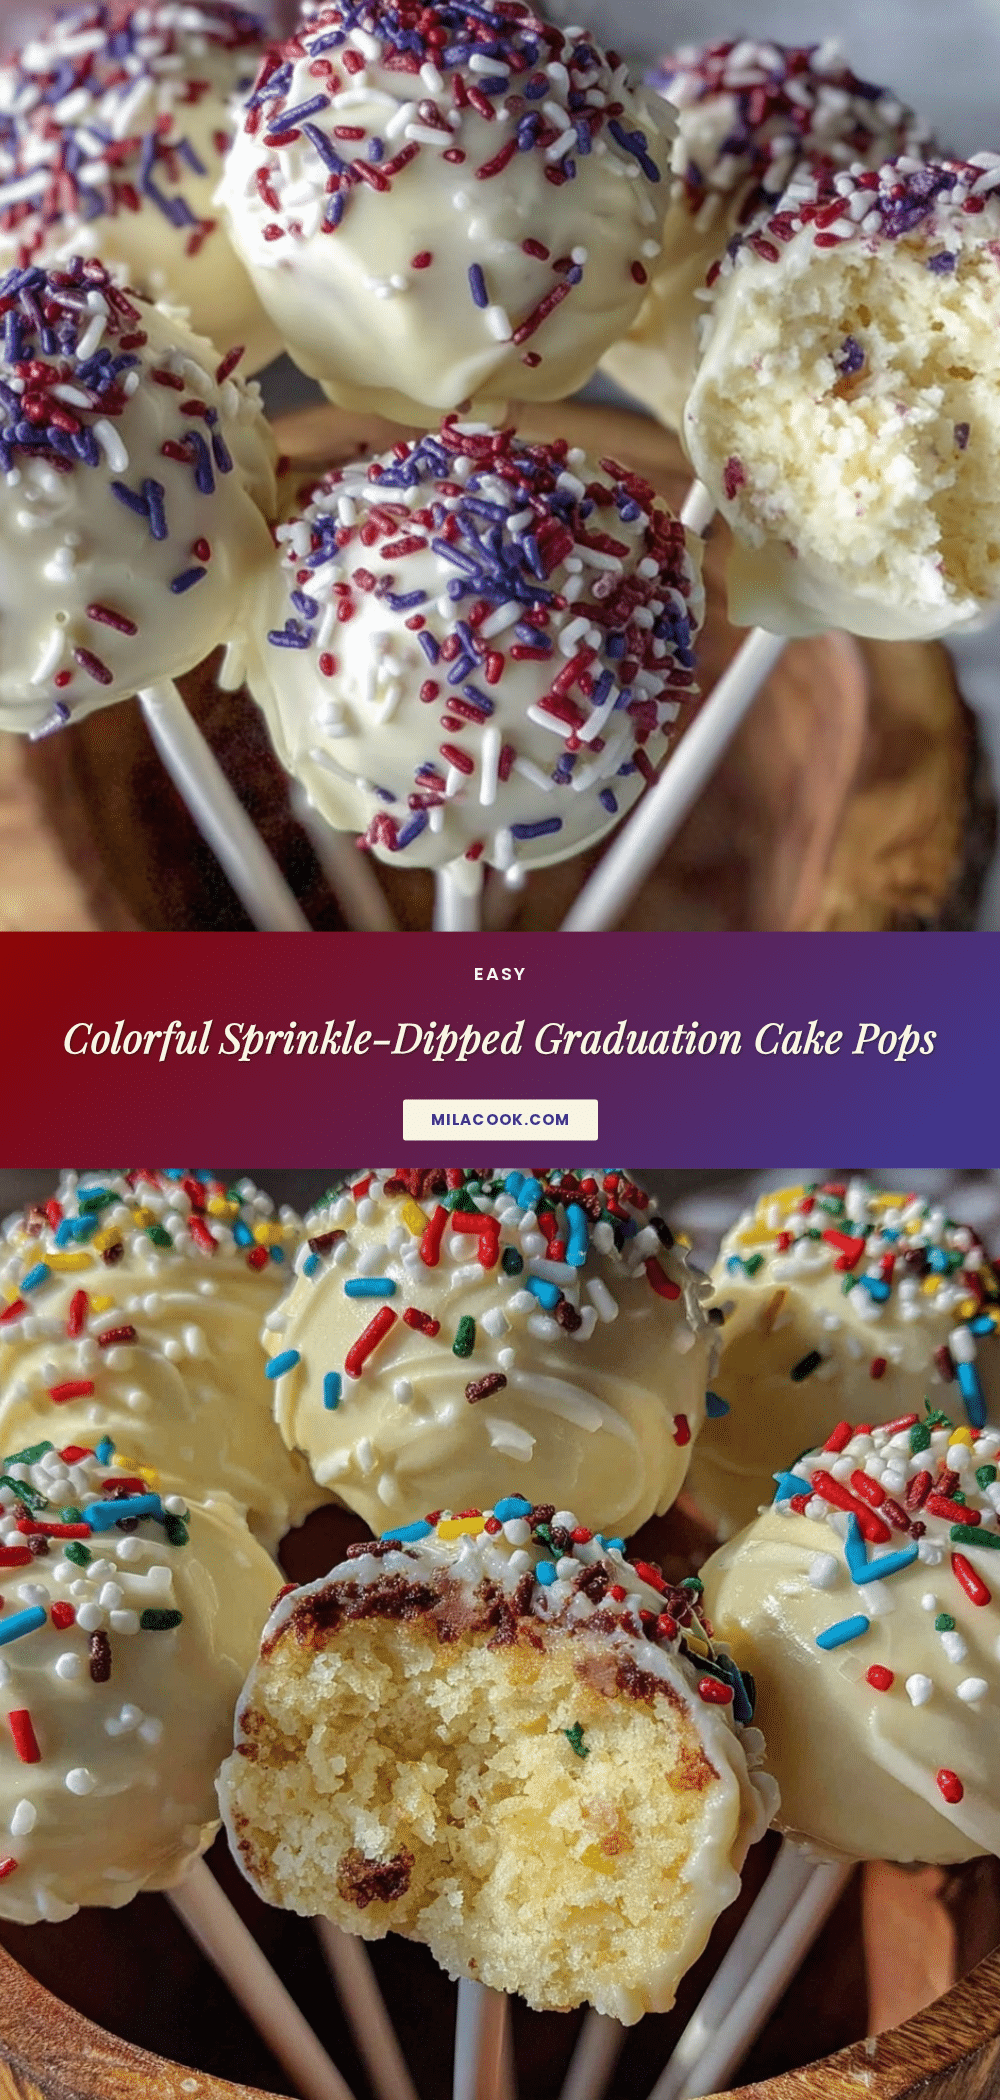
Festive Sprinkle-Dipped Graduation Cake Pops Easy School Colors Recipe

These festive sprinkle-dipped graduation cake pops are quick, easy, and customizable treats perfect for celebrating any graduation with school colors. They combine moist cake crumbs with creamy frosting and a colorful candy coating for a fun, bite-sized celebration.
- Prep Time: 20 minutes
- Cook Time: 35 minutes
- Total Time: 1 hour 40 minutes
- Yield: 15-20 cake pops 1x
- Category: Dessert
- Cuisine: American
Ingredients
- 1 box of yellow or chocolate cake mix (any brand like Betty Crocker or Duncan Hines)
- Ingredients called for on the cake mix box (usually eggs, oil, and water)
- 1 cup (240 g) cream cheese frosting or homemade buttercream (softened)
- 12 oz (340 g) white candy melts or almond bark
- School-color sprinkles (Wilton brand recommended)
- 15–20 cake pop sticks
- Optional: edible glitter or shimmer dust for extra festive touch
Instructions
- Prepare the cake mix according to package instructions (mix cake mix with eggs, oil, and water).
- Pour batter into a greased 9×13 inch pan and bake at 350°F (175°C) for 30-35 minutes. Test doneness with a toothpick.
- Allow the cake to cool completely on a wire rack, about 45 minutes.
- Crumble the cooled cake into fine crumbs using hands or a fork.
- Add 1 cup softened cream cheese frosting to the cake crumbs and mix gently, then knead with hands until mixture holds together but is not too sticky. Adjust with more crumbs or frosting if needed.
- Roll mixture into 1 ½ inch (4 cm) balls and place on a parchment-lined baking sheet.
- Chill cake balls in the refrigerator for at least 30 minutes to firm up.
- Melt 12 oz white candy melts in a microwave-safe bowl in 30-second intervals, stirring until smooth.
- Dip one end of a cake pop stick into melted candy, then insert halfway into a chilled cake ball to secure the stick. Repeat for all balls and chill for 10-15 minutes.
- Dip each cake pop into melted candy coating, letting excess drip off.
- Immediately dip or sprinkle cake pops with school-color sprinkles before coating sets.
- Place cake pops upright in a styrofoam block or cake pop stand to dry completely, about 15-20 minutes.
- Optionally, dust with edible glitter or tie a small ribbon around the stick for extra festivity.
Notes
Chill cake balls before inserting sticks and dipping to prevent falling off. If candy coating thickens, gently microwave to restore smoothness. Use a teaspoon of vegetable oil to thin candy melts if needed. Store cake pops in an airtight container in the refrigerator for up to 5 days or freeze for up to 3 months. Bring to room temperature before serving for best flavor and texture.
Nutrition
- Serving Size: 1 cake pop
- Calories: 150180
- Sugar: 18
- Sodium: 120
- Fat: 7
- Saturated Fat: 4
- Carbohydrates: 25
- Fiber: 0.5
- Protein: 2
Keywords: cake pops, graduation treats, school colors, sprinkle dipped, easy dessert, party snacks, cake balls



