Love this? Save it for later!
Share the inspiration with your friends
Introduction
“You won’t believe what happened last Saturday,” my neighbor Jenna said, waving a colorful flower cup filled with what looked like dirt but smelled like a sweet dream. I was helping her set up for her daughter’s garden-themed birthday party when she pulled out these delightful little treats — creamy no-bake Oreo dirt pudding flower cups. Honestly, I thought they were just a cute decoration until I took a bite and got hooked.
The funny thing is, Jenna swears she whipped them up last minute after a failed attempt at making cupcakes. She’d forgotten the eggs (classic!), and instead of stressing, she improvised with pudding and crushed Oreos. The kids were beyond thrilled, and the adults kept sneaking them when no one was looking. That cracked bowl on her counter and the rushed mess felt so familiar — maybe you’ve been there too?
Let me tell you, these dessert cups aren’t just kid-friendly eye candy. They’re creamy, crunchy, and downright comforting. Plus, you don’t even need to turn on the oven, which is a win in my book. This recipe stayed with me not just because it’s delicious, but because it turned a kitchen mishap into a party hit. If you’re looking for a fuss-free, fun, and tasty dessert for your next gathering, these flower cups are the way to go.
Why You’ll Love This Recipe
After making this recipe several times for backyard BBQs, school events, and casual get-togethers, I can confidently say it hits all the right notes. Here’s why these creamy no-bake Oreo dirt pudding flower cups have a special place in my recipe box:
- Quick & Easy: Ready in under 20 minutes, perfect for those last-minute party plans or when you’re juggling a million things.
- Simple Ingredients: You likely have everything on hand — Oreos, pudding mix, cream cheese, and a few pantry basics.
- Perfect for Kids’ Parties: The playful “dirt” look paired with bright candy flowers makes it a total crowd-pleaser for little ones.
- Crowd-Pleaser: Adults love it just as much, especially the creamy texture and the nostalgic Oreo crunch.
- Unbelievably Delicious: The balance of sweet, creamy pudding and cookie crumbs creates a comforting, indulgent treat that’s hard to forget.
What sets this apart is the no-bake method and the fun presentation. The crushed Oreos mimic soil perfectly, while the creamy pudding adds that melt-in-your-mouth softness. I’ve tried versions with different pudding flavors, but the classic vanilla Oreo combo is my favorite — it’s like childhood in a cup. Plus, decorating with gummy flowers or candy makes it feel festive without the fuss.
If you’re aiming to impress without stress, or just want a nostalgic dessert that’s easy and fun, this recipe’s got your back. It’s the kind of sweet that makes you pause and smile after the first bite — trust me on this one.
What Ingredients You Will Need
This recipe uses simple, wholesome ingredients to create a playful and satisfying dessert without the fuss. Most are pantry staples, and substitutions are easy if needed.
- Oreo Cookies: About 24 regular Oreos, finely crushed (I recommend Nabisco for that classic crunch and flavor).
- Pudding Mix: One package (3.4 oz/96 g) instant vanilla pudding mix – you can swap for chocolate if you want a richer twist.
- Milk: 2 cups (480 ml) cold whole or 2% milk – use any milk you prefer, even almond or oat milk works well.
- Cream Cheese: 4 oz (113 g), softened – adds creaminess and a slight tang, making the pudding extra smooth.
- Whipped Topping: 1 cup (240 ml) whipped topping or heavy cream whipped to soft peaks (I use Cool Whip or fresh whipped cream depending on the occasion).
- Vanilla Extract: 1 tsp (5 ml) – enhances the flavor depth.
- Gummy Flowers or Candies: For decoration – any flower-shaped gummies or colorful candies you like.
- Optional: A pinch of salt to balance sweetness, or a tablespoon of powdered sugar if you want it sweeter.
For the cookie crumbs, I prefer crushing the Oreos in a plastic bag with a rolling pin to get that perfect dirt-like texture. If you have food processor access, that works too, but be careful not to pulverize them into dust.
Substitution tips: Use dairy-free cream cheese and milk alternatives for a vegan version. Gluten-free Oreo-style cookies also work well if you need a gluten-free dessert.
Equipment Needed
- Mixing Bowls: One large for pudding mix and another for folding in cream cheese and whipped topping.
- Whisk: For mixing pudding and milk smoothly.
- Hand Mixer or Stand Mixer: Helpful for softening cream cheese and whipping cream, but you can also do this by hand if you’re patient.
- Rolling Pin or Food Processor: For crushing Oreos into crumbs.
- Spoons or Small Spatula: For folding ingredients together and layering the cups.
- Serving Cups or Small Flower Pots: Clear plastic cups or themed flower pots work great to showcase the “dirt” effect.
If you don’t have a hand mixer, just soften the cream cheese well and mix vigorously with a sturdy spoon — it’s a bit of an arm workout but totally doable! For the cups, I’ve even used small mason jars or teacups from the thrift store for a whimsical touch.
Preparation Method
- Crush the Oreos: Place the Oreos in a large resealable plastic bag and use a rolling pin to crush them until you have fine crumbs resembling dirt. Set aside about 1/3 cup (40 g) for topping. (Time: 5 minutes)
- Make the Pudding: In a large mixing bowl, whisk together the instant vanilla pudding mix and 2 cups (480 ml) cold milk until thickened (about 2 minutes). Let it sit for 5 minutes to fully set.
- Prepare the Cream Cheese Mixture: In a separate bowl, beat the softened cream cheese with 1 tsp (5 ml) vanilla extract until smooth and creamy. This step is easier with a hand mixer but can be done with a sturdy spoon if the cream cheese is very soft. (Time: 3-4 minutes)
- Combine Cream Cheese and Pudding: Gently fold the cream cheese mixture into the set pudding until fully incorporated and creamy. Be careful not to overmix and lose that fluffy texture.
- Fold in Whipped Topping: Carefully fold in 1 cup (240 ml) of whipped topping or freshly whipped cream. This lightens the pudding, making it extra creamy and fluffy. (Tip: Use a spatula and fold gently to keep air in.)
- Assemble the Cups: Spoon a layer of crushed Oreo crumbs into the bottom of each serving cup (about 1-2 tbsp/15-30 g). Next, add a generous layer of the creamy pudding mixture (about 1/3 cup or 80 ml). Repeat layers until cups are nearly full, finishing with the reserved Oreo crumbs on top.
- Add Decorative Flowers: Press gummy flowers or candies into the top “soil” layer to create a garden look. Feel free to get creative — some gummy worms or candy butterflies work great too!
- Chill: Refrigerate the assembled cups for at least 1 hour before serving. This helps the flavors meld and the pudding to firm up slightly. (Tip: Cover with plastic wrap to prevent drying.)
If the pudding looks too thick at any point, whisk in a splash of milk to loosen it. Alternatively, if it’s too runny, chill it longer to set properly. When assembling, you want a nice contrast between the crunchy cookie crumbs and the soft pudding layers.
Cooking Tips & Techniques
Making creamy no-bake Oreo dirt pudding flower cups is straightforward, but a few tricks can make your dessert stand out:
- Softening Cream Cheese: Let your cream cheese sit at room temperature for at least 30 minutes. If you’re short on time, microwave in 10-second bursts — just don’t melt it!
- Whipping Cream to Soft Peaks: If using heavy cream, beat it until soft peaks form — it should hold shape but still be smooth. Overwhipping turns it grainy, so watch closely.
- Folding Technique: When mixing whipped topping into pudding, fold gently with a spatula to keep the mixture light and airy. Stirring too hard deflates it.
- Oreo Crumbs Texture: Avoid pulverizing Oreos into powder. You want small crumbs to provide that satisfying bite and the classic “dirt” look.
- Layering: Use clear cups to show off the layers — this visual appeal is part of the charm! Alternate cookie crumbs and pudding evenly for the best texture contrast.
- Make Ahead: You can prepare these up to a day in advance. Keep covered in the fridge to maintain freshness.
One time, I forgot to crush enough Oreos for the top layer and had to improvise with some crushed chocolate graham crackers. It wasn’t quite the same but still tasty! Honestly, this recipe is forgiving — just have fun with it.
Variations & Adaptations
Want to switch things up? Here are a few variations that keep the fun and flavor alive:
- Chocolate Lover’s Version: Use chocolate pudding mix and crushed chocolate wafer cookies instead of Oreos for an extra rich treat.
- Seasonal Twist: Swap gummy flowers with fresh edible flowers or berries during spring and summer for a fresh vibe.
- Gluten-Free Option: Use gluten-free sandwich cookies and certified gluten-free pudding mix — just as delicious and safe for sensitive tummies.
- Vegan Adaptation: Use dairy-free cream cheese, coconut whipped topping, almond or oat milk, and vegan-friendly cookies.
- Peanut Butter Addition: Stir 1/4 cup (60 g) creamy peanut butter into the pudding mix before folding in cream cheese for a nutty surprise.
Personally, I once added a sprinkle of toasted coconut flakes on top along with the candy flowers — it added a lovely texture and subtle tropical note. Feel free to experiment and make this recipe your own!
Serving & Storage Suggestions
These creamy no-bake Oreo dirt pudding flower cups are best served chilled. The cool temperature keeps the pudding firm and refreshing, especially on warm days.
For presentation, serve them in clear plastic cups, mini flower pots, or small mason jars to showcase the layers. Pair them with light beverages like iced tea, lemonade, or milk for a balanced treat.
If you need to store leftovers, cover the cups tightly with plastic wrap or store in an airtight container in the refrigerator. They keep well for up to 3 days. The cookie crumbs will soften over time, but the flavors actually deepen, making the dessert even more luscious.
To reheat (if you prefer a slightly warmer dessert), leave at room temperature for 10 minutes before eating — but honestly, these shine cold. The texture contrast between creamy pudding and crunchy crumbs is part of the magic.
Nutritional Information & Benefits
Each serving of creamy no-bake Oreo dirt pudding flower cups (about 1 cup/250 ml) contains approximately:
| Calories | 280 kcal |
|---|---|
| Fat | 14 g |
| Carbohydrates | 34 g |
| Protein | 4 g |
| Sugar | 25 g |
This dessert offers a moderate amount of calcium from the milk and cream cheese. Oreos add some fiber from the cookie crumbs, but keep in mind it’s an indulgent treat rather than a health food. For those with dietary restrictions, this recipe adapts well to gluten-free and vegan options.
From a wellness perspective, I like that it’s a no-bake recipe, meaning no added fats from frying or baking, and you control the sweetness better than store-bought desserts. Plus, it’s a fun way to get kids involved in the kitchen without complicated steps.
Conclusion
If you’re searching for a simple, playful, and utterly delicious dessert to wow kids and adults alike, these creamy no-bake Oreo dirt pudding flower cups are your answer. They come together quickly, require minimal cleanup, and bring smiles with their cute garden-themed presentation.
Feel free to tweak the flavors, swap ingredients, or add your own decorative touch — this recipe is forgiving and fun. I keep making it because it’s a nostalgic nod to childhood treats with a grown-up twist, and honestly, who doesn’t love something creamy, crunchy, and easy?
Give it a try, and I’d love to hear how your version turns out. Drop a comment below or share your favorite decoration ideas — let’s make dessert fun again!
Frequently Asked Questions
Can I make these creamy no-bake Oreo dirt pudding flower cups ahead of time?
Yes! Prepare and assemble them up to a day in advance. Keep covered in the fridge to maintain freshness and texture.
What can I use if I don’t have instant pudding mix?
You can make homemade pudding from scratch or use ready-made pudding cups, but the texture and flavor might vary slightly.
Can I use a different cookie instead of Oreos?
Absolutely! Chocolate wafer cookies, gluten-free sandwich cookies, or even crushed graham crackers work well depending on your taste and dietary needs.
How do I keep the gummy flowers from sinking into the pudding?
Press the gummies gently into the top cookie crumb layer just before serving. If added too early, they might sink or lose shape.
Is there a dairy-free version of this recipe?
Yes! Use dairy-free cream cheese, plant-based milk, coconut whipped topping, and dairy-free cookies to make it vegan and dairy-free friendly.
Pin This Recipe!
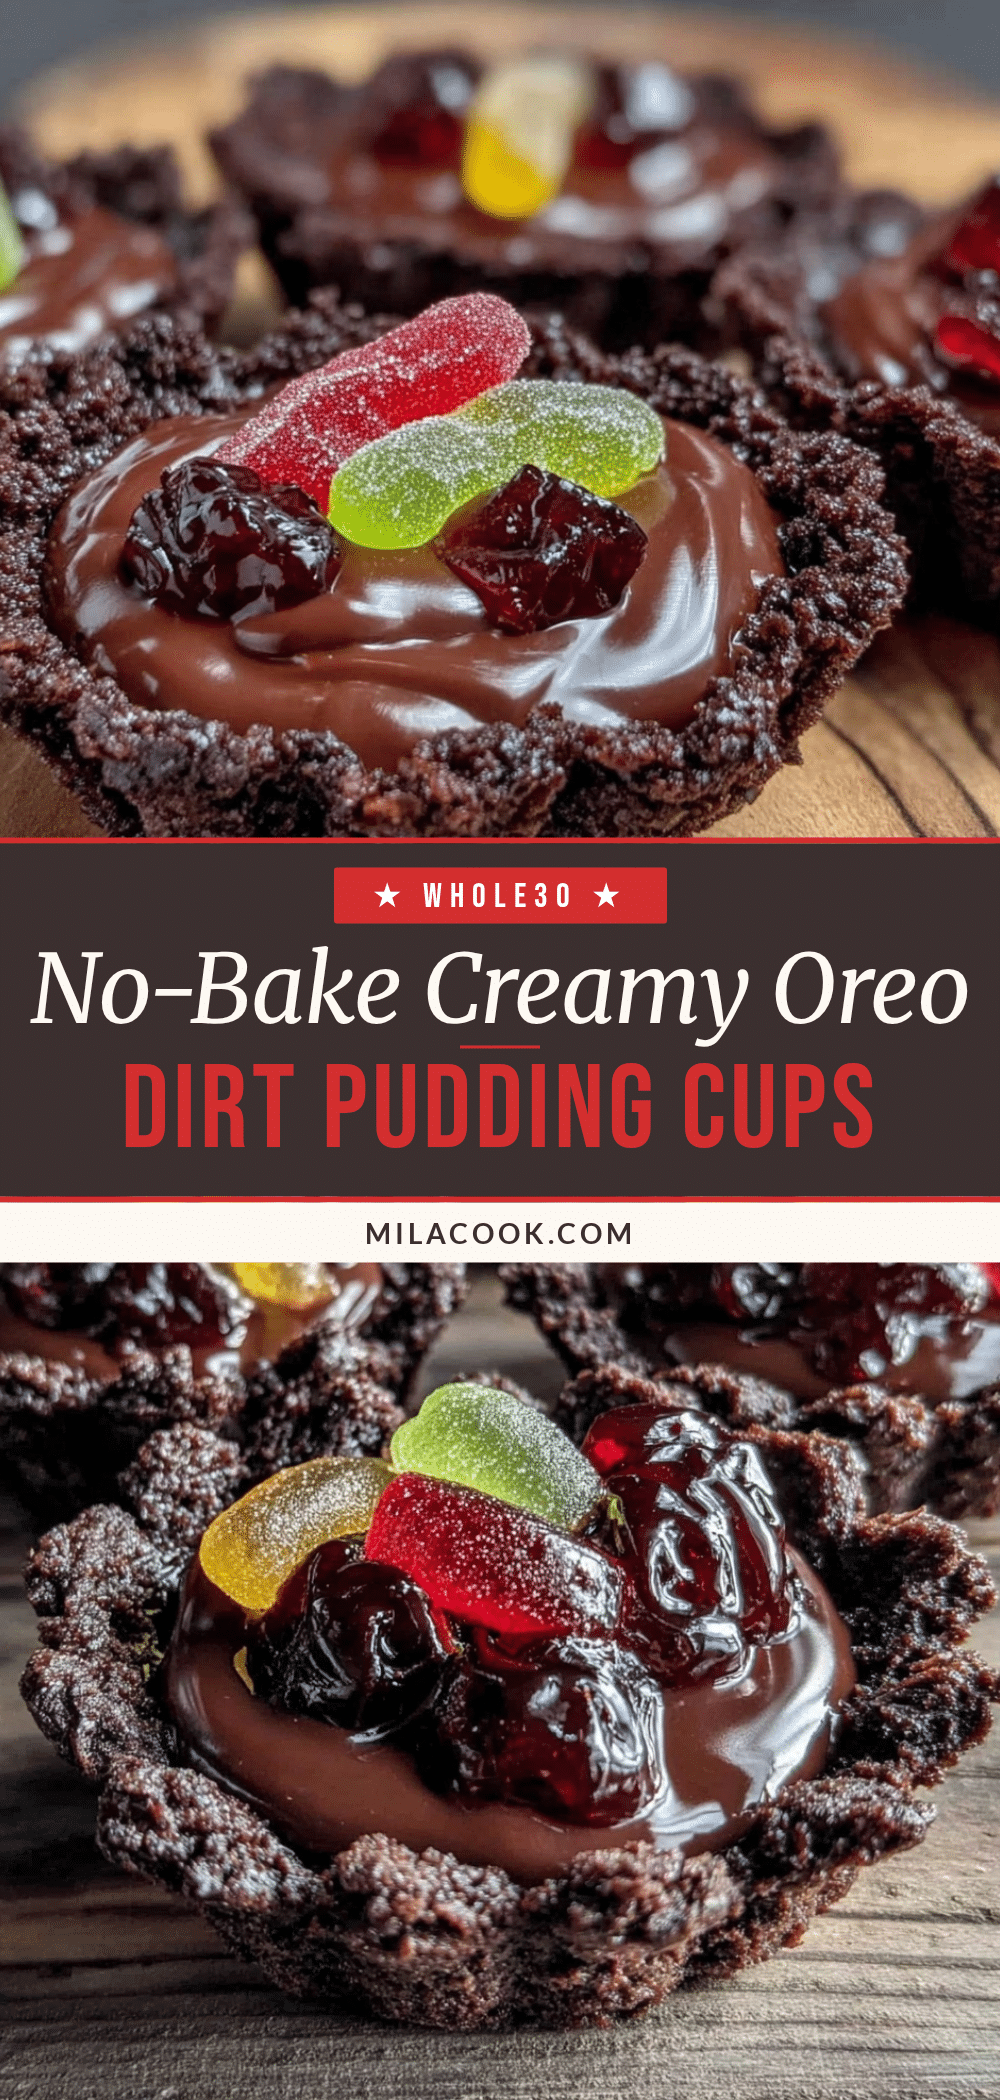
Creamy No-Bake Oreo Dirt Pudding Flower Cups
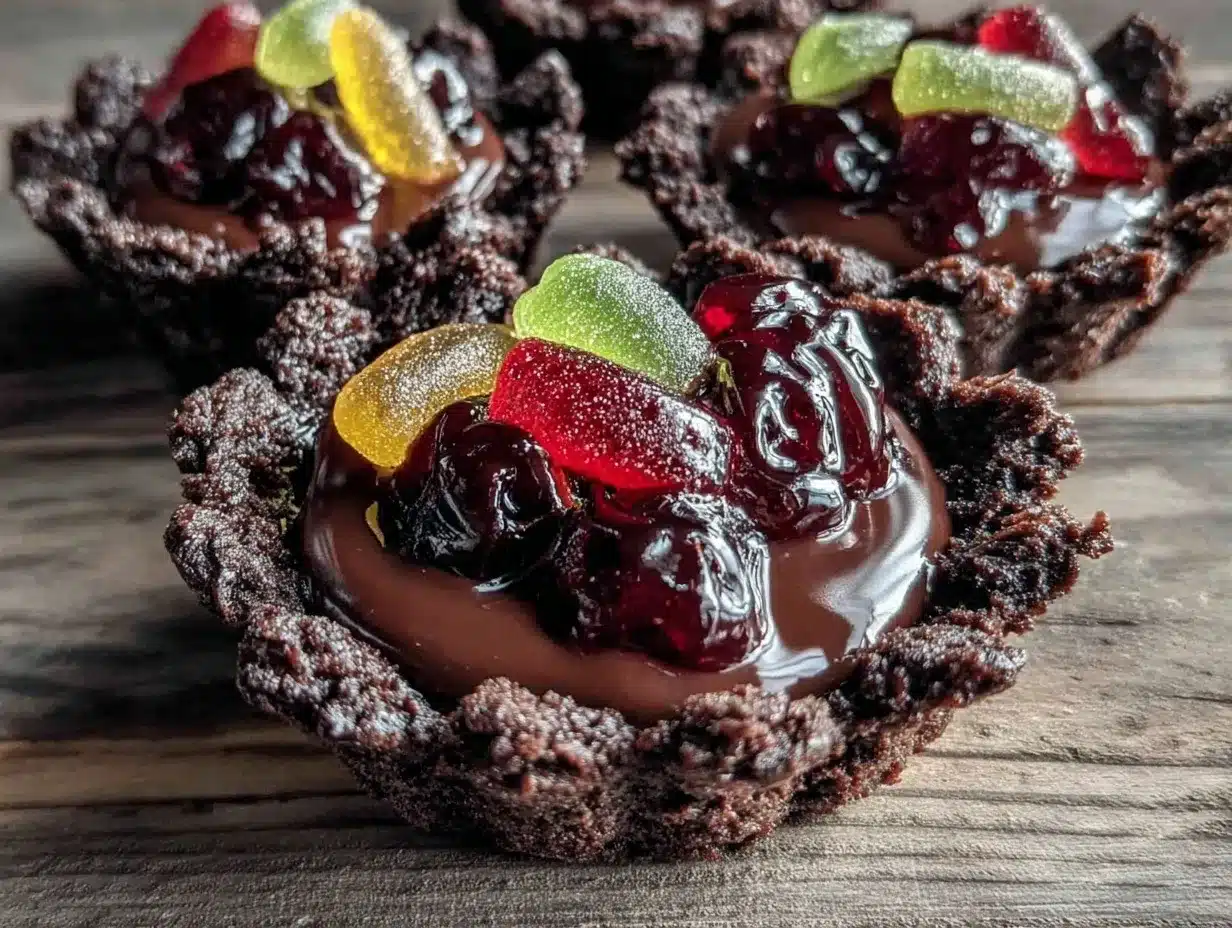
A fun and easy no-bake dessert featuring creamy vanilla pudding layered with crushed Oreos to mimic dirt, topped with gummy flowers for a playful garden-themed treat perfect for kids’ parties.
- Prep Time: 15 minutes
- Cook Time: 0 minutes
- Total Time: 1 hour 15 minutes
- Yield: 8 servings 1x
- Category: Dessert
- Cuisine: American
Ingredients
- 24 regular Oreo cookies, finely crushed
- 1 package (3.4 oz / 96 g) instant vanilla pudding mix
- 2 cups (480 ml) cold whole or 2% milk (or milk alternative)
- 4 oz (113 g) cream cheese, softened
- 1 cup (240 ml) whipped topping or heavy cream whipped to soft peaks
- 1 tsp (5 ml) vanilla extract
- Gummy flowers or candies for decoration
- Optional: pinch of salt
- Optional: 1 tablespoon powdered sugar
Instructions
- Crush the Oreos in a large resealable plastic bag using a rolling pin until fine crumbs resembling dirt form. Set aside about 1/3 cup (40 g) for topping.
- In a large mixing bowl, whisk together the instant vanilla pudding mix and 2 cups (480 ml) cold milk until thickened (about 2 minutes). Let sit for 5 minutes to fully set.
- In a separate bowl, beat the softened cream cheese with 1 tsp (5 ml) vanilla extract until smooth and creamy.
- Gently fold the cream cheese mixture into the set pudding until fully incorporated and creamy.
- Carefully fold in 1 cup (240 ml) of whipped topping or freshly whipped cream to lighten the pudding.
- Spoon a layer of crushed Oreo crumbs into the bottom of each serving cup (about 1-2 tbsp / 15-30 g). Add a generous layer of the creamy pudding mixture (about 1/3 cup or 80 ml). Repeat layers until cups are nearly full, finishing with the reserved Oreo crumbs on top.
- Press gummy flowers or candies into the top cookie crumb layer to create a garden look.
- Refrigerate the assembled cups for at least 1 hour before serving to allow flavors to meld and pudding to firm up.
Notes
Let cream cheese soften at room temperature for easier mixing. Fold whipped topping gently to keep pudding light and airy. Avoid pulverizing Oreos into powder; small crumbs provide the best texture. Prepare up to a day ahead and keep covered in the fridge. Use dairy-free and gluten-free substitutes for vegan or gluten-free versions.
Nutrition
- Serving Size: 1 cup (250 ml)
- Calories: 280
- Sugar: 25
- Fat: 14
- Carbohydrates: 34
- Protein: 4
Keywords: no-bake, Oreo, pudding, kids party, dessert cups, creamy, easy dessert, dirt pudding, flower cups