Love this? Save it for later!
Share the inspiration with your friends
“You’ve got to try these,” my neighbor Linda said, thrusting a jar of something green and crunchy into my hands during a casual Sunday afternoon chat. I was skeptical at first—pickled green beans? Honestly, I wasn’t expecting much beyond the usual vinegary bite. But as soon as I popped one in my mouth, I was hooked. The crisp snap, the bright tang of dill, and just the right hint of garlic made these Easy Crispy Refrigerator-Pickled Dilly Green Beans unlike any pickle I’d tasted before. I mean, who knew something so simple could have that much personality?
That moment stuck with me, especially since I’d just been struggling to find a quick, fresh snack that didn’t involve a ton of prep or weird ingredients. It turns out, this recipe came straight from Linda’s own kitchen experiments, a no-fuss approach to pickling that anyone can whip up without special equipment or a whole day of waiting. Maybe you’ve been there too—craving something crunchy and flavorful but not wanting to heat up the house or mess with complicated canning.
What’s funny is I forgot to grab a jar for my own fridge on that first visit, and I found myself thinking about those green beans all week. I finally got around to making my own batch, and it’s become my go-to snack, little appetizer, or even a zesty side for dinner. Honestly, it’s one of those recipes that feels both fancy and homemade, perfect for when you want something fresh but don’t want to fuss.
So, if you’re curious about easy, crispy, and delightfully tangy pickled green beans with a dill kick, let me tell you—this recipe will be your new secret weapon in the kitchen.
Why You’ll Love This Recipe
After testing this pickled green beans recipe several times, I can confidently say it’s a keeper for so many reasons. You know that feeling when a snack hits just the right balance of crispness and tang? That’s exactly what you get here, every single time. Plus, it’s super approachable—no canning expertise required, and you’ll have a jar ready in just a few days.
- Quick & Easy: Ready to eat in about 3 days, perfect for busy weeknights or last-minute snack cravings.
- Simple Ingredients: Uses pantry staples and fresh green beans, so no need for specialty shopping trips.
- Perfect for Entertaining: Great for potlucks, casual get-togethers, or even as a crunchy cocktail garnish.
- Crowd-Pleaser: Loved by kids and adults alike, thanks to the mild dill flavor and satisfying crunch.
- Unbelievably Delicious: Combines bright vinegar, fresh dill, and garlic to create a flavor punch that’s anything but boring.
This recipe isn’t just any pickled green beans—it’s the best version I’ve found because of the balance between the crisp texture and the fresh, herbal notes. The refrigerator method means you don’t have to worry about sterilizing jars or long wait times, which is a lifesaver when you’re craving something fresh and tangy.
Honestly, it’s one of those recipes that makes you close your eyes with the first bite and say, “Wow, this is so good.” Whether you’re new to pickling or a seasoned pro, this will quickly become a staple in your snack rotation.
What Ingredients You Will Need
This recipe relies on fresh, wholesome ingredients to deliver that signature crispy, tangy flavor without any fuss. Most of these are pantry staples, and the fresh green beans bring the crunch you’re after. If you’re shopping, picking firm, bright green beans without blemishes will give you the best results.
- Fresh green beans (about 1 pound / 450 grams) – trimmed and washed
- White vinegar (1 cup / 240 ml) – the acidity is key for pickling; Heinz is a reliable brand
- Water (1 cup / 240 ml) – balances the vinegar strength
- Garlic cloves (3-4, peeled and lightly crushed) – adds aromatic depth
- Fresh dill sprigs (about 4-5 sprigs) – the star herb for that classic dill flavor
- Pickling salt (1 tablespoon) – use kosher salt or pickling salt, avoid iodized table salt
- Black peppercorns (1 teaspoon) – whole, for a subtle spice layer
- Red pepper flakes (optional, 1/4 teaspoon) – for a mild heat kick if you like it spicy
- Mustard seeds (optional, 1 teaspoon) – adds a slight tangy bite
If you want to switch things up, you can substitute apple cider vinegar for white vinegar for a milder tang, or use garlic powder in a pinch, but fresh garlic really makes a difference here. For a gluten-free version, these ingredients are naturally safe—just double-check your vinegar if you buy flavored varieties.
Equipment Needed
Making these Easy Crispy Refrigerator-Pickled Dilly Green Beans doesn’t call for any fancy gear, which is why I love this recipe. Here’s what you’ll need:
- Glass jars with lids: Wide-mouth pint jars (16 oz / 475 ml) work perfectly and are easy to fill and clean. Mason jars are ideal.
- Small saucepan: for heating the vinegar brine
- Tongs or fork: helpful for packing beans into jars neatly
- Cutting board and knife: for trimming the beans and crushing garlic
- Measuring cups and spoons: for accurate ingredient amounts
If you don’t have mason jars, any clean glass jar with a tight-fitting lid will do. Just avoid plastic containers as the acidity could react over time. And a quick tip: I keep a small funnel handy to avoid drips when pouring the brine into the jars, but it’s not essential.
Preparation Method
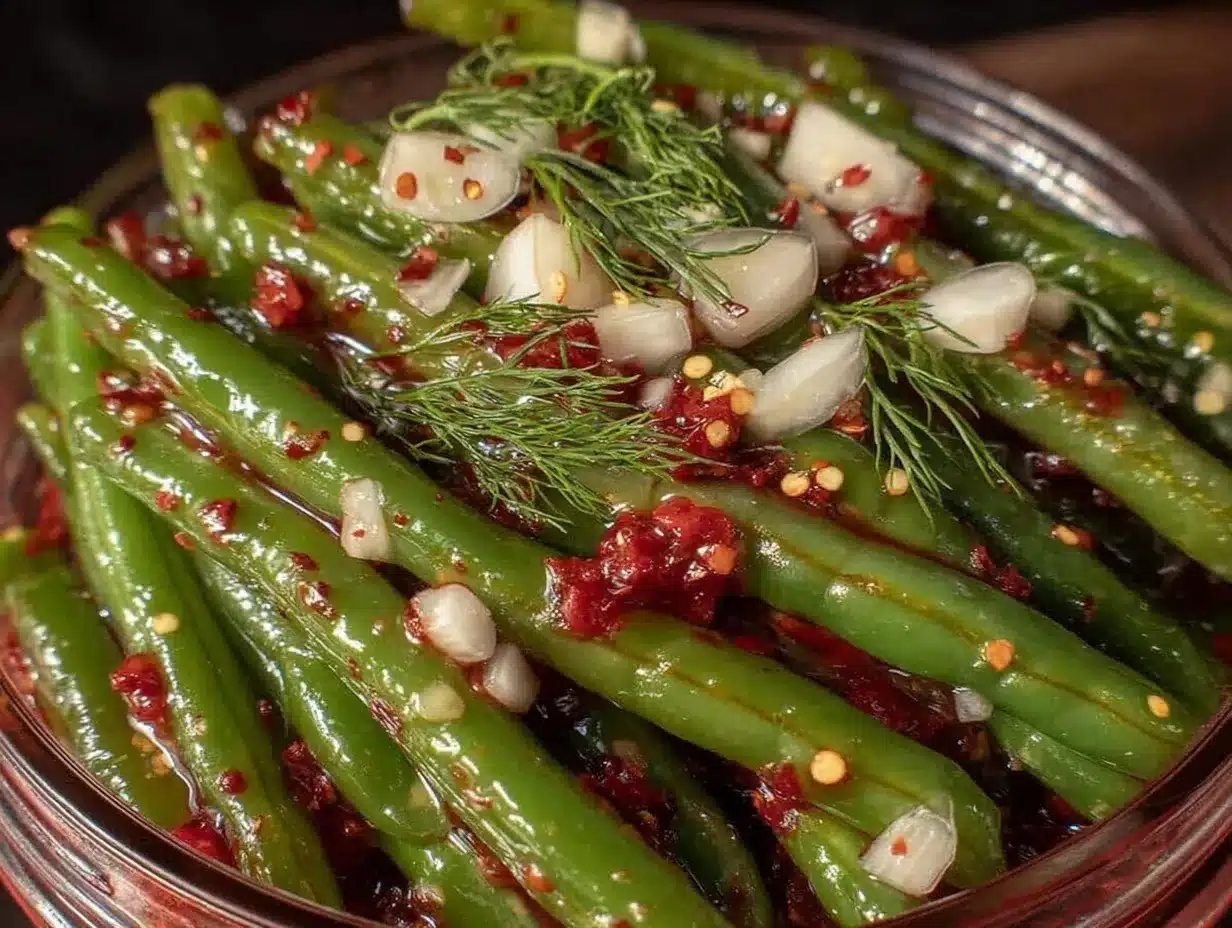
- Prepare the green beans: Rinse about 1 pound (450 grams) of fresh green beans under cold water, then trim the stem ends. Pat them dry with a clean towel. The beans should be firm and crisp for the best texture. This should take about 5 minutes.
- Pack the jars: Place 3–4 sprigs of fresh dill, 3–4 peeled and lightly crushed garlic cloves, 1 teaspoon black peppercorns, and optional 1 teaspoon mustard seeds and 1/4 teaspoon red pepper flakes into each clean pint jar. Then, pack the green beans vertically into the jars as tightly as you can without crushing them. Leave about 1/2 inch (1.3 cm) of headspace at the top.
- Make the brine: In a small saucepan, combine 1 cup (240 ml) white vinegar, 1 cup (240 ml) water, and 1 tablespoon pickling salt. Heat over medium heat, stirring occasionally, just until the salt dissolves completely. Do not boil. This step takes about 3 minutes.
- Pour the brine: Carefully pour the warm brine over the packed green beans in each jar, covering the beans completely but leaving the 1/2 inch headspace. Tap the jars gently on the counter to release any trapped air bubbles, and add more brine if necessary.
- Seal and cool: Screw the lids on tightly, then let the jars cool to room temperature (about 30 minutes). Once cooled, place the jars in the refrigerator.
- Wait and enjoy: Let the beans pickle in the fridge for at least 3 days before eating to develop that perfect tang and crunch. They’ll keep crisp and delicious for up to 3 weeks in the fridge.
Pro tip: If you notice soft beans after a few days, the beans might have been too mature or overpacked. Using younger, fresher beans helps maintain that irresistible snap.
Cooking Tips & Techniques
Pickling green beans might seem straightforward, but a couple of tricks make a huge difference in getting that signature crispness and flavor.
- Pick the right beans: Snap off the ends and check for firmness. Fresh, young green beans work best—older beans tend to get soft during pickling.
- Don’t overcook the brine: Heating it enough to dissolve salt is all you need. Boiling can dull the vinegar’s brightness.
- Pack jars without crushing: Tight packing is good, but pressing too hard can bruise the beans and result in a mushy texture.
- Use clean jars: Even though this is a refrigerator pickle, clean jars prevent unwanted bacteria and help your pickles last longer.
- Wait patiently: While it’s tempting to dig in right away, the flavor and crunch improve significantly after 3 days chilling.
- Experiment with herbs: I’ve tried adding fresh thyme or even a bay leaf for subtle flavor shifts, and it’s always fun to switch things up.
From personal experience, I once forgot to add enough salt, and the pickles were bland. Lesson learned: salt is key for flavor and preservation. Also, letting the jars sit at room temperature before refrigeration helps prevent condensation inside, which can affect texture.
Variations & Adaptations
This recipe is a fantastic base, and you can easily tweak it for different tastes or dietary needs.
- Spicy kick: Add more red pepper flakes or a sliced jalapeño for extra heat.
- Garlic lovers: Double the garlic cloves for a punchier, more savory profile.
- Herb twist: Swap dill for fresh tarragon or basil for a unique flavor change.
- Low-sodium: Reduce the pickling salt by half and increase pickling time slightly to compensate for flavor.
- Vinegar swap: Use apple cider vinegar instead of white vinegar for a milder, sweeter tang.
I once tried adding lemon zest for a citrusy brightness, and it was surprisingly refreshing. Also, if you’re short on time, you can slice the green beans into bite-sized pieces to speed up pickling, though they won’t stay as crunchy as whole beans.
Serving & Storage Suggestions
These pickled green beans shine when served chilled, straight from the fridge. They make an excellent snack on their own or a crunchy side with sandwiches and burgers. I often serve them alongside my crispy garlic chicken for a fresh contrast.
For storage, keep the jars tightly sealed in the refrigerator. They’ll stay crisp and delicious for up to 3 weeks, but I recommend enjoying them within the first 10 days for the best texture. If you want to reheat, just eat them cold or at room temperature—heating tends to soften the beans and dull the flavor.
Flavors continue to develop the longer they sit, but you might notice the beans lose some snap after a couple of weeks, so it’s best to enjoy them fresh. Pair them with sharp cheeses or a charcuterie board to impress guests without much effort.
Nutritional Information & Benefits
This recipe is low in calories and naturally gluten-free, making it a smart snack choice. Green beans offer fiber, vitamins A and C, and antioxidants, while the vinegar can aid digestion. The garlic adds not only flavor but also potential immune-boosting properties.
Per serving (about 4 beans), expect roughly 10 calories, minimal fat, and under 2 grams of carbs. The pickling salt is the main source of sodium, so if you’re watching salt intake, consider reducing it or rinsing the beans before eating.
Overall, these pickled green beans provide a crunchy, flavorful alternative to chips or other processed snacks, fitting well into a balanced diet.
Conclusion
This Easy Crispy Refrigerator-Pickled Dilly Green Beans recipe is proof that simple ingredients and straightforward steps can create something truly special. Whether you’re after a fresh snack, a tangy side, or a fun addition to your appetizers, this recipe won’t disappoint.
Feel free to customize the herbs, spice level, or vinegar type to suit your taste. Honestly, it’s one of those recipes I keep coming back to because it’s easy, reliable, and just plain delicious.
Give it a try and let me know how it turns out for you—I love hearing about your kitchen wins and any twists you add. Trust me, once you taste that crispy, garlicky dill goodness, you’ll be making these pickles on repeat.
Happy pickling!
FAQs
How long do refrigerator pickled green beans last?
They typically last 3 to 4 weeks in the fridge, but for the best crunch and flavor, enjoy them within 10 to 14 days.
Can I use frozen green beans for this recipe?
Frozen beans tend to be softer after thawing, so for the best crisp texture, fresh green beans are recommended.
Do I need to sterilize jars for refrigerator pickling?
No, since these are stored in the fridge and not canned for shelf storage, thorough cleaning is enough.
Can I adjust the vinegar to water ratio?
Yes, but the 1:1 ratio provides the right acidity for flavor and safety. Reducing vinegar too much may affect preservation.
What if my pickled green beans turn out soft?
Softness can be due to overripe beans, overpacking, or too much heat during brine preparation. Use fresh beans and avoid boiling the brine to keep them crisp.
Pin This Recipe!
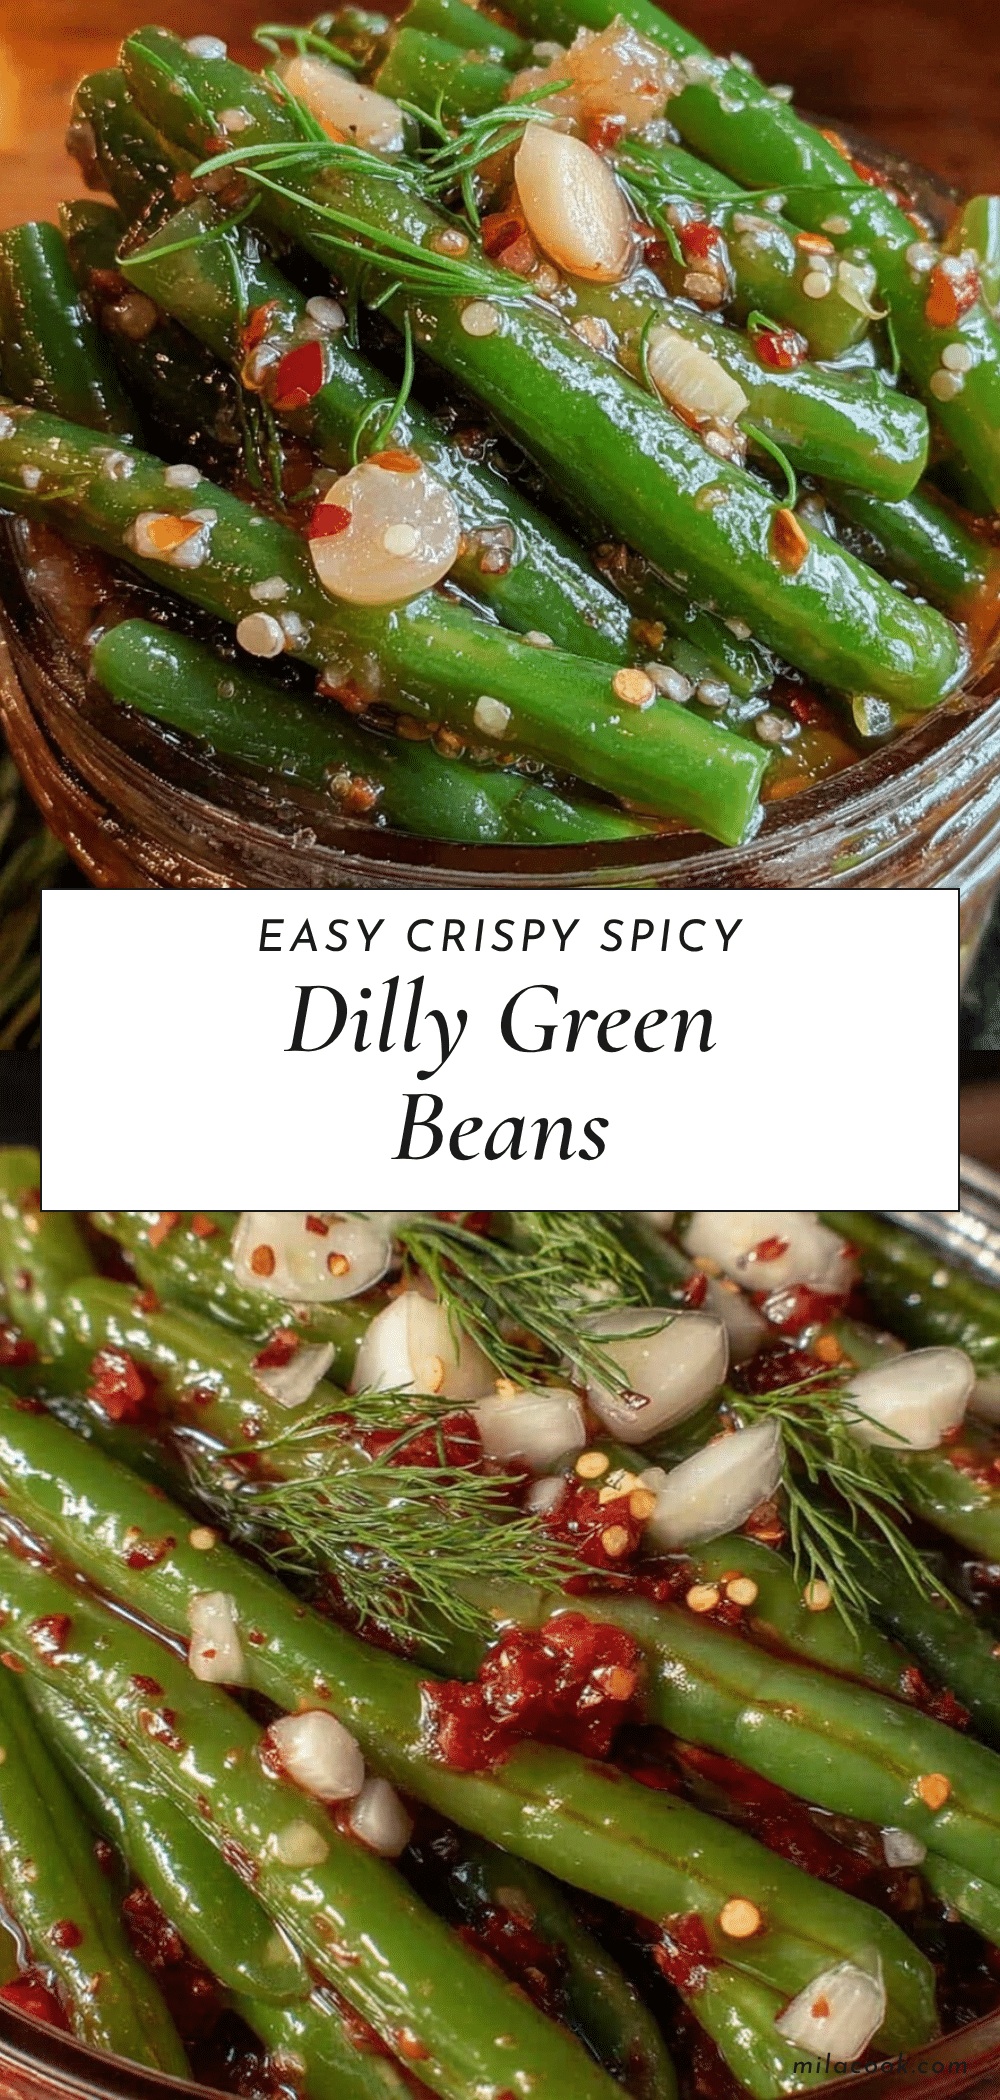
Easy Crispy Refrigerator-Pickled Dilly Green Beans
A quick and easy recipe for crisp, tangy refrigerator-pickled green beans with fresh dill and garlic, perfect as a snack or side dish.
- Prep Time: 10 minutes
- Cook Time: 5 minutes
- Total Time: 3 days 15 minutes
- Yield: 4 servings 1x
- Category: Snack
- Cuisine: American
Ingredients
- 1 pound fresh green beans (about 450 grams), trimmed and washed
- 1 cup white vinegar (240 ml)
- 1 cup water (240 ml)
- 3–4 garlic cloves, peeled and lightly crushed
- 4–5 fresh dill sprigs
- 1 tablespoon pickling salt (kosher or pickling salt, avoid iodized table salt)
- 1 teaspoon black peppercorns
- 1/4 teaspoon red pepper flakes (optional)
- 1 teaspoon mustard seeds (optional)
Instructions
- Rinse about 1 pound (450 grams) of fresh green beans under cold water, then trim the stem ends. Pat them dry with a clean towel. The beans should be firm and crisp for the best texture. This should take about 5 minutes.
- Place 3–4 sprigs of fresh dill, 3–4 peeled and lightly crushed garlic cloves, 1 teaspoon black peppercorns, and optional 1 teaspoon mustard seeds and 1/4 teaspoon red pepper flakes into each clean pint jar. Then, pack the green beans vertically into the jars as tightly as you can without crushing them. Leave about 1/2 inch (1.3 cm) of headspace at the top.
- In a small saucepan, combine 1 cup (240 ml) white vinegar, 1 cup (240 ml) water, and 1 tablespoon pickling salt. Heat over medium heat, stirring occasionally, just until the salt dissolves completely. Do not boil. This step takes about 3 minutes.
- Carefully pour the warm brine over the packed green beans in each jar, covering the beans completely but leaving the 1/2 inch headspace. Tap the jars gently on the counter to release any trapped air bubbles, and add more brine if necessary.
- Screw the lids on tightly, then let the jars cool to room temperature (about 30 minutes). Once cooled, place the jars in the refrigerator.
- Let the beans pickle in the fridge for at least 3 days before eating to develop that perfect tang and crunch. They’ll keep crisp and delicious for up to 3 weeks in the fridge.
Notes
Use fresh, young green beans for best crispness. Do not boil the brine; just heat enough to dissolve salt. Pack jars tightly but avoid crushing beans. Let jars cool to room temperature before refrigerating. Flavor improves after 3 days. Beans keep up to 3 weeks but best within 10-14 days. Optional spices like mustard seeds and red pepper flakes can be added for variation.
Nutrition
- Serving Size: About 4 beans
- Calories: 10
- Sugar: 1
- Sodium: 300
- Carbohydrates: 2
- Fiber: 1
- Protein: 1
Keywords: pickled green beans, refrigerator pickles, dill pickles, crispy green beans, easy pickling, snack recipe, refrigerator pickled vegetables



