Love this? Save it for later!
Share the inspiration with your friends
“I never thought measuring ingredients could trip me up until that rainy Thursday evening,” I confessed to my friend as I recounted my kitchen mishap. Honestly, I had all the enthusiasm to bake my first cake from scratch, but I ended up with a lumpy, salty disaster. You see, I’d grabbed the wrong measuring cup and eyeballed the flour like some culinary daredevil. Maybe you’ve been there—where the recipe says ‘1 cup,’ but your cup looks more like a half or a heaping double.
That night, amid the chaos of spilled flour and a slightly cracked mixing bowl, I realized that knowing how to measure ingredients correctly isn’t just about precision—it’s about confidence. So, I decided to create this Easy How to Measure Ingredients for Beginners Guide to untangle the mystery, especially for those just starting out. Whether you’re trying to make classic chocolate chip cookies or experimenting with new dishes, this guide will help you get it right without the stress or mess.
Let me tell you, learning these simple steps changed the way I cook—and honestly, it saved a few recipes from becoming ‘kitchen casualties.’ So stick around, because if you’ve ever wondered how to measure ingredients like a pro without fancy tools or a culinary degree, this guide is for you.
Why You’ll Love This Recipe
Getting your ingredient measurements right is the foundation of great cooking. After testing countless recipes and seeing friends and family struggle with the basics, I refined this guide to make measuring ingredients easy and approachable. Here’s why it stands out:
- Quick & Easy: Master measuring in just a few minutes, perfect for busy weeknights or spontaneous baking urges.
- Simple Ingredients: No need for expensive gadgets—just common kitchen tools and pantry staples.
- Perfect for Beginners: Designed with clear, foolproof steps to boost your kitchen confidence.
- Reliable Results: Say goodbye to guesswork and hello to consistently delicious dishes.
- Flexible Techniques: Learn tips that work whether you’re measuring dry, wet, or sticky ingredients.
This isn’t just another generic how-to. I included insider tips I picked up during my early days of cooking mishaps and advice from professional chefs. For example, using a spoon to fill your measuring cup for flour instead of scooping straight from the bag can make a huge difference. Honestly, this guide is like having a patient cooking buddy right there with you—helping you avoid those ‘too much salt’ or ‘too little sugar’ moments.
What Ingredients You Will Need
Before we start measuring, let’s talk ingredients. This guide applies to a wide range of common kitchen staples that you probably already have on hand. Whether it’s flour, sugar, oil, or spices, knowing how to measure each helps you make better food.
- Dry Ingredients: such as all-purpose flour, granulated sugar, brown sugar, cocoa powder, baking powder, and spices like cinnamon or nutmeg.
- Wet Ingredients: including water, milk, vegetable oil, honey, molasses, and extracts like vanilla.
- Sticky Ingredients: like peanut butter, syrup, or melted butter. These require a slightly different approach.
- Leavening Agents: baking soda and yeast, which usually come in small quantities and need careful measurement.
When possible, choose fresh and high-quality ingredients to boost flavor. For flour, I recommend brands like King Arthur for consistent results. Brown sugar should be packed firmly into the cup to get the right sweetness and texture. If you’re using substitutes like almond flour or coconut sugar, measuring methods change a bit, but this guide has you covered for those swaps too.
Equipment Needed
To measure ingredients accurately, you don’t need a fancy setup—just a few basics that are often overlooked but make all the difference.
- Measuring Cups for Dry Ingredients: Preferably nested sets with clear markings. Plastic or stainless steel both work fine.
- Liquid Measuring Cups: Glass or plastic with a spout, usually marked in cups, ounces, and milliliters.
- Measuring Spoons: For small quantities (teaspoons, tablespoons), essential for spices and leavening agents.
- Kitchen Scale (Optional but Recommended): Gives the most accurate results, especially for baking. I use mine almost every time, but if you’re starting out, don’t worry.
- Spoon and Knife: For leveling off dry ingredients like flour and sugar.
Personally, I started with inexpensive plastic cups and spoons from the grocery store and upgraded over time. Don’t stress if your tools aren’t perfect—consistency matters more than perfection. Also, keep your equipment clean and dry to avoid clumps or inaccurate measurements.
Preparation Method
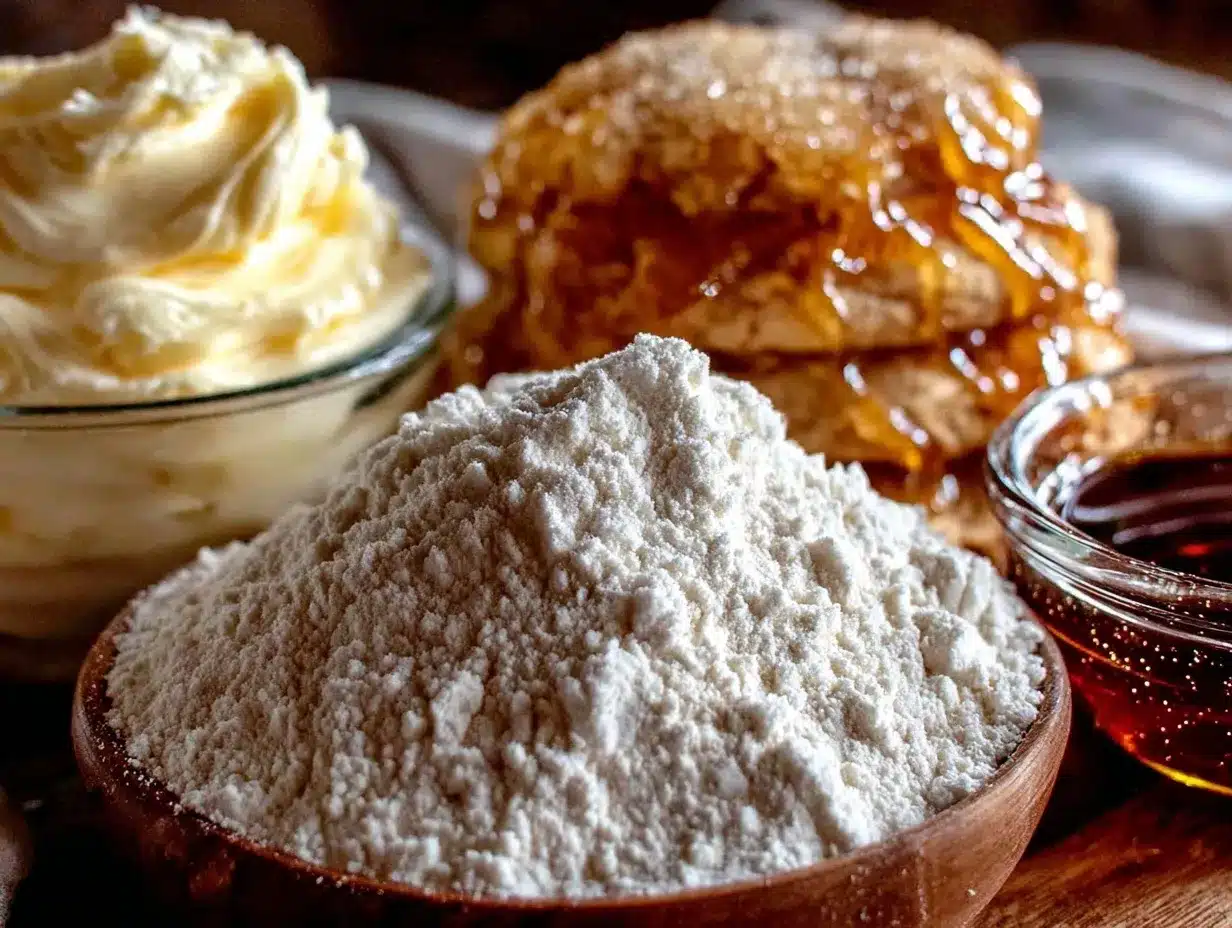
- Step 1: Choose the Right Measuring Tool (2 minutes)
Use dry measuring cups for flour, sugar, and other dry ingredients, and liquid measuring cups for milk, water, and oils. Measuring spoons work for small amounts like baking powder or vanilla extract. - Step 2: Fluff and Spoon Flour (3 minutes)
Before measuring flour, fluff it up in the bag or container with a fork. Then spoon the flour gently into the measuring cup—don’t scoop directly with the cup, or you’ll get too much. Level it off with the back of a knife for accuracy. - Step 3: Pack Brown Sugar Firmly (1 minute)
Brown sugar should be packed tightly into the cup to hold its shape. Press it down with the back of a spoon or your fingers until it’s solid. - Step 4: Measure Liquids at Eye Level (2 minutes)
Pour liquids into a clear measuring cup placed on a flat surface. Bend down to check the measurement at eye level to avoid overpouring. - Step 5: Level Off Dry Ingredients (1 minute)
Use the flat edge of a knife or spatula to level off excess ingredient from the top of your measuring cup or spoon. This step is key for balance and consistency in your recipes.
One time, I forgot to level off my flour, and the cookies turned out dense and dry—lesson learned! Also, when measuring sticky ingredients like honey or syrup, lightly grease your measuring cup with oil first to help them slide right out. These little hacks make all the difference.
Cooking Tips & Techniques
Measuring ingredients properly is a skill that grows with practice. Here are some tips to keep in mind as you master it:
- Don’t Rely on Eyeballing: Even a tablespoon too much flour or sugar can change texture and taste. I’ve been guilty of guessing and regretted it!
- Use the Right Cup for the Job: Dry cups are designed to be filled and leveled, while liquid cups allow for pouring without spills.
- Weigh Ingredients When Possible: A kitchen scale bypasses volume inconsistencies, especially with flour.
- Keep Measuring Tools Dry: Moisture can clump ingredients and throw off measurements.
- Practice Makes Perfect: Try measuring just for fun to get a feel for the quantities—trust me, it gets easier fast.
One trick I learned from a pastry chef is to always sift dry ingredients before measuring for finer texture and less clumping. I didn’t think it mattered at first, but it really does!
Variations & Adaptations
This guide can be tailored to fit different dietary needs and cooking styles:
- Gluten-Free: Substitute all-purpose flour with almond or rice flour. Note that these measure differently, so weighing ingredients is best.
- Low-Carb: Use coconut flour or flaxseed meal, but adjust the quantity since they absorb moisture differently.
- Vegan: Measuring plant-based milks and oils follows the same principles. Just make sure to check for density differences if swapping ingredients.
- Seasonal Ingredients: When measuring fresh herbs or produce, loosely pack the measuring cup for an accurate amount.
- Personal Twist: I once adjusted a recipe by measuring spices by smell and taste after learning the basics. It was a fun experiment that worked great!
Serving & Storage Suggestions
While measuring ingredients happens before cooking, how you store and serve your prepared dishes matters too. If you’re measuring for baked goods, cool them completely before storing in an airtight container to maintain texture and flavor.
Leftover sauces or batters can be refrigerated in clear containers with labels noting the date. Reheat gently to avoid overcooking. Flavors often develop and deepen after resting overnight—kind of like a little magic.
When serving, think about pairing your dish with complementary sides or drinks that match the flavor profile. For example, a dish measured precisely to have a perfect balance of sweetness and acidity pairs beautifully with a crisp white wine or a simple fresh salad.
Nutritional Information & Benefits
Accurate measuring helps control portion sizes and nutritional content, which is great if you’re watching calories or macronutrients. For example, knowing exactly how much oil or sugar you’re adding can make recipes healthier without sacrificing taste.
Using unprocessed ingredients and fresh spices boosts vitamins and antioxidants. Plus, precise measurements reduce waste by avoiding overuse of ingredients—good for your wallet and the planet.
This guide supports gluten-free and vegan adaptations, making it inclusive for various dietary preferences and restrictions. Just be mindful to check labels for allergens like nuts or dairy when substituting.
Conclusion
Learning how to measure ingredients is a game changer for anyone starting out in the kitchen. It turns guesswork into confidence and helps you create dishes that taste as good as they look. I hope this guide inspires you to try new recipes without fear of messing up the basics.
Remember, every cook makes mistakes, and that’s how we learn. Customize this guide to your style and ingredients, and soon measuring will feel like second nature. I still chuckle remembering my early kitchen blunders, but knowing these simple steps makes all the difference.
If you found these tips helpful, I’d love to hear about your own measuring wins or kitchen stories—drop a comment or share your favorite recipe adaptations. Happy cooking!
FAQs About Measuring Ingredients for Beginners
- Q: Can I use regular cups instead of measuring cups?
A: Regular cups vary in size, so it’s best to use standard measuring cups for accuracy. - Q: How do I measure sticky ingredients like honey?
A: Lightly grease your measuring cup with oil before adding sticky ingredients to help them slide out easily. - Q: Is weighing ingredients better than measuring by volume?
A: Yes, weighing is more accurate, especially for baking, but measuring cups work fine when you don’t have a scale. - Q: Should I sift flour before or after measuring?
A: It depends on the recipe, but generally, sift flour before measuring for lighter, more consistent results. - Q: How do I level off ingredients properly?
A: Use the flat edge of a knife or spatula to scrape off excess from the top of your measuring cup or spoon.
Pin This Recipe!
Easy How to Measure Ingredients Guide for Beginners with 5 Simple Steps
A beginner-friendly guide to accurately measuring ingredients for cooking and baking, featuring simple steps and practical tips to boost kitchen confidence and ensure reliable results.
- Prep Time: 9 minutes
- Cook Time: 0 minutes
- Total Time: 9 minutes
- Yield: N/A
- Category: Cooking Guide
- Cuisine: General
Ingredients
- All-purpose flour
- Granulated sugar
- Brown sugar
- Cocoa powder
- Baking powder
- Spices (cinnamon, nutmeg)
- Water
- Milk
- Vegetable oil
- Honey
- Molasses
- Vanilla extract
- Peanut butter
- Syrup
- Melted butter
- Baking soda
- Yeast
Instructions
- Step 1: Choose the Right Measuring Tool – Use dry measuring cups for dry ingredients, liquid measuring cups for liquids, and measuring spoons for small quantities.
- Step 2: Fluff and Spoon Flour – Fluff flour in the bag or container, spoon into the measuring cup, and level off with a knife.
- Step 3: Pack Brown Sugar Firmly – Press brown sugar tightly into the cup until solid.
- Step 4: Measure Liquids at Eye Level – Place liquid measuring cup on a flat surface and check measurement at eye level.
- Step 5: Level Off Dry Ingredients – Use the flat edge of a knife or spatula to level off excess ingredient.
Notes
Use a spoon to fill flour instead of scooping directly with the cup. Pack brown sugar firmly. Grease measuring cups lightly when measuring sticky ingredients. Weigh ingredients when possible for best accuracy. Keep measuring tools dry and clean. Sift dry ingredients before measuring for finer texture.
Nutrition
- Serving Size: Not applicable
Keywords: measuring ingredients, cooking tips, baking tips, kitchen guide, beginner cooking, measuring cups, measuring spoons, ingredient measurement