Love this? Save it for later!
Share the inspiration with your friends
“Hand me that bowl,” my neighbor Mark said as we stood side by side in his cramped kitchen on a rainy Thursday afternoon. I was visiting to learn how to make his famous chili, but honestly, what caught my attention was how effortlessly he handled his knives. No frantic chopping or awkward grips—just smooth, confident motions that made even the toughest onions seem easy to tackle. I’d always been a little scared of knives, convinced I’d slice my fingers off at the first cut. But watching Mark, I realized it wasn’t magic—it was safe knife skills done right.
That day, between stories and stirring, Mark shared his beginner-friendly tips that transformed how I approached kitchen prep. Maybe you’ve been there too—the hesitation, the fear, the clumsy cuts that slow you down or worse, cause a nick. This “Easy Beginner Guide to Safe Knife Skills” is exactly the kind of no-nonsense, approachable advice I wish someone handed me back then.
Let me tell you, mastering safe knife techniques doesn’t just protect your fingers; it turns cooking into a smoother, more enjoyable experience. Plus, with the right skills, you can prep ingredients faster, get even cuts for consistent cooking, and impress everyone with your kitchen confidence. I’m excited to share these tips with you—because if I can learn to feel comfortable with a knife, you definitely can too.
Why You’ll Love This Recipe
Learning safe knife skills is a game-changer for anyone stepping into the kitchen. From my experience teaching friends and experimenting myself, this guide offers practical, tested advice that makes chopping less intimidating and way more efficient. Here’s why this guide stands out:
- Quick & Easy: You’ll pick up essential knife techniques in under 30 minutes, perfect for busy beginners wanting to boost kitchen confidence.
- Simple Tools: No fancy gadgets needed—just a basic chef’s knife and a cutting board (but I’ll share alternatives too).
- Perfect for Every Meal Prep: Whether you’re making a quick salad or prepping for a roast, these skills make your cutting neat and safe.
- Crowd-Pleaser: Even your toughest food critics will appreciate perfectly chopped veggies and evenly sliced meats.
- Unbelievably Useful: This is not just about safety—it’s about gaining the confidence to explore new recipes without fear.
What makes this guide different? It’s grounded in real kitchen moments, like when I accidentally turned a basic salsa into a chopping lesson or when I realized the right grip could save me so much time. I’ve blended practical tips with a friendly approach so you won’t feel overwhelmed. Honestly, it’s the kind of kitchen skill that makes you look forward to cooking rather than dreading the prep.
By the end, you’ll not only be safer with your knife but also feel like a real kitchen pro ready to tackle everything from crispy garlic chicken to fresh garden salads without hesitation.
What Ingredients You Will Need
Okay, so this guide isn’t about ingredients in the traditional sense, but having the right tools and materials is just as important when learning safe knife skills. Think of these as your “ingredients” for success in the kitchen:
- Chef’s Knife: A 8 to 10-inch (20-25 cm) chef’s knife is ideal. I personally recommend brands like Victorinox or Wüsthof for their balance and sharpness. If you don’t have one, a santoku knife works well too.
- Cutting Board: Choose a sturdy board, preferably wood or plastic. Bamboo boards are durable and easy to clean. Avoid glass or marble as they can dull your knife quickly.
- Paring Knife: A small 3 to 4-inch (7.5-10 cm) paring knife is great for delicate tasks like peeling or trimming.
- Kitchen Towel or Non-Slip Mat: To place under your cutting board to keep it steady and prevent slipping—safety first!
- Vegetables or Fruits for Practice: Start with easy-to-handle produce like carrots, cucumbers, bell peppers, or apples to practice your cuts.
If you want to get a bit fancy, a sharpening stone or honing rod helps maintain your knife’s edge—sharp knives are safer knives, trust me on that one. But don’t stress if you don’t have these yet; you can always have your knives professionally sharpened.
And if you’re wondering about substitutions, a serrated bread knife can work in a pinch for some cutting tasks, but it’s not ideal for most chopping. I’ve also used ceramic knives before, but they tend to chip easier and require more care.
Equipment Needed
- Chef’s Knife: Your main tool, versatile and essential. I’ve found that investing in a decent-quality knife pays off in ease and safety.
- Cutting Board: Wood or plastic, large enough to give you room to work comfortably. I keep a few boards—one for veggies, one for meat—to avoid cross-contamination.
- Paring Knife: Great for detail work and peeling.
- Knife Sharpener or Honing Rod: Keeps edges crisp. I recommend using a honing rod weekly to maintain your blade.
- Kitchen Towel or Non-Slip Mat: Prevents your board from sliding around—this little trick saved me from a close call once!
If you’re on a budget, basic versions of these tools work just fine. I started with a simple chef’s knife and a plastic board before upgrading as I got more comfortable. Remember, the best knife is the one you feel confident using.
Preparation Method
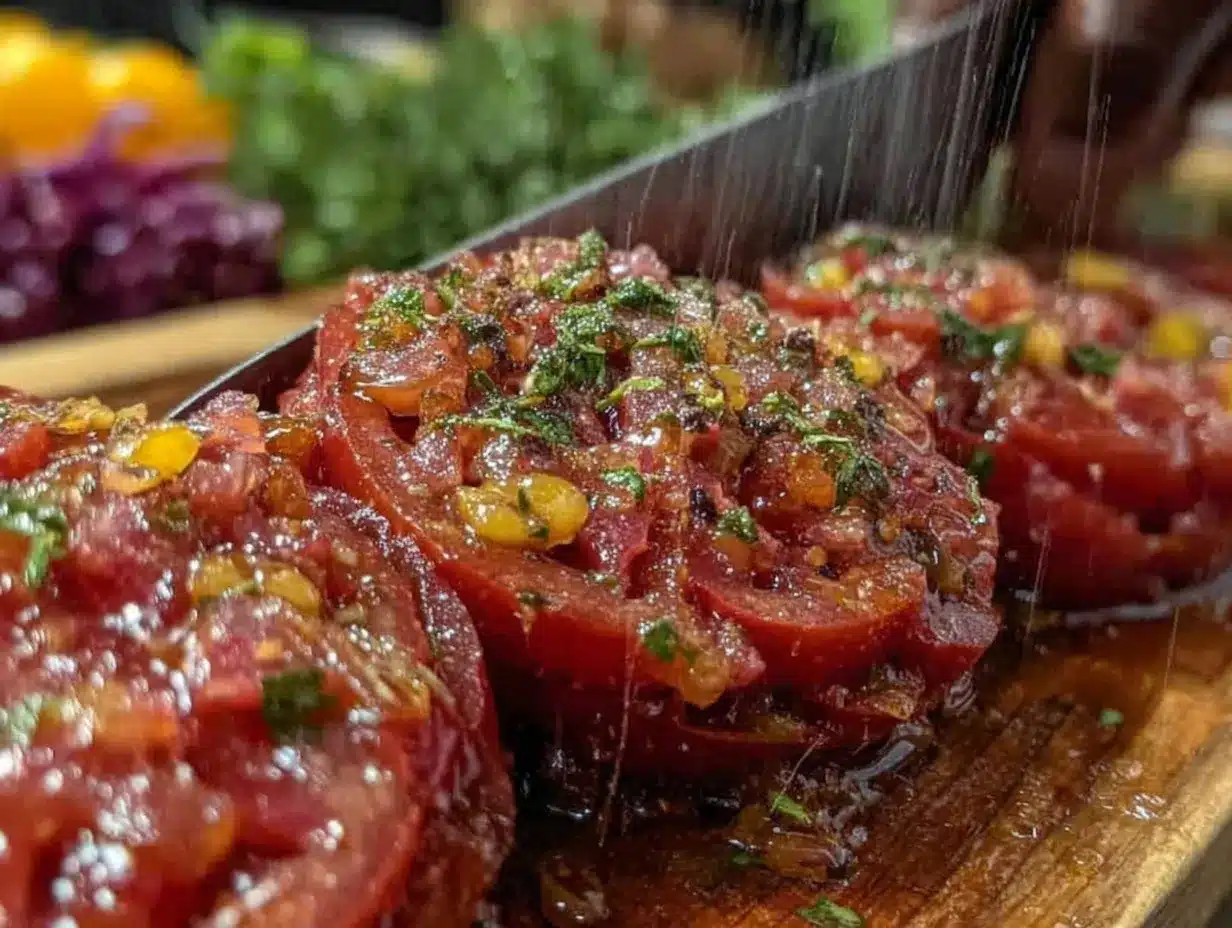
- Choose a Sharp Knife: Start with a clean, sharp chef’s knife. Dull knives require more force and increase the chance of slipping.
- Set Up Your Cutting Station: Place your cutting board on a damp kitchen towel or non-slip mat to stabilize it. Make sure you have enough light and space.
- Grip Your Knife Properly: Hold the handle firmly with your dominant hand, wrapping your fingers around it. Pinch the blade’s base with your thumb and index finger for better control. It feels a little awkward at first, but it makes a huge difference.
- Use the Claw Grip With Your Other Hand: Curl your fingertips inward, holding the food with your knuckles facing the blade. This protects your fingers and guides your knife.
- Start with Basic Cuts: Practice slicing soft vegetables like cucumbers or carrots. Use a rocking motion—lift the knife slightly and move it forward and down simultaneously.
- Practice Even Cuts: Aim for uniform slices about 1/4 inch (0.6 cm) thick. This ensures even cooking and looks professional.
- Try Dicing: Slice the vegetable lengthwise, then crosswise to create cubes. I remember dropping a carrot mid-dice once—don’t worry, it happens!
- Peeling and Trimming: Use your paring knife for peeling or trimming tough ends. Hold the vegetable firmly and work away from your body.
- Clean as You Go: Wipe your knife and board regularly to prevent slipping from moisture or food bits.
- Store Knives Safely: When finished, clean knives immediately and store them in a block or magnetic strip to avoid accidents.
Take your time with each step, and don’t rush. You’ll notice your confidence building with every cut. Remember, safe knife skills are about control and awareness, not speed.
Cooking Tips & Techniques
One trick I learned early on: a sharp knife feels like an extension of your hand and makes every chop safer. Keep your knives honed regularly. It’s tempting to just jam the blade through, but controlled, deliberate cuts reduce accidents.
Don’t let your knife do all the work; use your body weight and a smooth rocking motion instead of hacking down hard. I used to make a mess and lose control until I slowed down and focused on my grip.
Watch your fingers! The claw grip is your best friend—tuck those fingertips back, and you’ll avoid nicks. I had to learn this the hard way when I got a tiny cut during a busy dinner prep.
Keep your cutting board stable—slippage is a silent kitchen hazard. If your board moves, stop and fix it before continuing.
Practice multitasking by prepping ingredients in batches. For example, chop all your veggies before moving on to proteins. It saves time and keeps you organized.
Finally, clean your knives immediately after use. I learned this after accidentally cutting myself trying to scrape stuck bits off a blade.
Variations & Adaptations
Depending on your comfort level and kitchen setup, here are some ways to adjust your knife skills practice:
- For Left-Handed Cooks: Mirror the claw grip and knife hold for your dominant hand. It feels strange at first but gets easier with practice.
- Use Different Knife Styles: Try a santoku knife for a shorter, lighter option. It’s great for small hands or delicate tasks.
- Adapt for Special Dietary Needs: When prepping gluten-free meals, precise cuts ensure even cooking of grains and veggies, improving texture and flavor.
- Seasonal Practice: In summer, slice soft tomatoes or zucchinis; in fall, try harder squash or root vegetables.
- Personal Variation: I once practiced on watermelon chunks to get a feel for juicy, slippery surfaces. It was messy but taught me to adjust pressure carefully.
Serving & Storage Suggestions
Once you’re comfortable chopping, your neatly cut ingredients can be served fresh in salads, stir-fries, or as garnishes. Presenting uniformly sliced veggies or meats adds polish to any meal.
Store prepped ingredients in airtight containers in the fridge for up to 3 days to maintain freshness. For longer storage, blanch veggies and freeze them.
When reheating, remember that evenly cut pieces cook more consistently, so you avoid overcooked or underdone bites. For example, diced potatoes warm up perfectly in a skillet without mushiness if cut properly.
Flavors also develop nicely over time in chopped mixtures like salsas or marinades, so prepping ahead can save time and boost taste.
Nutritional Information & Benefits
Mastering knife skills encourages home cooking, which often means healthier meals with fresh ingredients over processed foods. Properly chopped vegetables retain texture and nutrients better during cooking.
Using a sharp knife reduces the need for excessive force, which can lessen wrist strain and injuries—important for anyone cooking regularly.
This guide suits all diets since knife skills apply across cuisines and ingredient types, from low-carb stir-fries to gluten-free veggie medleys.
Be aware of knife handling safety to prevent minor accidents, especially around kids or beginners.
Conclusion
Getting comfortable with safe knife skills is one of the best things you can do to improve your cooking experience. Not only will your prep be faster and safer, but your meals will look better and cook more evenly. I love this guide because it breaks down intimidating techniques into simple, manageable steps that anyone can follow.
Feel free to customize your practice with different knives, veggies, or cutting styles that suit your kitchen vibe. Let me know how your knife skills journey goes—comments and stories from fellow cooks always inspire me!
Remember, every great cook started somewhere, and with a little patience, you’ll be slicing like a pro in no time. Happy chopping!
FAQs
What is the best knife for beginners?
A sharp, 8 to 10-inch (20-25 cm) chef’s knife is ideal for most beginner kitchen tasks. It’s versatile and comfortable once you get the grip right.
How often should I sharpen my knives?
Use a honing rod weekly to maintain the edge and get professional sharpening every 6-12 months depending on use.
What’s the safest way to hold a knife?
Grip the handle firmly while pinching the blade’s base with your thumb and index finger, and use the “claw grip” with your other hand to protect your fingertips.
Can I practice knife skills without cutting real food?
Yes! You can practice your grip and motions with a plastic banana or even a carrot before moving on to softer produce.
How do I prevent my cutting board from slipping?
Place a damp kitchen towel or non-slip mat beneath your cutting board to keep it stable and safe while chopping.
Pin This Recipe!
Easy Beginner Guide to Safe Knife Skills for Perfect Kitchen Cutting Techniques

This guide offers beginner-friendly, practical tips to master safe knife skills, improving kitchen confidence and efficiency while protecting your fingers.
- Prep Time: 5 minutes
- Cook Time: 0 minutes
- Total Time: 5 minutes
- Yield: N/A
- Category: Cooking Skills
- Cuisine: Universal
Ingredients
- 8 to 10-inch (20-25 cm) chef’s knife (e.g., Victorinox or Wüsthof)
- Cutting board (wood or plastic, bamboo recommended)
- 3 to 4-inch (7.5-10 cm) paring knife
- Kitchen towel or non-slip mat
- Vegetables or fruits for practice (carrots, cucumbers, bell peppers, apples)
- Optional: sharpening stone or honing rod
Instructions
- Choose a sharp, clean chef’s knife to start.
- Set up your cutting station by placing the cutting board on a damp kitchen towel or non-slip mat to stabilize it.
- Grip your knife properly: hold the handle firmly with your dominant hand, pinching the blade’s base with your thumb and index finger.
- Use the claw grip with your other hand by curling your fingertips inward and holding the food with your knuckles facing the blade.
- Start practicing basic cuts by slicing soft vegetables like cucumbers or carrots using a rocking motion.
- Aim for even slices about 1/4 inch (0.6 cm) thick for uniform cooking.
- Try dicing by slicing lengthwise then crosswise to create cubes.
- Use the paring knife for peeling or trimming tough ends, working away from your body.
- Clean your knife and cutting board regularly during prep to prevent slipping.
- After finishing, clean knives immediately and store them safely in a block or magnetic strip.
Notes
Keep knives sharp using a honing rod weekly and professional sharpening every 6-12 months. Use a stable cutting board with a non-slip mat underneath. Practice the claw grip to protect fingertips. Clean knives immediately after use and store safely.
Nutrition
- Serving Size: N/A
Keywords: knife skills, safe chopping, kitchen cutting techniques, beginner cooking tips, chef's knife guide, kitchen safety, cutting board, knife grip



