Love this? Save it for later!
Share the inspiration with your friends
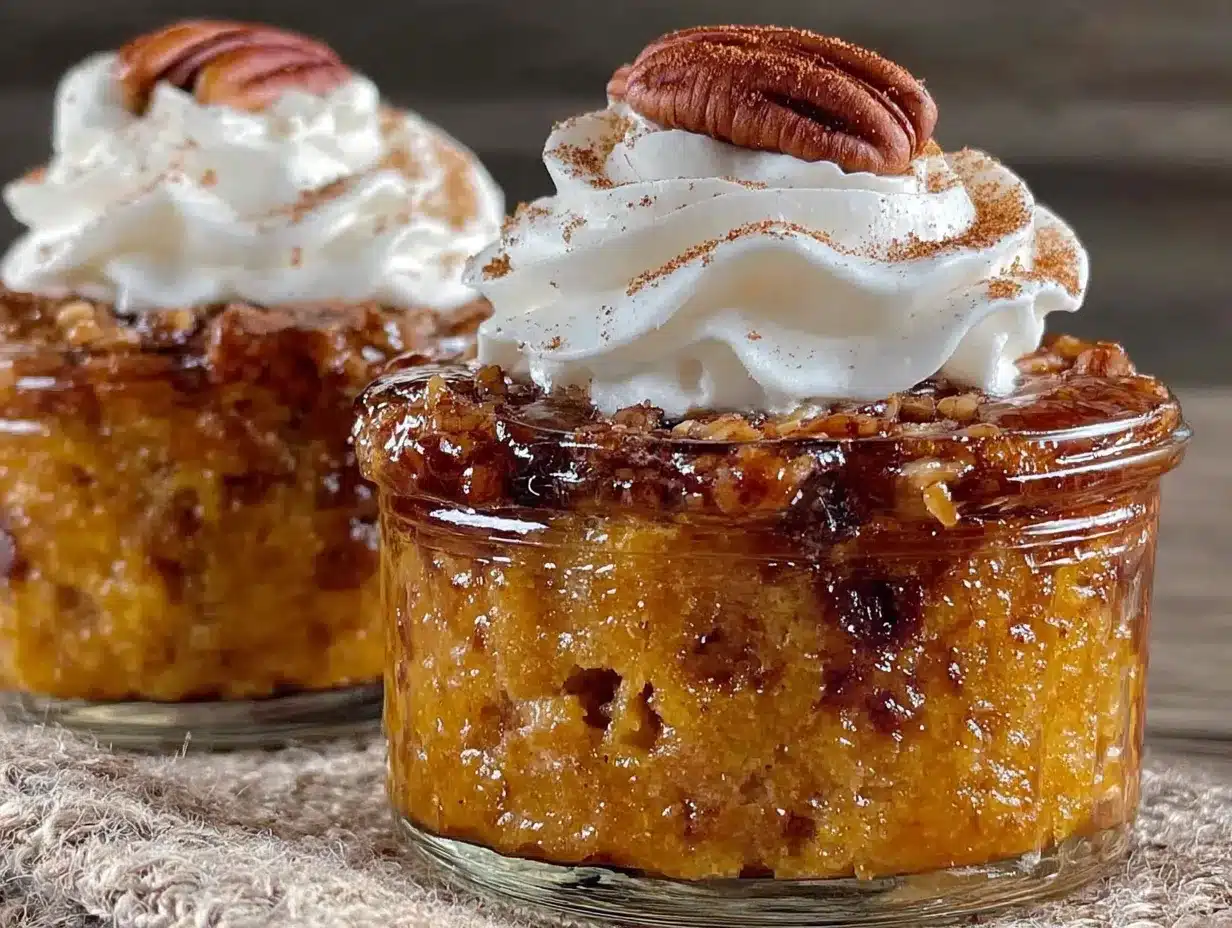
There used to be a little bakery three blocks from my old apartment in Portland that made the most incredible pumpkin desserts. They called them “Pumpkin Hugs” on the menu board, and honestly, that name fit perfectly. When they closed suddenly two autumns ago, I walked past that dark storefront for a week feeling genuinely sad. After fourteen tries — some so bad I fed them to the neighbor’s chickens — I finally got it. These Easy Individual Pumpkin Dump Cakes in Mason Jars are the recreation of that exact memory. The same warm, spiced comfort in a portable, adorable package.
I remember the first time I attempted to recreate them. I was so confident, you know? I had the pumpkin, the spices, the jars ready to go. I pulled them out of the oven, and they looked beautiful. Then I took a bite, and it was just… dry. Sad. Not a hug at all. My kitchen smelled amazing, but the cake was a lie. That was attempt number three. Attempt number seven involved forgetting the sugar entirely. Let me tell you, unsweetened pumpkin cake is not a pleasant discovery.
But this version right here? This is the one. It’s a dump cake, which means you basically throw everything together, stir, and bake. No stand mixer required. No complicated techniques. Just pure, unadulterated fall flavor in a jar. The texture is perfectly moist — almost pudding-like in the center with that lovely tender crumb on top. The spices hit you in all the right ways. Maybe you’ve been there, chasing a flavor from a closed-down spot, wondering if you’ll ever get it right. I promise you, this recipe is the end of that search. It’s the recipe I keep making, not just because it tastes like that bakery, but because it tastes like home.
Why You’ll Love This Recipe
I have tested this recipe more times than I care to admit. I’ve made it with fresh pumpkin, canned pumpkin, even accidentally with pumpkin pie filling once (don’t do that). Through all those trials, this version came out on top every single time. Here is why I think you will absolutely love it too.
- Quick & Easy: From start to finish, these little cakes take about 35 minutes. That is less time than it takes to watch a single episode of your favorite show. Perfect for a last-minute dessert craving or a surprise for guests.
- Simple Ingredients: You likely have most of these things in your pantry right now. Canned pumpkin, a box of yellow cake mix, butter, eggs, and some warm spices. No fancy grocery store trips required.
- Perfect for Fall Gatherings: These are the ultimate individual desserts for Thanksgiving, Friendsgiving, or a cozy autumn dinner party. Everyone gets their own jar, which means no fighting over the last piece.
- Crowd-Pleaser: I have brought these to potlucks and family dinners, and they disappear fast. Kids love the cute jar presentation, and adults love the nostalgic, comforting flavor.
- Unbelievably Delicious: The combination of the tender, spiced pumpkin layer with the buttery, crisp cake topping is pure magic. It is comfort food that feels special without being fussy.
What makes this recipe different from every other pumpkin dump cake out there? It’s the ratio. I spent a long time getting the pumpkin-to-cake-mix balance just right. Too much pumpkin, and it becomes soup. Too much cake mix, and it’s dry and crumbly. This version has that perfect, spoonable consistency that melts in your mouth. It is my best version, and I am so excited to share it with you.
This recipe is the kind that makes you close your eyes after the first bite. It’s comfort food reimagined — faster, simpler, but with the same soul-soothing satisfaction that only a warm, spiced dessert can bring. Perfect for impressing guests without any stress, or turning a simple Tuesday night into something memorable.
What Ingredients You Will Need
This recipe uses simple, wholesome ingredients to deliver that big, bold pumpkin flavor without any fuss. Most of these are pantry staples, especially during the fall baking season.
- For the Pumpkin Layer:
- 1 can (15 oz) pure pumpkin puree (I prefer Libby’s for consistent texture, but any brand works)
- 2 large eggs, room temperature (helps everything blend smoothly)
- 1/2 cup granulated sugar
- 1/4 cup packed light brown sugar (adds depth and moisture)
- 1/4 cup whole milk (or any milk you have on hand)
- 1 teaspoon vanilla extract
- 1 teaspoon ground cinnamon
- 1/2 teaspoon ground ginger
- 1/4 teaspoon ground nutmeg (freshly grated if you have it)
- 1/8 teaspoon ground cloves
- 1/4 teaspoon salt (don’t skip this, it balances the sweetness)
- For the Topping:
- 1 box (15.25 oz) yellow cake mix (I use Duncan Hines or Betty Crocker)
- 1/2 cup unsalted butter, melted (salted butter works too, just reduce the added salt slightly)
- 1/2 cup chopped pecans or walnuts (optional, but highly recommended for crunch)
- For Serving (Optional but Wonderful):
- Whipped cream or vanilla ice cream
- A dusting of cinnamon or pumpkin pie spice
- A drizzle of caramel sauce
When you are picking your pumpkin puree, make sure you grab the 100% pure pumpkin, not the pumpkin pie filling. The pie filling has sugar and spices already added, which will throw off the balance of this recipe entirely. I learned that the hard way on attempt number six. The texture was weirdly thick and overly sweet. Stick with the pure stuff.
For the cake mix, any standard yellow cake mix will do. I have tried a few different brands, and they all work well. The butter is what makes the topping so incredibly good. It soaks into the dry cake mix as it bakes, creating that signature buttery, crisp layer on top. If you want to make this dairy-free, you can use a plant-based butter substitute. It works, but the texture is slightly less tender.
The nuts are totally optional. I love the crunch they add, but if you are making these for someone with a nut allergy, just leave them out. The cakes will still be absolutely delicious.
Equipment Needed
You do not need a lot of fancy equipment for this recipe, which is one of the reasons I love it so much.
- Four 8-ounce wide-mouth mason jars: These are the star of the show. Wide-mouth jars are easier to fill and eat from. You can also use 4-ounce jars for mini versions, but you will need to adjust the baking time.
- Mixing bowls: One medium bowl for the pumpkin mixture and one small bowl for the topping is plenty.
- Whisk: For combining the pumpkin layer ingredients smoothly.
- Measuring cups and spoons: For accuracy, especially with the spices.
- Baking sheet: Place the mason jars on a baking sheet before putting them in the oven. This catches any potential spills and makes it easy to move them in and out.
- Oven mitts: The jars get very hot. Trust me on this one.
If you do not have mason jars, you can absolutely use small ramekins or oven-safe ceramic dishes. The baking time might vary slightly, so keep an eye on them. I have also made these in a standard 8×8 baking dish when I wanted a larger, shareable version. Just bake it for about 35-40 minutes instead. The jars just make them so much more fun for individual servings.
One tip I learned the hard way: make sure your jars are completely dry before you start. Any moisture at the bottom can make the cakes stick. Also, do not screw the lids on the jars while they bake. Just place them on the baking sheet open. The lids are for storage after they cool.
Preparation Method
Alright, let’s get to the fun part. This is a dump cake, so the method is incredibly simple. I promise you can handle this, even on a busy weeknight.
- Preheat your oven to 350°F (175°C). While it’s heating up, place your four clean, dry mason jars on a baking sheet. Set them aside for now.
- Make the pumpkin layer. In a medium mixing bowl, whisk together the 15 oz can of pumpkin puree, 2 large eggs, 1/2 cup granulated sugar, 1/4 cup packed light brown sugar, 1/4 cup milk, and 1 teaspoon vanilla extract. Whisk until everything is smooth and well combined. The mixture should be a beautiful, deep orange color.
- Add the spices. Sprinkle in the 1 teaspoon cinnamon, 1/2 teaspoon ginger, 1/4 teaspoon nutmeg, 1/8 teaspoon cloves, and 1/4 teaspoon salt. Whisk again until the spices are fully incorporated. Take a moment to smell it. That right there is the scent of autumn.
- Fill the jars. Divide the pumpkin mixture evenly among the four mason jars. I use a 1/2 cup measuring cup for this, and it works perfectly. Each jar should be about half to two-thirds full. The mixture will puff up a bit as it bakes, so do not fill them all the way to the top.
- Prepare the cake topping. In a separate small bowl, pour the entire box of yellow cake mix. If you are using nuts, stir in the 1/2 cup of chopped pecans or walnuts now.
- Top the pumpkin layer. Evenly sprinkle the dry cake mix over the pumpkin mixture in each jar. Use all of it. It will seem like a lot, but trust the process. Do not stir it in. The magic of a dump cake is that the dry mix stays on top.
- Add the melted butter. Drizzle the 1/2 cup of melted butter evenly over the top of the cake mix in each jar. Try to cover as much of the dry mix as possible. The butter will soak through as it bakes, creating that amazing buttery crust.
- Bake. Carefully place the baking sheet with the jars into the preheated oven. Bake for 25-30 minutes, or until the topping is golden brown and the pumpkin layer is set and slightly bubbly around the edges. The center should still have a slight jiggle to it when you gently shake the jar.
- Cool slightly. Remove the baking sheet from the oven and let the jars cool on a wire rack for at least 10-15 minutes. The jars will be extremely hot, so do not skip this step. Cooling also allows the cake to set up properly.
- Serve. Top each jar with a generous dollop of whipped cream or a scoop of vanilla ice cream. A light dusting of cinnamon on top is a beautiful finishing touch. Serve warm and watch everyone smile.
A quick note on baking time: every oven is a little different. Start checking at the 25-minute mark. The top should be a lovely golden brown, and you should be able to see the pumpkin layer gently bubbling around the edges. If the top is browning too quickly, you can tent the jars loosely with foil for the last 5 minutes.
Cooking Tips & Techniques
After making these little cakes more times than I can count, I have picked up a few tricks that make the process even smoother. Let me share them with you.
Do not overmix the pumpkin layer. I know it is tempting to keep whisking until it is perfectly smooth, but overmixing can incorporate too much air. This can cause the cake to rise too quickly and then collapse. Just mix until the ingredients are combined. A few small lumps are totally fine.
Room temperature ingredients matter. I know it is annoying to wait for eggs and milk to come to room temperature, but it really does make a difference. Cold ingredients can cause the butter to seize up when you add it, and they do not blend as evenly. If you are in a hurry, place the eggs in a bowl of warm water for 5 minutes. It works like a charm.
Evenly distribute the butter. This is the most important step for a perfect topping. If you dump all the butter in one spot, that area will be soggy while the rest stays dry. Drizzle it slowly and evenly. I use a spoon to gently spread it around if needed.
Let them cool properly. I know the smell is intoxicating, and you want to dig in immediately. But if you eat them too hot, the pumpkin layer will be too loose and runny. Giving them that 10-15 minute rest allows the starches to set and the flavors to meld. The wait is worth it.
My biggest failure? Attempt number eleven. I thought I would be clever and use a spice cake mix instead of yellow cake mix. The result was a spice overload that tasted like I was eating a candle. It was not good. Stick with the yellow cake mix. It lets the pumpkin flavor shine without competing with extra spices.
If you are making these for a crowd, you can easily double the recipe. Just make sure you have enough jars and a big enough baking sheet. Space them out so the heat can circulate evenly around each jar.
Variations & Adaptations
One of the best things about this recipe is how easy it is to change up. Here are some of my favorite variations.
Gluten-Free Version: Swap the regular yellow cake mix for a gluten-free yellow cake mix. I have tried this with the King Arthur brand, and it works beautifully. The texture is slightly more crumbly, but the flavor is still fantastic. Make sure all your other ingredients are certified gluten-free as well.
Vegan Option: This one takes a little more work, but it is doable. Use a vegan yellow cake mix. Replace the eggs with flax eggs (1 tablespoon ground flaxseed mixed with 3 tablespoons water per egg, let sit for 5 minutes). Use a plant-based milk like almond or oat milk. For the butter, use a vegan butter stick. The topping might not get quite as crispy, but it will still be delicious.
Chocolate-Pumpkin Twist: This is my personal favorite variation. Use a chocolate cake mix instead of yellow. The combination of pumpkin and chocolate sounds strange, but it is honestly incredible. It tastes like a pumpkin brownie. My family requests this version almost as much as the original.
Spiced-Up Version: If you like things extra warm and cozy, add a pinch of cardamom or allspice to the pumpkin layer. You can also stir a tablespoon of bourbon or dark rum into the pumpkin mixture for a grown-up twist. The alcohol bakes off, leaving behind a lovely depth of flavor.
Low-Sugar Option: Use a sugar-free yellow cake mix and reduce the sugar in the pumpkin layer to 1/4 cup of granulated sugar. You can also use a sugar substitute like monk fruit or stevia, but be aware that the texture might be slightly different. The cakes will still be tasty, just a little less sweet.
I once made a batch with fresh pumpkin puree I made myself. It was a lot of work, and honestly, the canned version tasted better. Sometimes the convenience food is the right choice. Do not feel bad about using canned pumpkin. It is consistent, reliable, and delicious.
Serving & Storage Suggestions
These little cakes are best served warm, right after they have had a chance to cool slightly. The contrast between the warm, soft pumpkin layer and the cold, creamy whipped cream or ice cream is absolutely heavenly.
For a beautiful presentation: Place the mason jars on a small wooden board or a simple white platter. Add a few cinnamon sticks, star anise, or small pumpkins around the jars for a festive fall look. It makes for a stunning table centerpiece that also happens to be dessert.
What to serve alongside: These cakes are rich enough on their own, but they pair beautifully with a cup of hot coffee, a chai latte, or a glass of cold apple cider. If you are serving them after a big meal, keep the portions small. They are surprisingly satisfying.
Storage Instructions: If you have leftovers (which is rare in my house), let the jars cool completely. Then screw on the lids and store them in the refrigerator for up to 3 days. The cakes will firm up as they chill, almost like a pumpkin custard.
Reheating: To enjoy them warm again, remove the lid and microwave a single jar for about 20-30 seconds. You can also reheat them in a 300°F oven for about 10 minutes. The topping will crisp back up nicely in the oven.
Freezer-Friendly: These cakes freeze surprisingly well. Let them cool completely, screw on the lids, and place them in a freezer-safe bag. They will keep for up to 2 months. To serve, thaw in the refrigerator overnight and reheat as directed above. The texture remains excellent.
One thing I have noticed is that the flavors actually deepen and meld together after a day in the fridge. The spices become more pronounced, and the pumpkin flavor gets richer. So if you can wait, they are even better the next day. Cold, straight from the fridge, they taste like a pumpkin cheesecake.
Nutritional Information & Benefits
I am not a nutritionist, but I like to have a general idea of what I am eating. Here is an approximate breakdown for one jar (without whipped cream or ice cream).
| Nutrient | Amount Per Serving |
|---|---|
| Calories | 410 |
| Total Fat | 18g |
| Saturated Fat | 9g |
| Cholesterol | 85mg |
| Sodium | 480mg |
| Total Carbohydrates | 58g |
| Dietary Fiber | 3g |
| Sugars | 35g |
| Protein | 5g |
These values are estimates and will vary based on the specific brands you use and any modifications you make.
On the health side, pumpkin is a fantastic ingredient. It is packed with Vitamin A, which is great for your eyes and immune system, especially during cold and flu season. It is also a good source of fiber, which helps keep you full and satisfied. The cinnamon and ginger in the recipe also have anti-inflammatory properties. So while this is definitely a treat, you are getting a little bit of goodness with every bite.
If you are watching your sugar intake, you can serve these with a dollop of Greek yogurt instead of ice cream. The tanginess of the yogurt pairs beautifully with the sweet, spiced pumpkin. It is a small swap that makes a big difference.
Conclusion
These Easy Individual Pumpkin Dump Cakes in Mason Jars are everything I loved about that little bakery in Portland, captured in a recipe I can make anytime. They are simple, forgiving, and absolutely packed with fall flavor. The best part is how customizable they are. You can make them your own with different toppings, mix-ins, or cake mix flavors. That is the beauty of a dump cake. It is a canvas for your creativity.
I hope you give these a try. I really do. They have become a staple in my fall baking rotation, and I have a feeling they will become one in yours too. There is something so special about pulling a warm, individual dessert out of the oven and handing it to someone you love. It feels like a hug in a jar. And honestly, we could all use a few more of those.
If you make these, I would love to hear about it. Leave a comment below and tell me how they turned out. Did you try a variation? Did you serve them with something delicious? Your stories and successes make this whole thing worth it. Happy baking, my friend. Go make some memories in your kitchen.
Frequently Asked Questions
Can I use a different flavor of cake mix?
Absolutely! While yellow cake mix is my go-to, you can experiment with spice cake, chocolate, or even white cake mix. Just be aware that the flavor profile will change. Spice cake will make it extra spicy, while chocolate gives it a brownie-like vibe.
Do I have to use mason jars?
Not at all. You can use any oven-safe container, like ramekins, small ceramic baking dishes, or even a standard 8×8 baking pan. If you use a different size container, just keep an eye on the baking time, as it may vary.
Can I make these ahead of time?
Yes, you can make them a day in advance. Let them cool completely, then cover and refrigerate. Reheat them in the microwave or oven before serving. The flavors are even better the next day.
Why is my topping not crispy?
There are a few possible reasons. The most common one is not enough butter, or the butter was not distributed evenly. Make sure you drizzle the butter over the entire surface of the cake mix. Another reason could be that the cakes were not baked long enough. Let them go the full 30 minutes if needed.
Can I freeze these pumpkin dump cakes?
Yes, they freeze wonderfully. Let them cool completely, screw on the lids, and place them in a freezer bag. They will keep for up to 2 months. Thaw in the refrigerator overnight and reheat before serving. The texture remains excellent.
Pin This Recipe!
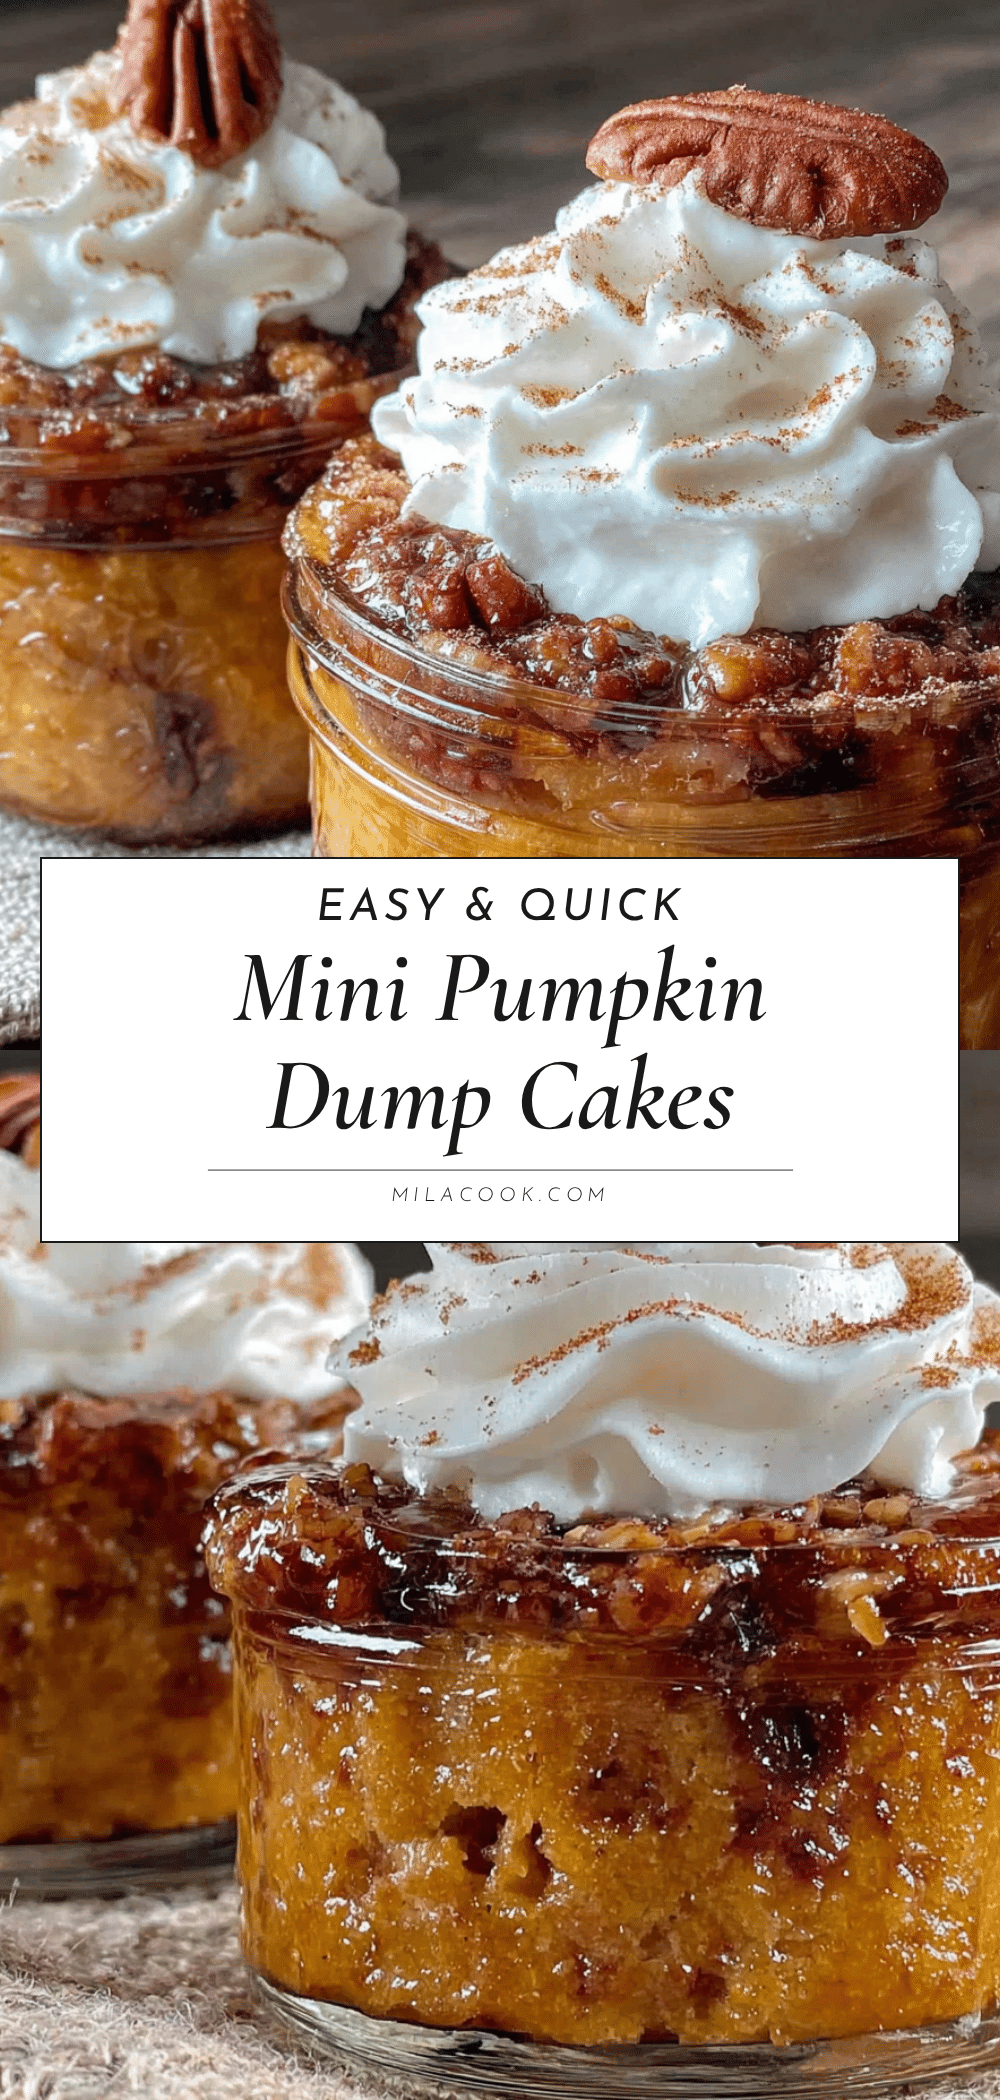
Easy Individual Pumpkin Dump Cakes in Mason Jars
These Easy Individual Pumpkin Dump Cakes in Mason Jars are the perfect fall dessert. With a tender, spiced pumpkin layer and a buttery, crisp cake topping, they are quick, simple, and incredibly delicious—a hug in a jar.
- Prep Time: 10 minutes
- Cook Time: 30 minutes
- Total Time: 40 minutes
- Yield: 4 servings 1x
- Category: Dessert
- Cuisine: American
Ingredients
- 1 can (15 oz) pure pumpkin puree
- 2 large eggs, room temperature
- 1/2 cup granulated sugar
- 1/4 cup packed light brown sugar
- 1/4 cup whole milk
- 1 teaspoon vanilla extract
- 1 teaspoon ground cinnamon
- 1/2 teaspoon ground ginger
- 1/4 teaspoon ground nutmeg
- 1/8 teaspoon ground cloves
- 1/4 teaspoon salt
- 1 box (15.25 oz) yellow cake mix
- 1/2 cup unsalted butter, melted
- 1/2 cup chopped pecans or walnuts (optional)
Instructions
- Preheat your oven to 350°F (175°C). Place four clean, dry 8-ounce wide-mouth mason jars on a baking sheet.
- In a medium mixing bowl, whisk together the pumpkin puree, eggs, granulated sugar, brown sugar, milk, and vanilla extract until smooth.
- Add the cinnamon, ginger, nutmeg, cloves, and salt. Whisk until fully incorporated.
- Divide the pumpkin mixture evenly among the four mason jars, filling each about half to two-thirds full.
- In a separate small bowl, pour the entire box of yellow cake mix. If using nuts, stir them in now.
- Evenly sprinkle the dry cake mix over the pumpkin mixture in each jar. Do not stir.
- Drizzle the melted butter evenly over the top of the cake mix in each jar, covering as much as possible.
- Bake for 25-30 minutes, until the topping is golden brown and the pumpkin layer is set and slightly bubbly around the edges.
- Remove from the oven and let cool on a wire rack for at least 10-15 minutes.
- Serve warm, topped with whipped cream or vanilla ice cream and a dusting of cinnamon, if desired.
Notes
Do not overmix the pumpkin layer. Room temperature ingredients help ensure even blending. For a gluten-free version, use a gluten-free yellow cake mix. For a vegan option, use a vegan cake mix, flax eggs, plant-based milk, and vegan butter. The cakes can be stored in the refrigerator for up to 3 days or frozen for up to 2 months.
Nutrition
- Serving Size: 1 jar
- Calories: 410
- Sugar: 35
- Sodium: 480
- Fat: 18
- Saturated Fat: 9
- Carbohydrates: 58
- Fiber: 3
- Protein: 5
Keywords: pumpkin dump cake, mason jar dessert, individual pumpkin cake, easy fall dessert, pumpkin recipe