Love this? Save it for later!
Share the inspiration with your friends
There used to be a tiny Mexican joint tucked behind a laundromat on Grand Avenue that made the best taco bowl I have ever had. When they closed their doors three years ago—honestly, it was a Tuesday, and I remember standing there staring at a “For Lease” sign—I felt a genuine pang of loss. After twelve tries—some burnt, some soggy, one that my husband politely called “aggressively spicy”—I finally got it. This sheet-pan version isn’t a copycat of that bowl, but it captures the same soul: that perfect mix of seasoned meat, tender veggies, and all the fixings, minus the deep fryer and the hour-long wait.
I mean, let me tell you, the first few attempts were rough. I tried replicating the exact spice blend from memory, which resulted in a bowl that tasted more like chili powder than anything else. Then I tried roasting everything separately, which defeated the whole “easy” purpose. But this sheet-pan method? It is the one. It gives you those slightly charred edges on the peppers and onions, perfectly crumbled turkey that doesn’t dry out, and a whole lot less cleanup. You know that feeling when you find a weeknight dinner that actually works? This is it.
What makes this recipe stick with me is how it turned my meal prep dread into something I actually look forward to. Sunday evenings used to feel like a chore, but now I am genuinely excited to pull this pan out of the oven. It is the kind of recipe that makes you feel like you have your life together, even if the rest of the kitchen is a mess. And honestly, after that Grand Avenue joint closed, I needed a new taco bowl obsession. This is it.
Why You’ll Love This Recipe
I have tested this recipe more times than I care to admit, and let me tell you, it checks every box for a busy weeknight. Here is why this sheet-pan taco bowl deserves a permanent spot in your rotation:
- Quick & Easy: From start to finish, this comes together in about 30 minutes. The oven does most of the work while you chop a few toppings or—let’s be real—scroll through your phone.
- Simple Ingredients: No fancy grocery trips needed. Ground turkey, taco seasoning, bell peppers, onions, and rice are all pantry and fridge staples you likely already have.
- Perfect for Meal Prep: This recipe was built for Sunday meal prep. It reheats beautifully, and the flavors actually get better after a day or two in the fridge.
- Crowd-Pleaser: My kids devour this, my picky neighbor loves it, and it even won over my taco-snob brother-in-law. It is that good.
- Unbelievably Delicious: The secret is roasting everything together on one pan. The turkey gets those tiny crispy bits, the peppers soften and caramelize, and the whole thing smells like a taco truck exploded in your kitchen.
What makes this different from every other taco bowl recipe out there is the roasting technique. Instead of browning the turkey on the stovetop and then assembling, you crumble the raw turkey directly onto the sheet pan with the vegetables. The high heat creates a texture you just cannot get from a skillet—think slightly crispy edges on the meat and perfectly roasted peppers. It is not just another version; it is the best version I have ever made.
This recipe is the kind that makes you close your eyes after the first bite. It is comfort food reimagined—healthier, faster, but with the same soul-soothing satisfaction. Perfect for impressing guests without stress, or turning a simple Tuesday dinner into something memorable.
What Ingredients You Will Need
This recipe uses simple, wholesome ingredients to deliver bold flavor and satisfying texture without the fuss. Most of these are pantry staples, so you probably already have everything you need.
- For the Taco Bowls:
- 1 pound (450g) ground turkey (93% lean works best; 85% lean will give you a juicier result but may require draining)
- 1 tablespoon olive oil (or avocado oil for higher heat roasting)
- 2 tablespoons taco seasoning (I recommend using a low-sodium blend like McCormick or your own homemade mix—store-bought packets work fine too)
- 1 medium red bell pepper, sliced into strips (about 1 cup)
- 1 medium green bell pepper, sliced into strips (about 1 cup)
- 1 medium yellow onion, sliced into half-moons (about 1 cup)
- 2 cups (about 300g) cooked white or brown rice (for serving; you can also use cauliflower rice for a low-carb option)
- Salt and black pepper, to taste
- For the Toppings (optional but highly recommended):
- 1/2 cup (about 75g) cherry tomatoes, halved
- 1/4 cup (about 30g) shredded cheddar or Monterey Jack cheese
- 1/4 cup (about 60ml) sour cream or Greek yogurt
- 2 tablespoons fresh cilantro, chopped
- 1 lime, cut into wedges
- 1 avocado, sliced (adds creaminess and healthy fats)
- Hot sauce, to taste (I like Cholula for a mild kick)
Ingredient Selection Tips: Look for bell peppers that feel heavy for their size and have firm, glossy skin. For the ground turkey, I prefer 93% lean because it stays moist during roasting without leaving a pool of grease on the pan. If you are using frozen bell peppers, thaw and pat them dry first—otherwise, they will release too much water and steam instead of roast.
Substitution Guidance: Use ground chicken or beef instead of turkey if that is what you have. For a vegetarian version, crumble extra-firm tofu or use canned black beans (rinsed and drained). Swap the rice with quinoa or cauliflower rice for a different texture. If you are dairy-free, use vegan cheese or skip it entirely—the avocado adds plenty of richness.
Equipment Needed
You do not need a lot of fancy gear for this recipe, which is part of the beauty. Here is what you will need:
- Sheet Pan: A standard 13×18-inch (half-sheet) rimmed baking sheet is ideal. The rim is important to catch any juices from the turkey and vegetables. I have used a non-stick pan and a regular aluminum one—both work, but I prefer the non-stick for easier cleanup.
- Parchment Paper or Aluminum Foil: Lining the pan makes cleanup a breeze. Honestly, this is the secret to making sheet-pan dinners feel effortless. Just toss the paper when you are done.
- Large Mixing Bowl: For tossing the turkey and vegetables with oil and seasoning before spreading them on the pan.
- Chef’s Knife and Cutting Board: For slicing the peppers and onions. A sharp knife makes the prep go much faster.
- Spatula or Wooden Spoon: For breaking up the turkey halfway through roasting. I use a sturdy spatula that can scrape up any browned bits.
- Measuring Spoons: For the oil and taco seasoning. Eyeballing it works, but measuring ensures consistent flavor every time.
Budget-Friendly Options: If you do not have a sheet pan, you can use a large cast-iron skillet or a 9×13-inch baking dish. Just be aware that the turkey might not crisp up as much because there is less surface area. I have used a rimmed baking sheet from the dollar store before, and it worked fine—just make sure it is oven-safe up to 425°F.
Preparation Method
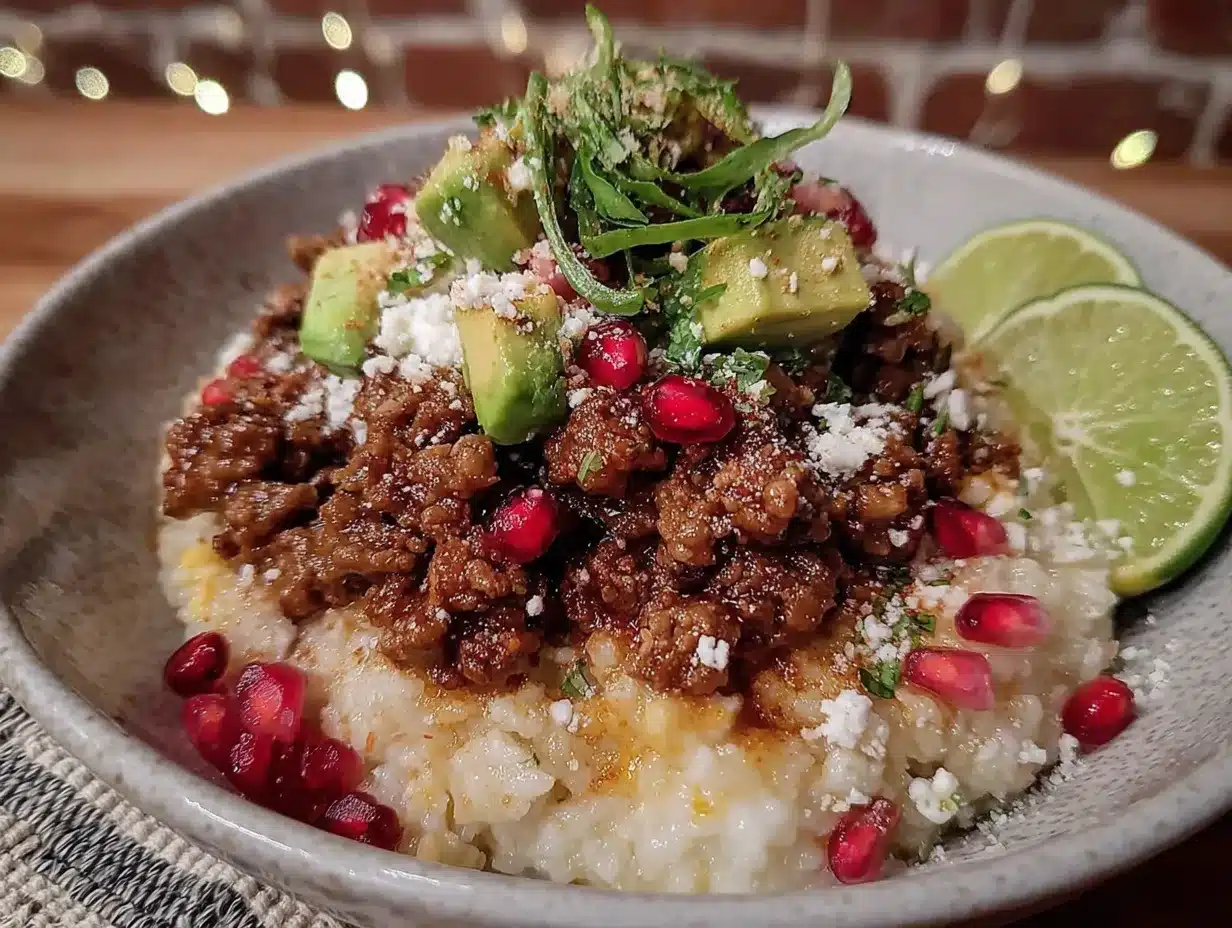
This is where the magic happens. Follow these steps, and you will have a tray of perfectly roasted taco goodness in no time.
- Preheat your oven to 400°F (200°C). Line a large sheet pan with parchment paper or aluminum foil for easy cleanup. I like using parchment because nothing sticks to it, and it makes the pan look clean when you are done.
- Prep the vegetables. Slice the bell peppers into thin strips, about 1/4-inch wide. Slice the onion into half-moons, also about 1/4-inch thick. You want them roughly the same size so they cook evenly. Toss them into a large mixing bowl.
- Add the ground turkey to the bowl. Break it up into large chunks with your hands or a spoon. It does not have to be perfectly crumbled yet—the oven will do that work for you. Add the olive oil, taco seasoning, and a pinch of salt and pepper.
- Toss everything together. Use your hands (clean, obviously) or a large spoon to mix until the turkey and vegetables are evenly coated with the seasoning and oil. This takes about 30 seconds. The turkey will look a little pink and raw—that is fine.
- Spread the mixture onto the prepared sheet pan. Use a spatula to spread it into an even, single layer. Do not overcrowd the pan—if the turkey is piled up, it will steam instead of roast. Leave a little space between the chunks of meat and the vegetables.
- Roast for 15 minutes. Set a timer. At this point, the turkey should be mostly cooked through, and the vegetables will be starting to soften. The edges of the peppers might look a little charred—that is good.
- Remove the pan from the oven and break up the turkey. Use a spatula or wooden spoon to break the turkey into smaller crumbles. Stir everything around, scraping up any browned bits from the bottom of the pan. This step is crucial for getting those crispy edges.
- Return the pan to the oven and roast for another 10-15 minutes. Keep an eye on it during the last 5 minutes. You want the turkey to be cooked through (internal temperature of 165°F/74°C) and the vegetables to be tender with some charred spots. If you like extra crispy turkey, give it another 5 minutes.
- While the turkey roasts, prepare your rice and toppings. If using leftover rice, reheat it in the microwave or on the stovetop. Slice the avocado, halve the cherry tomatoes, and chop the cilantro. Set everything out so you can assemble the bowls quickly.
- Assemble the bowls. Divide the rice among 4 bowls. Top with the roasted turkey and vegetable mixture. Add your desired toppings—cheese, sour cream, tomatoes, avocado, cilantro, and a squeeze of lime. Finish with a drizzle of hot sauce if you like heat.
Troubleshooting Tip: If your turkey looks dry after roasting, it might have been too lean (99% fat-free) or cooked too long. Next time, try using 93% lean turkey and check the temperature at the 25-minute mark. A little moisture is good—do not over-roast it.
Cooking Tips & Techniques
Over the course of those twelve failed attempts, I learned a few things the hard way. Let me save you some trouble.
Do not skip the parchment paper. I know, it seems like an extra step, but trust me on this. The first time I made sheet-pan turkey, I skipped the lining and spent 20 minutes scrubbing burnt-on seasoning off the pan. Parchment paper makes cleanup a five-second job. If you are out of parchment, aluminum foil works, but spray it with cooking spray first to prevent sticking.
Space matters. If you crowd the pan, the turkey will steam and release a lot of liquid. You will end up with gray, mushy meat instead of golden, crispy crumbles. Use the largest sheet pan you have, and if necessary, split the mixture between two pans. I learned this lesson after a particularly sad batch that looked like boiled hamburger.
Season generously. Ground turkey is leaner than beef, so it needs a little extra love in the seasoning department. Do not be shy with the taco seasoning—two tablespoons might seem like a lot, but it is perfect for one pound of meat. If you are using a homemade blend, make sure it has enough salt (about 1/2 teaspoon per tablespoon of seasoning).
Use the broiler for extra crispiness. If you want those edges to get really crispy, switch the oven to broil for the last 2-3 minutes of cooking. Watch it like a hawk—broilers can go from perfect to burnt in seconds. I have definitely had a few “charred” batches that were more char than turkey.
Let it rest before serving. After you pull the pan out of the oven, let it sit for 5 minutes. This allows the juices to redistribute, so the turkey stays moist. I know you are hungry, but patience pays off here.
Variations & Adaptations
One of the best things about this recipe is how easily it adapts to different tastes and dietary needs. Here are a few ways I have customized it over the years.
- Low-Carb/Keto Version: Skip the rice entirely and serve the turkey and vegetables over a bed of fresh spinach or cauliflower rice. I have made this for my keto friends, and they rave about it. The roasted peppers and onions add enough sweetness to satisfy that taco craving without the carbs.
- Vegetarian Version: Swap the ground turkey for two cans of black beans (rinsed and drained) or crumbled extra-firm tofu. For the tofu, press it first to remove excess moisture, then crumble it into the bowl with the vegetables and seasoning. Roast for the same amount of time—the tofu gets wonderfully crispy on the edges.
- Spicy Version: Add 1-2 minced chipotle peppers in adobo sauce to the turkey mixture before roasting. Or, toss in a diced jalapeño with the bell peppers. I once added a whole habanero (seeds and all) and regretted it—my mouth was on fire for hours. Stick with chipotle or jalapeño for manageable heat.
- Different Protein: Ground chicken, beef, or pork all work beautifully in this recipe. If using beef, go for 85% lean to keep it from drying out. Ground chicken cooks slightly faster, so check it at the 20-minute mark.
- Seasonal Twist: In the summer, I add zucchini and summer squash slices to the pan. In the fall, diced sweet potato or butternut squash makes a delicious addition—just cut them into small cubes so they cook through in the same time.
Serving & Storage Suggestions
This recipe is designed for meal prep, so let us talk about how to store and reheat it properly.
Serving Temperature: Serve the bowls warm, right after assembling. The contrast of warm turkey and rice with cool sour cream and fresh avocado is perfection. If you are serving a crowd, set up a taco bowl bar with all the toppings and let everyone build their own.
Storage Instructions: Store the roasted turkey and vegetable mixture in an airtight container in the refrigerator for up to 4 days. Keep the rice, avocado, and other toppings separate to prevent sogginess. I like to use glass meal prep containers with dividers—they keep everything organized and ready to go.
Freezer Instructions: The turkey mixture freezes beautifully for up to 3 months. Let it cool completely, then transfer it to a freezer-safe bag or container. To reheat, thaw overnight in the refrigerator, then reheat in the microwave or a skillet. The texture will be slightly less crispy, but the flavor is still amazing.
Reheating Tips: For best results, reheat the turkey and vegetables in a skillet over medium heat for 3-4 minutes, stirring occasionally. This helps restore some of the crispiness. If using a microwave, cover the bowl with a damp paper towel to add moisture—microwaves can dry out the turkey. The rice can be reheated in the microwave with a splash of water.
Flavor Development: Honestly, the flavors get even better after a day or two in the fridge. The taco seasoning melds with the vegetables, and the turkey absorbs all those smoky, spicy notes. I often make a double batch on Sunday just so I can enjoy the leftovers on Tuesday.
Nutritional Information & Benefits
Here is a rough estimate of the nutritional content for one bowl (using 93% lean turkey, white rice, and all the suggested toppings):
- Calories: 450-500
- Protein: 32g
- Fat: 18g
- Carbohydrates: 42g
- Fiber: 6g
- Sugar: 6g
Health Benefits: Ground turkey is a fantastic lean protein source, providing all the amino acids your body needs without the saturated fat of red meat. Bell peppers are packed with vitamin C—one serving gives you more than 100% of your daily needs. Avocado adds heart-healthy monounsaturated fats and fiber, which helps keep you full and satisfied.
Dietary Considerations: This recipe is naturally gluten-free (just check your taco seasoning label for hidden gluten). It is also nut-free and egg-free. For a low-carb version, swap the rice for cauliflower rice or lettuce wraps. If you are watching your sodium, use a low-sodium taco seasoning and skip the added salt.
Personal Wellness Perspective: I love that this recipe feels indulgent—like a cheat meal—but is actually packed with nutrients. It is proof that eating healthy does not mean sacrificing flavor. Plus, the meal prep aspect means I am less likely to order takeout on a busy night.
Conclusion
This sheet-pan ground turkey taco bowl has become a staple in my kitchen for a reason. It is easy enough for a hectic Tuesday, impressive enough for guests, and versatile enough to keep things interesting week after week. Whether you are a seasoned meal prepper or someone who just wants dinner on the table without a sink full of dishes, this recipe delivers.
I love how this recipe has evolved from my failed attempts into something I genuinely look forward to making. It is not just about the convenience—it is about the joy of eating something that tastes like it took way more effort than it actually did. And honestly, that is the best kind of recipe.
I would love to hear how your taco bowls turn out. Did you add any creative toppings? Did you try a different protein? Drop a comment below and share your version—I am always looking for new ideas to try. And if you loved this recipe, do not forget to share it with a friend who needs an easy weeknight win. Happy cooking!
Frequently Asked Questions
Can I use pre-cooked ground turkey for this recipe?
Technically yes, but you will lose the crispy edges that make this recipe special. If you have leftover cooked turkey, just toss it with the vegetables and seasoning, then roast for 10-15 minutes to reheat and char the edges slightly.
How do I keep the rice from getting mushy in meal prep?
Store the rice separately from the turkey mixture. Let the rice cool completely before refrigerating, and add a splash of water when reheating to restore moisture. I like to use day-old rice for meal prep because it holds its texture better.
Can I make this in an air fryer?
Absolutely. Cook in batches to avoid overcrowding. Set the air fryer to 375°F (190°C) and cook for 12-15 minutes, shaking the basket halfway through. The results are even crispier than the oven version.
What if I don’t have taco seasoning?
Make your own with 1 tablespoon chili powder, 1 teaspoon cumin, 1 teaspoon paprika, 1/2 teaspoon garlic powder, 1/2 teaspoon onion powder, 1/2 teaspoon oregano, and a pinch of cayenne. This homemade blend is actually lower in sodium than most store-bought packets.
Can I add beans to the sheet pan?
Yes! Add 1 can of rinsed and drained black beans or pinto beans to the pan during the last 10 minutes of roasting. Stir them in with the turkey so they get slightly charred on the edges. They add fiber and make the dish even more filling.
Pin This Recipe!
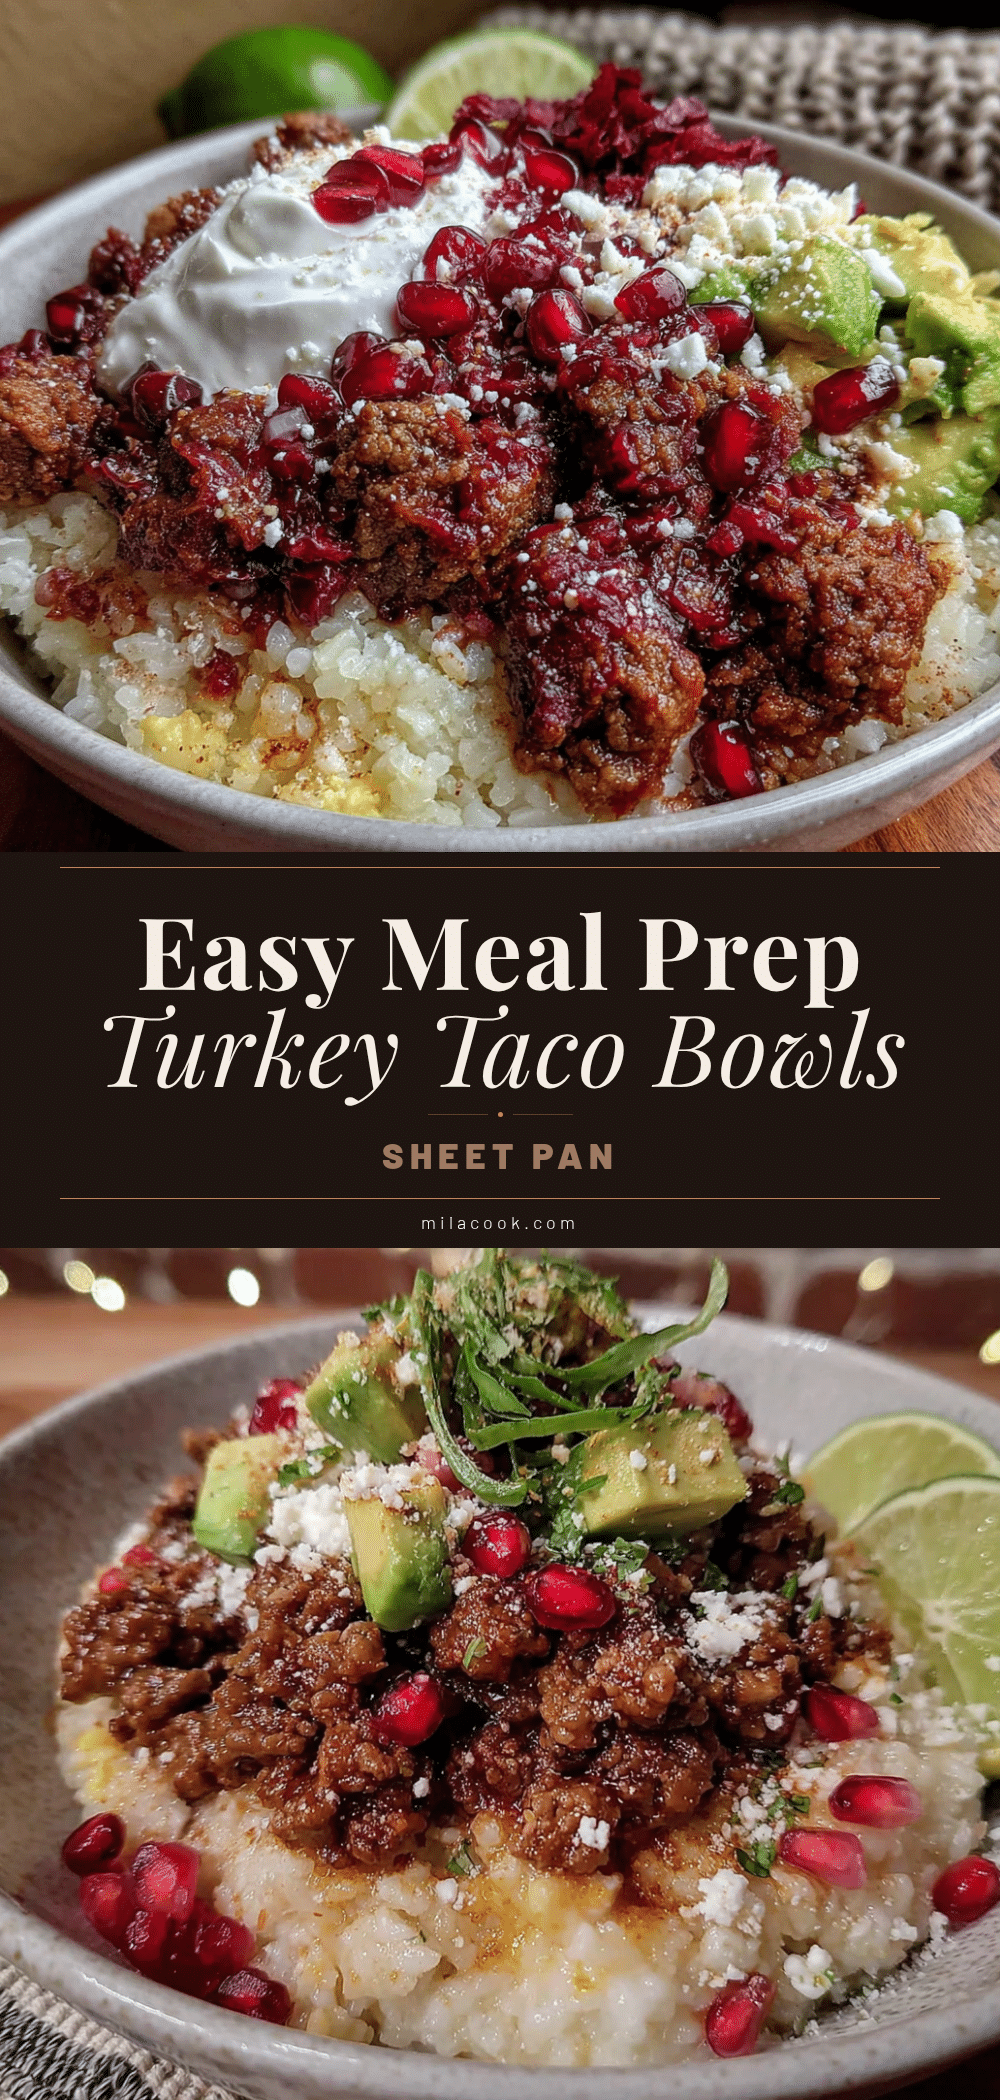
Easy Sheet-Pan Ground Turkey Taco Bowls for Meal Prep
A quick and easy sheet-pan dinner featuring seasoned ground turkey and roasted vegetables, perfect for meal prep. This recipe delivers crispy-edged turkey and tender peppers with minimal cleanup.
- Prep Time: 10 minutes
- Cook Time: 25-30 minutes
- Total Time: 35-40 minutes
- Yield: 4 servings 1x
- Category: Main Course
- Cuisine: Mexican
Ingredients
- 1 pound (450g) ground turkey (93% lean works best; 85% lean will give you a juicier result but may require draining)
- 1 tablespoon olive oil (or avocado oil for higher heat roasting)
- 2 tablespoons taco seasoning (low-sodium blend recommended, like McCormick or homemade)
- 1 medium red bell pepper, sliced into strips (about 1 cup)
- 1 medium green bell pepper, sliced into strips (about 1 cup)
- 1 medium yellow onion, sliced into half-moons (about 1 cup)
- 2 cups (about 300g) cooked white or brown rice (for serving; cauliflower rice for low-carb option)
- Salt and black pepper, to taste
- 1/2 cup (about 75g) cherry tomatoes, halved (optional topping)
- 1/4 cup (about 30g) shredded cheddar or Monterey Jack cheese (optional topping)
- 1/4 cup (about 60ml) sour cream or Greek yogurt (optional topping)
- 2 tablespoons fresh cilantro, chopped (optional topping)
- 1 lime, cut into wedges (optional topping)
- 1 avocado, sliced (optional topping)
- Hot sauce, to taste (optional topping)
Instructions
- Preheat your oven to 400°F (200°C). Line a large sheet pan with parchment paper or aluminum foil for easy cleanup.
- Slice the bell peppers into thin strips, about 1/4-inch wide. Slice the onion into half-moons, also about 1/4-inch thick. Toss them into a large mixing bowl.
- Add the ground turkey to the bowl. Break it up into large chunks with your hands or a spoon. Add the olive oil, taco seasoning, and a pinch of salt and pepper.
- Toss everything together using your hands or a large spoon until the turkey and vegetables are evenly coated with the seasoning and oil.
- Spread the mixture onto the prepared sheet pan in an even, single layer. Do not overcrowd the pan.
- Roast for 15 minutes. The turkey should be mostly cooked through, and the vegetables will be starting to soften.
- Remove the pan from the oven and break up the turkey using a spatula or wooden spoon. Stir everything around, scraping up any browned bits from the bottom of the pan.
- Return the pan to the oven and roast for another 10-15 minutes, until the turkey is cooked through (internal temperature of 165°F/74°C) and the vegetables are tender with some charred spots.
- While the turkey roasts, prepare your rice and toppings. Reheat leftover rice, slice avocado, halve cherry tomatoes, and chop cilantro.
- Assemble the bowls: Divide the rice among 4 bowls. Top with the roasted turkey and vegetable mixture. Add desired toppings—cheese, sour cream, tomatoes, avocado, cilantro, and a squeeze of lime. Finish with hot sauce if desired.
Notes
For extra crispy turkey, switch the oven to broil for the last 2-3 minutes. Let the pan rest for 5 minutes after roasting to allow juices to redistribute. Store turkey mixture separately from rice and toppings for meal prep. The flavors improve after a day or two in the fridge.
Nutrition
- Serving Size: 1 bowl
- Calories: 475
- Sugar: 6
- Sodium: 600
- Fat: 18
- Saturated Fat: 5
- Carbohydrates: 42
- Fiber: 6
- Protein: 32
Keywords: sheet pan dinner, ground turkey, taco bowl, meal prep, easy dinner, healthy, gluten-free



