Love this? Save it for later!
Share the inspiration with your friends
I was at my car mechanic’s shop waiting for an oil change—a place I honestly never expected to find culinary inspiration. The waiting room smelled like rubber and old coffee, and I was scrolling through my phone, already bored. That’s when Frank, the mechanic who’s been fixing my beat-up sedan for years, walked in wiping grease off his hands and started talking about banana bread.
Not just any banana bread, mind you. He described it with such passion—browning butter until it smells like toasted nuts, folding in walnuts he roasts himself, using bananas so ripe they’re practically liquid. I thought, “This guy fixes transmissions. How does he know about brown butter?” But there I was, sitting on a cracked vinyl chair, taking notes in my phone while he explained the exact moment the butter should start foaming.
Honestly, I was skeptical at first. I mean, I’ve made banana bread a hundred times. It’s fine. It’s good even. But Frank’s version? It’s the kind of thing that makes you close your eyes after the first bite. The brown butter adds this deep, almost caramel-like richness that regular butter just can’t touch. And the toasted walnuts? They bring a crunch that makes every slice feel special.
I went home that afternoon, grabbed my most overripe bananas, and gave it a shot. Let me tell you—it completely changed how I think about this classic recipe. Maybe you’ve been there, stuck in a recipe rut, making the same things over and over. This is the banana bread that breaks you out of it. It’s the one you’ll bring to every potluck, the one your friends will text you about at midnight asking for the recipe.
Why You’ll Love This Recipe
This isn’t just another banana bread recipe you’ll find online. I’ve tested this version more times than I can count—twelve times, actually, if you include the batch where I accidentally used salted butter and had to start over. Each time, I learned something new about getting that perfect texture and flavor.
- Deep, Nutty Flavor : Browning the butter transforms this bread from ordinary to extraordinary. It adds a toasty, caramel-like depth that pairs perfectly with sweet bananas.
- Perfect Crunch : Toasting the walnuts before folding them into the batter keeps them crunchy even days later. No sad, soggy nuts here.
- Simple Ingredients : You probably already have everything you need. Butter, bananas, flour, sugar, eggs, walnuts—that’s it. No fancy grocery store trips required.
- Perfect for Hosting : This bread is a showstopper on any dessert table. Slice it up for brunch, serve it warm with coffee after dinner, or wrap individual slices as party favors. Your guests will think you spent hours on it.
- Crowd-Pleaser : I’ve served this to kids, grandparents, and everyone in between. It disappears every single time. No leftovers. Ever.
- Foolproof Method : Even if you’ve never browned butter before, I’ll walk you through it step by step. You can’t mess this up.
What makes this recipe different? It’s the technique. Most banana bread recipes just melt the butter and call it a day. Taking those extra few minutes to brown it first changes everything. The butter develops these nutty compounds that make the bread taste almost like it has caramel in it—but it doesn’t. It’s pure butter magic.
This is the recipe you’ll make when you want to impress people without stressing out. It feels special, but it’s actually easier than you think. The first time I made it for a dinner party, my friend Sarah asked if I’d bought it from a bakery. I just smiled and said, “Nope, just Frank’s recipe.”
What Ingredients You Will Need
This recipe uses simple, wholesome ingredients that work together to create something truly special. Most of these are pantry staples, which makes this perfect for those moments when you have overripe bananas staring at you from the counter.
For the Banana Bread
- Unsalted butter , 1/2 cup (1 stick or 113 grams) — you’ll be browning this, so don’t skip that step. I prefer using unsalted so I can control the salt level myself.
- Very ripe bananas , 3 medium (about 1 1/2 cups mashed or 340 grams) — the riper the better. I’m talking brown spots, even black peels. That’s where all the sweetness lives.
- Granulated sugar , 3/4 cup (150 grams) — regular white sugar works perfectly here.
- Large egg , 1, at room temperature — this helps bind everything together and adds richness.
- Vanilla extract , 1 teaspoon — pure vanilla makes a difference, but imitation works fine too.
- All-purpose flour , 1 1/2 cups (180 grams) — spoon and level it for accuracy. Don’t scoop directly from the bag.
- Baking soda , 1 teaspoon — this is what makes the bread rise and stay fluffy.
- Salt , 1/2 teaspoon — enhances all the flavors and balances the sweetness.
- Ground cinnamon , 1/2 teaspoon — optional but highly recommended. It pairs beautifully with the brown butter.
For the Toasted Walnuts
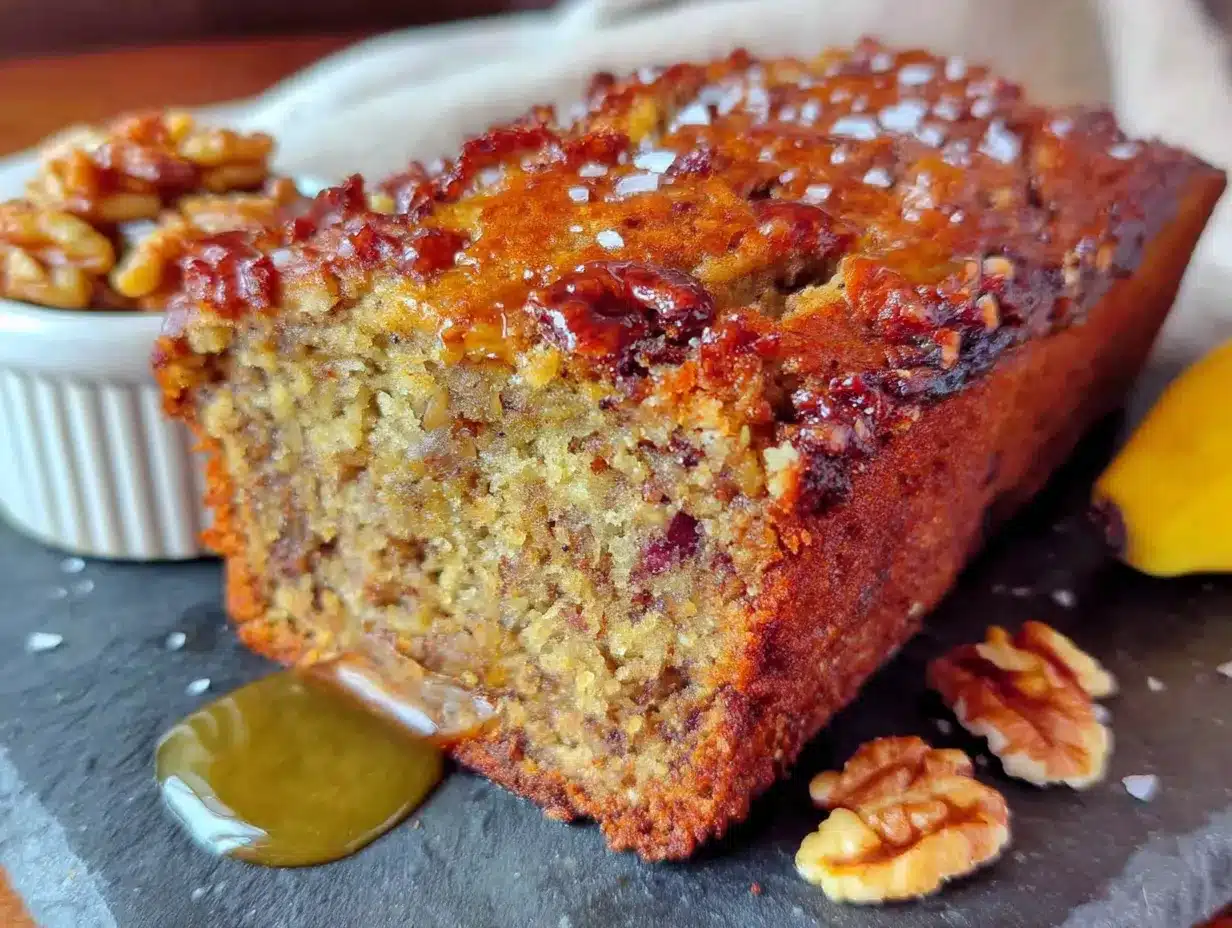
- Walnuts , 1/2 cup (60 grams), roughly chopped — I like to leave some pieces a bit larger for texture.
- Optional : A pinch of flaky sea salt to sprinkle on top before baking. It sounds weird, but trust me on this one.
Ingredient Tips : For the best results, use bananas that are almost too soft to hold. If your bananas aren’t ripe enough, you can speed things up by roasting them in a 300°F oven for 15-20 minutes until the skins turn black. Let them cool before mashing.
I recommend using Land O’Lakes or Kerrygold butter for browning—they have lower water content, which means they brown more evenly. For walnuts, I buy them raw and toast them myself. It takes five minutes and makes a huge difference in flavor.
Substitution Guidance : If you need a dairy-free option, you can use vegan butter for browning. Just know that it won’t brown exactly the same way, but it’ll still be delicious. For a nut-free version, simply omit the walnuts or swap in pumpkin seeds. You can also use pecans instead of walnuts if that’s what you have on hand.
Equipment Needed
- 9×5-inch loaf pan — metal or glass both work. I prefer metal because it conducts heat more evenly.
- Parchment paper — for lining the pan. This makes removal so much easier.
- Small saucepan — for browning the butter. Light-colored pans are best because you can see the color change.
- Mixing bowls — one large, one medium.
- Whisk — for combining dry ingredients.
- Wooden spoon or rubber spatula — for folding everything together.
- Fork or potato masher — for mashing the bananas.
- Cooling rack — to let the bread cool evenly.
- Skillet or baking sheet — for toasting the walnuts.
Budget-Friendly Options : Don’t have a loaf pan? You can use an 8×8 square pan and reduce the baking time by about 10 minutes. No cooling rack? A wire oven rack works in a pinch. The key is letting air circulate around the bread so it doesn’t get soggy.
I’ve made this recipe using both cheap and expensive equipment, and honestly, the technique matters more than the tools. That said, a good saucepan makes browning butter much easier—the heat distributes more evenly and you’re less likely to burn it.
Preparation Method
- Preheat your oven to 350°F (175°C) . Position the rack in the middle. Line your loaf pan with parchment paper, leaving some overhang on the long sides. This creates handles that make lifting the bread out super easy later.
- Toast the walnuts . Spread the chopped walnuts on a baking sheet and toast for 5-7 minutes, shaking the pan halfway through. You’ll know they’re done when they smell nutty and look slightly darker. Keep an eye on them—they burn fast. Set aside to cool.
- Brown the butter . Place the butter in your small saucepan over medium heat. Stir constantly with a wooden spoon or whisk. The butter will melt, then start to foam, then turn golden. Watch for brown specks forming at the bottom—that’s the milk solids toasting. Once it smells nutty and has a deep amber color, about 4-6 minutes, remove it from the heat immediately. Pour it into a heatproof bowl to stop the cooking process. Let it cool for 5-10 minutes.
- Mash the bananas . In your large mixing bowl, mash the bananas with a fork or potato masher until mostly smooth. A few small lumps are fine—they add texture. You should have about 1 1/2 cups.
- Mix the wet ingredients . Add the sugar, egg, and vanilla extract to the mashed bananas. Stir until well combined. Then pour in the cooled brown butter and mix until everything is smooth and glossy. The mixture will look slightly separated at first, but keep stirring and it’ll come together.
- Combine the dry ingredients . In your medium bowl, whisk together the flour, baking soda, salt, and cinnamon. Make sure there are no lumps.
- Fold everything together . Add the dry ingredients to the wet ingredients. Use a rubber spatula to fold gently—just until no streaks of flour remain. Overmixing will make the bread tough. Fold in the toasted walnuts, reserving a handful to sprinkle on top.
- Pour and top . Scrape the batter into your prepared loaf pan. Spread it evenly with the spatula. Sprinkle the reserved walnuts on top, pressing them gently into the batter. If you’re using flaky sea salt, sprinkle a little over the top now.
- Bake . Place the pan in the oven and bake for 50-60 minutes. The bread is done when a toothpick inserted into the center comes out clean or with just a few moist crumbs. If the top is browning too quickly, tent it loosely with foil after 40 minutes.
- Cool completely . Let the bread cool in the pan for 15 minutes, then use the parchment handles to lift it out. Transfer to a cooling rack and let it cool completely before slicing. I know it’s tempting to cut into it warm, but it’ll crumble if you do. Patience, friend.
Sensory Cues : When the butter is browning, you’ll see it go from pale yellow to golden to amber. It should smell like toasted nuts and caramel. The batter should be thick but scoopable—not runny. When the bread is done, the top will be deep golden brown and cracked beautifully. Your kitchen will smell like heaven.
Cooking Tips & Techniques
Let me save you from the mistakes I made. The first time I tried this recipe, I burned the butter. I mean, completely blackened it. My kitchen smelled like a campfire for two days. Here’s what I learned:
Watch the butter like a hawk . Once it starts foaming, it can go from perfect to burnt in about 30 seconds. Swirl the pan constantly and look for those brown specks. As soon as you see them, pull it off the heat. The residual heat will continue cooking it for a few seconds, so don’t wait until it looks too dark.
Use room temperature eggs . Cold eggs can seize the brown butter and make your batter lumpy. If you forgot to take the egg out ahead of time, place it in a bowl of warm water for 5 minutes. Problem solved.
Don’t overmix the batter . This is the number one mistake people make with quick breads. Mix until the flour just disappears. A few streaks are fine. Overmixing develops gluten, which makes the bread dense and rubbery instead of tender.
Check for doneness early . Every oven runs differently. Start checking at 50 minutes. If the toothpick comes out wet, give it another 5 minutes. If it comes out with a few crumbs, it’s perfect. Remember that the bread continues cooking in the pan after you take it out.
Toast the walnuts separately . I tried toasting them in the same pan as the butter once. Big mistake. The moisture from the butter made them steam instead of toast. Always toast them dry in the oven or on the stovetop.
Scale for a crowd : Hosting a big gathering? This recipe doubles beautifully. Use two loaf pans and bake them side by side. Just rotate the pans halfway through baking for even browning.
Variations & Adaptations
One of the things I love about this recipe is how flexible it is. Here are some variations I’ve tried and loved:
Chocolate Chip Brown Butter Banana Bread : Fold in 1/2 cup of dark chocolate chips along with the walnuts. The bitterness of the chocolate balances the sweetness of the bananas perfectly. I made this for a friend’s birthday and she said it was the best banana bread she’d ever had.
Gluten-Free Version : Swap the all-purpose flour for a 1:1 gluten-free baking blend. I recommend King Arthur’s or Bob’s Red Mill. Add 1/4 teaspoon of xanthan gum if your blend doesn’t already include it. The texture will be slightly more delicate, but still delicious.
Vegan Adaptation : Use vegan butter for browning (Miyoko’s works well) and replace the egg with a flax egg (1 tablespoon ground flaxseed mixed with 3 tablespoons water, let sit for 5 minutes). The bread will be a bit denser but still incredibly flavorful.
Spiced Version : Add 1/4 teaspoon of nutmeg and 1/8 teaspoon of ground cloves along with the cinnamon. This makes the bread taste almost like banana bread meets gingerbread—perfect for fall gatherings.
Mini Loaves for Gifting : Divide the batter among 4 mini loaf pans and bake for 25-30 minutes. These make wonderful hostess gifts or party favors. Wrap them in parchment paper and tie with twine for a rustic look.
Nut-Free Option : Skip the walnuts and add 1/2 cup of dried cranberries or chopped dates instead. The sweetness of the dried fruit complements the brown butter beautifully.
Serving & Storage Suggestions
Serving : This banana bread is best served at room temperature or slightly warmed. For a truly decadent experience, slice it, toast it lightly, and spread with salted butter. The contrast between the warm, crusty edges and the soft, tender center is absolutely divine.
For Hosting : Arrange slices on a wooden board with a small bowl of honey butter or mascarpone on the side. It pairs beautifully with coffee, tea, or even a glass of cold milk. For brunch, serve it alongside scrambled eggs and fresh fruit for a complete spread. Your guests can help themselves, which makes your job easier.
Storage : Wrap the cooled bread tightly in plastic wrap or aluminum foil. It will keep at room temperature for up to 4 days. The flavors actually deepen after a day or two—if you can resist eating it all immediately.
Freezing : This bread freezes beautifully. Wrap it tightly in plastic wrap, then in foil, and freeze for up to 3 months. To thaw, leave it on the counter overnight. You can also freeze individual slices for quick breakfasts or last-minute guests.
Reheating : For that fresh-from-the-oven taste, warm slices in a 300°F oven for 5-7 minutes, or pop them in the toaster. The walnuts will crisp up again and the brown butter flavor will bloom.
Flavor Development : Here’s a little secret—this bread tastes even better on day two. The brown butter flavor has time to meld with the bananas, and the texture becomes even more moist. So if you’re making it for a party, bake it a day ahead. Your future self will thank you.
Nutritional Information & Benefits
Per slice (based on 10 slices):
- Calories : Approximately 280
- Fat : 14 grams
- Carbohydrates : 36 grams
- Protein : 5 grams
- Fiber : 2 grams
- Sugar : 18 grams
Health Benefits : Bananas are rich in potassium, which supports heart health and muscle function. Walnuts provide omega-3 fatty acids, which are great for brain health. The brown butter, while indulgent, adds a depth of flavor that means you can use less sugar than traditional recipes.
Dietary Considerations : This recipe contains gluten, dairy, eggs, and tree nuts. For allergen-friendly adaptations, see the variations section above.
My Perspective : Look, this isn’t health food. But it’s real food made from real ingredients. There’s something nourishing about a slice of homemade banana bread that no packaged snack can replicate. I believe in enjoying treats like this in moderation—savor every bite, share with people you love, and don’t feel guilty about it.
Conclusion
This brown butter banana bread with toasted walnuts is more than just a recipe—it’s the kind of thing that creates moments. The moment your kitchen fills with that nutty, buttery smell. The moment you pull that golden loaf out of the oven. The moment you watch your friends’ faces light up after their first bite.
I honestly never thought I’d get a life-changing recipe from my mechanic. But that’s the beautiful thing about cooking—inspiration comes from the most unexpected places. Frank probably has no idea how many loaves of banana bread his recipe has inspired. I’ve lost count myself.
Now it’s your turn. Whether you’re making this for a Sunday brunch with friends, a holiday gathering, or just because you have three sad bananas on your counter, I hope this recipe brings you as much joy as it’s brought me. Try it once, and I promise you’ll never go back to regular banana bread.
I’d love to hear how yours turns out! Leave a comment below and let me know if you tried any variations. Did you add chocolate chips? Swap the walnuts for pecans? Burn your butter on the first try like I did? Share it all. Happy baking!
Frequently Asked Questions
Can I use frozen bananas for this recipe?
Absolutely! Frozen bananas actually work great because they break down easily when thawed. Just thaw them completely, drain off any excess liquid, and mash them as usual. The texture might be slightly softer, but the flavor will be just as delicious.
Why did my banana bread sink in the middle?
This usually happens when the bread is underbaked or the oven temperature is too low. Make sure your oven is fully preheated to 350°F and check for doneness with a toothpick. Also, avoid opening the oven door during the first 40 minutes of baking—the sudden temperature change can cause the bread to collapse.
Can I make this recipe without a mixer?
Yes, and honestly, I prefer making it by hand. A whisk and a rubber spatula are all you need. The recipe is designed to be mixed gently, so doing it by hand gives you more control and reduces the risk of overmixing.
How do I know when the butter is properly browned?
Look for three signs: the color turns from yellow to a deep amber, you’ll see brown specks forming at the bottom of the pan, and it will smell nutty and toasty. It happens fast, so keep your eyes on it. When in doubt, pull it off the heat a little early—you can always cook it more, but you can’t unburn it.
Can I double this recipe for a larger gathering?
Definitely! Double all the ingredients and bake in two separate loaf pans. Don’t try to bake it all in one pan—it won’t cook through properly. Two loaves also mean you can keep one for yourself and give one away as a gift. Win-win.
Pin This Recipe!
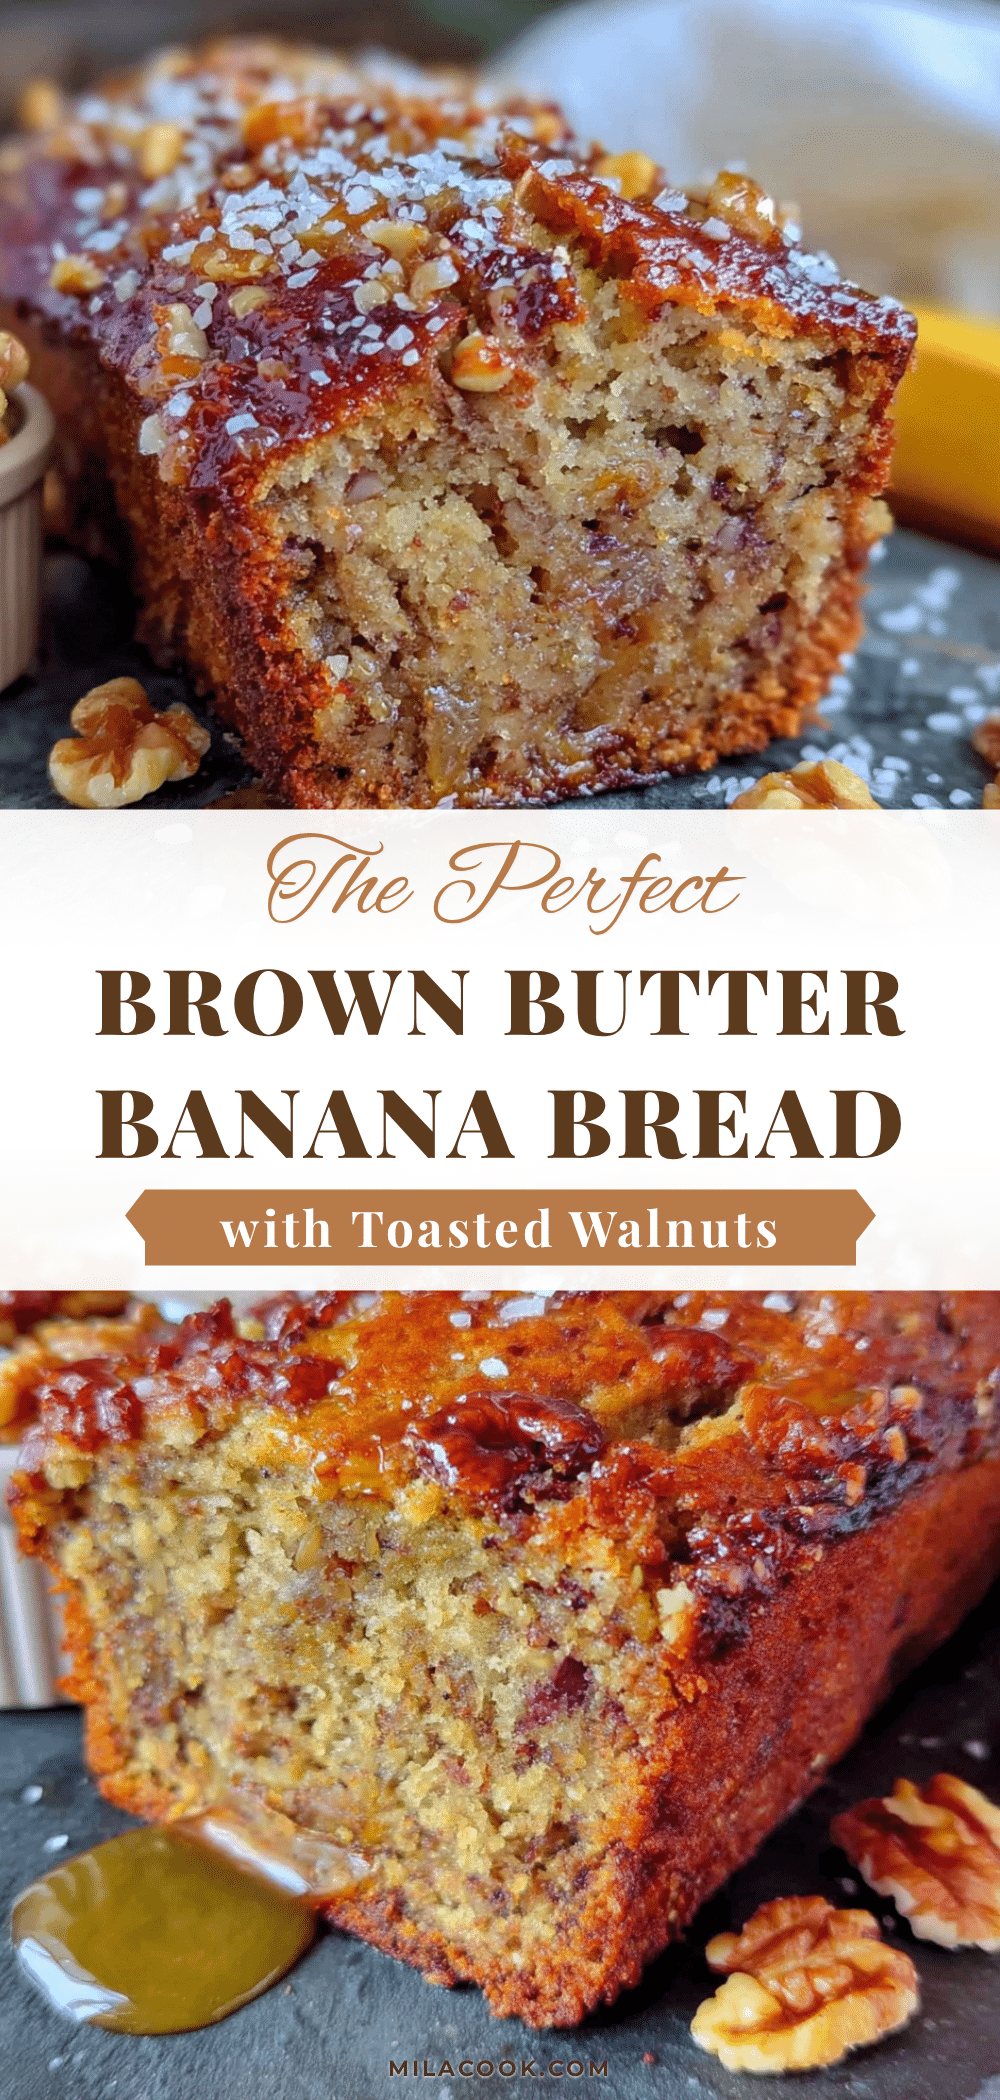
The Perfect Brown Butter Banana Bread with Toasted Walnuts
This brown butter banana bread with toasted walnuts is a game-changer. The nutty, caramel-like richness of browned butter and the crunch of toasted walnuts elevate this classic recipe to new heights.
- Prep Time: 15 minutes
- Cook Time: 55 minutes
- Total Time: 1 hour 10 minutes
- Yield: 10 servings 1x
- Category: Dessert
- Cuisine: American
Ingredients
- 1/2 cup (1 stick or 113 grams) unsalted butter
- 3 medium very ripe bananas (about 1 1/2 cups mashed or 340 grams)
- 3/4 cup (150 grams) granulated sugar
- 1 large egg, at room temperature
- 1 teaspoon vanilla extract
- 1 1/2 cups (180 grams) all-purpose flour
- 1 teaspoon baking soda
- 1/2 teaspoon salt
- 1/2 teaspoon ground cinnamon (optional)
- 1/2 cup (60 grams) walnuts, roughly chopped
- Flaky sea salt for topping (optional)
Instructions
- Preheat your oven to 350°F (175°C). Position the rack in the middle. Line your 9×5-inch loaf pan with parchment paper, leaving some overhang on the long sides.
- Toast the walnuts: Spread the chopped walnuts on a baking sheet and toast for 5-7 minutes, shaking the pan halfway through. Set aside to cool.
- Brown the butter: Place the butter in a small saucepan over medium heat. Stir constantly until the butter melts, foams, and turns golden with brown specks at the bottom, about 4-6 minutes. Remove from heat immediately and pour into a heatproof bowl. Let cool for 5-10 minutes.
- Mash the bananas: In a large mixing bowl, mash the bananas with a fork or potato masher until mostly smooth. You should have about 1 1/2 cups.
- Mix the wet ingredients: Add the sugar, egg, and vanilla extract to the mashed bananas. Stir until well combined. Pour in the cooled brown butter and mix until smooth and glossy.
- Combine the dry ingredients: In a medium bowl, whisk together the flour, baking soda, salt, and cinnamon.
- Fold everything together: Add the dry ingredients to the wet ingredients. Fold gently with a rubber spatula until just combined. Fold in the toasted walnuts, reserving a handful for topping.
- Pour and top: Scrape the batter into the prepared loaf pan. Spread evenly. Sprinkle the reserved walnuts on top, pressing them gently into the batter. If using, sprinkle flaky sea salt over the top.
- Bake: Place the pan in the oven and bake for 50-60 minutes, until a toothpick inserted into the center comes out clean or with a few moist crumbs. If the top browns too quickly, tent with foil after 40 minutes.
- Cool completely: Let the bread cool in the pan for 15 minutes, then use the parchment handles to lift it out. Transfer to a cooling rack and cool completely before slicing.
Notes
Watch the butter carefully while browning; it can go from perfect to burnt in about 30 seconds. Use room temperature eggs to prevent the brown butter from seizing. Do not overmix the batter. For best results, use very ripe bananas with brown spots. The bread tastes even better on day two.
Nutrition
- Serving Size: 1 slice
- Calories: 280
- Sugar: 18
- Sodium: 220
- Fat: 14
- Saturated Fat: 7
- Carbohydrates: 36
- Fiber: 2
- Protein: 5
Keywords: brown butter banana bread, toasted walnut banana bread, easy banana bread, homemade banana bread, banana bread recipe



