Love this? Save it for later!
Share the inspiration with your friends
It was 10:47 PM on a random Wednesday, and I had the weirdest craving for fall. Not pumpkin spice latte fall—I mean real fall, the kind that tastes like someone wrapped a sweater around your taste buds. The problem? It was March. My kitchen was full of sad winter citrus and a bunch of bananas that had officially entered their “what’s my purpose” phase. I didn’t have the usual butter or sugar for banana bread, but I had a can of pumpkin that had been hiding in the back of my pantry since October and a bag of gluten-free flour I bought on a whim. Honestly, I was tired. I’d had a long day, and I just wanted something warm and sweet without having to run to the store.
So I started throwing things together. I figured pumpkin and banana had to work—they’re both mushy and sweet, right? I used coconut oil instead of butter because that’s what I had. I swapped some of the sugar for a little maple syrup. And I crossed my fingers that the gluten-free flour blend wouldn’t turn the loaf into a brick. Let me tell you, when I pulled that pan out of the oven at almost midnight, the kitchen smelled like October had broken in through the window. The bread was tender, lightly sweet, and somehow—lighter than any banana bread I’d ever made. No heavy feeling after eating it. No guilt.
Maybe you’ve been there—staring at overripe bananas, wishing for something cozy but not wanting to undo a week of eating well. This lighter gluten-free pumpkin banana bread became my go-to that night, and it’s been a staple ever since. It’s proof that you don’t need a special occasion or a fully stocked pantry to make something that feels like a hug.
Why You’ll Love This Recipe
This isn’t just another banana bread recipe. After testing this about four times (and eating the mistakes happily), I can tell you exactly why this version stands out.
- Quick & Easy: From start to oven in about 15 minutes. No stand mixer needed, no complicated steps.
- Simple Ingredients: You probably have most of these already. The gluten-free flour is the only “special” item, and even that is easy to find now.
- Perfect for Meal Prep: Make it on Sunday, and you’ve got breakfast or a snack all week. It stays moist for days.
- Crowd-Pleaser: I’ve served this to people who “don’t like gluten-free stuff” and they asked for seconds. Seriously.
- Unbelievably Delicious: The pumpkin keeps it incredibly moist, and the banana adds natural sweetness. You won’t miss the extra butter or sugar.
What makes this recipe different? It’s the balance. Most gluten-free quick breads are either dry and crumbly or so dense they feel like a brick. This one uses pumpkin puree and mashed banana to create a texture that’s soft, tender, and honestly—better than the regular version. Plus, using coconut oil instead of butter and cutting back on refined sugar means you can enjoy a slice without that heavy, sluggish feeling. It’s comfort food you can feel good about.
What Ingredients You Will Need
This recipe uses simple, wholesome ingredients to deliver that perfect fall flavor without any fuss. Most of these are pantry staples, especially if you keep a gluten-free kitchen.
- Gluten-Free All-Purpose Flour: 1 ¾ cups (220g). I recommend Bob’s Red Mill 1-to-1 or King Arthur Measure for Measure for the best texture. They already have xanthan gum blended in, which is crucial for structure.
- Baking Soda: 1 teaspoon. This helps the bread rise and gives it a nice lift.
- Baking Powder: ½ teaspoon. For extra fluffiness.
- Salt: ½ teaspoon. Don’t skip it—it balances the sweetness.
- Pumpkin Pie Spice: 2 teaspoons. If you don’t have this, use 1 teaspoon cinnamon, ½ teaspoon nutmeg, ¼ teaspoon ginger, and ¼ teaspoon cloves.
- Cinnamon: 1 teaspoon. Because more warm spice is always better.
- Ripe Bananas: 3 medium, mashed (about 1 cup or 240g). The spotty ones are best—they’re sweeter and easier to mash.
- Pumpkin Puree: 1 cup (240g). Make sure it’s 100% pumpkin, not pumpkin pie filling.
- Eggs: 2 large, room temperature. They help bind everything together.
- Coconut Oil: ⅓ cup (80ml), melted and cooled slightly. You can also use avocado oil or light olive oil.
- Maple Syrup: ¼ cup (60ml). This adds sweetness and moisture without refined sugar.
- Brown Sugar: ⅓ cup (70g), packed. I use coconut sugar sometimes, but regular brown sugar works great too.
- Vanilla Extract: 1 teaspoon. Pure vanilla makes a difference here.
- Optional Mix-ins: ½ cup dark chocolate chips or chopped pecans. I usually add chocolate chips because, well, chocolate.
Equipment Needed
You don’t need a fancy kitchen for this recipe. Here’s what you’ll need:
- 9×5-inch Loaf Pan: A standard metal or glass loaf pan works perfectly. If you use a dark non-stick pan, check the bread a few minutes early—it browns faster.
- Mixing Bowls: One large bowl for the dry ingredients and one medium bowl for the wet ingredients.
- Whisk: For combining the dry ingredients evenly.
- Wooden Spoon or Spatula: For folding the wet and dry ingredients together. Don’t use an electric mixer—you’ll overmix the batter.
- Parchment Paper: I always line my loaf pan with parchment paper, leaving an overhang on the sides. It makes lifting the bread out so much easier.
- Cooling Rack: Essential for even cooling and preventing a soggy bottom.
If you don’t have a cooling rack, you can use the grates from your oven—just make sure they’re clean!
Preparation Method
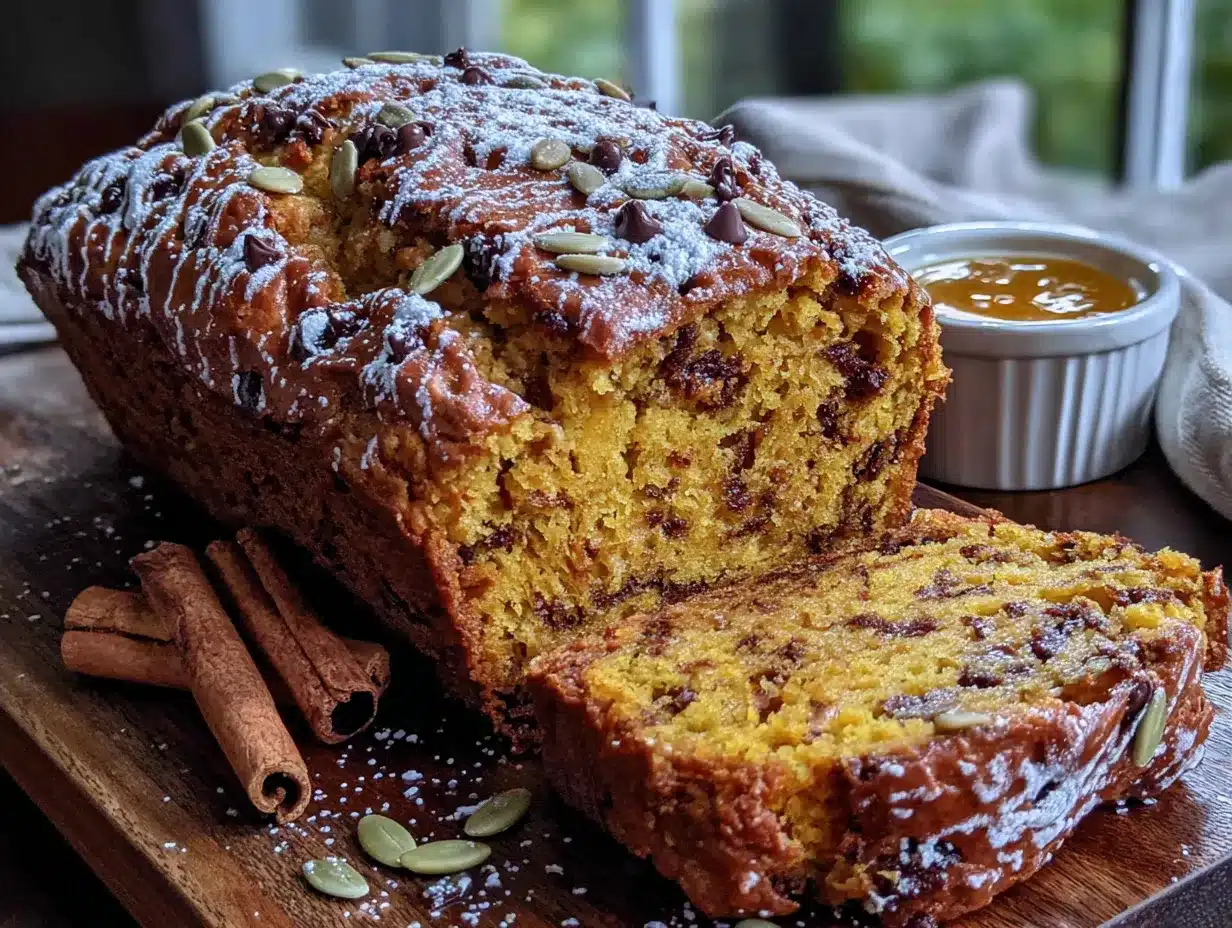
Follow these steps carefully, and you’ll have a perfect loaf every time. I’ve added some notes from my own trials so you can avoid my mistakes.
- Preheat the oven to 350°F (175°C). Position the rack in the center of the oven. Line your 9×5-inch loaf pan with parchment paper, leaving an overhang on the two long sides. Lightly grease the exposed ends with a little coconut oil.
- Mix the dry ingredients. In a large bowl, whisk together the gluten-free flour, baking soda, baking powder, salt, pumpkin pie spice, and cinnamon. Whisk for about 15 seconds to make sure everything is evenly distributed. Gluten-free flour can be clumpy, so don’t skip this step.
- Mash the bananas. In a medium bowl, mash the ripe bananas with a fork until mostly smooth. A few small lumps are fine—they add texture. You should have about 1 cup of mashed banana.
- Combine the wet ingredients. To the mashed bananas, add the pumpkin puree, eggs, melted coconut oil, maple syrup, brown sugar, and vanilla extract. Whisk until everything is smooth and well combined. The mixture will be thick and glossy.
- Fold wet into dry. Pour the wet mixture into the bowl with the dry ingredients. Use a spatula to fold gently until just combined. Do not overmix! Stop as soon as you no longer see streaks of flour. Overmixing will make the bread tough and dense.
- Add mix-ins (optional). If using chocolate chips or pecans, gently fold them in at this point. Reserve about 1 tablespoon to sprinkle on top for a pretty finish.
- Pour into the pan. Scrape the batter into the prepared loaf pan and spread it evenly. Sprinkle the reserved chocolate chips or pecans on top, if using. Tap the pan gently on the counter a few times to release any air bubbles.
- Bake for 50-60 minutes. Place the pan in the preheated oven and bake until a toothpick inserted into the center comes out clean or with just a few moist crumbs. Start checking at 50 minutes. If the top is browning too quickly, tent loosely with aluminum foil after 30 minutes.
- Cool properly. Let the bread cool in the pan for 10 minutes. Then use the parchment overhang to lift it out and transfer it to a wire rack. Cool completely before slicing—about 1 hour. I know it’s hard to wait, but slicing too early will make it crumble.
Pro tip from my first failed batch: If your bread is browning on the outside but still raw in the middle after 55 minutes, your oven temperature might be too high. Next time, lower it to 325°F (163°C) and bake a little longer.
Cooking Tips & Techniques
I’ve made this bread about a dozen times now, and I’ve learned a few things the hard way. Here are my best tips:
- Use room temperature ingredients. Cold eggs or coconut oil can seize up and create a lumpy batter. Take everything out of the fridge 30 minutes before you start.
- Don’t overmix the batter. This is the number one mistake with gluten-free baking. Overmixing develops the starches in the flour and makes the bread gummy. Mix until just combined, then stop.
- Let it rest before baking. Gluten-free flours need time to absorb moisture. Let the batter sit in the pan for 10-15 minutes before putting it in the oven. This helps prevent a gritty texture.
- Check for doneness with a thermometer. If you have an instant-read thermometer, the bread is done when the internal temperature reaches 200-205°F (93-96°C). This is more reliable than a toothpick test.
- Use a kitchen scale. Measuring gluten-free flour by volume can be inconsistent. If you have a scale, weigh the flour for the most reliable results.
I once forgot to add the baking powder and ended up with a flat, dense slab of bread. It still tasted good (pumpkin and banana are forgiving), but it was not pretty. Double-check your leavening agents before you start!
Variations & Adaptations
This recipe is flexible, so feel free to make it your own. Here are some variations I’ve tried and loved:
- Vegan Version: Replace the eggs with two flax eggs (2 tablespoons ground flaxseed + 6 tablespoons water, let sit for 5 minutes). The texture will be slightly denser but still delicious.
- Nut-Free: Skip the pecans and use sunflower seeds or pumpkin seeds for crunch. Or just leave out the nuts entirely—the bread is great on its own.
- Extra Protein: Add ¼ cup of unflavored collagen peptides or a scoop of vanilla protein powder. You may need to add an extra tablespoon of milk to keep the batter moist.
- Chocolate Lovers: Swap ¼ cup of the flour with unsweetened cocoa powder and add an extra tablespoon of maple syrup. The pumpkin-chocolate combo is incredible.
- Spice It Up: Add ¼ teaspoon of ground ginger and a pinch of cardamom for a more complex flavor profile.
My personal favorite variation is adding a handful of dark chocolate chips and a sprinkle of flaky sea salt on top before baking. The sweet-salty thing works perfectly with the pumpkin and banana.
Serving & Storage Suggestions
This bread is wonderful in so many ways. Here’s how I like to enjoy it:
- Warm or room temperature: Both are great. If you want it warm, pop a slice in the microwave for 10-15 seconds or toast it lightly in a skillet with a little butter (or coconut oil).
- With toppings: Spread a little almond butter, cream cheese, or a drizzle of honey on top. For a treat, add a dollop of Greek yogurt and some fresh berries.
- For breakfast: Pair a slice with a hard-boiled egg or a smoothie for a balanced meal.
- For dessert: Warm a slice and top with a scoop of vanilla ice cream or coconut whipped cream.
Storage: Store the bread in an airtight container at room temperature for up to 3 days. For longer storage, wrap it tightly in plastic wrap and then foil, and refrigerate for up to a week. The flavors actually get better after a day or two as they meld together.
Freezing: This bread freezes beautifully. Slice it first, then wrap each slice individually in plastic wrap and place in a freezer bag. Freeze for up to 3 months. To thaw, just leave a slice on the counter for 30 minutes or pop it in the toaster.
Nutritional Information & Benefits
Here’s an approximate breakdown per slice (based on 10 slices, without mix-ins):
- Calories: 195
- Fat: 8g
- Carbohydrates: 30g
- Fiber: 3g
- Sugar: 14g
- Protein: 4g
This bread is a great source of vitamin A from the pumpkin, which supports eye health and immune function. Bananas provide potassium and natural sweetness, so you can use less added sugar. The coconut oil offers healthy fats that help keep you full. It’s also naturally dairy-free and can easily be made vegan or nut-free. If you’re watching your sugar intake, you can reduce the maple syrup to 2 tablespoons—the bananas add plenty of sweetness on their own.
I love that I can enjoy a slice of this bread without the sugar crash or bloated feeling I get from traditional banana bread. It’s a small swap that makes a big difference in how I feel afterward.
Conclusion
This lighter gluten-free pumpkin banana bread has become my go-to for those moments when I want something cozy and satisfying without derailing my healthy habits. It’s proof that you don’t have to choose between delicious and nutritious. The pumpkin keeps it incredibly moist, the banana adds natural sweetness, and the whole thing comes together in under an hour with minimal cleanup.
I hope you give this recipe a try and make it your own. Maybe you’ll add chocolate chips like I do, or maybe you’ll go the nutty route with pecans. Either way, I’d love to hear how it turns out. Leave a comment below and let me know what variations you tried—I’m always looking for new ideas! And if you share a photo on Instagram or Pinterest, tag me so I can see your beautiful loaf.
Happy baking, friend. You’ve got this.
Frequently Asked Questions
Can I use regular all-purpose flour instead of gluten-free flour?
Yes, absolutely! You can substitute the gluten-free flour with the same amount of regular all-purpose flour. The texture will be slightly different—a bit more tender and traditional—but it will still be delicious. No other adjustments needed.
Why did my bread sink in the middle?
This usually happens for one of three reasons: the batter was overmixed, the oven door was opened too early (before the 30-minute mark), or the bread wasn’t baked long enough. Make sure your oven is at the right temperature and resist the urge to peek until at least 30 minutes have passed.
Can I make this recipe without eggs?
Yes! Use two flax eggs (2 tablespoons ground flaxseed mixed with 6 tablespoons water, let sit for 5 minutes until gel-like). The bread will be a little denser but still moist and flavorful. You can also use a commercial egg replacer if you prefer.
How ripe should the bananas be?
The riper, the better. Look for bananas with lots of brown spots—they’re sweeter and easier to mash. If your bananas aren’t ripe enough, you can speed things up by baking them (unpeeled) at 300°F for 15-20 minutes until they’re soft and blackened. Let them cool before using.
Can I use pumpkin pie filling instead of pumpkin puree?
I wouldn’t recommend it. Pumpkin pie filling is pre-sweetened and spiced, which will throw off the sugar and spice balance in this recipe. Stick with 100% pure pumpkin puree for the best results. The can should say “pumpkin” not “pumpkin pie mix.”
Pin This Recipe!
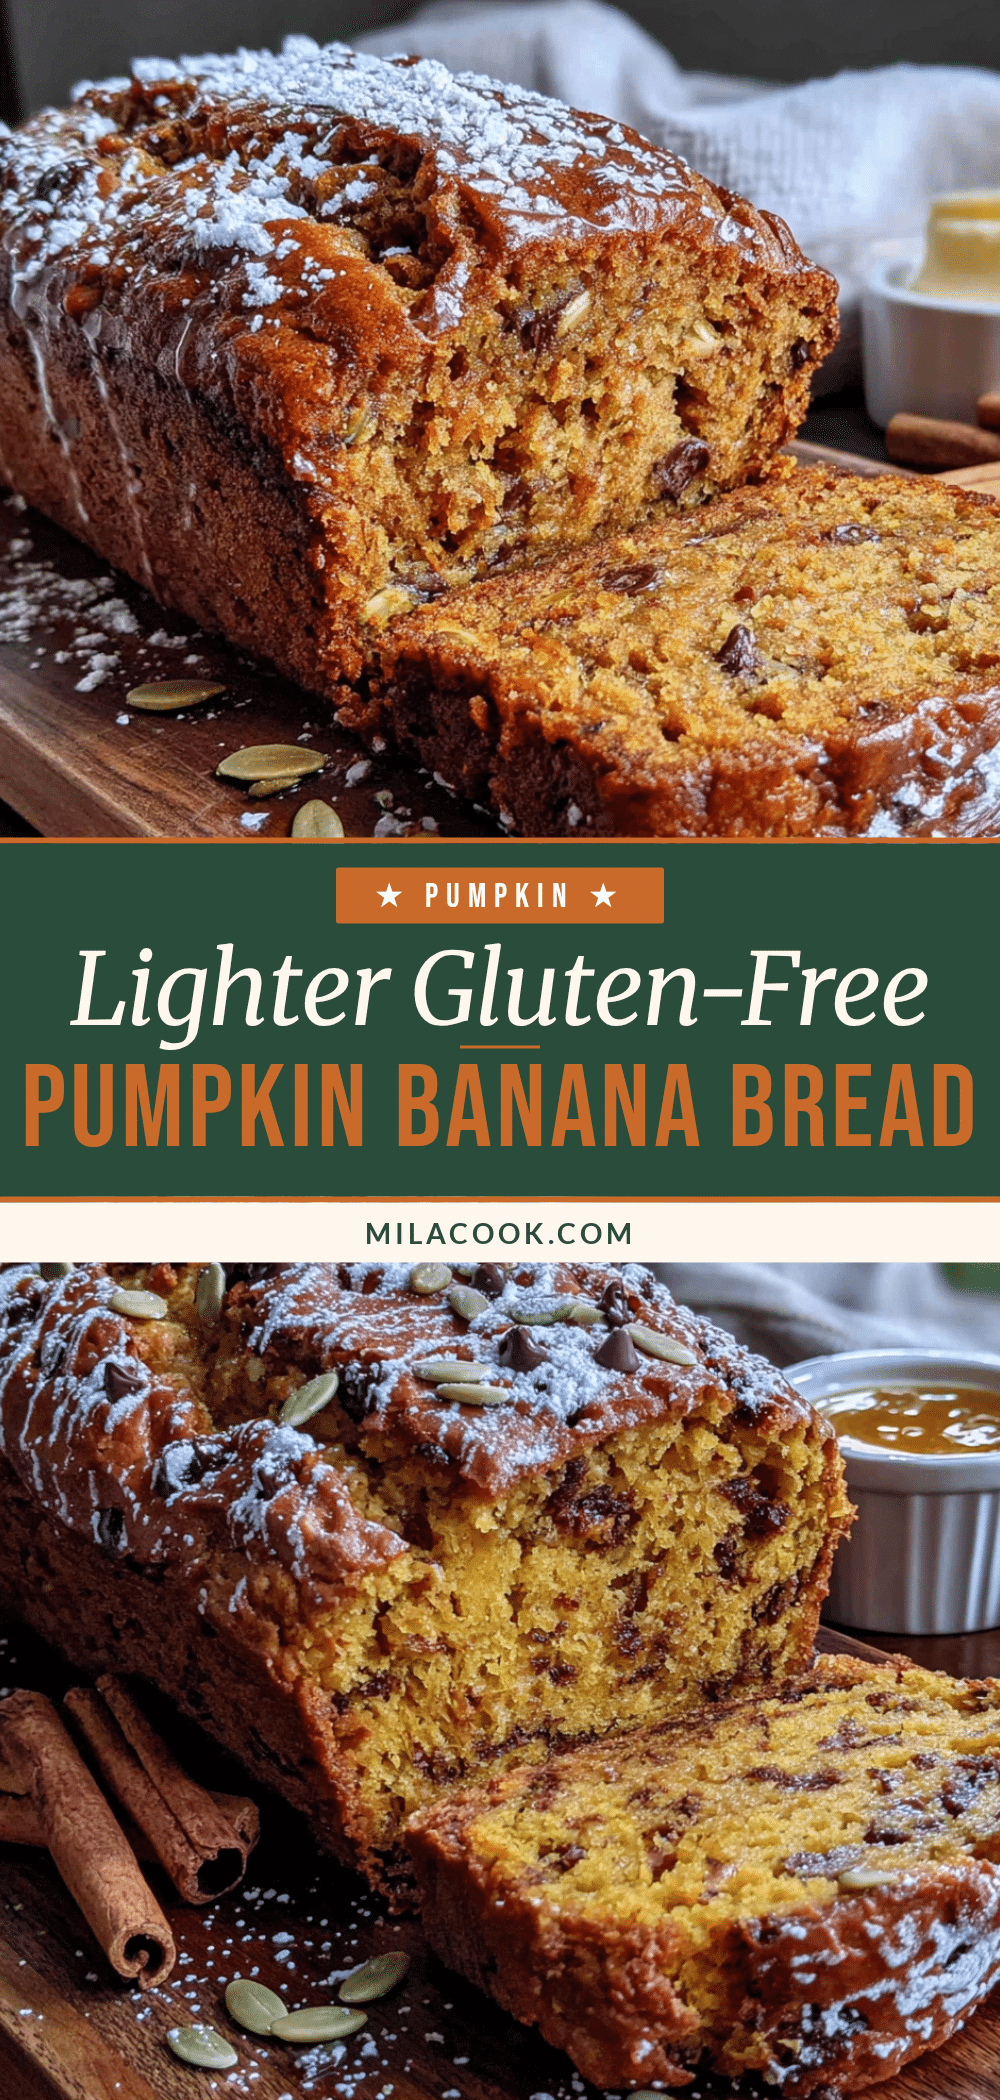
Lighter Gluten-Free Pumpkin Banana Bread
A moist and tender gluten-free quick bread made with pumpkin puree and ripe bananas, sweetened with maple syrup and coconut oil. This easy recipe comes together in about 15 minutes and is perfect for a cozy fall-inspired treat any time of year.
- Prep Time: 15 minutes
- Cook Time: 55 minutes
- Total Time: 1 hour 10 minutes
- Yield: 10 servings 1x
- Category: Quick Bread
- Cuisine: American
Ingredients
- 1 ¾ cups (220g) gluten-free all-purpose flour (e.g., Bob’s Red Mill 1-to-1 or King Arthur Measure for Measure)
- 1 teaspoon baking soda
- ½ teaspoon baking powder
- ½ teaspoon salt
- 2 teaspoons pumpkin pie spice
- 1 teaspoon cinnamon
- 3 medium ripe bananas, mashed (about 1 cup or 240g)
- 1 cup (240g) pumpkin puree (100% pumpkin, not pie filling)
- 2 large eggs, room temperature
- ⅓ cup (80ml) coconut oil, melted and cooled slightly
- ¼ cup (60ml) maple syrup
- ⅓ cup (70g) brown sugar, packed
- 1 teaspoon vanilla extract
- ½ cup dark chocolate chips or chopped pecans (optional)
Instructions
- Preheat the oven to 350°F (175°C). Position the rack in the center. Line a 9×5-inch loaf pan with parchment paper, leaving an overhang on the two long sides. Lightly grease the exposed ends with coconut oil.
- In a large bowl, whisk together the gluten-free flour, baking soda, baking powder, salt, pumpkin pie spice, and cinnamon for about 15 seconds until evenly distributed.
- In a medium bowl, mash the ripe bananas with a fork until mostly smooth (a few lumps are fine). You should have about 1 cup.
- To the mashed bananas, add the pumpkin puree, eggs, melted coconut oil, maple syrup, brown sugar, and vanilla extract. Whisk until smooth and well combined. The mixture will be thick and glossy.
- Pour the wet mixture into the bowl with the dry ingredients. Use a spatula to fold gently until just combined. Do not overmix—stop as soon as no streaks of flour remain.
- If using chocolate chips or pecans, gently fold them in, reserving about 1 tablespoon to sprinkle on top.
- Scrape the batter into the prepared loaf pan and spread evenly. Sprinkle reserved mix-ins on top, if using. Tap the pan gently on the counter a few times to release air bubbles.
- Bake for 50-60 minutes, until a toothpick inserted into the center comes out clean or with a few moist crumbs. Start checking at 50 minutes. If the top browns too quickly, tent loosely with foil after 30 minutes.
- Let the bread cool in the pan for 10 minutes. Then use the parchment overhang to lift it out and transfer to a wire rack. Cool completely before slicing—about 1 hour.
Notes
Use room temperature ingredients for best results. Let the batter rest in the pan for 10-15 minutes before baking to prevent a gritty texture. For a vegan version, replace eggs with two flax eggs. Store in an airtight container at room temperature for up to 3 days, or refrigerate for up to a week. Freeze slices individually for up to 3 months.
Nutrition
- Serving Size: 1 slice (without mix
- Calories: 195
- Sugar: 14
- Sodium: 280
- Fat: 8
- Saturated Fat: 6
- Carbohydrates: 30
- Fiber: 3
- Protein: 4
Keywords: gluten-free pumpkin banana bread, healthy banana bread, pumpkin banana bread, gluten-free quick bread, dairy-free banana bread



