Love this? Save it for later!
Share the inspiration with your friends
Introduction
“I wasn’t even planning to bake that day,” I admit. It was a lazy Sunday afternoon, and the power flickered out for a solid ten minutes—enough to halt my plans for the fancy layered cake I’d been dreaming about. With no mixer and a half-empty pantry, I found myself staring at a lonely bowl and a few basic ingredients. Honestly, I was a bit skeptical about making brownies without the usual gadgets and fuss. But you know that feeling when you just want something sweet and quick, no drama? That’s when I stumbled upon what I now call my Easy One-Bowl Brownies for Beginners (No Mixer Needed). It was simple, mess-free, and somehow, the best part—no mixer required. I remember cracking the eggs in a slightly chipped ceramic bowl my friend had given me years ago, mixing everything with a wooden spoon while humming along to a random playlist. The brownies baked perfectly, with a fudgy center and crispy edges that made me forget all about my initial baking blunder. Maybe you’ve been there, stuck without fancy tools but craving comfort food—this recipe is exactly for those moments. It’s stayed my go-to ever since, especially when I want to whip up something fast without complicating the kitchen chaos.”
Why You’ll Love This Recipe
After countless trials, tweaks, and taste tests, this Easy One-Bowl Brownies recipe has earned its spot as a beginner-friendly favorite. I tested this recipe in my tiny apartment kitchen with zero fancy equipment, and it delivered every single time. Here’s why it might just become your new baking staple:
- Quick & Easy: Comes together in under 20 minutes, perfect for those last-minute chocolate cravings or a spontaneous treat.
- Simple Ingredients: No need for specialty items—most are pantry basics you probably have on hand right now.
- Perfect for Beginners: No mixer, no complicated steps, just mix and bake. Great for anyone nervous about baking or short on time.
- Crowd-Pleaser: Always gets rave reviews at family get-togethers, potlucks, or casual coffee breaks.
- Unbelievably Delicious: Fudgy, rich, and with that perfect crackly top that makes brownies so irresistible.
This isn’t your typical brownie recipe. I’ve fine-tuned the balance of cocoa and sugar so you get that deep chocolate flavor without bitterness. Plus, mixing everything in one bowl means fewer dishes and less cleanup—a win-win! Honestly, it feels like comfort food made effortlessly, and I love how it keeps me coming back, especially on busy days or when I’m just craving that classic chocolate hug in dessert form.
What Ingredients You Will Need
This recipe uses simple, wholesome ingredients to deliver bold flavor and satisfying texture without the fuss. They’re mostly pantry staples, and substitutions are easy if needed.
- All-purpose flour (1 cup / 125g) – provides structure; spoon and level for accuracy.
- Granulated sugar (1 cup / 200g) – adds sweetness and helps create that crackly top.
- Unsweetened cocoa powder (⅓ cup / 35g) – choose a good quality brand like Ghirardelli or Valrhona for rich chocolate flavor.
- Salt (¼ teaspoon) – balances sweetness and enhances taste.
- Baking powder (½ teaspoon) – gives a slight lift without turning brownies cakey.
- Unsalted butter (½ cup / 115g), melted – adds richness and fudginess; I usually melt it gently on the stove to avoid burning.
- Large eggs (2), room temperature – bind everything together; bring to room temp for best mixing.
- Vanilla extract (1 teaspoon) – boosts flavor depth; pure vanilla is best if you can.
- Optional mix-ins: chopped walnuts (½ cup / 60g), chocolate chips (½ cup / 90g) – for extra texture and indulgence.
If you want a gluten-free version, almond flour works surprisingly well, though the texture will be a bit different. For dairy-free, swap the butter with coconut oil or vegan margarine and use flax eggs (1 tablespoon ground flaxseed + 3 tablespoons water per egg) instead of regular eggs. I sometimes add a pinch of espresso powder to deepen the chocolate flavor—it’s a little trick I picked up that really makes a difference without overpowering the brownies.
Equipment Needed
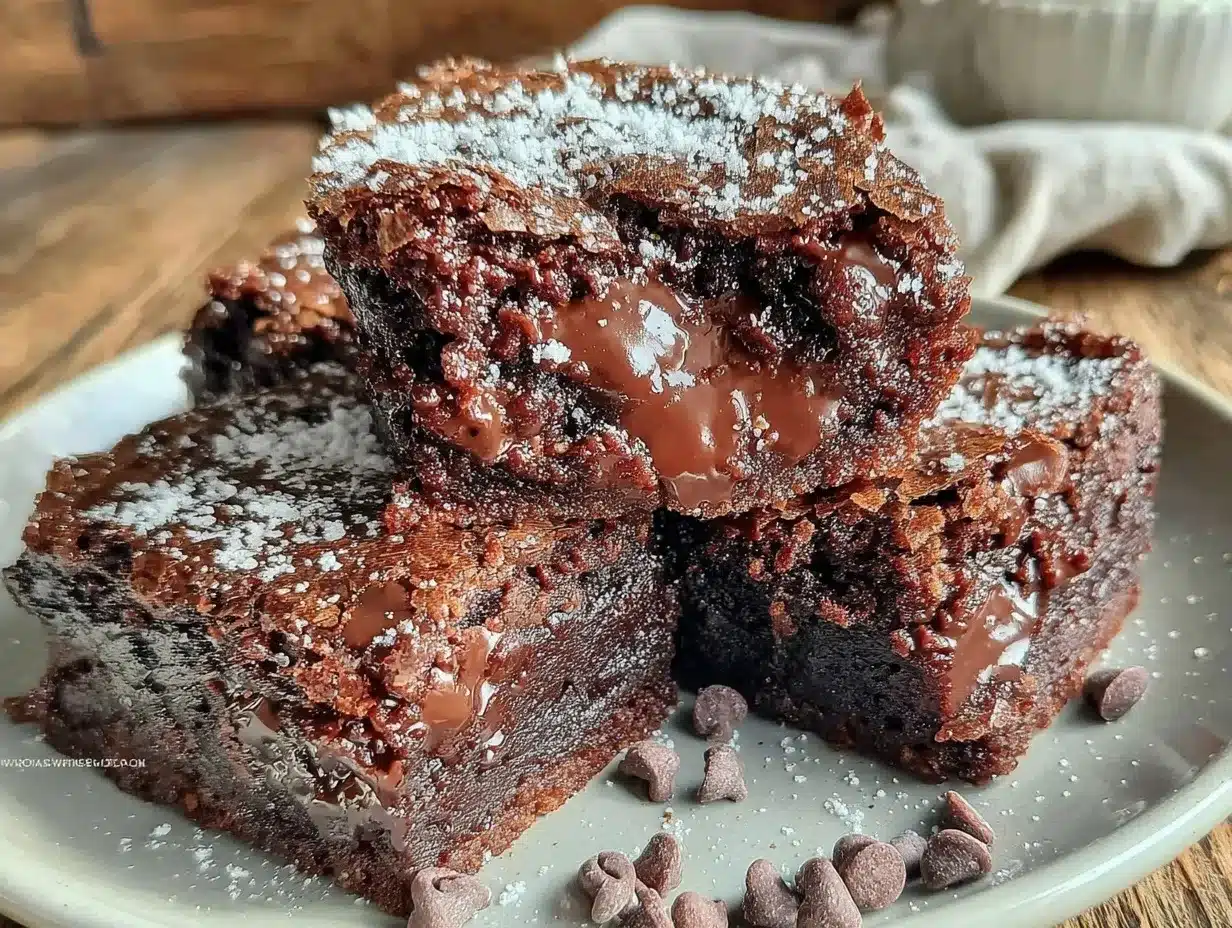
This recipe is designed to be super accessible, so you’ll only need a few basic kitchen tools:
- A large mixing bowl – I prefer a sturdy ceramic or glass bowl for even mixing and easy cleanup.
- A wooden spoon or heatproof spatula – no mixer needed, just good old-fashioned stirring.
- Measuring cups and spoons – precise measurements are key for baking success.
- An 8×8 inch (20×20 cm) square baking pan – metal or glass both work well; I have a non-stick metal pan that I love for even browning.
- Parchment paper or non-stick spray – to line or grease the pan for easy brownie removal.
- Oven thermometer (optional) – ovens can be tricky, and this helps maintain accurate baking temperature.
If you don’t have an 8×8 pan, a 9×9 inch pan is fine but your brownies will be a little thinner, so watch the baking time closely. And yes, I’ve baked these brownies in a cast iron skillet once—it gave a nice crispy edge, though the center took slightly longer to set. Definitely a fun experiment if you like that rustic vibe!
Preparation Method
- Preheat your oven to 350°F (175°C). Prepare your 8×8 inch baking pan by lining it with parchment paper, leaving some overhang for easy lifting, or lightly greasing with butter or non-stick spray. (5 minutes)
- Combine dry ingredients: In your large mixing bowl, whisk together the all-purpose flour, granulated sugar, cocoa powder, salt, and baking powder. Use a fork or whisk to break up any clumps, making sure everything is evenly mixed. This step helps avoid uneven pockets of cocoa or flour later. (3 minutes)
- Melt the butter: Gently melt the butter in a small saucepan over low heat or in the microwave in 30-second bursts until completely liquid but not browned. Let it cool for a minute so it’s warm but not hot—too hot will cook the eggs when mixed. (3-4 minutes)
- Add wet ingredients: Pour the melted butter into the dry mixture, then crack in the eggs one at a time. Add the vanilla extract as well. Stir everything together using a wooden spoon or spatula until just combined. The batter will be thick and fudgy—don’t overmix, or you risk tough brownies. (4-5 minutes)
- Fold in optional mix-ins: If using walnuts or chocolate chips, gently fold them in now, making sure they are evenly distributed without overworking the batter. (1-2 minutes)
- Transfer batter to the pan: Spread the batter evenly in your prepared pan using a spatula. Smooth the top for even baking. It might feel thick, but trust me, it bakes beautifully. (2 minutes)
- Bake: Place the pan in the preheated oven and bake for 20-25 minutes. Start checking at 20 minutes by inserting a toothpick in the center—if it comes out with a few moist crumbs (not wet batter), it’s ready. The edges should be set and slightly pulling away from the pan. (20-25 minutes)
- Cool completely: Let the brownies cool in the pan on a wire rack for at least 30 minutes before slicing. It helps them set properly and makes cutting cleaner. (30+ minutes)
If you’re in a rush, you can refrigerate for 15 minutes for firmer brownies that slice easier, but I recommend room temperature for the best fudgy texture. I once forgot to check mine at 20 minutes and they baked closer to 28—still tasty, but a bit more cakey and less fudgy. Lesson learned: watch the timer!
Cooking Tips & Techniques
Let me share a few tricks I learned the hard way while perfecting these brownies:
- Don’t skip sifting: Especially with cocoa powder, sifting or thoroughly whisking the dry ingredients helps prevent lumps and gives a smooth batter.
- Room temperature eggs matter: Cold eggs can cause the butter to seize or clump, making mixing harder and the texture less uniform.
- Resist overmixing: Once the wet and dry ingredients meet, stir just until combined. Overmixing can develop gluten and yield dry, tough brownies, which is a bummer when you want fudgy ones.
- Watch your oven: Ovens vary. I recommend checking your brownies a few minutes before the minimum baking time to avoid overbaking.
- Don’t skip cooling: Cutting brownies too soon is tempting but leads to crumbly slices. Cooling allows the brownies to set perfectly.
Also, multitasking tip: while the brownies bake, clean up your mixing bowl and utensils. It saves time and keeps your kitchen tidy. I usually line my pan before mixing so I can pour straight in, which cuts down on dishes. And if you’re curious about texture, flipping the brownies upside down after baking (once cooled) can expose the crisp bottom, which I personally love.
Variations & Adaptations
One of the best things about this recipe is how easy it is to make it your own:
- Dairy-Free Version: Swap butter for coconut oil and use flax or chia eggs instead of chicken eggs. The texture is slightly different but still delicious.
- Nut-Free: Simply omit walnuts or replace them with sunflower seeds or pumpkin seeds for crunch.
- Extra Fudgy: Add 2 tablespoons of melted cream cheese or Greek yogurt to the batter for a richer texture.
- Peanut Butter Swirl: Drop dollops of peanut butter on top of the batter and swirl with a knife before baking for a tasty twist.
- Spiced Brownies: Mix in ½ teaspoon cinnamon and a pinch of cayenne for a subtle spicy kick.
I personally tried adding espresso powder once (just a teaspoon) and it brought out a deeper chocolate flavor without tasting like coffee. For different cooking methods, you can try baking these in muffin tins for brownie bites—reduce baking time to around 15 minutes and check early. It’s a fun way to share bite-sized treats at parties or as snacks.
Serving & Storage Suggestions
These brownies are fantastic served at room temperature or slightly warmed—just pop a slice in the microwave for 10-15 seconds if you want that melty, gooey feel. I like to serve them with a scoop of vanilla ice cream or a drizzle of salted caramel sauce for a simple dessert upgrade.
For storage, keep brownies in an airtight container at room temperature for up to 3 days. They stay moist and fudgy, but if your kitchen is warm, refrigeration is better—just bring them back to room temp before serving to revive the texture. You can also freeze brownies by wrapping them tightly in plastic wrap and then foil, lasting up to 3 months. Thaw overnight in the fridge or about an hour at room temperature.
Interestingly, the flavor deepens a bit after a day or two, so if you can wait, the brownies taste even better the next day. Perfect for making ahead for gatherings or slow weekend indulgence.
Nutritional Information & Benefits
Each serving (assuming 16 squares) of these brownies contains approximately:
| Calories | 180 |
|---|---|
| Fat | 9g |
| Carbohydrates | 24g |
| Protein | 2g |
| Fiber | 2g |
The use of unsweetened cocoa powder adds antioxidants, and opting for dark chocolate chips or nuts boosts nutritional value slightly. While these brownies aren’t exactly health food, they’re a satisfying treat made with real ingredients and no artificial additives. They’re gluten-containing by default but can be adapted to gluten-free as mentioned earlier.
From a wellness perspective, I appreciate that this recipe skips processed mixes full of preservatives and gives you control over sweetness and fat content. It’s a little slice of homemade joy, which honestly feels good in itself.
Conclusion
Why should you give these Easy One-Bowl Brownies a try? Because they’re proof that baking doesn’t have to be complicated, messy, or intimidating. Whether you’re a beginner or just in need of a quick, reliable chocolate fix, this recipe has your back. It’s forgiving, straightforward, and has that classic fudgy taste everyone loves. I’ve made these countless times, sometimes forgetting ingredients or messing up the order, yet they always turn out delicious—which is a huge win if you ask me!
Feel free to play around with mix-ins or tweaks to make it your own. I’d love to hear what you add or how it turns out for you, so please leave a comment or share your variations. Baking is better when shared, right? So grab your bowl, gather your ingredients, and give these brownies a whirl—you might just find your new favorite go-to dessert.
Happy baking and sweet treats ahead!
Frequently Asked Questions
Can I use a different type of flour for these brownies?
Yes! You can substitute all-purpose flour with gluten-free blends like almond or oat flour, but baking times and texture may vary slightly. For almond flour, expect a denser, moister brownie.
Do I have to use melted butter, or can I use oil?
Melted butter gives the best flavor and fudgy texture, but you can substitute with vegetable or coconut oil in the same amount for a dairy-free option.
Why don’t I need a mixer for this recipe?
The ingredients come together easily by hand because the batter is thick and fudgy—not light and airy like cake batter. A spoon or spatula does the job without overmixing.
How do I know when the brownies are done?
Check by inserting a toothpick into the center. It should come out with moist crumbs but no wet batter. The edges will look set and might pull away slightly from the pan.
Can I add nuts or chocolate chips to this recipe?
Absolutely! Adding chopped walnuts, pecans, or chocolate chips works great. Fold them in gently before baking to distribute evenly without overmixing.
Pin This Recipe!
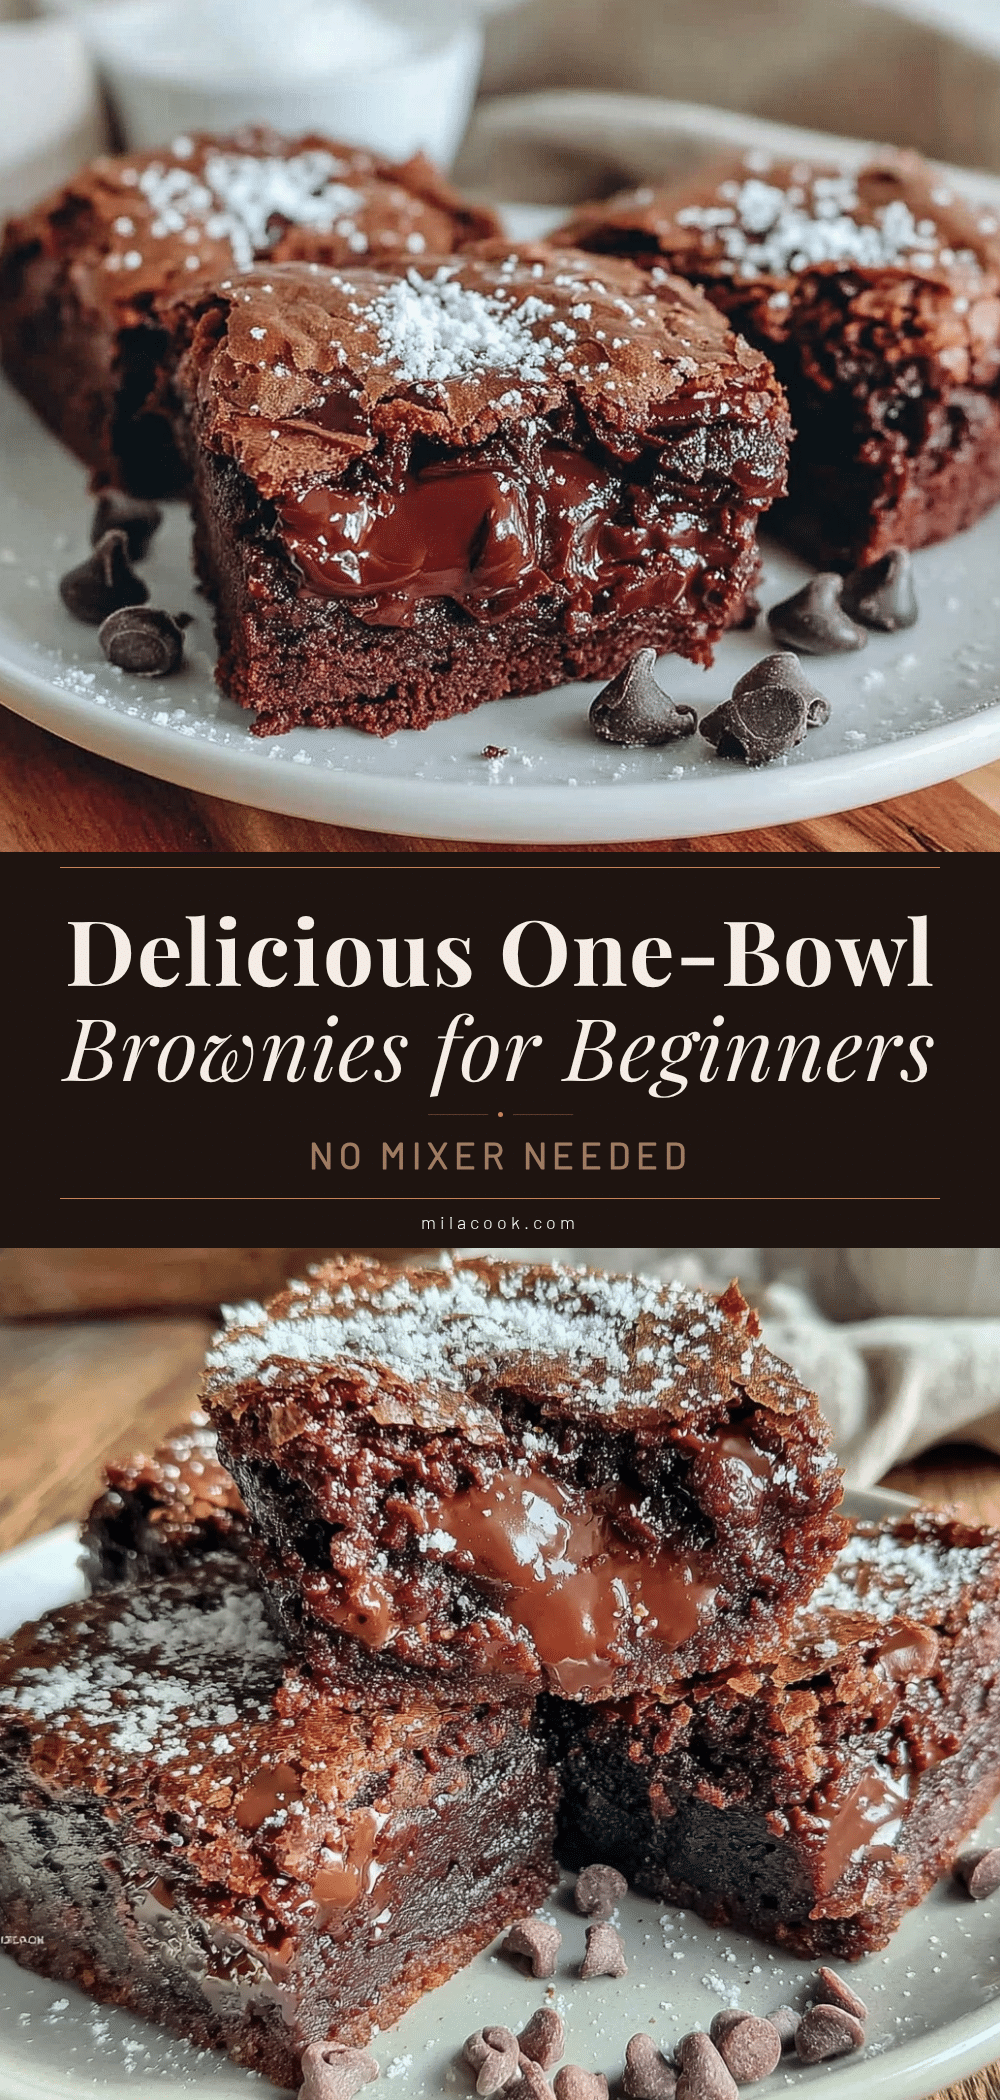
Easy One-Bowl Brownies Recipe for Beginners No Mixer Needed
A simple, mess-free brownie recipe perfect for beginners that requires no mixer and uses basic pantry ingredients. These brownies have a fudgy center and crispy edges, making them a quick and delicious treat.
- Prep Time: 15 minutes
- Cook Time: 20-25 minutes
- Total Time: 50 minutes
- Yield: 16 servings 1x
- Category: Dessert
- Cuisine: American
Ingredients
- 1 cup (125g) all-purpose flour
- 1 cup (200g) granulated sugar
- ⅓ cup (35g) unsweetened cocoa powder
- ¼ teaspoon salt
- ½ teaspoon baking powder
- ½ cup (115g) unsalted butter, melted
- 2 large eggs, room temperature
- 1 teaspoon vanilla extract
- Optional: ½ cup (60g) chopped walnuts
- Optional: ½ cup (90g) chocolate chips
Instructions
- Preheat your oven to 350°F (175°C). Prepare your 8×8 inch baking pan by lining it with parchment paper or lightly greasing it.
- In a large mixing bowl, whisk together the all-purpose flour, granulated sugar, cocoa powder, salt, and baking powder until evenly mixed and clump-free.
- Melt the butter gently on the stove or in the microwave until liquid but not browned. Let it cool slightly.
- Pour the melted butter into the dry ingredients. Crack in the eggs one at a time and add the vanilla extract. Stir with a wooden spoon or spatula until just combined. Do not overmix.
- Fold in optional walnuts or chocolate chips gently if using.
- Spread the batter evenly in the prepared baking pan and smooth the top.
- Bake for 20-25 minutes, checking at 20 minutes with a toothpick. It should come out with a few moist crumbs but no wet batter.
- Cool the brownies completely in the pan on a wire rack for at least 30 minutes before slicing.
Notes
Use room temperature eggs for better mixing. Avoid overmixing to keep brownies fudgy. Check brownies early to prevent overbaking. Cooling completely before slicing helps achieve clean cuts. For dairy-free, substitute butter with coconut oil and eggs with flax eggs. Almond flour can be used for gluten-free but expect a different texture.
Nutrition
- Serving Size: 1 brownie square (1/
- Calories: 180
- Fat: 9
- Carbohydrates: 24
- Fiber: 2
- Protein: 2
Keywords: brownies, easy brownies, one-bowl brownies, no mixer brownies, beginner baking, fudgy brownies, chocolate dessert



