Love this? Save it for later!
Share the inspiration with your friends
Introduction
“I never thought cracking an egg could cause so much chaos,” I confessed to my friend Jenna last Saturday morning as I surveyed the splattered kitchen counter. You see, I had just attempted my first-ever sunny side up eggs, and honestly, it looked more like a science experiment gone wrong than a breakfast classic. The yolks broke, the whites stuck, and the pan was a mess. But here’s the thing: after a few more tries — and a lot of patience — I nailed it. This simple sunny side up eggs recipe for beginners made perfect became my go-to weekend ritual.
The story starts with a late Saturday craving for the perfect breakfast, you know, that golden yolk sitting proudly on a bed of tender whites, just waiting for toast to scoop it up. I wasn’t born with the knack for eggs; in fact, I’d avoided them sunny side up because I thought they were too tricky. But after some trial, error, and a little kitchen chaos (including a pan that almost went flying mid-flip), I figured out how to get that perfect balance: tender whites, runny yolks, and no crispy burnt edges.
Maybe you’ve been there — standing over the stove, watching your eggs bubble and hoping they don’t stick or break. This recipe sticks with me because it’s so forgiving, practical, and really, it tastes like a comforting hug in the morning. So let me tell you how to make simple sunny side up eggs that even a beginner will feel proud serving. It’s honestly easier than you think once you know the little secrets.
Why You’ll Love This Recipe
After testing this sunny side up eggs recipe multiple times — sometimes with unexpected interruptions like a curious cat or a forgotten spatula — I can confidently say it’s a winner for both beginners and seasoned cooks. Here’s why this simple sunny side up eggs recipe stands out:
- Quick & Easy: Ready in under 10 minutes, perfect for rushed mornings or lazy brunches.
- Simple Ingredients: Just eggs, a little butter or oil, and a pinch of salt — no fancy extras needed.
- Perfect for Any Occasion: Whether it’s a weekday breakfast or a cozy weekend treat, these eggs fit right in.
- Crowd-Pleaser: Even picky eaters love the silky yolk and tender whites.
- Unbelievably Delicious: The delicate texture and bright yolk flavor make breakfast feel special.
What makes this recipe different? It’s all about the gentle heat and the patience to let the eggs cook slowly. I don’t rush them with high heat or flipping flips — just steady, loving care. The result? Eggs with whites set perfectly without any browning and yolks that stay gloriously runny. Honestly, it’s the kind of breakfast that makes you close your eyes and savor each bite.
This recipe has a way of turning a simple morning into a moment of joy — no stress, no mess, just that perfect sunny side up egg every time. And hey, if you ever tried sunny side up eggs and ended up with a mess, this will change your mind.
What Ingredients You Will Need
This simple sunny side up eggs recipe uses just a handful of ingredients, all pantry staples that you likely have on hand. Each ingredient plays a role in making the eggs taste rich, cook evenly, and slide off the pan without sticking.
- Large eggs (fresh is best for a firm white and round yolk)
- Unsalted butter or neutral oil (about 1 teaspoon per egg; butter adds richness, oil helps prevent sticking)
- Salt (a pinch, to taste, enhances the egg’s natural flavor)
- Freshly ground black pepper (optional, for a little kick)
Ingredient tips: I recommend using farm-fresh or organic eggs if you can find them — they tend to have sturdier whites and richer yolks that make the sunny side up eggs taste that much better. For the fat, I usually go with unsalted butter because it browns nicely without overpowering the egg’s flavor, but light olive oil or avocado oil work well too for a dairy-free option.
If you want to add a little twist, sprinkle some fresh herbs like chives or parsley after cooking. But honestly, these eggs shine on their own.
Equipment Needed
- Non-stick skillet or well-seasoned cast iron pan: This is key to prevent the whites from sticking and tearing. I’ve tried stainless steel, but it’s a bit trickier without practice.
- Spatula: A thin, flexible spatula helps gently loosen the edges if needed — but the goal is to cook sunny side up without flipping.
- Small bowl or ramekin: For cracking the eggs before adding to the pan — this helps avoid shells and lets you check the yolk’s condition.
- Lid or plate: Optional but useful to cover the pan briefly, helping the whites set without flipping.
- Stove with adjustable heat: Cooking on low to medium-low heat is essential.
If you don’t have a non-stick pan, a well-seasoned cast iron skillet is a great budget-friendly alternative that improves with use. Just remember to wipe it with a little oil after cleaning to keep it non-stick. Personally, I use a small 8-inch non-stick skillet — it fits two eggs comfortably and heats evenly, making the process foolproof.
Preparation Method
- Prep your ingredients and pan (2 minutes): Crack each egg into a small bowl or ramekin to check for freshness and avoid shell bits. Heat your non-stick skillet over low to medium-low heat and add about 1 teaspoon of butter or oil. Let it melt and coat the pan evenly.
- Cook the eggs gently (3-4 minutes): Slide the eggs from the bowl gently into the skillet, keeping the yolks intact. Resist the urge to move them around — let the whites set slowly. You’ll see the edges start to turn opaque and lift from the pan.
- Cover if needed (optional, 1-2 minutes): If the whites aren’t setting but the yolks are still runny, cover the pan with a lid or a plate for a minute or two. This traps steam and gently cooks the top of the whites without flipping.
- Check for doneness (1 minute): The whites should be completely set, opaque, and tender, with no runny or translucent spots, while the yolks remain bright and runny. You can gently touch the whites with a spatula to test firmness.
- Season and serve immediately: Sprinkle with salt and pepper to taste. Use a spatula to carefully transfer the eggs to your plate — they should slide off easily.
Pro tip: Cooking on low heat is the secret. High heat makes whites tough and crispy, and yolks cook too fast. I learned this the hard way after burning my first batch! Also, cracking eggs into a bowl first is a game changer — no surprise shells or broken yolks.
Cooking Tips & Techniques
Cooking sunny side up eggs sounds simple, but there are a few tricks I picked up that make all the difference. Here’s what helps me every time:
- Use fresh eggs: Fresher eggs have firmer whites that hold shape better, preventing the yolk from spreading.
- Low and slow: Cooking on low heat prevents the edges from browning too fast and keeps the whites tender. I usually set my burner to just below medium.
- Don’t crowd the pan: Give each egg enough space, so they cook evenly without merging.
- Covering the pan: If you want to speed up cooking the whites without flipping, cover the pan with a lid for a minute. Steam finishes the whites beautifully.
- Be patient: Resist the urge to poke or flip the eggs early. Let the whites set naturally — it’ll save you from broken yolks and messes.
- Use a flexible spatula: If you must move the eggs, a thin, flexible spatula helps without tearing the whites.
I remember once rushing breakfast and cranking the heat too high — ended up with crispy edges and broken yolks. Lesson learned: gentle heat is your best friend. Also, when I first started, I didn’t cover the pan and waited too long for the whites to cook, resulting in rubbery whites. Covering briefly changed the game for me.
Variations & Adaptations
Sunny side up eggs are wonderfully versatile, and you can tweak them to suit your taste or dietary needs easily.
- Herb and spice twist: Add fresh herbs like chives, dill, or basil on top right after cooking for a fresh pop of flavor.
- Dairy-free option: Swap butter for olive oil, avocado oil, or coconut oil to fit a dairy-free or vegan lifestyle (just skip the egg for vegan!).
- Cheesy sunny side up: Sprinkle a little grated cheese like cheddar or parmesan on the whites a minute before finishing, then cover to melt.
- Cook in butter and garlic: Use garlic-infused butter or cook minced garlic gently in the butter before adding eggs for a subtle aromatic twist.
- For a crowd: Use a large griddle or multiple pans to make several eggs at once, perfect for weekend brunches or potlucks.
One variation I adore is adding a tiny pinch of smoked paprika right after cooking. It adds a smoky depth that pairs beautifully with the creamy yolk — it feels fancy but takes seconds.
Serving & Storage Suggestions
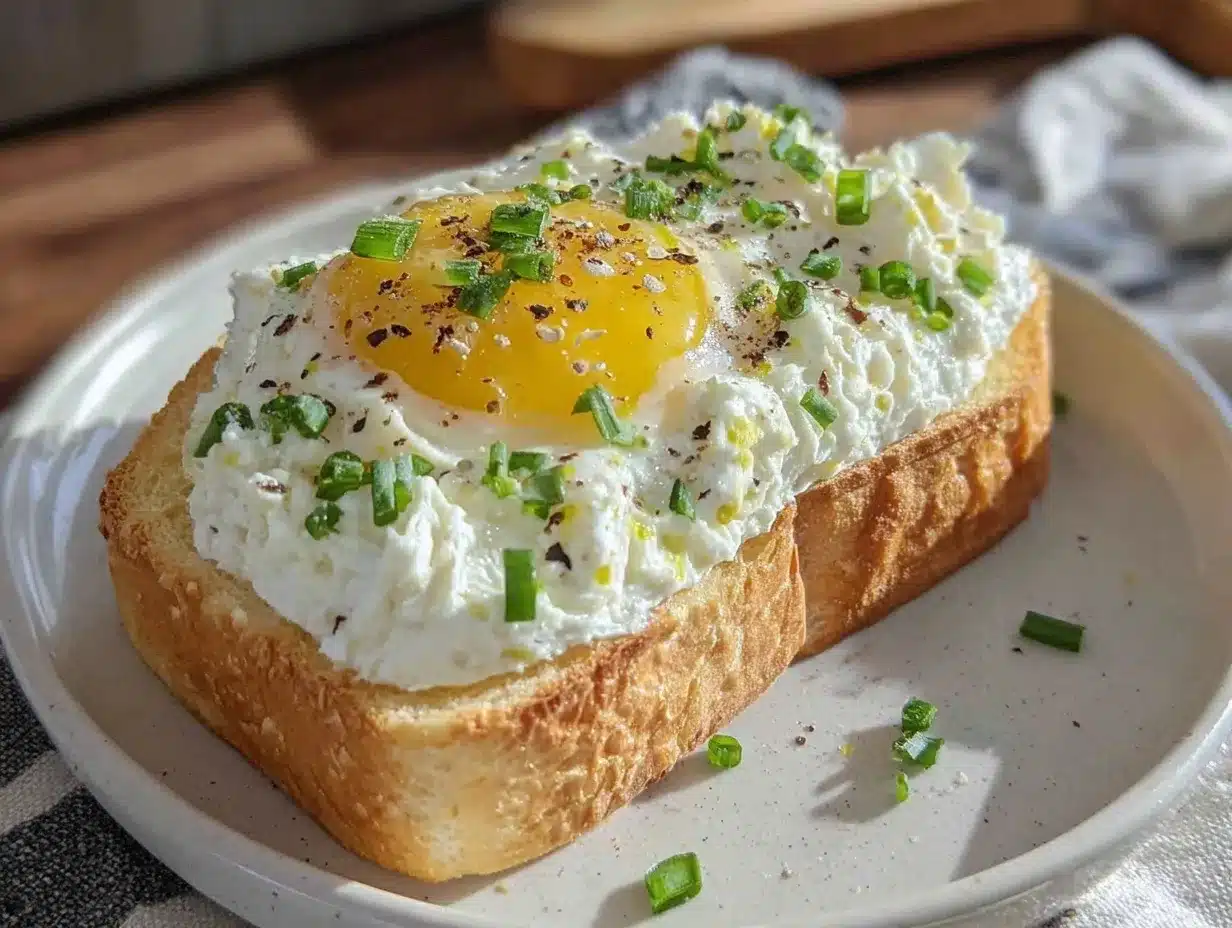
Sunny side up eggs are best served immediately while the yolks are warm and runny. I like to plate them on toasted sourdough or a buttery English muffin, sometimes with a side of avocado or sautéed greens for a balanced breakfast.
If you want to add a beverage, a fresh cup of black coffee or a glass of freshly squeezed orange juice pairs perfectly with the rich egg flavor. For a hearty brunch, serve alongside crispy bacon or roasted tomatoes.
Storing cooked sunny side up eggs isn’t ideal — they lose their runny texture and get rubbery when refrigerated. If you must, store them in an airtight container in the fridge for up to 24 hours and gently reheat in a non-stick skillet over low heat, covering the pan to warm the whites without cooking the yolks further.
Keep in mind, the yolk will firm up after refrigeration, losing that signature gooey charm. So, honestly, these eggs shine best fresh.
Nutritional Information & Benefits
One large sunny side up egg contains roughly 70 calories, 6 grams of high-quality protein, and healthy fats. Eggs are a great source of essential nutrients like vitamin B12, vitamin D, and choline, which supports brain health.
This recipe is naturally gluten-free, low-carb, and offers a satisfying protein boost to start your day. Just a pinch of salt and a touch of butter keeps it simple and wholesome.
From a wellness perspective, eggs provide sustained energy, and cooking them gently preserves their nutrients better than frying at high heat.
Keep in mind, some people monitor cholesterol intake, but recent research shows moderate egg consumption is safe for most people and can be part of a balanced diet.
Conclusion
Making simple sunny side up eggs for beginners might seem intimidating at first, but with this easy recipe and a little patience, you’ll be serving up perfect eggs in no time. It’s the kind of recipe that turns a humble ingredient into a comforting, satisfying breakfast that feels just right.
Feel free to add your own twist with herbs, spices, or cheese — the sky’s the limit. I love making these eggs on slow weekend mornings, knowing I can rely on the technique to deliver that golden yolk and tender whites every time.
Give it a try, and let me know how your sunny side up eggs turn out. Share your favorite add-ins or any kitchen adventures you have along the way. Happy cooking, friends!
Frequently Asked Questions
How do I prevent my sunny side up eggs from sticking to the pan?
Use a good-quality non-stick skillet or a well-seasoned cast iron pan with a bit of butter or oil. Make sure the pan is heated on low to medium-low heat before adding the eggs.
Can I cook sunny side up eggs in the microwave?
Technically, yes, but it’s tricky to get the right texture without overcooking. The stovetop method offers better control for tender whites and runny yolks.
What do I do if my yolk breaks while cooking?
Try cracking each egg into a small bowl first before sliding it gently into the pan. This helps avoid broken yolks and shells. Also, handle the eggs gently and avoid stirring or flipping.
Is it necessary to cover the pan when cooking sunny side up eggs?
Not always, but covering the pan for a minute can help the whites set on top without flipping. It’s especially helpful if your heat is low and you want to speed things up.
Can I make sunny side up eggs ahead of time?
Sunny side up eggs are best fresh. If you need to make them ahead, store in the fridge and reheat gently in a pan, but the yolks may firm up and lose that runny texture.
Pin This Recipe!
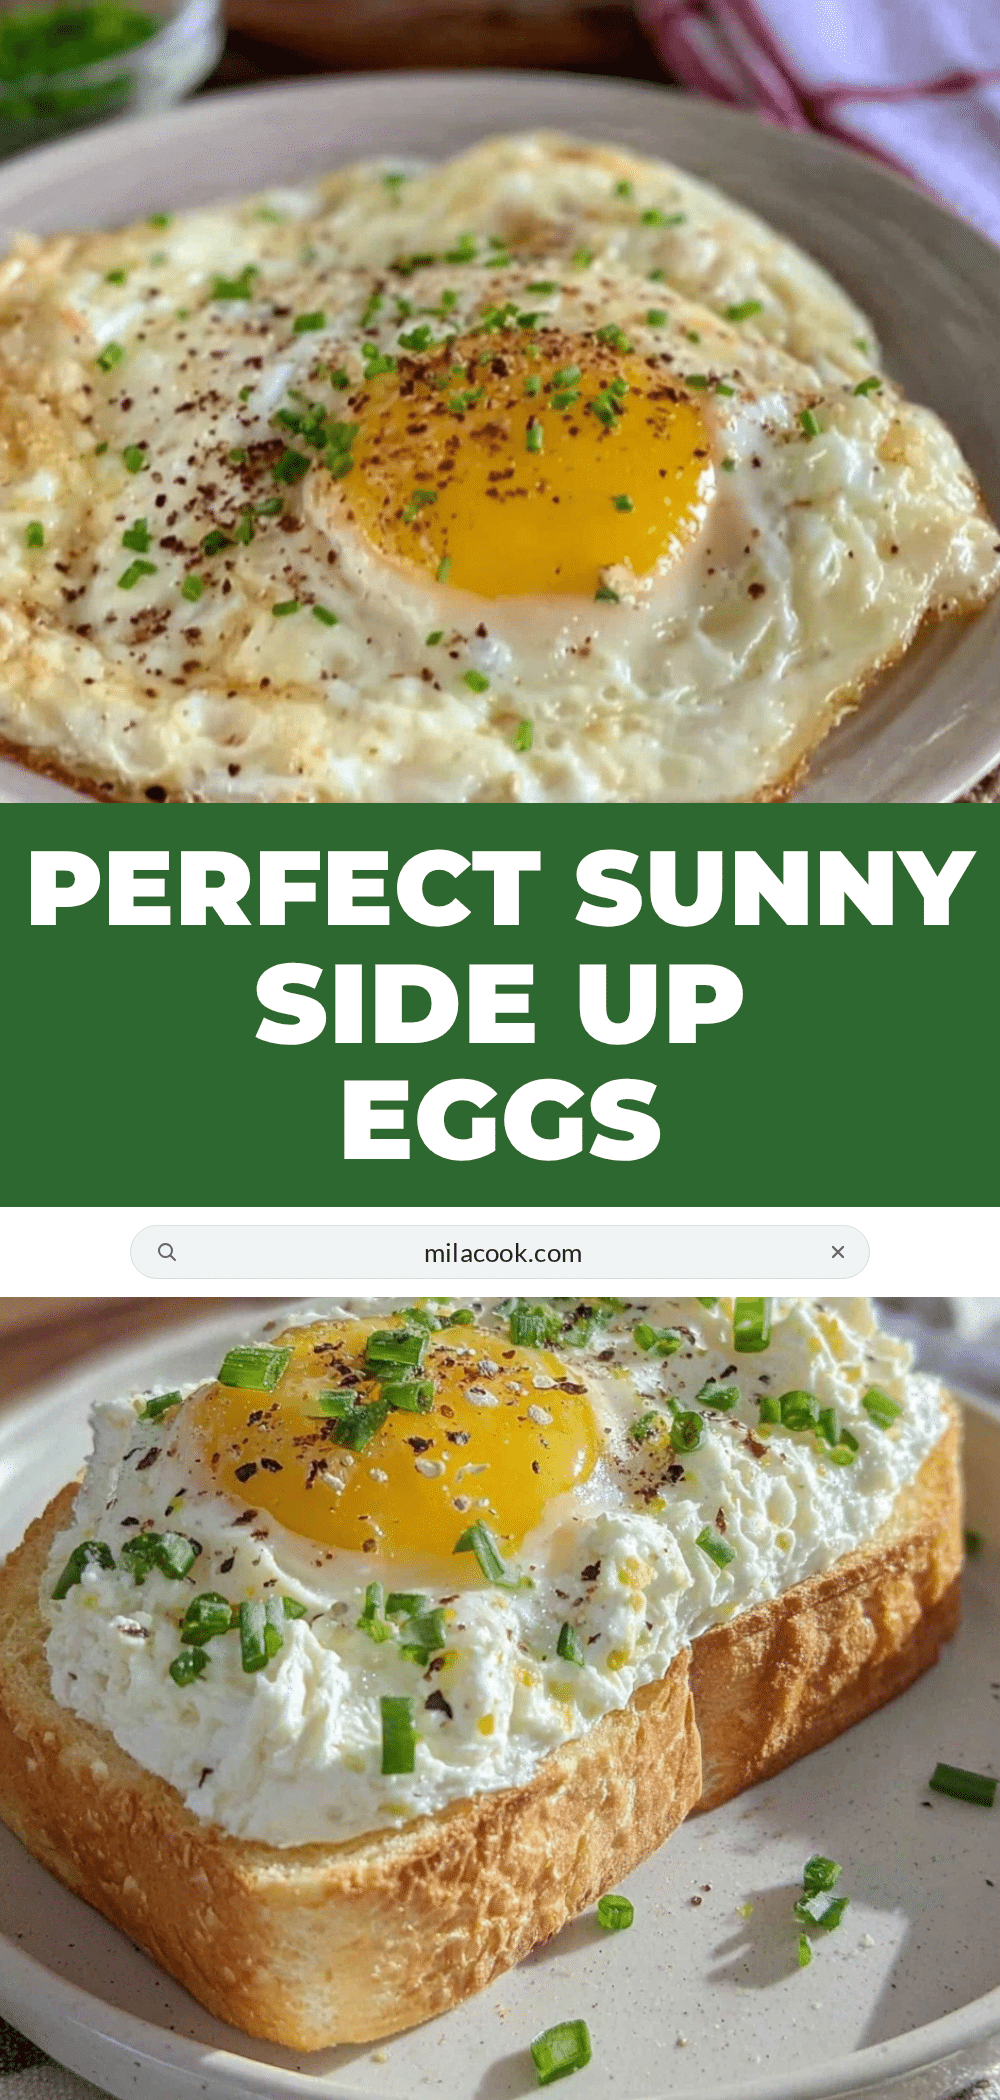
Simple Sunny Side Up Eggs Recipe Easy Perfect Breakfast for Beginners
This simple sunny side up eggs recipe is perfect for beginners, delivering tender whites and runny yolks with gentle heat and patience. Ready in under 10 minutes, it’s a comforting and easy breakfast classic.
- Prep Time: 2 minutes
- Cook Time: 4-6 minutes
- Total Time: 6-8 minutes
- Yield: 2 servings
- Category: Breakfast
- Cuisine: American
Ingredients
- Large eggs (fresh is best for a firm white and round yolk)
- Unsalted butter or neutral oil (about 1 teaspoon per egg; butter adds richness, oil helps prevent sticking)
- Salt (a pinch, to taste)
- Freshly ground black pepper (optional)
Instructions
- Crack each egg into a small bowl or ramekin to check for freshness and avoid shell bits.
- Heat a non-stick skillet over low to medium-low heat and add about 1 teaspoon of butter or oil. Let it melt and coat the pan evenly.
- Slide the eggs gently from the bowl into the skillet, keeping the yolks intact. Let the whites set slowly without moving the eggs.
- If the whites aren’t setting but the yolks are still runny, cover the pan with a lid or plate for 1-2 minutes to trap steam and cook the whites.
- Check that the whites are completely set, opaque, and tender with no runny spots, while yolks remain bright and runny.
- Season with salt and pepper to taste and carefully transfer the eggs to a plate using a spatula.
Notes
Use fresh eggs for firmer whites and round yolks. Cook on low heat to avoid crispy edges and broken yolks. Cracking eggs into a bowl first helps avoid shells and broken yolks. Covering the pan briefly helps set whites without flipping. Avoid crowding the pan to cook eggs evenly.
Nutrition
- Serving Size: 1 large egg
- Calories: 140
- Sodium: 140
- Fat: 10
- Saturated Fat: 3
- Carbohydrates: 1
- Protein: 12
Keywords: sunny side up eggs, easy breakfast, beginner recipe, eggs, quick breakfast, runny yolks, tender whites



