Love this? Save it for later!
Share the inspiration with your friends
It was 10:47 PM on a random Wednesday in late September, and I had an overwhelming urge to bake something that looked both sinister and completely delicious. I didn’t have any Halloween-themed sprinkles or fancy black cocoa powder from a specialty store, but I had a bottle of black food coloring I bought on a whim last year and a deep, stubborn conviction that I could make this work. The idea just arrived, fully formed—what if I took the tenderness of a red velvet cake, stripped away the red, and turned it into something dark and dramatic for Halloween?
Honestly, I was a little skeptical. I mean, black cupcakes can sometimes look amazing but taste like nothing but food coloring, right? I was determined not to let that happen. I grabbed my go-to buttermilk cake recipe, swapped in the darkest cocoa powder I had, and started experimenting. There was a moment—around midnight—when I licked the spatula clean and realized this was actually, genuinely good. The cake was moist, perfectly fluffy, and had this deep, almost mysterious flavor that regular chocolate cake just doesn’t have.
Maybe you’ve been there, standing in your kitchen at an hour when sensible people are asleep, chasing a very specific food vision. That’s exactly how these Best Black Velvet Halloween Cupcakes with Cream Cheese Frosting were born. They’re not just a gimmick—they’re a genuinely fantastic cupcake that happens to look like it belongs at a gothic dinner party. And once you make them, you’ll understand why I keep baking them every October. They’re the kind of recipe that makes you feel like a kitchen wizard, even if you’re just following instructions in your pajamas.
Why You’ll Love This Recipe
Let me tell you why these cupcakes have become my absolute favorite Halloween treat. I’ve tested this recipe more times than I care to admit, tweaking the flour ratio and the amount of cocoa until everything was just right. The result is something I’m genuinely proud to share.
- Incredibly Moist & Tender: The combination of buttermilk and a touch of oil creates a crumb that stays soft for days. No dry, crumbly cupcakes here.
- Perfectly Spooky Color: That deep black velvet hue is achieved without using an entire bottle of coloring. I found the right balance to get a dramatic look without any bitter aftertaste.
- Simple Ingredients: You probably have most of these in your pantry right now. No weird specialty items that you’ll use once and forget about.
- Cream Cheese Frosting Heaven: The tangy, silky frosting is the perfect contrast to the rich, dark cake. It’s not overly sweet, and it pipes like a dream.
- Halloween Party Star: These cupcakes always steal the show at parties. Kids and adults alike are drawn to that striking black color, and they stay for the incredible flavor.
What makes these different from every other black cupcake recipe out there? It’s the texture. So many dark cakes end up dense and heavy, but this one is light and fluffy, just like a classic velvet cake should be. The secret is in the reaction between the buttermilk and a touch of vinegar, which tenderizes the gluten and gives you that signature soft crumb. This isn’t just another Halloween recipe—it’s the best version I’ve ever made, and I think you’ll agree after your first bite.
What Ingredients You Will Need
This recipe uses simple, mostly pantry-staple ingredients to deliver that incredible velvet texture and deep color. Let’s break down what you need and why each one matters.
For the Black Velvet Cupcakes
- All-purpose flour (1 ½ cups / 190g): The base of our cake. Spoon and level it for accuracy—don’t scoop directly from the bag.
- Unsweetened cocoa powder (¼ cup / 25g): Use a dark or Dutch-processed cocoa if you can find it. It deepens the color and adds a richer flavor. I like Droste or Valrhona for this.
- Granulated sugar (1 cup / 200g): Adds sweetness and helps create a tender crumb.
- Baking soda (1 teaspoon): Helps the cake rise and creates that velvet texture when it reacts with the buttermilk and vinegar.
- Salt (½ teaspoon): Balances the sweetness and enhances the chocolate flavor.
- Vegetable oil (½ cup / 120ml): Keeps the cupcakes incredibly moist. You can use canola or any neutral oil.
- Buttermilk (½ cup / 120ml), room temperature: This is non-negotiable for the velvet texture. It adds tang and activates the baking soda.
- Large egg (1), room temperature: Binds everything together and adds structure.
- White vinegar (1 teaspoon): Sounds weird, I know, but it reacts with the baking soda to create extra lift and a tender crumb.
- Vanilla extract (1 teaspoon): Adds warmth and rounds out the chocolate flavor.
- Black gel food coloring (about 1 tablespoon): Gel is crucial here—liquid coloring won’t give you that deep, dramatic black without ruining the batter’s consistency. I recommend the Americolor Super Black or Chefmaster brand.
For the Cream Cheese Frosting
- Cream cheese (8 oz / 226g), softened: Full-fat brick cream cheese is best. Avoid the spreadable kind in a tub, as it’s too soft.
- Unsalted butter (½ cup / 113g), softened: Adds stability and a rich, creamy texture to the frosting.
- Powdered sugar (3-4 cups / 360-480g): Sifted to avoid lumps. Start with 3 cups and add more for desired stiffness.
- Vanilla extract (1 teaspoon): Pure vanilla makes a difference here.
- Pinch of salt: To cut the sweetness and enhance the tangy cream cheese flavor.
For a fun Halloween touch, you can also grab some black sanding sugar or edible glitter for decorating. If you’re looking for a dairy-free option, you can substitute the buttermilk with a mixture of ½ cup of non-dairy milk (like oat or almond) mixed with 1 teaspoon of lemon juice, and use a vegan cream cheese for the frosting.
Equipment Needed
You don’t need a professional bakery setup to make these cupcakes shine. Here’s what you’ll need:
- Standard 12-cup muffin tin: This recipe makes exactly 12 perfectly domed cupcakes.
- Paper cupcake liners: I like using black or orange foil liners for an extra festive look, but any will work.
- Two large mixing bowls: One for the dry ingredients, one for the wet.
- Whisk: For combining your dry ingredients smoothly.
- Hand mixer or stand mixer: Essential for making the cream cheese frosting light and fluffy. You can also use a wooden spoon and some elbow grease, but a mixer is much easier.
- Rubber spatula: For scraping down the bowl and folding the batter.
- Piping bag with a star tip (like Wilton 1M): For that beautiful, bakery-style swirl on top. A zip-top bag with the corner snipped off works in a pinch.
- Cooling rack: Crucial for letting the cupcakes cool completely before frosting. Warm cupcakes will melt your beautiful frosting into a puddle.
- Measuring cups and spoons: Accuracy is key for baking.
If you don’t have a piping bag, don’t stress. You can simply spread the frosting on with an offset spatula for a more rustic, homemade look that’s just as delicious.
Preparation Method
Alright, let’s get baking! Follow these steps carefully, and you’ll have a batch of the most incredible Halloween cupcakes.
- Preheat and Prep: Preheat your oven to 350°F (175°C). Line your muffin tin with 12 cupcake liners. This is a good time to make sure your egg and buttermilk are at room temperature—if they’re cold, let them sit on the counter for 15 minutes.
- Mix Dry Ingredients: In a large bowl, whisk together the flour, cocoa powder, sugar, baking soda, and salt. Make sure there are no lumps in the cocoa powder. Set this aside.
- Combine Wet Ingredients: In a separate, medium bowl, whisk together the vegetable oil, buttermilk, egg, vinegar, and vanilla extract. Whisk until the egg is fully incorporated and the mixture is smooth.
- Add the Color: This is the fun part. Add the black gel food coloring to the wet ingredients and whisk vigorously until the color is completely uniform. It should look like a pot of ink. Don’t be shy—if it looks more dark gray than black, add a tiny bit more coloring.
- Combine Wet and Dry: Pour the wet ingredients into the bowl of dry ingredients. Using a rubber spatula, fold everything together gently. Mix only until you see the last streak of flour disappear. Overmixing will make your cupcakes tough. The batter will be thin—that’s perfectly fine.
- Fill the Liners: Divide the batter evenly among the 12 liners. I like to use a cookie scoop or a ¼-cup measure for this. Each liner should be about ⅔ full.
- Bake: Place the pan in the preheated oven and bake for 18-22 minutes. The cupcakes are done when a toothpick inserted into the center comes out clean or with just a few moist crumbs. The tops should spring back when lightly touched.
- Cool Completely: Let the cupcakes cool in the pan for 5 minutes, then transfer them to a wire rack to cool completely. This is absolutely critical—do not even think about frosting them until they are 100% cool to the touch.
- Make the Frosting: While the cupcakes cool, make the frosting. In a large bowl with a hand mixer (or in the bowl of a stand mixer fitted with the paddle attachment), beat the softened cream cheese and butter together on medium speed until smooth, creamy, and completely combined. This takes about 2 minutes. Scrape down the sides and bottom of the bowl.
- Add Sugar and Vanilla: With the mixer on low, gradually add the sifted powdered sugar, one cup at a time. Mix until each addition is fully incorporated before adding the next. Once all the sugar is in, add the vanilla and a pinch of salt. Increase the speed to medium-high and beat for another 2-3 minutes, until the frosting is light, fluffy, and holds its shape. If it’s too soft, add a little more powdered sugar.
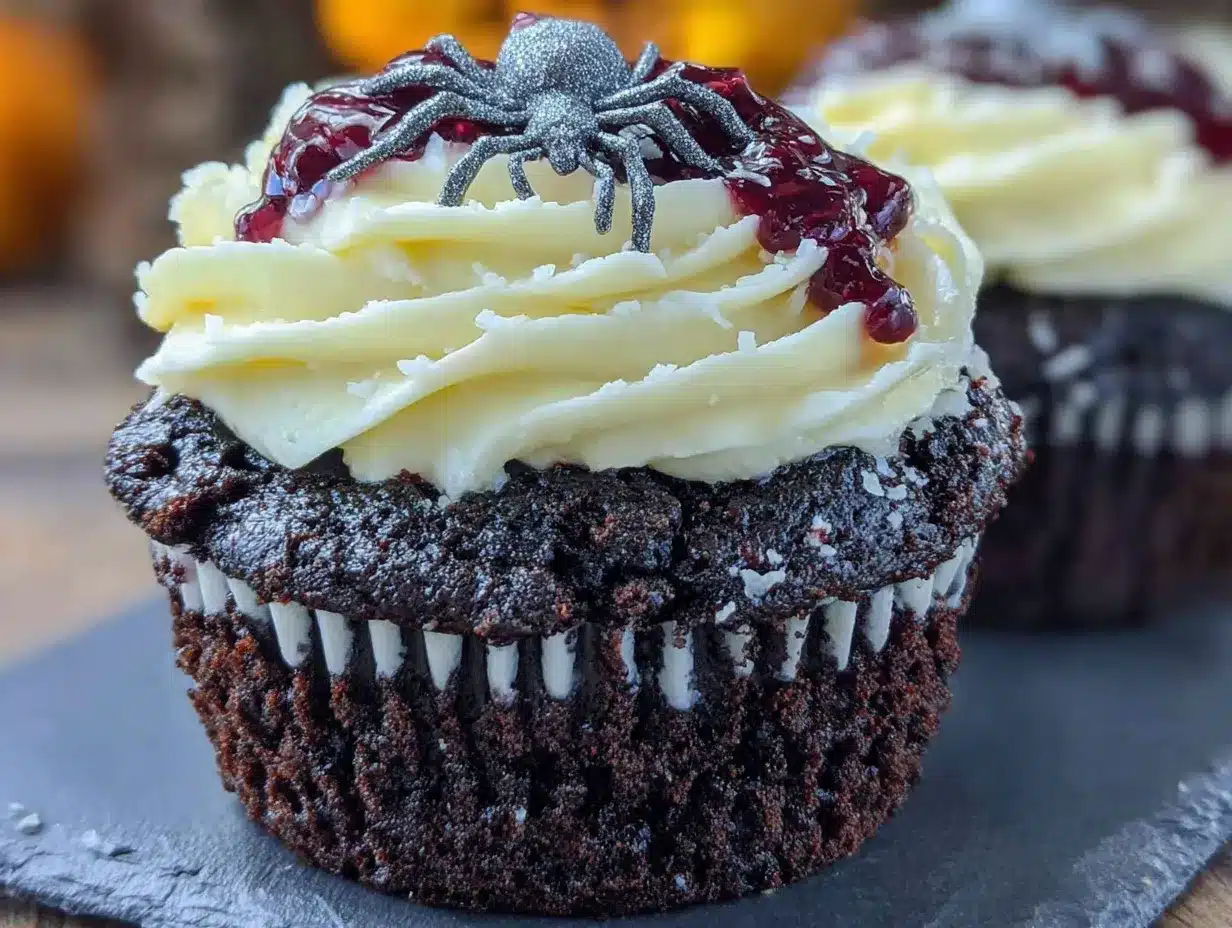
- Frost and Decorate: Fit your piping bag with the star tip and fill it with the cream cheese frosting. Pipe a generous swirl onto each cooled cupcake. For a spooky touch, sprinkle with black sanding sugar or place a gummy spider on top.
Cooking Tips & Techniques
I’ve made a lot of mistakes in the kitchen so you don’t have to. Here are my best tips for nailing these cupcakes every single time.
Don’t Overmix the Batter: This is the number one mistake I see. Once you combine the wet and dry ingredients, mix just until it comes together. A few small lumps are okay. Overmixing develops the gluten and leads to dense, tough cupcakes, and nobody wants that.
The Room Temperature Rule: I cannot stress this enough. Cold buttermilk and a cold egg will not emulsify properly with the oil, leading to a denser texture. Let them sit on the counter for 20 minutes before you start. It makes a real difference.
Gel vs. Liquid Food Coloring: Trust me on this one. Liquid food coloring will thin out your batter too much and you’ll need half the bottle to get any real color. Gel coloring is concentrated, so you get a gorgeous, deep black without compromising the texture of your cake.
Perfecting Your Frosting: If your cream cheese frosting looks curdled or grainy, your cream cheese was probably too cold. Make sure it’s properly softened to room temperature. If it does separate, try beating it on high speed for a minute—sometimes it comes back together. If not, you can save it by adding a tablespoon of heavy cream and beating again.
Timing is Everything: Start checking your cupcakes at the 18-minute mark. Ovens vary wildly, and overbaked cupcakes are dry. The toothpick test is your best friend.
Variations & Adaptations
One of the best things about this recipe is how adaptable it is. Here are a few ways to make it your own.
- Gluten-Free Version: Substitute the all-purpose flour with a good 1:1 gluten-free baking blend that contains xanthan gum (like Bob’s Red Mill). The texture will be slightly more delicate, but still delicious.
- Vegan Adaptations: Use a flax egg (1 tablespoon ground flaxseed mixed with 3 tablespoons water) and substitute the buttermilk with ½ cup of unsweetened almond milk mixed with 1 teaspoon of apple cider vinegar. For the frosting, use a high-quality vegan cream cheese and vegan butter.
- Spooky Spiderweb Design: After piping the frosting, pipe a small circle of black frosting in the center. Use a toothpick to drag lines outward from the center to create a web effect. It’s easier than it looks and very impressive.
- Bloody Drip Cupcakes: For a gory twist, make a simple red glaze with powdered sugar and a little milk, tinted with red gel coloring. Drizzle it over the white cream cheese frosting for a “bloody” effect. Perfect for a horror movie night.
- Different Frosting Flavors: Not a cream cheese fan? A dark chocolate buttercream or a simple vanilla buttercream tinted orange or purple works beautifully with the black velvet cake.
I once made a batch with a pinch of cayenne pepper in the batter for a “spicy” Halloween twist. It was surprisingly good—the heat just barely whispers at the end, complementing the rich chocolate.
Serving & Storage Suggestions
These cupcakes are best enjoyed at room temperature, which allows the cake to be perfectly tender and the frosting to be soft and creamy. If you’ve stored them in the fridge, let them sit on the counter for about 30 minutes before serving.
Presentation Ideas: Arrange them on a black or dark purple cake stand for a dramatic tablescape. You can also place them on a platter surrounded by candy corn or fake spiderwebs for an extra festive touch. For a party, I like to serve them alongside a pitcher of cold milk or a warm mug of spiced apple cider.
Storage Instructions: Because of the cream cheese frosting, these cupcakes must be stored in the refrigerator in an airtight container. They will keep well for up to 4 days. In fact, the cake gets even more moist on the second day as the flavors meld together.
Freezing: You can freeze the unfrosted cupcakes for up to 3 months. Wrap them individually in plastic wrap, then place them in a freezer-safe bag. When you’re ready to enjoy them, thaw them at room temperature and make a fresh batch of frosting. I don’t recommend freezing the frosted cupcakes, as the cream cheese frosting can become grainy upon thawing.
Nutritional Information & Benefits
While these are definitely a treat, here’s a rough estimate of the nutritional breakdown per cupcake (assuming 12 servings and using standard ingredients):
| Nutrient | Amount per Cupcake |
|---|---|
| Calories | ~380 |
| Fat | 22g |
| Carbohydrates | 44g |
| Protein | 4g |
| Sugar | 34g |
On the plus side, cocoa powder is rich in antioxidants called flavonoids, which can support heart health. The buttermilk provides a bit of calcium and probiotics. And honestly, sometimes the best thing you can do for your mental health is bake something beautiful and share it with people you love. Everything in moderation, right?
Allergen Note: This recipe contains dairy (buttermilk, butter, cream cheese), eggs, and gluten (flour). It is not suitable for those with celiac disease unless a certified gluten-free flour blend is used.
Conclusion
These Best Black Velvet Halloween Cupcakes with Cream Cheese Frosting are more than just a spooky dessert—they’re a testament to what happens when you follow a late-night craving down a rabbit hole. They’re rich, they’re beautiful, and they taste like pure comfort. Whether you’re hosting a Halloween party, surprising your coworkers, or just want to make a regular Tuesday feel a little more magical, this recipe is your answer.
I love that I can make these with my eyes closed now, but I still get that little thrill of satisfaction every time I see that black batter come together. It feels like kitchen magic. So go ahead—make a mess, lick the spatula, and watch people’s faces light up when they take a bite. And when you do, come back and leave a comment telling me how they turned out. Did you add a spooky decoration? Did you make them for a specific occasion? I’d love to hear your story. Happy Halloween baking!
Frequently Asked Questions
Can I use regular cocoa powder instead of dark cocoa?
Yes, you can. The cupcakes will still be delicious and have a great chocolate flavor. The color will be a very dark gray rather than a true black, so you may need to add a touch more black food coloring to achieve the dramatic look.
Why are my cream cheese frosting lumps?
Lumpy frosting usually happens when your cream cheese is too cold. It needs to be fully softened to room temperature before you beat it with the butter. If you’re in a rush, you can cut the cream cheese into small cubes and let it sit for 15 minutes.
Can I make these cupcakes ahead of time?
Absolutely. You can bake the cupcakes up to two days in advance and store them unfrosted in an airtight container at room temperature. Make the frosting and frost them on the day you plan to serve them for the best presentation.
How do I get the batter so black without a ton of food coloring?
The key is using a high-quality black gel food coloring, not liquid. Start with 1 tablespoon and add a little more if needed. The dark cocoa powder also helps deepen the color, so you don’t need as much dye.
Can I turn this recipe into a cake?
Yes! This batter works perfectly as a two-layer 8-inch cake. Grease and flour your cake pans, divide the batter evenly, and bake at 350°F for about 25-30 minutes. You may need to double the frosting recipe to have enough for the layers and outside.
Pin This Recipe!
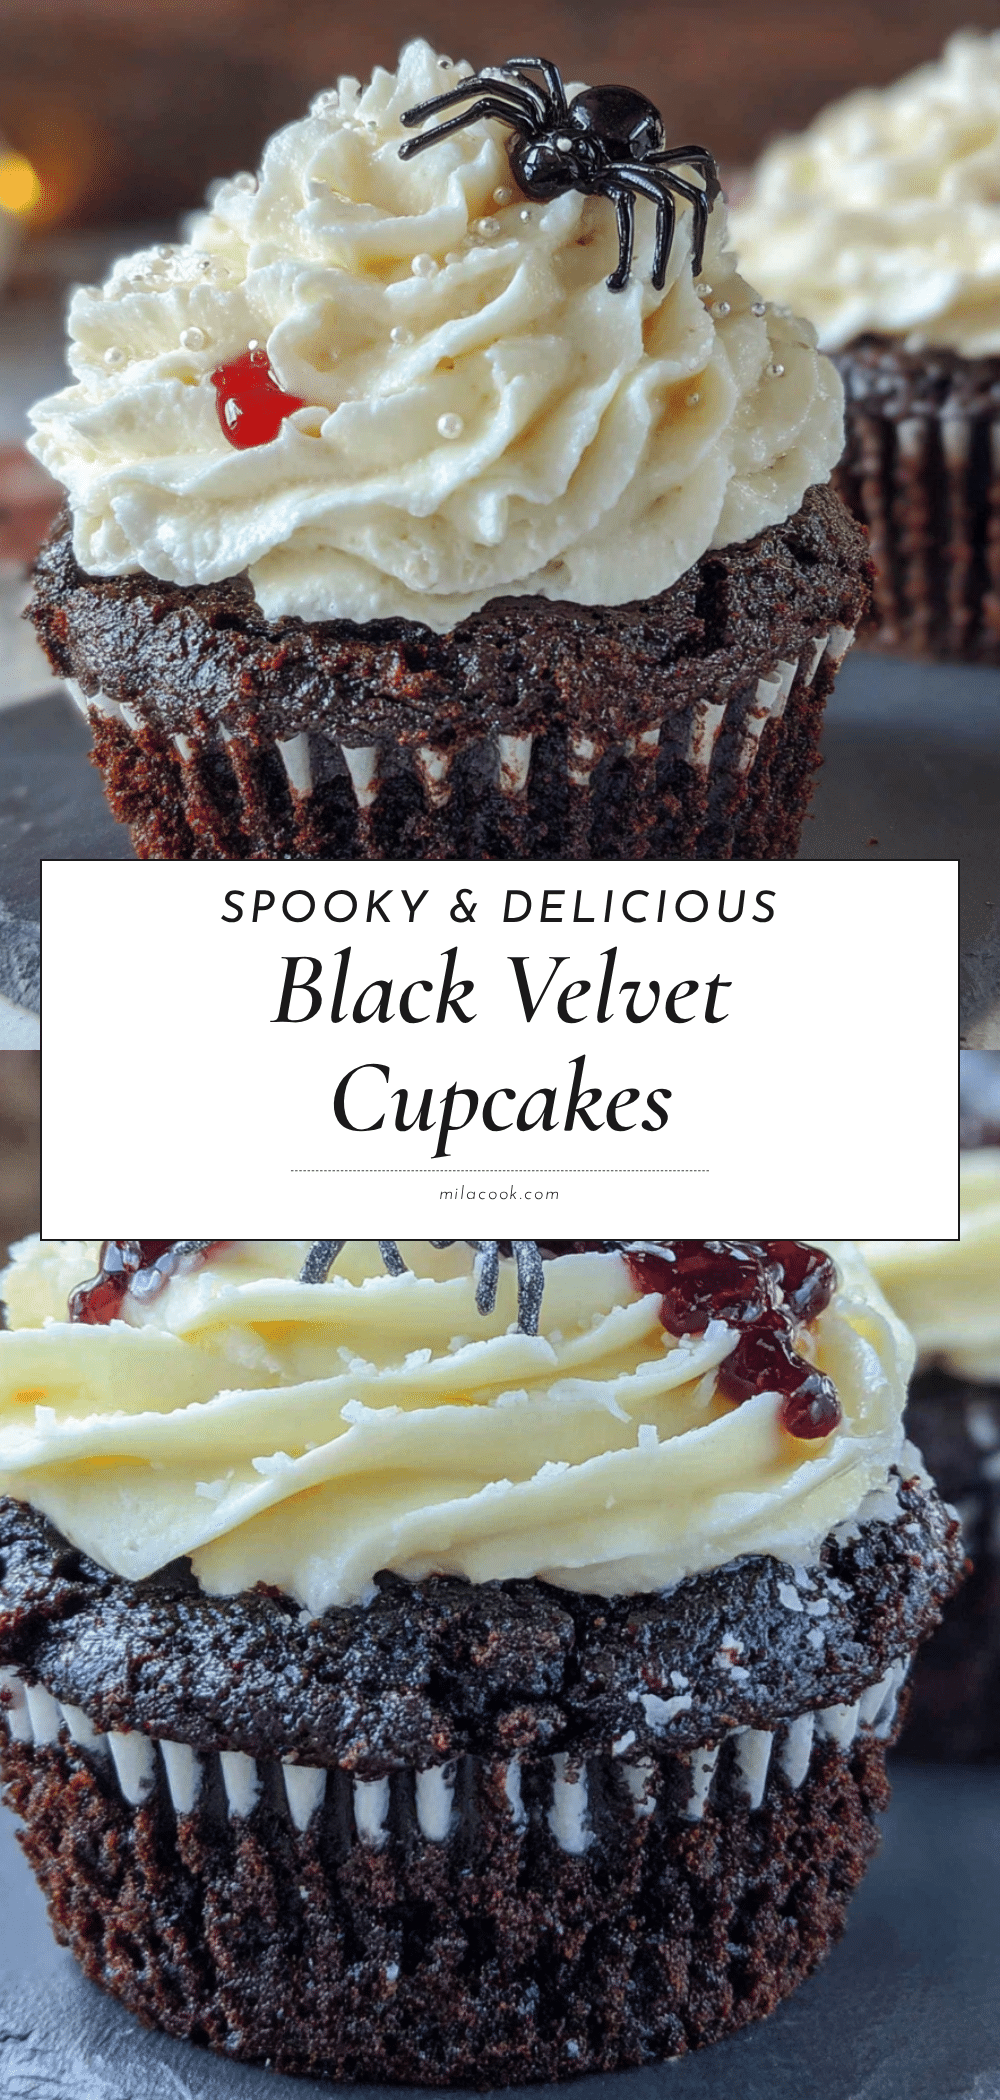
Best Black Velvet Halloween Cupcakes with Cream Cheese Frosting
These Best Black Velvet Halloween Cupcakes with Cream Cheese Frosting are moist, tender, and perfectly spooky. They’re a genuinely fantastic cupcake that happens to look like it belongs at a gothic dinner party.
- Prep Time: 20 minutes
- Cook Time: 20 minutes
- Total Time: 40 minutes
- Yield: 12 cupcakes 1x
- Category: Dessert
- Cuisine: American
Ingredients
- 1 ½ cups (190g) all-purpose flour
- ¼ cup (25g) unsweetened cocoa powder (dark or Dutch-processed preferred)
- 1 cup (200g) granulated sugar
- 1 teaspoon baking soda
- ½ teaspoon salt
- ½ cup (120ml) vegetable oil
- ½ cup (120ml) buttermilk, room temperature
- 1 large egg, room temperature
- 1 teaspoon white vinegar
- 1 teaspoon vanilla extract
- 1 tablespoon black gel food coloring
- 8 oz (226g) cream cheese, softened
- ½ cup (113g) unsalted butter, softened
- 3–4 cups (360-480g) powdered sugar, sifted
- 1 teaspoon vanilla extract
- Pinch of salt
Instructions
- Preheat your oven to 350°F (175°C). Line a 12-cup muffin tin with paper liners.
- In a large bowl, whisk together the flour, cocoa powder, sugar, baking soda, and salt.
- In a separate medium bowl, whisk together the vegetable oil, buttermilk, egg, vinegar, and vanilla extract until smooth.
- Add the black gel food coloring to the wet ingredients and whisk until the color is completely uniform.
- Pour the wet ingredients into the dry ingredients and fold gently with a rubber spatula until just combined. Do not overmix.
- Divide the batter evenly among the 12 liners, filling each about ⅔ full.
- Bake for 18-22 minutes, until a toothpick inserted into the center comes out clean or with a few moist crumbs.
- Let the cupcakes cool in the pan for 5 minutes, then transfer to a wire rack to cool completely.
- For the frosting: In a large bowl, beat the softened cream cheese and butter together on medium speed until smooth and creamy, about 2 minutes.
- Gradually add the sifted powdered sugar, one cup at a time, mixing on low until each addition is incorporated.
- Add the vanilla and a pinch of salt, then increase speed to medium-high and beat for 2-3 minutes until light and fluffy.
- Pipe the frosting onto the cooled cupcakes using a piping bag fitted with a star tip. Decorate as desired.
Notes
Use black gel food coloring, not liquid, for the best color without thinning the batter. Ensure all dairy ingredients are at room temperature for proper emulsification. Do not overmix the batter to avoid dense cupcakes. Frost only when cupcakes are completely cool.
Nutrition
- Serving Size: 1 cupcake
- Calories: 380
- Sugar: 34
- Fat: 22
- Carbohydrates: 44
- Protein: 4
Keywords: Halloween cupcakes, black velvet cupcakes, cream cheese frosting, spooky desserts, Halloween baking



