Love this? Save it for later!
Share the inspiration with your friends
“I’m not usually one to get easily distracted by desserts, but the first time I tried this creamy banana pudding cheesecake with a Nilla wafer crust, well, let’s just say my attention was fully captured,” I confessed to my friend while reaching for a second slice. It all began on an oddly warm Sunday afternoon, when I found myself rummaging through my pantry for something sweet and comforting. The clock was ticking toward dinner, and honestly, I was too restless to bake anything complicated.
The inspiration hit me when I spotted a half-empty box of Nilla wafers and some overly ripe bananas sitting on the counter. I’d been craving banana pudding but wanted to switch things up. I grabbed some cream cheese, threw together a quick crust from those Nilla wafers, and the rest just fell into place. I forgot to preheat the oven at first, and the batter was a little lumpy (don’t ask), but the final result was this rich, velvety cheesecake that somehow felt nostalgic and fresh all at once.
Maybe you’ve been there—the need for something that tastes like a warm hug but still feels a bit fancy. This recipe stayed with me because it’s that rare combo: ultra creamy, packed with banana flavor, and that unmistakable crunch of the Nilla wafer crust that makes every bite interesting. I mean, who knew that a simple pantry raid could lead to my new favorite dessert? Let me tell you, this cheesecake isn’t just a treat; it’s a crowd-pleaser that has quietly become my go-to for potlucks and last-minute celebrations.
Why You’ll Love This Recipe
Honestly, this creamy banana pudding cheesecake recipe is one of those rare gems that brings together ease and wow-factor without a fuss. I’ve tested this recipe multiple times (including on my skeptical coworkers), and every time it turns out luscious and smooth with that perfect balance of sweetness and tang.
- Quick & Easy: Ready in under 90 minutes, ideal for those busy evenings or unexpected guests.
- Simple Ingredients: Uses everyday kitchen staples like ripe bananas, cream cheese, and yes, Nilla wafers—no last-minute store runs required.
- Perfect for Gatherings: Whether it’s a casual brunch or a holiday dinner, this cheesecake fits right in with its comforting yet elegant charm.
- Crowd-Pleaser: Kids and adults alike rave about the creamy texture paired with the lightly sweet wafer crust.
- Unbelievably Delicious: The way the banana pudding flavor shines without overpowering the cheesecake base is just next-level indulgence.
This isn’t just another cheesecake. The secret lies in blending the banana pudding into the cheesecake batter for that silky consistency and the homemade Nilla wafer crust that adds a buttery crunch you don’t get from plain graham crackers. Honestly, the first time I made this, my neighbor—who’s a total dessert snob—asked for the recipe on the spot. It’s comfort food with a twist, and trust me, once you make it, you’ll want to keep it in your recipe arsenal for good.
What Ingredients You Will Need
This recipe uses simple, wholesome ingredients to deliver bold flavor and satisfying texture without the fuss. Most ingredients are pantry staples or easy to find, making this cheesecake a breeze to whip up any time.
- For the Crust:
- 2 cups Nilla wafers, crushed (about 50 wafers) – I prefer using Keebler for consistent crunch
- 6 tablespoons unsalted butter, melted (adds richness and holds the crust together)
- 2 tablespoons granulated sugar (balances the buttery flavor)
- For the Cheesecake Filling:
- 24 ounces (680g) cream cheese, softened (full-fat for creaminess)
- 1 cup granulated sugar
- 3 large eggs, room temperature
- 1 teaspoon vanilla extract (look for pure vanilla extract for best flavor)
- 1 cup banana pudding (store-bought or homemade, adds that classic flavor)
- 2 ripe bananas, mashed (for natural sweetness and texture)
- 1/2 cup sour cream (makes the cheesecake extra smooth)
- For the Topping (Optional):
- Whipped cream (homemade or store-bought)
- Additional Nilla wafers for garnish
- Thin banana slices for decoration
If you’re looking for substitutions, use almond flour instead of crushed wafers for a gluten-free crust, and swap sour cream with Greek yogurt for a tangier bite. For vegan adaptations, try dairy-free cream cheese and coconut yogurt. In summer, fresh banana pudding (homemade) really shines, but store-bought is perfectly fine for a quick fix.
Equipment Needed
- 9-inch (23 cm) springform pan – makes releasing the cheesecake clean and easy; if you don’t have one, a regular round cake pan lined with parchment works, but be careful when removing.
- Mixing bowls – I like using glass or stainless steel for easy cleanup.
- Electric mixer or stand mixer – cream cheese blends best when thoroughly softened, and a mixer gets you that silky smooth batter.
- Measuring cups and spoons – accuracy matters here to balance sweetness and texture.
- Rubber spatula – perfect for folding in the mashed bananas without overmixing.
- Food processor or plastic bag and rolling pin – for crushing the Nilla wafers finely.
Pro tip: If you’re on a budget, crushing wafers in a sealed plastic bag with a rolling pin works just as well as a food processor. Keep your mixer beaters clean and dry for easier mixing, and don’t rush softening the cream cheese—it really pays off in smoothness.
Preparation Method
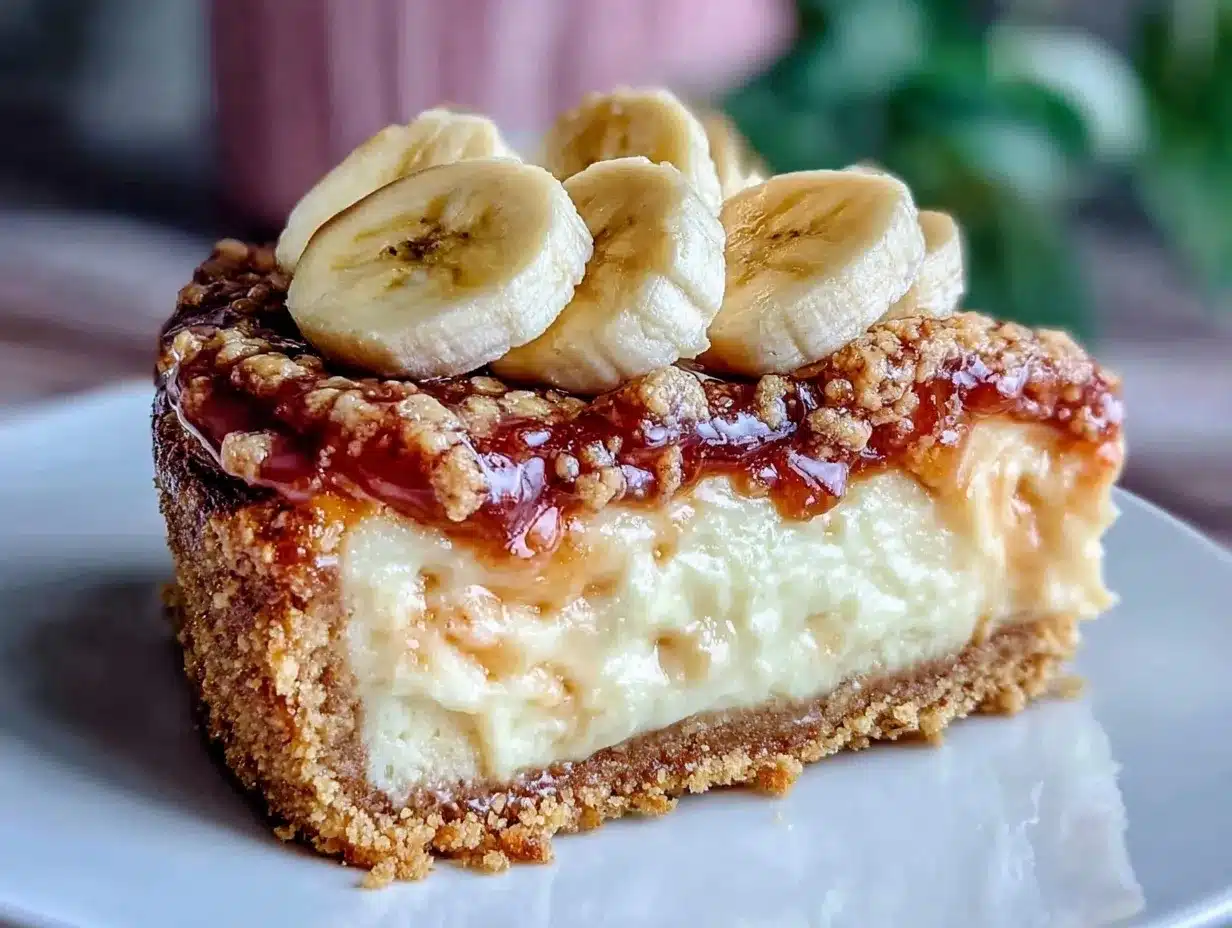
- Prep the Crust (10 minutes)
Crush the Nilla wafers until fine but with some small chunks for texture. Mix crushed wafers with melted butter and sugar until evenly combined. Press the mixture firmly into the bottom of your springform pan. Use the bottom of a glass to smooth it out. Place in the fridge to chill while you prepare the filling. - Make the Cheesecake Batter (20 minutes)
Using an electric mixer, beat the softened cream cheese until smooth and creamy. Add the sugar gradually and beat until fully combined. One thing I learned the hard way is to scrape down the bowl often to avoid lumps.
Add eggs one at a time, mixing on low speed after each addition to prevent air bubbles (which can cause cracks later). Mix in vanilla extract and sour cream until smooth. - Add Banana Pudding and Bananas (5 minutes)
Gently fold in the banana pudding and mashed bananas with a rubber spatula. Be careful not to overmix here; you want the batter silky but still thick. - Pour and Bake (50-60 minutes)
Pour the batter over the chilled crust and spread evenly. Bake at 325°F (163°C) for about 50-60 minutes. The center should still jiggle slightly when you gently shake the pan.
Pro tip: To avoid cracks, place a pan of water on the lower rack during baking to keep moisture in the oven. - Cool and Chill (3-4 hours)
Let the cheesecake cool at room temperature for about an hour, then refrigerate for at least 3 hours or overnight. This resting time lets the flavors meld and the texture set perfectly. - Add Topping and Serve
Before serving, top with whipped cream, banana slices, and extra Nilla wafers for that classic look and crunch.
Common hiccup: If your crust feels soggy, try pressing it more firmly next time or bake it for 8-10 minutes before adding the filling. And yes, patience is key—resisting the urge to cut right out of the fridge makes all the difference!
Cooking Tips & Techniques
Getting that ultra-creamy cheesecake texture takes a few tricks I picked up after a few too many cracked and grainy attempts. First, always use room temperature cream cheese and eggs. Cold ingredients don’t blend well and cause lumps.
Mix on low speed when adding eggs to avoid too much air incorporation, which leads to cracking. Also, gently folding in the banana pudding and mashed bananas prevents breaking down the batter’s structure.
Another pro tip: baking your cheesecake in a water bath is a classic method to keep the temperature even and moisture high, preventing cracks and dryness. If you don’t have a water bath setup, placing a pan of hot water on the oven floor works well.
When cooling, don’t open the oven door immediately after baking; let the cheesecake cool gradually with the oven off and door closed for 30 minutes before removing it. This helps prevent sudden temperature changes that cause cracks.
Lastly, chilling the cheesecake overnight isn’t just for convenience; it lets the flavors deepen and the texture firm up. Honestly, the wait is totally worth it.
Variations & Adaptations
- Gluten-Free: Replace the Nilla wafer crust with a mix of almond flour and gluten-free cookie crumbs for a safe and tasty crust.
- Vegan Version: Use dairy-free cream cheese and coconut yogurt in place of sour cream. Swap eggs with flax eggs (1 tablespoon ground flaxseed + 3 tablespoons water per egg) and use vegan vanilla pudding.
- Chocolate Twist: Add 1/2 cup mini chocolate chips to the batter or mix in a swirl of chocolate ganache on top before baking for a mocha banana flavor.
- Seasonal Fruit Swap: In spring or summer, swap bananas for fresh strawberries or peaches with a strawberry or peach pudding base for a refreshing change.
- Personal Favorite: I sometimes add a teaspoon of cinnamon to the crust mix and a dash of nutmeg to the batter—gives it a cozy warmth perfect for chilly nights.
Serving & Storage Suggestions
Serve this cheesecake chilled or at room temperature—both work beautifully, but I prefer it just slightly cool so the creaminess really shines. Garnish with freshly sliced bananas and a dollop of whipped cream for that classic finish. It pairs wonderfully with a hot cup of coffee or a tall glass of milk.
Store leftovers covered tightly in the refrigerator for up to 4 days. The flavors actually deepen over time, so it’s even better the next day. For longer storage, freeze slices individually wrapped in plastic wrap and foil; thaw overnight in the fridge before serving.
When reheating, avoid the microwave if you want to preserve texture. Instead, let the cheesecake sit at room temperature for 20-30 minutes before serving to take the chill off without melting the structure.
Nutritional Information & Benefits
This creamy banana pudding cheesecake offers a good balance of indulgence and nourishment. With bananas providing potassium and natural sweetness, and cream cheese supplying calcium and protein, it’s a dessert that feels a bit more wholesome than your average slice.
Each serving contains approximately 350 calories, 25g fat, 30g carbohydrates, and 5g protein. It’s not low-calorie, but it’s rich and satisfying enough that a small slice goes a long way.
For those watching gluten intake, swapping the crust with gluten-free options makes this dessert accessible. Plus, bananas bring beneficial vitamins B6 and C, supporting energy and immunity.
Conclusion
This creamy banana pudding cheesecake with a Nilla wafer crust is truly a keeper. It’s simple enough for a weeknight treat but special enough to impress guests without stress. Whether you’re craving that nostalgic banana pudding flavor or just want a dessert that’s creamy, dreamy, and a little bit crunchy, this recipe ticks all the boxes.
I love making it because it reminds me how creativity in the kitchen can turn humble ingredients into something memorable. Feel free to tweak it with your favorite flavors and share how it turns out—I’d love to hear your twists or stories!
Give it a try, and don’t hesitate to leave a comment below with your thoughts or questions. Happy baking, and may your kitchen be filled with the sweet smell of banana and buttery crusts!
FAQs
Can I use instant banana pudding mix instead of homemade?
Yes! Instant pudding mix works perfectly and speeds up the process. Just prepare it according to package directions and fold it into the cheesecake batter.
How do I prevent cracks on my cheesecake?
Use room temperature ingredients, mix gently, bake in a water bath or place a pan of water in the oven, and cool gradually with the oven door closed before refrigerating.
Can I make this cheesecake ahead of time?
Absolutely! It actually tastes better after chilling overnight. Just cover tightly and refrigerate until ready to serve.
What’s the best way to crush Nilla wafers without a food processor?
Place wafers in a sealed plastic bag and crush them with a rolling pin or the bottom of a heavy pan until finely ground.
Is it possible to freeze this cheesecake?
Yes, freeze individual slices wrapped tightly in plastic wrap and foil. Thaw in the fridge overnight before enjoying.
For a fun twist on classic desserts, you might appreciate how crispy garlic chicken brings bold flavors to your dinner table, or how a simple homemade apple pie can be your next comforting baking project.
Pin This Recipe!
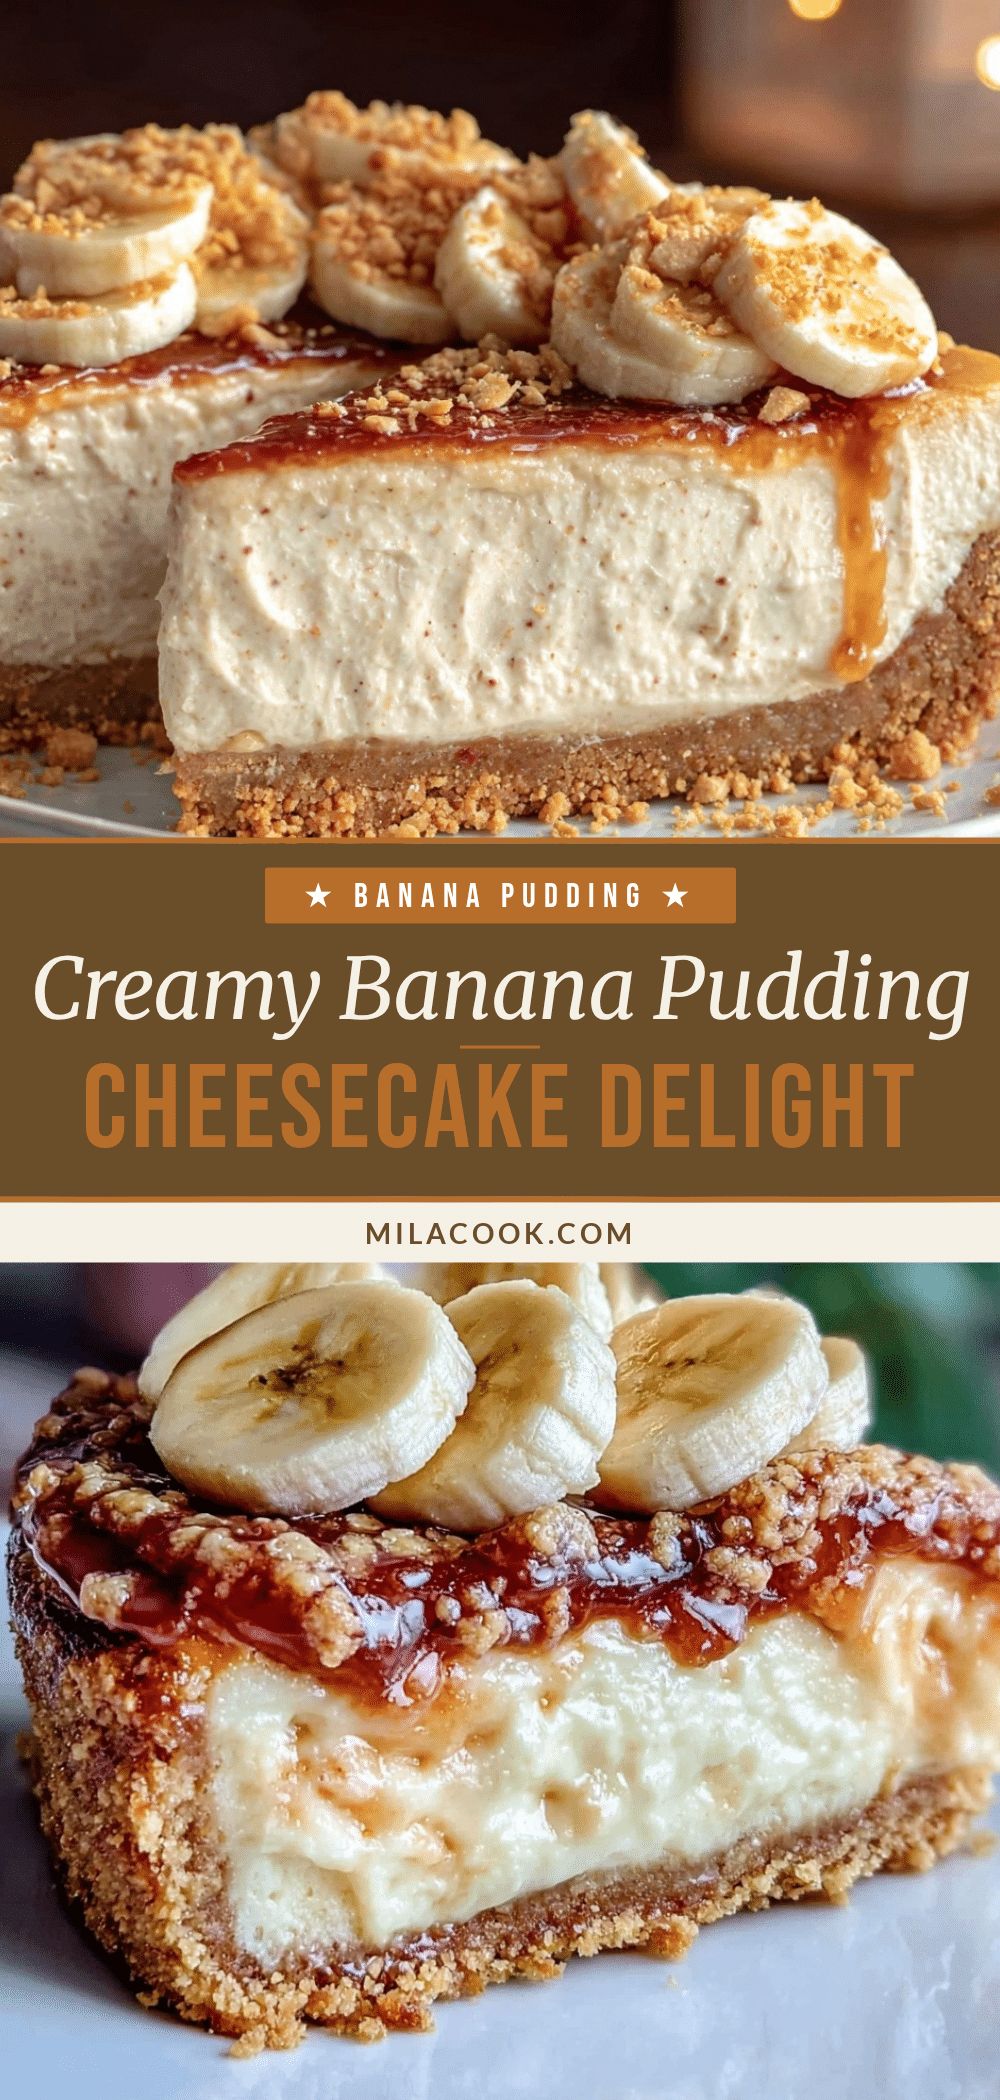
Creamy Banana Pudding Cheesecake Recipe Easy Homemade Nilla Wafer Crust
A rich and velvety banana pudding cheesecake with a buttery Nilla wafer crust, combining nostalgic flavors with a creamy texture and a crunchy base. Perfect for gatherings and quick to prepare.
- Prep Time: 35 minutes
- Cook Time: 50-60 minutes
- Total Time: 4 hours 25 minutes
- Yield: 12 servings 1x
- Category: Dessert
- Cuisine: American
Ingredients
- 2 cups Nilla wafers, crushed (about 50 wafers)
- 6 tablespoons unsalted butter, melted
- 2 tablespoons granulated sugar
- 24 ounces cream cheese, softened (full-fat)
- 1 cup granulated sugar
- 3 large eggs, room temperature
- 1 teaspoon vanilla extract
- 1 cup banana pudding (store-bought or homemade)
- 2 ripe bananas, mashed
- 1/2 cup sour cream
- Whipped cream (optional, for topping)
- Additional Nilla wafers for garnish (optional)
- Thin banana slices for decoration (optional)
Instructions
- Crush the Nilla wafers until fine but with some small chunks for texture. Mix crushed wafers with melted butter and sugar until evenly combined. Press the mixture firmly into the bottom of a 9-inch springform pan. Use the bottom of a glass to smooth it out. Place in the fridge to chill while you prepare the filling.
- Using an electric mixer, beat the softened cream cheese until smooth and creamy. Add the sugar gradually and beat until fully combined, scraping down the bowl often to avoid lumps.
- Add eggs one at a time, mixing on low speed after each addition to prevent air bubbles. Mix in vanilla extract and sour cream until smooth.
- Gently fold in the banana pudding and mashed bananas with a rubber spatula, being careful not to overmix.
- Pour the batter over the chilled crust and spread evenly. Bake at 325°F (163°C) for about 50-60 minutes. The center should still jiggle slightly when you gently shake the pan. To avoid cracks, place a pan of water on the lower rack during baking to keep moisture in the oven.
- Let the cheesecake cool at room temperature for about an hour, then refrigerate for at least 3 hours or overnight.
- Before serving, top with whipped cream, banana slices, and extra Nilla wafers for garnish.
Notes
Use room temperature cream cheese and eggs to avoid lumps. Mix eggs on low speed to prevent cracks. Baking in a water bath or placing a pan of water in the oven helps keep moisture and prevents cracking. Cool cheesecake gradually with oven door closed before refrigerating. For a firmer crust, press more firmly or bake crust for 8-10 minutes before adding filling. Chill overnight for best flavor and texture.
Nutrition
- Serving Size: 1 slice (1/12th of c
- Calories: 350
- Fat: 25
- Carbohydrates: 30
- Protein: 5
Keywords: banana pudding cheesecake, Nilla wafer crust, creamy cheesecake, easy dessert, homemade cheesecake, banana dessert, crowd-pleaser



