Love this? Save it for later!
Share the inspiration with your friends
My husband Mark asked why I couldn’t just toss the chicken thighs in flour like he does. I started to explain why that wouldn’t work — then stopped. He was standing by the stove, looking at me with that familiar, hopeful smirk that says he thinks he’s discovered a shortcut. I mean, honestly, who am I to argue with a man who loves crispy food? But I knew better. Flour burns. Flour gets soggy. And we both know I don’t do soggy.
So, I let him try his way. He coated the thighs, threw them in the oven, and waited. Ten minutes in, the kitchen smelled like burnt dust and regret. The skin was pale, the coating was crumbling off, and the garlic powder was just sitting there, useless and dusty. I felt a tiny pang of guilt for being right, but mostly I felt determined to show him the real deal.
I pulled out the parmesan and the panko. I mixed them with some dried oregano and a pinch of cayenne for that little kick we both secretly love. I pressed the mixture onto the thighs, making sure they were coated thick and even. Then I put them in the oven.
The smell that came out was different. It wasn’t just chicken; it was savory, nutty, and aggressively delicious. When I pulled them out, the crust was golden brown and shattered when I tapped it with a fork. Mark took one bite and just nodded. No words needed. He was humbled, and I was vindicated.
This is why I keep making Crispy Garlic Parmesan Chicken Thighs. It’s not just about the flavor, though that’s huge. It’s about the texture. It’s about that moment when you break through the crust and find the juicy, tender meat underneath. It’s the kind of dinner that turns a stressful Tuesday into a celebration. You know that feeling when you come home exhausted, and the smell of garlic and cheese hits you? That’s the stuff dreams are made of.
I used to think chicken thighs were messy, but this recipe changed my mind. It’s elegant enough for guests but easy enough for a weeknight. It’s reliable. It’s delicious. And it proves that sometimes, the “hard” way is actually the best way.
Why You’ll Love This Recipe
There are a thousand ways to cook chicken, but this specific combination of garlic, parmesan, and a crispy coating is something special. It’s not just another dinner; it’s a comfort food classic that has been tested, tweaked, and perfected over years of kitchen experiments. Here is why this recipe deserves a permanent spot in your weekly rotation.
- Quick & Easy: You can have this on the table in under 45 minutes. That includes prep time. If you are busy, this is your answer. No marinating overnight, no complicated steps.
- Simple Ingredients: You likely have everything in your pantry right now. Chicken thighs, parmesan cheese, breadcrumbs, garlic, and oil. No fancy trips to the specialty store. It’s wholesome and straightforward.
- Perfect for Weeknights: When you are tired, you don’t want to think. This recipe is foolproof. Even if you are distracted, the oven does the heavy lifting. It’s great for busy parents or professionals.
- Crowd-Pleaser: Kids love the crunch. Adults love the flavor. It’s a safe bet for family dinners or potlucks. You won’t have leftovers, but that’s a good problem to have.
- Unbelievably Delicious: The texture is next-level. The parmesan melts slightly into the breadcrumbs, creating a savory crust that stays crispy even after sitting for a few minutes. It’s rich, salty, and satisfying.
What makes this different from other baked chicken recipes? It’s the technique. Most people just dust their chicken with flour. That’s a mistake. Flour burns at high heat and doesn’t stick well. By using a mix of parmesan and panko breadcrumbs, you get a coating that adheres better and browns more evenly. The parmesan adds umami, while the panko provides that light, airy crunch that regular breadcrumbs can’t match.
This recipe isn’t just good; it’s the kind that makes you close your eyes after the first bite. It’s comfort food reimagined. It’s healthier than fried chicken but tastes just as indulgent. Perfect for impressing guests without stress, or turning a simple meal into something memorable. You’ll find yourself making it again and again, not because you have to, but because you want to.
What Ingredients You Will Need
This recipe uses simple, wholesome ingredients to deliver bold flavor and satisfying texture without the fuss. The magic is in the simplicity. You don’t need exotic spices or hard-to-find items. Everything here is accessible, affordable, and designed to work together.
- Chicken Thighs: Boneless, skinless thighs are best. They stay juicier than breasts during baking. Look for thighs that are uniform in size so they cook evenly. (About 2 lbs total)
- Parmesan Cheese: Freshly grated is key. Pre-shredded cheese has anti-caking agents that prevent it from melting properly. Use a block and grate it yourself. (1/2 cup, finely grated)
- Panko Breadcrumbs: These Japanese-style breadcrumbs are larger and flakier than regular ones. They create a lighter, crispier crust. (1 cup)
- Garlic Powder: This gives a consistent garlic flavor without burning like fresh garlic might. It’s a pantry staple for a reason. (1 teaspoon)
- Dried Oregano: Adds an earthy, herbal note that complements the garlic. It’s subtle but essential for depth. (1/2 teaspoon)
- Italian Seasoning: A blend of herbs like basil, thyme, and rosemary. It adds complexity to the crust. (1 teaspoon)
- Egg Whites: These act as the binder. They help the breadcrumb mixture stick to the chicken without adding extra fat or heaviness. (2 large egg whites)
- Buttermilk: This tenderizes the meat and adds a slight tang that cuts through the richness of the cheese. (1/2 cup)
- Olive Oil: Helps the crust brown and adds moisture. You can also use melted butter for extra richness. (2 tablespoons)
- Salt and Black Pepper: To taste. Don’t skimp on seasoning the chicken itself, not just the coating.
For the best results, I recommend using a high-quality parmesan like Parmigiano-Reggiano. It has a sharper, more complex flavor than generic versions. If you are watching your sodium, you can reduce the salt in the coating, but the cheese will still provide enough flavor. For a gluten-free option, swap the panko for gluten-free breadcrumbs or crushed cornflakes for extra crunch.
Equipment Needed
You don’t need a fancy kitchen to make this recipe. Standard tools work perfectly. Here is what you will need.
- Baking Sheet: A large rimmed baking sheet is essential. The rim catches any drips and keeps the oven clean. Line it with parchment paper for easy cleanup.
- Wire Rack: Placing a wire rack on the baking sheet allows air to circulate under the chicken. This prevents the bottom from getting soggy. If you don’t have one, you can bake directly on the sheet, but flip halfway through.
- Shallow Dishes: You will need two shallow dishes for the breading station. One for the buttermilk and egg wash, and one for the dry ingredients.
- Grater: A microplane or fine grater is best for the parmesan. It needs to be fine enough to stick to the chicken but not so fine that it turns to paste.
- Tongs: Use tongs to handle the chicken. It keeps your hands clean and makes flipping easier.
If you don’t have a wire rack, don’t worry. The recipe still works. Just make sure to pat the chicken dry before breading to maximize stickiness. A non-stick baking sheet can help, but parchment paper is your best friend here. It prevents sticking and makes cleanup a breeze.
Preparation Method
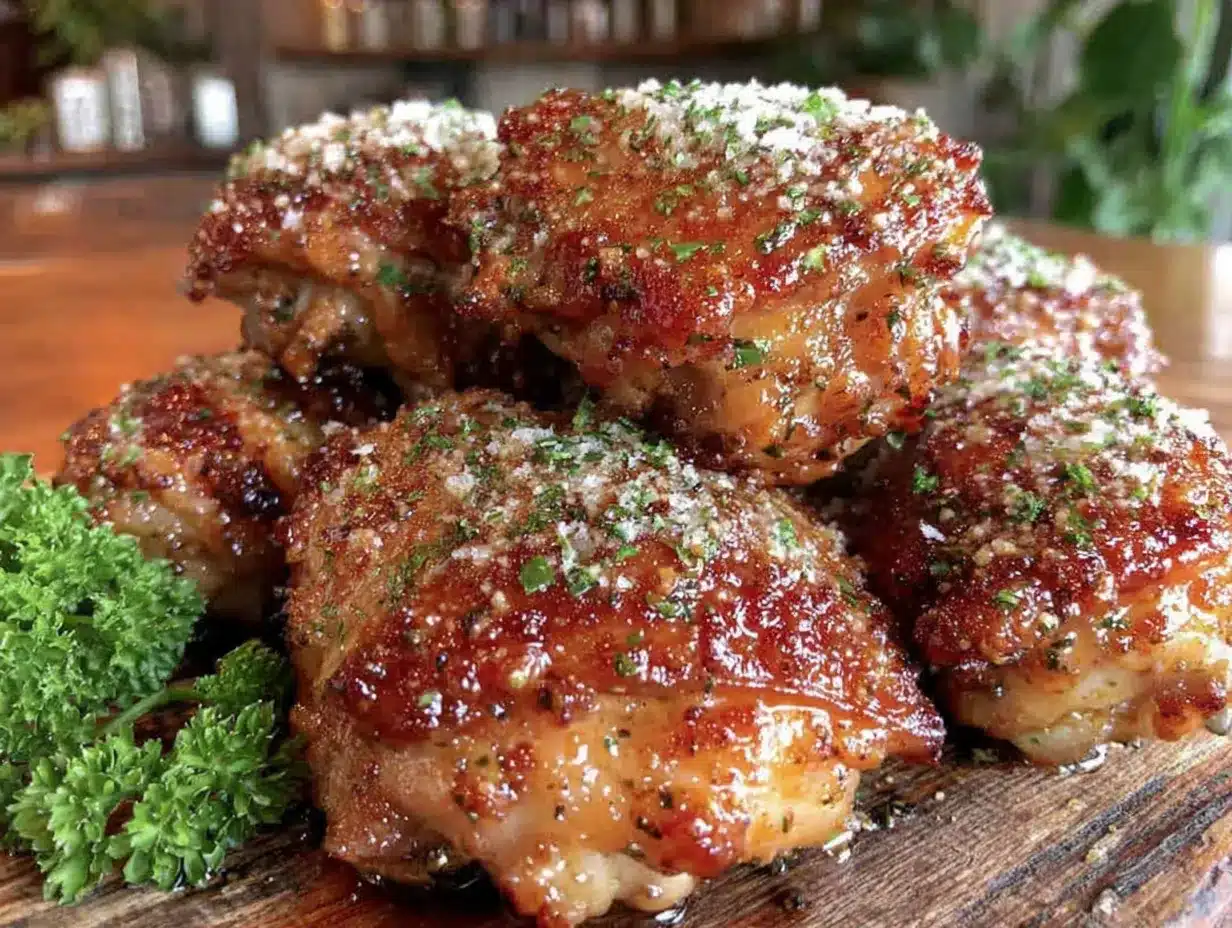
Let’s get cooking. This process is straightforward, but attention to detail makes all the difference. Follow these steps for perfect results every time.
- Preheat the Oven: Set your oven to 400°F (200°C). This temperature is high enough to crisp the crust without drying out the meat. Let it fully preheat for about 10 minutes.
- Prepare the Breading Station: Take two shallow dishes. In the first dish, whisk together the buttermilk and egg whites. In the second dish, combine the panko breadcrumbs, grated parmesan, garlic powder, oregano, Italian seasoning, salt, and pepper. Mix well.
- Pat the Chicken Dry: This is crucial. Use paper towels to pat the chicken thighs completely dry. Moisture is the enemy of crispiness. If the chicken is wet, the breading will slide off. Take your time here.
- Dredge the Chicken: Dip a chicken thigh into the buttermilk mixture, ensuring it is fully coated. Let the excess drip off for a second. Then, press it firmly into the breadcrumb mixture. Coat all sides, pressing gently to ensure the crumbs adhere. Place on a clean plate.
- Repeat: Do this with all the chicken thighs. You should have a neat row of coated thighs on the plate. If the breading gets too dry, you can add a little more parmesan to the mix.
- Arrange on Baking Sheet: Line a baking sheet with parchment paper. Place the chicken thighs on the sheet, leaving space between each piece. Crowding will cause steaming, which leads to soggy chicken.
- Add Oil: Drizzle the olive oil lightly over the top of the chicken. This helps the breadcrumbs brown and crisp up in the oven. You don’t need much; just a light mist or drizzle.
- Bake: Place the baking sheet in the preheated oven. Bake for 25-30 minutes. The chicken is done when the internal temperature reaches 165°F (74°C) and the crust is golden brown.
- Rest and Serve: Remove the chicken from the oven and let it rest for 5 minutes. This allows the juices to redistribute. Serve immediately while the crust is still crispy.
If you see the crust browning too quickly, you can tent the chicken with foil. But usually, 400°F is the sweet spot. Trust the process. The smell alone will tell you when it’s ready.
Cooking Tips & Techniques
Cooking chicken thighs can be tricky if you don’t know the tricks. Here are some professional tips to ensure success.
- Don’t Skip the Pat Dry: I cannot stress this enough. Wet chicken = soggy crust. Use plenty of paper towels. Be thorough.
- Use a Meat Thermometer: Chicken thighs can vary in size. A thermometer ensures they are cooked safely without overcooking. Look for 165°F.
- Don’t Crowd the Pan: Air circulation is key. If you have to cook in batches, do it. Better to cook two batches than one soggy one.
- Fresh Garlic vs. Powder: Fresh garlic burns easily. Garlic powder is safe and flavorful. If you want fresh garlic, mince it very finely and mix it into the oil, not the dry coating.
- Flip Halfway: If you aren’t using a wire rack, flip the chicken halfway through baking. This ensures even browning on all sides.
I once tried to rush this recipe by lowering the temperature. Big mistake. The chicken cooked through, but the crust stayed pale and soft. High heat is your friend. Also, don’t be afraid to press the breadcrumbs on firmly. They need to bond with the egg wash. A loose coating will fall off in the oven.
Variations & Adaptations
This recipe is versatile. Here are some ways to customize it.
- Spicy Version: Add a pinch of cayenne pepper or red pepper flakes to the breading. It adds a nice kick that pairs well with the creamy parmesan.
- Herb Crust: Swap the Italian seasoning for fresh chopped parsley and chives. It adds a fresh, bright flavor.
- Gluten-Free: Use gluten-free panko or crushed gluten-free crackers. The texture might be slightly denser, but it still works well.
- Dairy-Free: Skip the parmesan and use nutritional yeast for a cheesy flavor. Use olive oil instead of butter. The crust will be less rich but still crispy.
- Baked vs. Air Fried: For a lighter option, air fry at 375°F for 15-18 minutes. Shake the basket halfway through. It’s faster and uses less oil.
I often make the spicy version for game day. The heat cuts through the richness of the cheese. It’s a crowd favorite. Try experimenting with different herbs to find your favorite combo.
Serving & Storage Suggestions
This dish is best served hot and fresh. Pair it with roasted vegetables, a simple green salad, or garlic mashed potatoes. A glass of white wine or sparkling water with lemon complements the savory flavors well.
To store leftovers, let the chicken cool completely. Place it in an airtight container in the refrigerator for up to 3 days. Reheat in the oven at 350°F for 10 minutes to restore crispiness. Microwaving will make the crust soft, so avoid it if you can.
The flavors develop over time, becoming more savory as the parmesan melds with the chicken. It’s great for meal prep, though the texture will soften slightly in the fridge. For best results, reheat in the oven or air fryer.
Nutritional Information & Benefits
Chicken thighs are a good source of protein and iron. They are more flavorful than breasts and stay juicier. The parmesan adds calcium and protein. The panko provides carbohydrates for energy. Overall, this is a balanced meal.
For those watching calories, the cooking method (baking) uses less fat than frying. You can reduce the oil drizzle to cut calories further. This recipe is naturally low-carb if you skip the panko, though the crust will be different.
I find this recipe satisfying without being heavy. It’s a great option for those looking for a hearty but not overly rich dinner. The garlic has antioxidant properties, and the herbs add anti-inflammatory benefits. It’s comfort food with a conscience.
Conclusion
Crispy Garlic Parmesan Chicken Thighs are a winner. They are easy, delicious, and satisfying. I love making them because they never fail. They bring me joy, and I hope they bring you joy too.
I encourage you to try this recipe and make it your own. Add your favorite spices or serve it with your favorite sides. Cooking is about experimentation. Don’t be afraid to tweak it.
Please leave a comment below and let me know how it turned out. Did you add extra spice? Did you serve it with salad? I love hearing from you. Share your photos on social media and tag me. Let’s inspire each other in the kitchen.
Thanks for reading. Happy cooking!
FAQs
Can I use chicken breasts instead of thighs?
Yes, but breasts cook faster and can dry out. Reduce the baking time to 20-25 minutes and check the temperature early. Thighs are recommended for juiciness.
Why is my crust not crispy?
Likely due to moisture. Make sure to pat the chicken dry. Also, ensure your oven is fully preheated. Crowding the pan can also lead to steaming instead of baking.
Can I make this ahead of time?
You can bread the chicken and refrigerate it for up to 4 hours before baking. Cover with plastic wrap. This is great for meal prep. Bake just before serving.
What is the best way to reheat leftovers?
Use an oven or air fryer at 350°F for 10 minutes. This restores the crispiness. Avoid the microwave, which makes the crust soggy.
Is this recipe gluten-free?
Not as written. Swap the panko breadcrumbs for gluten-free breadcrumbs or crushed gluten-free crackers. Ensure your parmesan and seasonings are certified gluten-free.
Pin This Recipe!
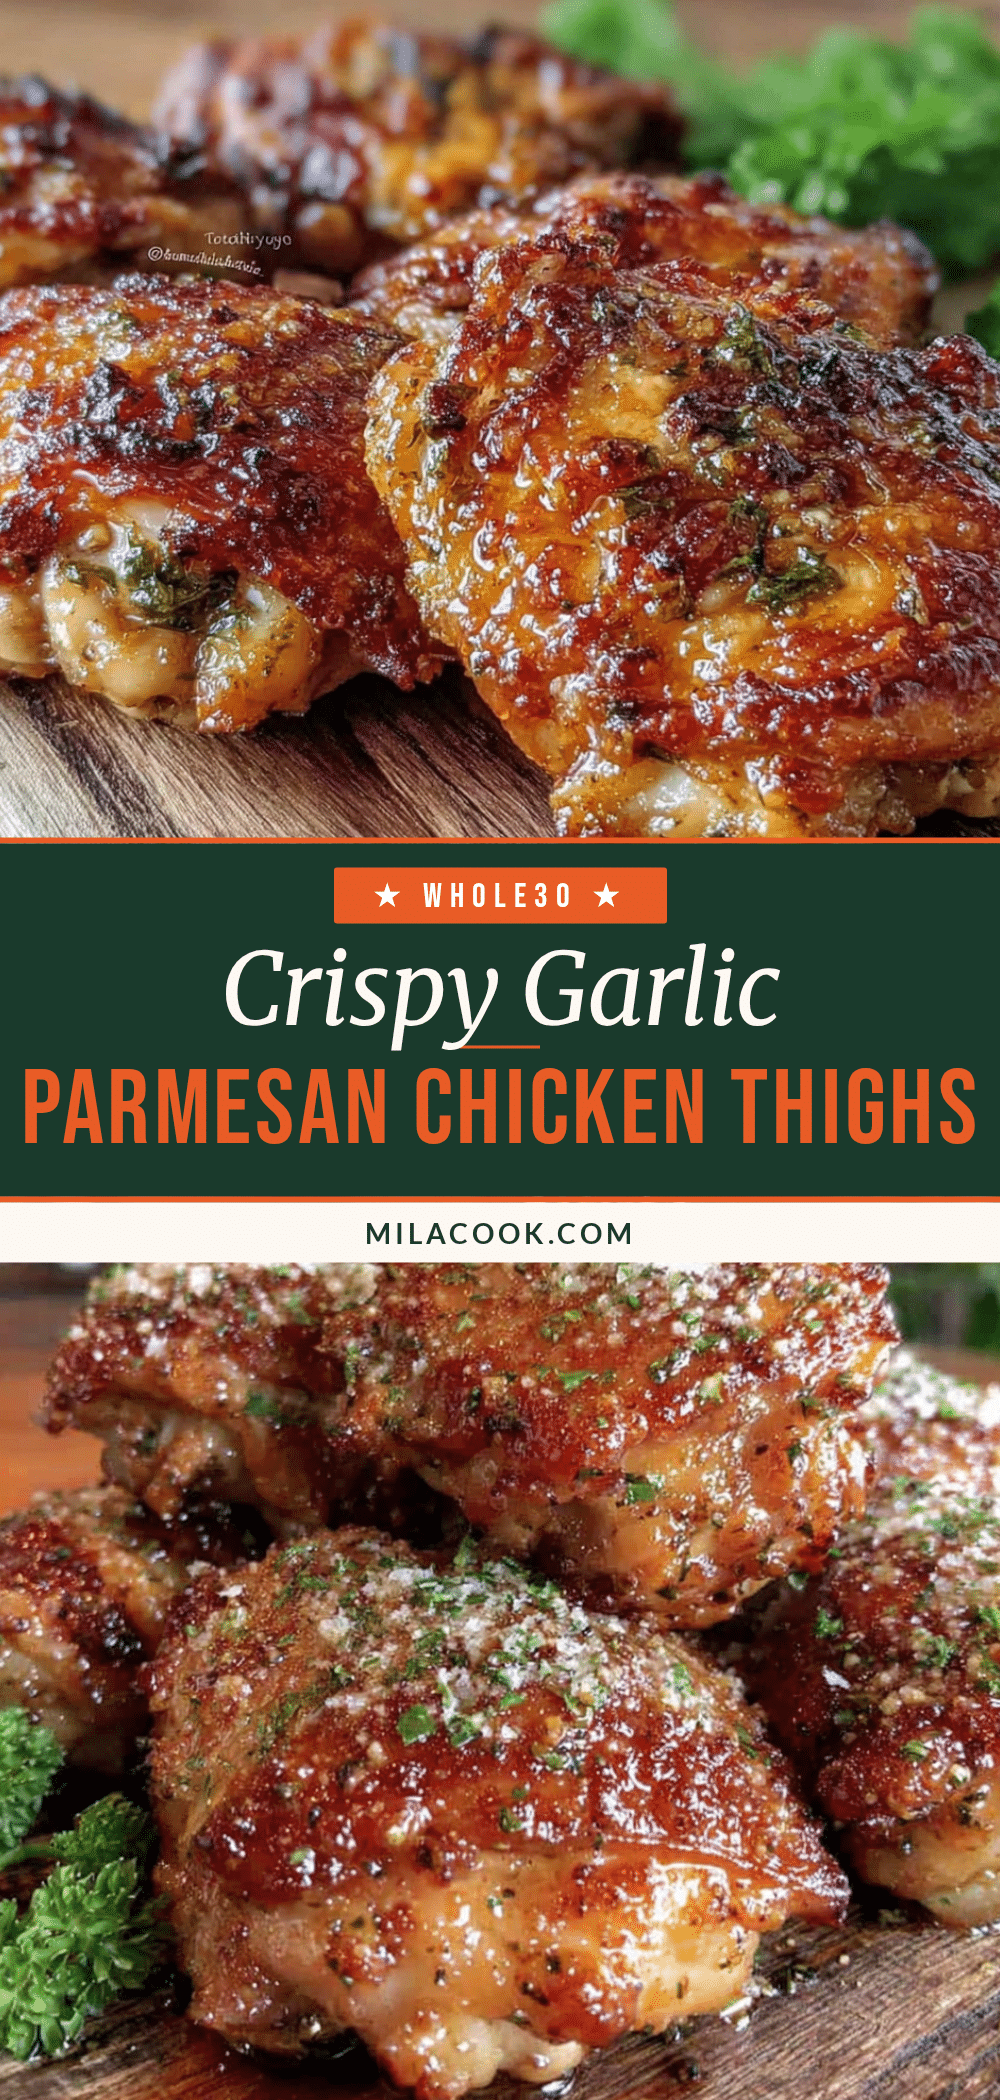
Crispy Garlic Parmesan Chicken Thighs: Easy Oven-Baked Dinner

Juicy, oven-baked chicken thighs coated in a crispy mixture of parmesan cheese, panko breadcrumbs, and garlic. This easy weeknight dinner delivers a crunchy crust and tender meat without the mess of frying.
- Prep Time: 15 minutes
- Cook Time: 30 minutes
- Total Time: 45 minutes
- Yield: 4 servings 1x
- Category: Main Course
- Cuisine: American
Ingredients
- 2 lbs boneless, skinless chicken thighs
- 1/2 cup finely grated Parmesan cheese
- 1 cup Panko breadcrumbs
- 1 teaspoon garlic powder
- 1/2 teaspoon dried oregano
- 1 teaspoon Italian seasoning
- 2 large egg whites
- 1/2 cup buttermilk
- 2 tablespoons olive oil
- Salt and black pepper to taste
Instructions
- Preheat oven to 400°F (200°C) and let it fully preheat for about 10 minutes.
- Prepare a breading station with two shallow dishes: whisk buttermilk and egg whites in one, and combine panko, parmesan, garlic powder, oregano, Italian seasoning, salt, and pepper in the other.
- Pat chicken thighs completely dry with paper towels to ensure the coating adheres.
- Dip each thigh into the buttermilk mixture, let excess drip off, then press firmly into the breadcrumb mixture to coat all sides.
- Arrange coated thighs on a parchment-lined baking sheet (preferably on a wire rack), leaving space between pieces.
- Drizzle lightly with olive oil.
- Bake for 25-30 minutes until internal temperature reaches 165°F (74°C) and crust is golden brown.
- Let rest for 5 minutes before serving.
Notes
Patting the chicken dry is crucial for crispiness. Do not crowd the pan to avoid steaming. For a spicy version, add cayenne pepper. For gluten-free, swap panko for GF breadcrumbs or crushed cornflakes. Reheat in oven or air fryer to maintain crispness.
Nutrition
- Serving Size: 1 chicken thigh per
- Calories: 450
- Sugar: 2
- Sodium: 600
- Fat: 22
- Saturated Fat: 8
- Carbohydrates: 25
- Fiber: 1
- Protein: 35
Keywords: chicken thighs, parmesan chicken, panko chicken, oven baked chicken, crispy chicken, weeknight dinner, easy recipe, garlic parmesan



