Love this? Save it for later!
Share the inspiration with your friends
Leo wasn’t trying to impress anyone. I’d stopped by to drop off a box of old library books and the scent of toasted corn and melted cheddar hit me before I even got inside. The smell was so thick it felt like it had texture, wrapping around my shoulders like a warm blanket. I stood in the doorway, holding the books, while Leo casually stirred a massive sheet pan as if he were just making a sandwich.
He didn’t notice me at first, too focused on the oven timer. When he finally turned, there was a smudge of paprika on his cheek and a grin that said he knew exactly what he was doing. “Just in time,” he said, like this wasn’t the most impressive thing I had ever seen. He shrugged it off, claiming it was just a “lazy Tuesday thing.” But let me tell you, nothing is that easy.
I watched him work, noting how he layered the chips with precision, almost like he was building a fortress of flavor. There was a moment when he forgot to sprinkle the cheese on the edges, and they came out slightly under-melted. I pointed it out, and he just laughed, saying, “That’s where the crunch lives.” It was such a casual, unpretentious moment that I knew I had to capture it.
You know that feeling when you walk into a room and the food smells better than anything you’ve ever made? That was me. I sat at his small kitchen table, watching him pull the pan out of the oven. The cheese was bubbling in those perfect, golden pockets. It wasn’t fancy plating or expensive ingredients. It was just good, honest, crispy comfort food.
This recipe stayed with me because it stripped away all the stress of hosting. You don’t need to be a chef to make Crispy Loaded Nacho Bar Sheet Pan Nachos. You just need a sheet pan and the will to share. I keep making it because it reminds me that the best meals are often the ones made without trying too hard. It’s about gathering, laughing, and grabbing the first chip before anyone else does.
Why You’ll Love This Recipe
I’ve tested enough nacho recipes to know that most of them end up soggy messes. There’s nothing worse than biting into a chip that’s been steamed by wet toppings. That’s why I developed this sheet pan method. It solves the biggest problem with party food: the bottom layer turning into mush. By baking the chips and cheese first, we create a barrier. Then, we add the rest. It’s a game-changer for texture.
Here is why this version wins every time:
- Quick & Easy: You can have this ready in under 20 minutes. It’s perfect for those nights when you’re hungry but don’t want to spend hours in the kitchen.
- Simple Ingredients: No fancy grocery trips needed. You likely already have chips, cheese, and beans in your pantry. This is pantry-friendly cooking at its finest.
- Perfect for Game Day: Whether it’s the Super Bowl or just a Friday night movie, this feeds a crowd without the stress of individual plating.
- Crowd-Pleaser: Kids love the cheese pull, and adults appreciate the crispy texture. It bridges the gap between snack and meal effortlessly.
- Unbelievably Delicious: The combination of crispy chips, melted cheese, and fresh salsa creates a contrast that keeps you coming back for more.
What makes this different from the rest is the layering technique. Most people toss everything on at once. We don’t do that. We bake the base first. This ensures every chip gets coated in cheese but stays crisp. It’s a small tweak that makes a huge difference. It’s not just another nacho recipe; it’s the one that finally gets the crunch right.
It’s the kind of dish that makes you close your eyes after the first bite. It’s comfort food reimagined for the modern, busy home cook. You can impress your guests without sweating over a complicated stove-top process. It turns a simple Tuesday into a celebration.
What Ingredients You Will Need
This recipe relies on simple, high-quality components to deliver bold flavor. The key is balancing the heavy, melted elements with fresh, acidic toppings. Here is what you need to build your masterpiece.
For the Base
- Yellow Corn Tortilla Chips: Use sturdy, restaurant-style chips. They hold up better to heat. I recommend Tostitos or a local brand that feels thick in the hand. Avoid the thin, fragile kinds that shatter instantly.
- Shredded Cheddar Cheese: Pre-shredded cheese contains anti-caking agents that can make your sauce grainy. Buy a block and shred it yourself for that smooth, creamy melt. It makes a huge difference in the final texture.
- Monterey Jack Cheese: This cheese melts beautifully and has a mild flavor that lets the cheddar shine. It adds that stretchy, gooey quality we all crave.
For the Protein
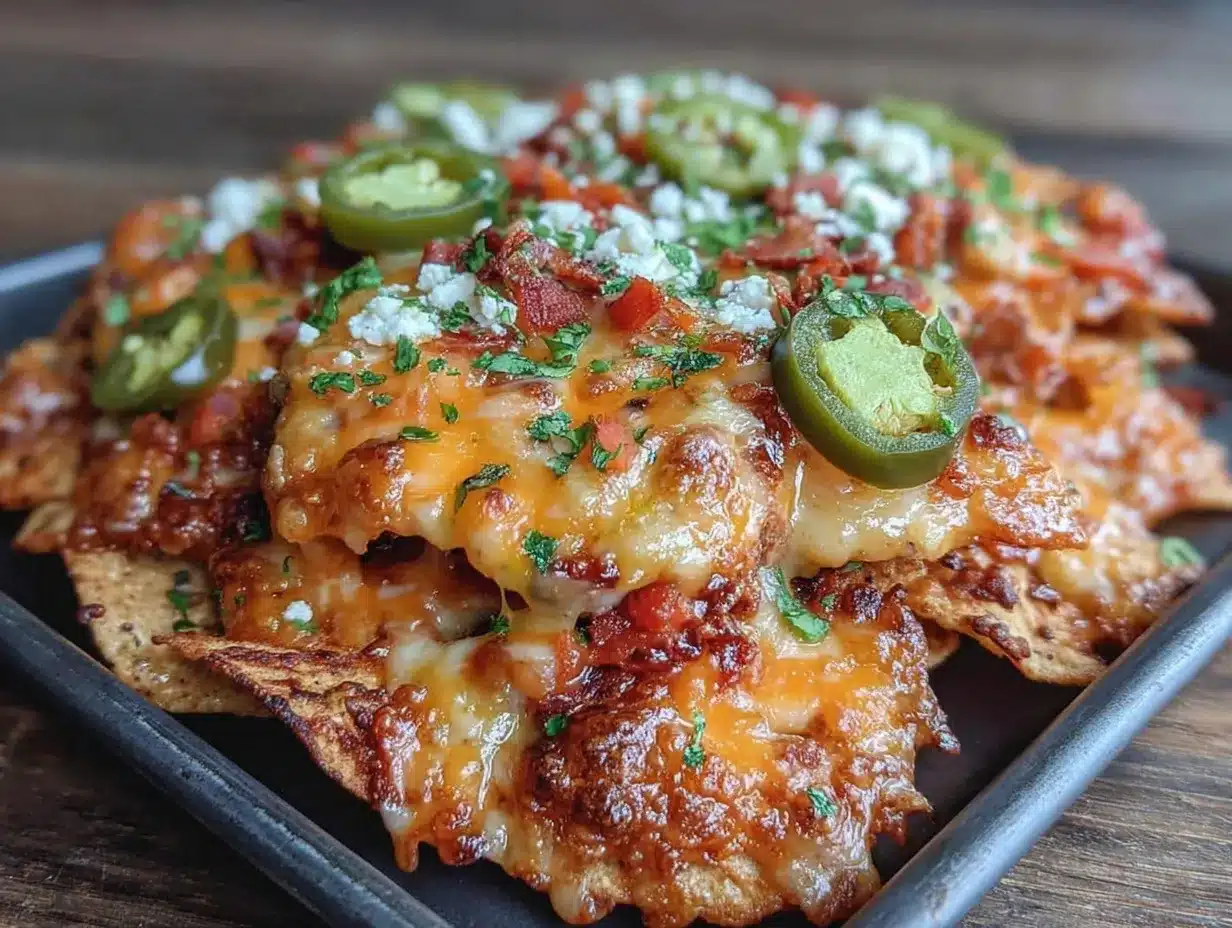
- Ground Beef: Lean ground beef works well. Brown it with taco seasoning beforehand. You can also use ground turkey if you want a lighter option.
- Black Beans: A can of drained and rinsed black beans adds protein and fiber. They don’t need to be cooked, just warmed through. Canned is fine, but dried and cooked is even better if you have the time.
For the Toppings
- Jalapeños: Fresh or pickled, depending on your heat preference. Fresh adds crunch; pickled adds tang.
- Green Onions: Thinly sliced. They add a fresh onion bite without being overpowering.
- Cilantro: Chopped fresh leaves. It brightens up the heavy cheese and meat.
- Avocado: Diced. Add this after baking to keep it from turning brown.
- Salsa: Use a fresh pico de gallo or a chunky salsa. Avoid watery sauces that will sog out your chips.
If you are vegan, you can swap the cheese for a high-quality vegan shred and use lentils instead of beef. The method remains the same. It’s versatile like that.
Equipment Needed
You don’t need a fancy kitchen to pull this off. The main tool is a standard rimmed baking sheet. A half-sheet pan (18×13 inches) is ideal because it gives the chips enough room to breathe. If you use a smaller pan, the chips will stack too high and steam instead of crisp.
A large skillet is needed for browning the meat. A non-stick pan makes cleanup easier, especially if you are using seasoned beef. A wooden spoon or spatula is useful for breaking up the meat.
For serving, consider using a cutting board as a base for the hot pan. It protects your table from heat damage. I also recommend having a small bowl for the lime wedges. You’ll want to squeeze fresh lime juice over the top right before eating. It cuts through the richness perfectly.
If you don’t have a rimmed sheet, you can use a cake pan, but the edges might get soggy. The rim is essential for keeping the chips spread out in a single layer. Budget-friendly options are key here—you likely already own everything.
Preparation Method
Let’s get this started. It’s easier than you think.
- Preheat the Oven: Set your oven to 400°F (200°C). While it heats up, line your baking sheet with parchment paper. This makes cleanup a breeze, and the chips won’t stick. Take about 5 minutes for this step.
- Prepare the Chips: Spread the tortilla chips in a single layer on the prepared sheet pan. Do not overlap them. If you have to use two pans, do it. Crowding is the enemy of crispiness. This takes about 2 minutes.
- Add the Cheese: Sprinkle the shredded cheddar and Monterey Jack evenly over the chips. Be generous. You want every chip to have a bit of cheese. Don’t be shy. This takes 2 minutes.
- Bake the Base: Place the pan in the oven. Bake for 5-7 minutes. Watch it closely. You want the cheese melted and bubbly, but not browned. The chips should still be firm. Remove from the oven. This is the most critical step for texture.
- Prepare the Meat: While the chips bake, brown the ground beef in a skillet over medium-high heat. Drain excess fat. Stir in the taco seasoning and a splash of water. Let it simmer for 2 minutes to thicken. This takes about 8 minutes total.
- Assemble: Spoon the warm meat mixture over the cheesy chips. Distribute it evenly. Then, sprinkle the drained black beans over the top. Return the pan to the oven for 2-3 minutes just to warm the beans and meat. This ensures everything is hot together.
- Add Fresh Toppings: Remove the pan from the oven. Immediately top with sliced jalapeños, green onions, and cilantro. The residual heat will wilt the onions slightly, which is perfect. Add the diced avocado and salsa now. This takes 2 minutes.
- Serve: Squeeze fresh lime juice over everything. Cut into squares with a pizza cutter or spatula. Serve immediately while the cheese is still gooey. This takes 1 minute.
Total time is roughly 20 minutes. It’s fast, efficient, and delicious.
Cooking Tips & Techniques
I’ve made my fair share of soggy nachos, so here is what I learned the hard way. The biggest mistake people make is adding wet toppings before baking. Salsa, sour cream, and avocado should always go on after. If you bake them, they turn into a mess. Keep the wet stuff wet and the chips dry until the last second.
Another tip is to shred your own cheese. Pre-shredded cheese is coated in cellulose to prevent clumping. That coating stops it from melting smoothly. Your nachos will be stringy and less flavorful. It’s worth the extra two minutes to grate a block.
When browning the meat, don’t overcrowd the pan. If you use too much meat in one go, it steams instead of browning. You want those caramelized bits. That flavor is what makes the nachos taste like they came from a restaurant. If you have a lot of meat, cook it in batches.
Multitasking is key here. Start the meat while the oven preheats. By the time the chips are done, the meat should be ready to go. This timing ensures everything is hot when it hits the table. Consistency comes from preparation. Know your steps before you start.
Finally, don’t skip the lime juice. It’s the secret ingredient that wakes up all the flavors. The acidity cuts through the fat of the cheese and meat. It’s a simple touch that elevates the whole dish. Trust me on this one.
Variations & Adaptations
This recipe is a canvas. You can paint it however you like.
Vegetarian Option: Skip the beef and use a can of refried beans or black beans. You can also add roasted corn and bell peppers for extra crunch and flavor. It’s just as satisfying.
Chicken Version: Use shredded rotisserie chicken. Toss it with the taco seasoning and warm it up. It’s a great way to use leftovers. It’s leaner and cooks faster.
Spicy Kick: Add diced habaneros or a drizzle of hot sauce before baking. If you like heat, sprinkle crushed red pepper flakes over the cheese. It adds a nice background warmth.
Seafood Twist: For a lighter option, try using grilled shrimp. Add them after baking so they don’t overcook. Pair with a mango salsa for a tropical vibe. It’s unexpected and delicious.
Gluten-Free: Most corn chips are gluten-free, but check the label. Some brands process them in facilities with wheat. Stick to certified gluten-free chips if needed. The rest of the ingredients are naturally gluten-free.
I once tried adding sweet potato cubes to the pan. They took too long to cook and burned the chips. So, stick to the classic toppings for best results. You can always add extras on the side.
Serving & Storage Suggestions
Serve these hot and fresh. They are best eaten right out of the oven. The contrast of the hot cheese and cool avocado is the best part. Use a spatula to lift squares out of the pan. It keeps the structure intact.
Pair them with a cold drink. A margarita or a light lager works well. For a non-alcoholic option, try a hibiscus tea or lemonade. The sweetness balances the spice.
If you have leftovers (unlikely, but possible), store them in an airtight container in the fridge for up to 2 days. Reheat them in the oven at 350°F (175°C) for 5-7 minutes. Do not use the microwave. It will make the chips chewy and sad. The oven restores the crispiness.
Do not freeze nachos with fresh toppings. The avocado and salsa will separate and turn watery. Freeze the meat and cheese base only. Add fresh toppings after reheating. The flavors develop over time, but the texture is best fresh.
Nutritional Information & Benefits
While this is a treat, it’s not all bad. Corn chips provide carbohydrates for energy. The cheese offers calcium and protein. Black beans add fiber and plant-based protein. It’s a balanced snack if you watch your portions.
The fresh veggies like onions and cilantro add vitamins and antioxidants. Avocado provides healthy fats that are good for your heart. It’s a indulgent meal that has some nutritional merit.
For those watching calories, go easy on the cheese and sour cream. Use more salsa and veggies to bulk up the plate. It’s lower in calories but still full of flavor. It’s about moderation.
It’s a dish that brings people together. That’s the real benefit. Sharing food builds connections. It’s good for the soul, even if it’s not always good for the waistline. Enjoy it guilt-free.
Conclusion
This Crispy Loaded Nacho Bar Sheet Pan Nachos recipe is a winner. It’s easy, delicious, and perfect for any occasion. I love it because it takes the stress out of hosting. You can focus on your guests instead of the food.
Feel free to customize it. Add your favorite toppings. Make it spicy or mild. It’s your pan, your rules. I hope you try it and love it as much as I do. It’s become a staple in my house for a reason.
Let me know how it turns out. Leave a comment below with your favorite toppings. Share your photos on social media. I’d love to see your creations. Tag me so I can see what you made.
Happy cooking! Grab a chip and enjoy. It’s that simple.
FAQs
Can I use baked chips instead of fried?
Yes, you can. Baked chips will be lighter but less crispy. They might get soggy faster. If you use them, add the cheese and bake for less time. Watch them closely.
How do I keep the chips from burning?
Keep an eye on the oven. Cheese burns quickly. If your oven runs hot, check it at 4 minutes. You want melted cheese, not browned cheese. Lower the rack to the middle position.
Can I make this ahead of time?
You can prep the ingredients ahead. Brown the meat and shred the cheese. But bake the nachos right before serving. They are best fresh. Pre-baking leads to soggy chips.
What cheese melts best?
Monterey Jack and Cheddar are the best mix. Jack melts smoothly. Cheddar adds flavor. Avoid pre-shredded cheese. It doesn’t melt as well. Shred it yourself for the best results.
Can I freeze the leftovers?
It’s not recommended. The texture of the chips will suffer. They will become chewy. It’s better to eat them fresh. If you must, freeze the meat and reheat the chips separately.
Pin This Recipe!
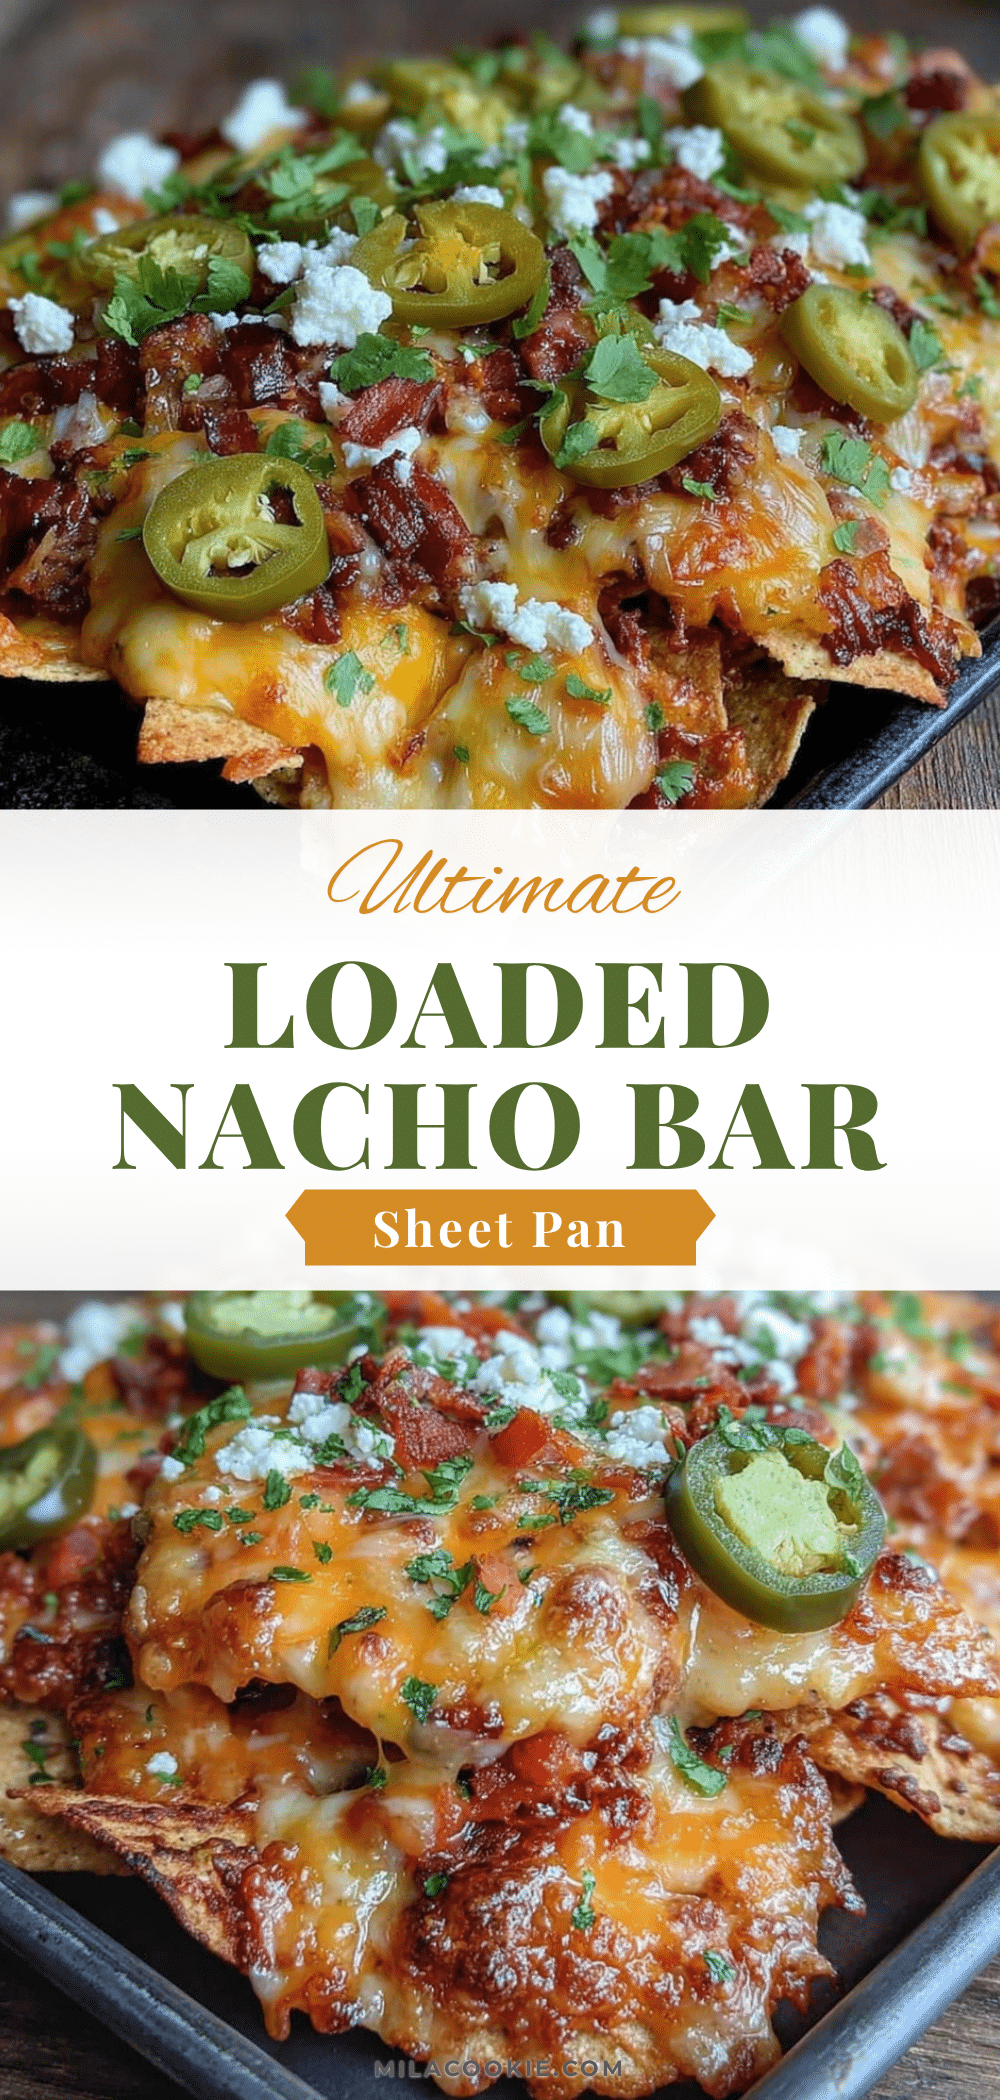
Crispy Loaded Nacho Bar: 5-Step Sheet Pan Nachos

A quick and easy sheet pan nacho recipe that solves the soggy chip problem by baking the cheese base first. Perfect for game day or a lazy Tuesday, this crowd-pleaser delivers crispy texture and bold flavors with simple pantry ingredients.
- Prep Time: 10 minutes
- Cook Time: 10 minutes
- Total Time: 20 minutes
- Yield: 6 servings
- Category: Appetizer
- Cuisine: Mexican
Ingredients
- Yellow Corn Tortilla Chips (sturdy, restaurant-style)
- Shredded Cheddar Cheese (block, shredded yourself)
- Monterey Jack Cheese (shredded)
- Ground Beef (lean, browned with taco seasoning)
- Black Beans (drained and rinsed)
- Jalapeños (fresh or pickled, sliced)
- Green Onions (thinly sliced)
- Fresh Cilantro (chopped)
- Avocado (diced)
- Salsa (chunky or pico de gallo)
- Lime (cut into wedges for juice)
- Taco Seasoning
- Water (splash for simmering meat)
- Parchment Paper
Instructions
- Preheat oven to 400°F (200°C). Line a rimmed baking sheet with parchment paper.
- Spread tortilla chips in a single layer on the prepared sheet pan. Do not overlap.
- Sprinkle shredded cheddar and Monterey Jack cheese evenly over the chips.
- Bake the cheese-covered chips for 5-7 minutes until melted and bubbly but not browned. Remove from oven.
- While chips bake, brown ground beef in a skillet over medium-high heat. Drain excess fat, stir in taco seasoning and a splash of water, and simmer for 2 minutes to thicken.
- Spoon the warm meat mixture over the cheesy chips. Sprinkle drained black beans over the top.
- Return the pan to the oven for 2-3 minutes to warm the meat and beans.
- Remove from oven and immediately top with jalapeños, green onions, and cilantro.
- Add diced avocado and salsa on top.
- Squeeze fresh lime juice over everything, cut into squares, and serve immediately.
Notes
Shred your own cheese to avoid anti-caking agents that prevent smooth melting. Add wet toppings like salsa and avocado only after baking to keep chips crisp. Do not microwave leftovers; reheat in the oven to restore crispiness. For a vegetarian version, skip the beef and use refried beans or extra black beans.
Nutrition
- Serving Size: Served hot from the
- Calories: 450
- Sugar: 2
- Sodium: 650
- Fat: 28
- Saturated Fat: 12
- Carbohydrates: 35
- Fiber: 5
- Protein: 18
Keywords: nachos, sheet pan nachos, game day food, easy appetizer, crispy nachos, party food, mexican recipe, quick dinner



