Love this? Save it for later!
Share the inspiration with your friends
My neighbor across the hall, Marcus, watched me fumble with grocery bags and a crockpot one Sunday morning in October. He didn’t say anything at first—just leaned against his doorframe with this knowing grin. Then he walked over, handed me a cold beer from his own fridge, and said, “You’re overcomplicating it. Football food doesn’t need a resume.” That was the moment everything clicked. I had been stressing over some seven-layer dip recipe I found online, with ingredients I couldn’t even pronounce. Marcus laughed and told me about the chili cheese dip his uncle made for every Bills game back in Buffalo. Three ingredients. That’s it. I honestly thought he was messing with me at first. But the next weekend, I tried it. And let me tell you, I haven’t looked back since. Maybe you’ve been there—standing in the aisle of the grocery store, grabbing random cheeses and canned things, hoping it all comes together before kickoff. This dip is the answer you didn’t know you needed. It’s the kind of recipe that makes you look like a hero with almost zero effort. The first time I made it, I burned the toast I was serving alongside it (classic me), but the dip itself? Perfect. Creamy, spicy, cheesy, and gone in about twelve minutes flat. That’s why I keep making it, year after year. It’s not fancy. It’s not complicated. It’s just really, really good. And honestly, isn’t that what game day is all about?
Why You’ll Love This Recipe
Let me be real with you for a second. I’ve tested more dips than I care to count, and most of them fall into one of two categories: either they take forever to make, or they taste like something you’d find at a gas station. This chili cheese dip is different. It sits right in that sweet spot where convenience meets genuine deliciousness.
- Quick & Easy: You can have this dip ready in under 10 minutes. No chopping. No pre-cooking. No complicated steps. Just dump, stir, and heat. Perfect for those last-minute cravings or surprise guests showing up right before the game.
- Simple Ingredients: You probably already have all three ingredients in your pantry right now. No fancy grocery trips. No hunting for obscure cheeses at specialty stores. Just honest, straightforward staples that work beautifully together.
- Perfect for Football Parties: This dip was practically made for game day. It stays warm in a slow cooker for hours, it’s easy to scoop with chips or veggies, and it feeds a crowd without breaking the bank. Whether you’re hosting a Super Bowl party or just watching the Sunday night game with a few friends, this dip delivers.
- Crowd-Pleaser: I’ve brought this to potlucks, tailgates, and family gatherings. It disappears every single time. Kids love it. Adults love it. Even my picky uncle who “doesn’t eat anything with a label” went back for thirds.
- Unbelievably Delicious: The combination of creamy cheese, hearty chili, and that subtle kick of spice is pure comfort food magic. It’s the kind of dip that makes you close your eyes after the first bite and forget about the game for a second.
What makes this version different from every other chili cheese dip out there? It’s all about the ratio. I’ve experimented with different proportions until I found the perfect balance—not too thick, not too runny, with just enough heat to keep things interesting without overwhelming the cheese. Plus, I’ll share my secret for getting that ultra-smooth, velvety texture that keeps people asking for the recipe. This isn’t just another dip. It’s the one you’ll come back to again and again.
What Ingredients You Will Need
This recipe uses just three simple ingredients to deliver bold flavor and satisfying texture without the fuss. Everything is easily found at any grocery store, and you might already have them in your kitchen right now.
- 1 can (15 ounces) chili with beans (I prefer Wolf Brand or Hormel for the best flavor and texture. Look for a chili that’s not too watery—the thicker, the better. If you’re feeling adventurous, you can use homemade chili, but honestly, canned works perfectly here.)
- 8 ounces cream cheese, softened (Use full-fat cream cheese for the creamiest result. Low-fat versions work in a pinch but won’t be as smooth. Let it sit at room temperature for about 30 minutes before starting—this prevents lumps and makes stirring much easier. I like Philadelphia brand, but store brands work just fine.)
- 1 cup shredded cheddar cheese (Sharp cheddar gives the best flavor, but mild works too. Shred your own from a block if you have the time—it melts more smoothly than pre-shredded cheese, which often has anti-caking agents. But honestly, in a pinch, the bagged stuff works great. I’ve used both and nobody noticed the difference.)
Optional additions (not required, but nice to have):
- 1/4 teaspoon garlic powder (Adds a subtle savory depth. Totally optional, but I never skip it.)
- 1/4 teaspoon onion powder (Same idea—just a little extra flavor without overwhelming the main ingredients.)
- Pickled jalapeños, for garnish (Adds a bright, tangy kick. My personal favorite addition.)
- Chopped green onions, for garnish (Freshness and color. Makes the dip look fancy with zero effort.)
Substitution guidance: If you need a vegetarian option, use vegetarian chili (many brands make it) and plant-based cream cheese. For a lower-fat version, use reduced-fat cream cheese and sharp cheddar (you get more flavor with less cheese). If you’re dairy-free, try vegan cream cheese and dairy-free cheddar shreds—the texture will be slightly different, but still tasty. For a spicier dip, use hot chili or add a dash of cayenne pepper. For a milder version, use plain chili without beans and mild cheddar.
Equipment Needed
The beauty of this recipe is that you don’t need much. Here’s what you’ll need to pull it off:
- Medium saucepan or small slow cooker (A saucepan works great if you’re serving right away. A slow cooker is perfect for parties—it keeps the dip warm for hours. I’ve used both and honestly prefer the slow cooker for game days because I can set it and forget it.)
- Spatula or wooden spoon (For stirring. A silicone spatula works best for scraping the sides and getting every last bit of cheesy goodness.)
- Cutting board and knife (Only if you’re adding garnishes like jalapeños or green onions. Skip this if you’re keeping it simple.)
- Serving bowl or small slow cooker (If you made the dip in a saucepan, transfer it to a serving bowl. If you used a slow cooker, just serve it straight from there—one less dish to wash.)
Budget-friendly tip: You don’t need fancy equipment for this recipe. A basic $10 saucepan from the grocery store works just as well as a high-end one. If you don’t own a slow cooker, don’t worry—the stovetop method takes less than 10 minutes. I made this dip for years before I got my first slow cooker, and it was always a hit.
Maintenance tip: If you’re using a slow cooker, give it a good soak with warm, soapy water after use. Cheese residue can be stubborn, but a little patience goes a long way. I learned this the hard way after scrubbing for twenty minutes.
Preparation Method
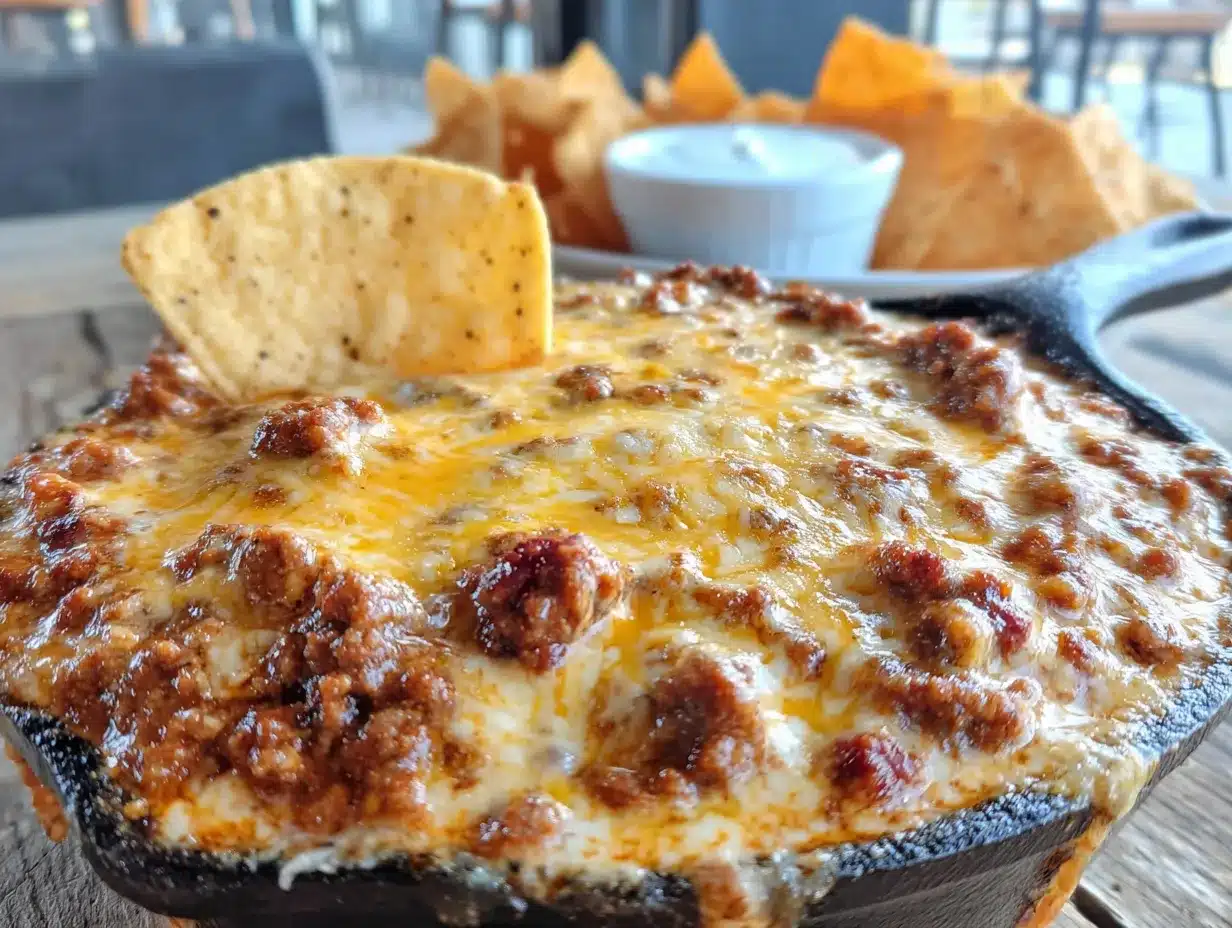
This is where the magic happens. Follow these steps, and you’ll have a dip that’ll make you the MVP of any party.
- Soften the cream cheese. Take the cream cheese out of the fridge about 30 minutes before you start. Cut it into cubes to speed things up. If you forgot (trust me, I’ve been there), microwave it in a bowl for 10-15 seconds. Just don’t overdo it—you want it soft, not melted. I once zapped it for 30 seconds and ended up with a puddle. Learn from my mistakes.
- Combine the chili and cream cheese. In your saucepan or slow cooker, add the entire can of chili (don’t drain it) and the softened cream cheese. If you’re using a saucepan, set the heat to medium-low. If you’re using a slow cooker, set it to low. Stir gently but constantly with your spatula or wooden spoon. The cream cheese will start to break down and blend with the chili. This takes about 2-3 minutes. Don’t rush it—low and slow is the way to go.
- Add the cheddar cheese. Once the cream cheese is mostly incorporated (you might see a few tiny white specks—that’s totally fine), sprinkle in the shredded cheddar. Stir until it’s fully melted and the dip is smooth and creamy. This takes another 2-3 minutes. The dip should be thick but pourable, with a beautiful orange-red color. If it looks too thick, add a tablespoon of milk or water. If it’s too thin, let it simmer for another minute or two.
- Season (optional). If you’re using garlic powder and onion powder, stir them in now. Taste the dip and adjust if needed. I usually add a pinch of salt, but the chili and cheese are already pretty salty, so go easy. This is your chance to make it your own—add more spice, more garlic, whatever your heart desires.
- Heat through. Let the dip cook for another 2-3 minutes, stirring occasionally, until everything is hot and bubbly. You’ll know it’s ready when you see small bubbles breaking the surface and the aroma fills your kitchen. The smell alone will bring people running.
- Serve immediately. Transfer the dip to a serving bowl (if using a saucepan) or switch the slow cooker to warm. Garnish with pickled jalapeños and chopped green onions if you’re feeling fancy. Serve with tortilla chips, pretzel bites, or sliced baguette. Watch it disappear.
Pro tip: If you’re making this for a party, prepare it in the slow cooker on low about an hour before guests arrive. Stir it every 15 minutes or so. It’ll stay warm and gooey for hours. I’ve kept it on warm for up to four hours with no issues—just add a splash of milk if it starts to thicken too much.
Cooking Tips & Techniques
After making this dip more times than I can count (seriously, I’ve lost track), I’ve picked up a few tricks that make a real difference. Here’s what I wish someone had told me from the start.
The biggest mistake people make? Using cold cream cheese. I know, I know—it’s tempting to just throw everything in the pot and hope for the best. But cold cream cheese takes forever to melt and leaves you with lumpy dip. Trust me on this: let it soften first. Your future self will thank you.
Another common error: Overheating the cheese. High heat can cause the cheese to separate and become grainy. Always use medium-low heat and stir frequently. If you see the dip starting to look greasy, remove it from the heat immediately and stir vigorously. Sometimes you can save it by adding a splash of milk and whisking like crazy.
My personal cooking failure: I once tried to double the recipe in a saucepan that was way too small. Big mistake. The dip bubbled over, made a mess on my stove, and I spent twenty minutes scraping burnt cheese off the burner. Learn from my stupidity—use a pot that’s at least twice as big as you think you need.
Timing strategy: If you’re hosting a party, make the dip in the slow cooker about an hour before kickoff. Stir it every 15 minutes while you set up other snacks. This way, it’s perfectly hot and ready when guests arrive, and you’re not stuck in the kitchen while everyone else is having fun. I usually make it during the pre-game show and it’s always perfect by the time the national anthem plays.
Consistency tip: If your dip turns out thicker than you’d like, stir in a tablespoon of milk or even the liquid from pickled jalapeños (trust me, it’s amazing). If it’s too thin, let it simmer uncovered for a few minutes to evaporate some liquid. The perfect consistency should coat a chip without dripping all over your shirt—though honestly, a little drip is part of the experience.
Variations & Adaptations
One of the best things about this recipe is how easy it is to customize. Here are some of my favorite variations:
- Spicy Southwest Version: Use chili with hot spices, add 1/4 cup diced green chiles, and top with fresh jalapeños. This is my go-to when I’m watching a game with friends who like heat. The green chiles add a brightness that cuts through the richness beautifully.
- Loaded Baked Potato Style: Add 1/2 cup cooked, crumbled bacon and 1/4 cup chopped chives on top. Serve with potato wedges or thick-cut fries instead of chips. It’s basically a loaded baked potato in dip form. I made this for a friend’s birthday party and people lost their minds.
- Vegetarian Version: Use vegetarian chili (most major brands have one) and plant-based cream cheese. The texture is slightly different, but the flavor is still incredible. I’ve served this to vegetarians and meat-eaters alike, and nobody complained.
- Extra Cheesy Version: Add 1/2 cup of Monterey Jack or pepper jack cheese along with the cheddar. The pepper jack adds a nice kick without being overwhelming. I do this when I want something a little more indulgent.
- Smoky Version: Use chili with smoked sausage or add 1/2 teaspoon of smoked paprika. The smokiness pairs beautifully with the creamy cheese. This is my secret weapon for fall parties.
Dietary adaptations: For gluten-free, check that your chili is certified gluten-free (most are, but some brands add wheat flour). For low-carb, serve with cucumber slices or bell pepper strips instead of chips. For dairy-free, use vegan cream cheese and dairy-free cheddar. The texture won’t be exactly the same, but it’s still delicious.
Serving & Storage Suggestions
This dip is best served warm, straight from the pot. But here’s how to make it work for any situation.
Serving temperature: Serve hot, right after cooking. If you’re using a slow cooker, keep it on the warm setting throughout the party. The dip stays perfect for up to 4 hours. After that, it might start to thicken, but a splash of milk brings it right back.
Best dippers: Tortilla chips are the classic choice, but don’t stop there. Pretzel bites, baguette slices, crackers, celery sticks, bell pepper strips, and even potato wedges all work beautifully. I once served it with toasted pita chips and it was a game-changer.
Storage: Leftovers (if you have any) keep in an airtight container in the fridge for up to 4 days. The dip will thicken as it cools, but that’s normal. To reheat, microwave in 30-second bursts, stirring between each, or warm it in a saucepan over low heat. Add a splash of milk if it seems too thick.
Freezing: You can freeze this dip for up to 3 months. Let it cool completely, then transfer to a freezer-safe container. Thaw in the fridge overnight and reheat gently. The texture might be slightly different after freezing, but it’s still delicious. I’ve done this for last-minute parties and it works like a charm.
Flavor development: Honestly, this dip tastes even better the next day. The flavors meld together and deepen overnight. So if you’re planning ahead, make it a day in advance and reheat before serving. Your guests will never know you didn’t make it fresh.
Nutritional Information & Benefits
Let’s be real—this is indulgent food. But here’s the breakdown if you’re curious.
Estimated nutritional values per serving (about 1/4 cup):
- Calories: 180
- Fat: 14g
- Carbohydrates: 6g
- Protein: 8g
- Fiber: 1g
- Sugar: 2g
Health benefits: The cream cheese provides calcium and protein, while the chili adds fiber and iron from the beans. Cheddar cheese is a good source of vitamin A and bone-building calcium. So while this isn’t health food, it’s not empty calories either. Everything in moderation, right?
Dietary considerations: This recipe is naturally gluten-free (check your chili brand to be sure). For low-carb diets, serve with vegetable sticks instead of chips. For vegetarian diets, use vegetarian chili. This dip contains dairy and is not suitable for vegans without substitutions.
Personal perspective: I’m all about balance. I eat salads most days, but when game day rolls around, I want something that feels like a treat. This dip hits that spot without requiring a culinary degree or a trip to specialty stores. It’s comfort food, plain and simple. And sometimes, that’s exactly what you need.
Conclusion
Look, I’m not saying this chili cheese dip will change your life. But I am saying it’ll make your next football party a whole lot better. Three ingredients. Ten minutes. Zero stress. That’s the kind of recipe we all need in our back pocket.
What I love most about this dip is how it brings people together. There’s something about a warm, cheesy bowl of goodness that makes everyone forget about the score and just enjoy the moment. I’ve seen strangers become friends over this dip. I’ve watched rival fans share a chip and a laugh. That’s the power of good food made simple.
So go ahead—give it a try. Add your own twist. Make it spicier, cheesier, or keep it classic. However you make it, I promise you’ll be glad you did. And when your friends ask for the recipe (and they will), just smile and tell them it’s our little secret.
Drop a comment below and let me know how yours turned out! Did you add any fun variations? What’s your go-to game day snack? I’d love to hear from you. And hey, if you’re looking for more easy party ideas, check out my crockpot meatballs recipe—it’s another crowd favorite that practically makes itself.
Now go make some dip and enjoy the game. You’ve got this!
Frequently Asked Questions
Can I make this dip ahead of time?
Absolutely! You can make it up to 2 days in advance. Store it in the fridge in an airtight container, then reheat gently on the stovetop or in the microwave. Add a splash of milk if it seems too thick after reheating.
Can I use a different type of cheese?
Yes! While cheddar is classic, you can use Monterey Jack, pepper jack, Colby, or even a Mexican blend. Just avoid pre-shredded cheese if possible—it has anti-caking agents that can make the dip grainy.
How do I make this dip spicier?
Use hot chili instead of regular, add a dash of cayenne pepper, or stir in some diced jalapeños. You can also use pepper jack cheese instead of cheddar for an extra kick.
Can I make this in a microwave?
Yes! Combine the chili and cream cheese in a microwave-safe bowl. Microwave for 1 minute, stir, then add the cheddar and microwave for another 30-60 seconds. Stir until smooth. It’s even faster than the stovetop method.
What should I serve with this dip?
Tortilla chips are the classic choice, but pretzel bites, baguette slices, crackers, celery sticks, and bell pepper strips all work wonderfully. For a low-carb option, try cucumber slices or pork rinds.
Pin This Recipe!
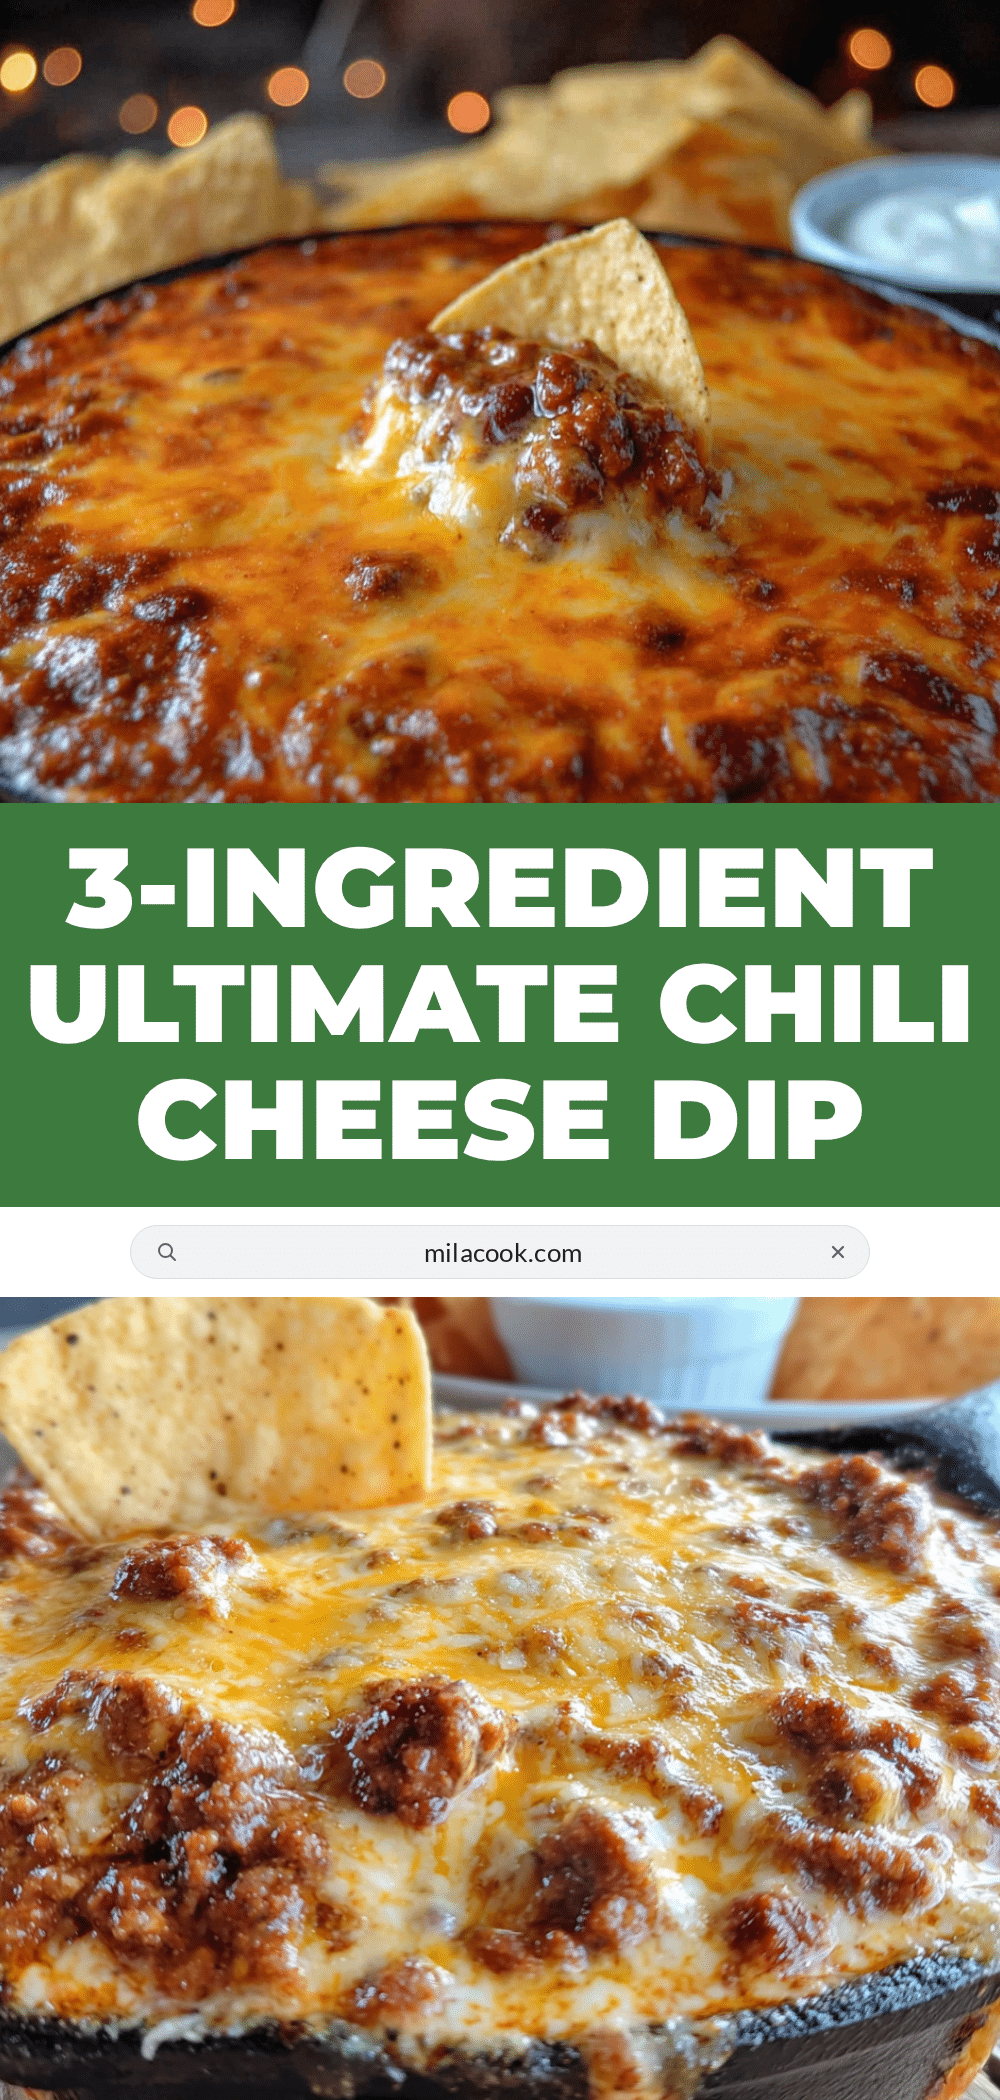
Easy 3-Ingredient Chili Cheese Dip: Perfect Game Day Appetizer

This creamy, spicy, and cheesy dip comes together with just three simple ingredients in under 10 minutes. Perfect for football parties, potlucks, or any gathering where you want to impress with minimal effort.
- Prep Time: 5 minutes
- Cook Time: 10 minutes
- Total Time: 15 minutes
- Yield: 8 servings 1x
- Category: Appetizer
- Cuisine: American
Ingredients
- 1 can (15 ounces) chili with beans (preferably Wolf Brand or Hormel)
- 8 ounces cream cheese, softened
- 1 cup shredded cheddar cheese (sharp or mild)
- 1/4 teaspoon garlic powder (optional)
- 1/4 teaspoon onion powder (optional)
- Pickled jalapeños, for garnish (optional)
- Chopped green onions, for garnish (optional)
Instructions
- Soften the cream cheese by letting it sit at room temperature for 30 minutes, or microwave in a bowl for 10-15 seconds. Cut into cubes to speed up softening.
- In a medium saucepan over medium-low heat or a slow cooker on low, combine the entire can of chili (undrained) and the softened cream cheese. Stir gently but constantly for 2-3 minutes until the cream cheese breaks down and blends with the chili.
- Sprinkle in the shredded cheddar cheese and stir until fully melted and smooth, about 2-3 more minutes. The dip should be thick but pourable.
- If using, stir in garlic powder and onion powder. Taste and adjust seasoning as needed.
- Let the dip cook for another 2-3 minutes, stirring occasionally, until hot and bubbly.
- Serve immediately, garnished with pickled jalapeños and green onions if desired. Serve with tortilla chips, pretzel bites, or sliced baguette.
Notes
For best results, use full-fat cream cheese and shred cheddar from a block. If using a slow cooker, keep on warm for up to 4 hours; add a splash of milk if it thickens. Leftovers keep in the fridge for up to 4 days and taste even better the next day. For a spicier version, use hot chili or add cayenne pepper.
Nutrition
- Serving Size: 1/4 cup
- Calories: 180
- Sugar: 2
- Sodium: 450
- Fat: 14
- Saturated Fat: 8
- Carbohydrates: 6
- Fiber: 1
- Protein: 8
Keywords: chili cheese dip, game day dip, 3-ingredient dip, easy appetizer, football party dip, slow cooker dip, cheesy dip



