Love this? Save it for later!
Share the inspiration with your friends
I used to think the phrase “freezer meal” meant sacrificing flavor for convenience. Honestly, I had this mental picture of sad, soggy casseroles and mushy vegetables that tasted like the cardboard box they came in. Let me tell you, I was so wrong. It took a frantic Tuesday night, a pound of ground beef I needed to use, and a pantry full of rice to finally prove it to myself.
Hand me that pot, I muttered to no one in particular, already bracing for another mediocre dinner. But something clicked as the onions started sizzling. Maybe it was the smell of garlic hitting the hot oil, or the way the rice began to soak up all that savory beef broth. I wasn’t trying to create a masterpiece, I was just trying to get dinner on the table before my patience ran out. The power went out halfway through cooking once, and I had to finish it on a camping stove in the backyard—that’s the day I learned this recipe is truly tough enough for anything.
That first bite had this unexpected depth. It wasn’t just beef and rice, it was rich, it was comforting, and it had this little smoky kick from the paprika that I hadn’t planned. I mean, I just threw things in a skillet. But my family cleaned their plates, and my neighbor, who swore she hated anything with ground beef, asked for the recipe. This Easy Freezer-Friendly Ground Beef & Rice Skillet became my secret weapon. It’s the meal I make when I have nothing left to give, and somehow, it always gives back. Maybe you’ve been there, staring into an almost-empty fridge, wondering what to do. This one stays with you because it works, every single time.
Why You’ll Love This Recipe
This isn’t just another weeknight dinner, it’s a lifesaver. I’ve tested this recipe more times than I can count, tweaking the liquid ratios and the seasoning until it was absolutely foolproof. It’s the kind of meal that makes you feel like you have your life together, even when you’re running on three hours of sleep.
- Quick & Easy: Comes together in about 30 minutes from start to finish. Perfect for those “I forgot to thaw anything” nights.
- Simple Ingredients: You probably have everything in your pantry and fridge right now. No fancy grocery trips required.
- Perfect for Meal Prep: Make a double batch on Sunday, and you have lunches or dinners ready for the whole week. It also freezes like a dream.
- Crowd-Pleaser: I’ve served this to picky kids, hungry teenagers, and adults who claim they don’t like “one-pot meals.” Everyone goes back for seconds.
- Unbelievably Delicious: The combination of savory beef, tender rice, and just the right amount of seasoning is pure comfort food magic. It’s not just good, it’s the kind of meal that makes you close your eyes after the first bite.
What makes this version different from the rest is the technique. I use a specific ratio of broth to rice that guarantees fluffy grains every time, not mushy or crunchy. The secret is letting the rice toast slightly in the rendered beef fat before adding the liquid. It adds a nutty depth that you just don’t get from boiling it in water. This is comfort food reimagined—faster, easier, but with the same soul-soothing satisfaction that makes you feel like you’ve been hugged from the inside.
What Ingredients You Will Need
This recipe uses simple, wholesome ingredients to deliver bold flavor and satisfying texture without the fuss. These are mostly pantry staples, which makes this dish incredibly accessible on a busy weeknight.
- Ground Beef: 1 pound (450g) of 80/20 ground beef. The 20% fat gives you enough flavor and moisture without making the dish greasy. I prefer grass-fed beef from a local farm when I can get it, but any good quality ground beef works.
- Long-Grain White Rice: 1 cup (200g). I recommend using long-grain white rice like basmati or jasmine for the best texture. It stays separate and fluffy, unlike short-grain rice which can get sticky. Do not use instant rice, it will turn to mush.
- Yellow Onion: 1 medium, diced. Adds a sweet, savory base to the dish. You could use a white onion in a pinch, but yellow gives the best flavor.
- Garlic: 3 cloves, minced. Fresh garlic is non-negotiable here. The jarred stuff just doesn’t have the same punch. (adds richness)
- Beef Broth: 2 cups (480ml). Use a good quality low-sodium broth so you can control the salt level. I really like the brand Kitchen Basics for its clean flavor.
- Diced Tomatoes: 1 can (14.5 oz / 400g), undrained. The acidity from the tomatoes cuts through the richness of the beef beautifully. Fire-roasted tomatoes add an extra layer of smoky flavor.
- Tomato Paste: 2 tablespoons. This is the secret to a deep, concentrated tomato flavor. It adds a richness that diced tomatoes alone can’t provide.
- Paprika: 1 teaspoon. I use sweet smoked paprika for a subtle, earthy smokiness. It’s a game-changer.
- Dried Oregano: 1/2 teaspoon. Adds a warm, slightly bitter herbaceous note that balances the dish.
- Ground Cumin: 1/2 teaspoon. This gives the dish a little warmth and complexity. Don’t skip it, it’s what makes the flavor feel “complete.”
- Salt & Black Pepper: To taste. I start with 1 teaspoon of salt and 1/2 teaspoon of pepper, then adjust at the end.
- Olive Oil: 1 tablespoon. For sautéing the aromatics.
- Optional Garnishes: Fresh parsley, chopped green onions, or shredded cheddar cheese for serving.
Equipment Needed
You don’t need a lot of fancy tools for this one, which is part of the beauty. Here is what you will need:
- Large Skillet or Dutch Oven: A 12-inch skillet with a tight-fitting lid is ideal. I use my old cast iron dutch oven for this, it holds heat beautifully and the rice cooks evenly. A heavy-bottomed stainless steel pan works great too.
- Wooden Spoon or Spatula: For breaking up the ground beef and stirring the rice. A wooden spoon won’t scratch your pans.
- Sharp Knife & Cutting Board: For dicing the onion and mincing the garlic.
- Measuring Cups and Spoons: Accuracy matters for the liquid-to-rice ratio.
- Can Opener: For the diced tomatoes.
- Freezer-Safe Containers or Bags: If you are making this for the freezer, you’ll need something airtight. I like using quart-sized freezer bags laid flat to save space.
If you don’t have a lid for your skillet, you can use a piece of aluminum foil tightly crimped around the edges. It works perfectly in a pinch.
Preparation Method
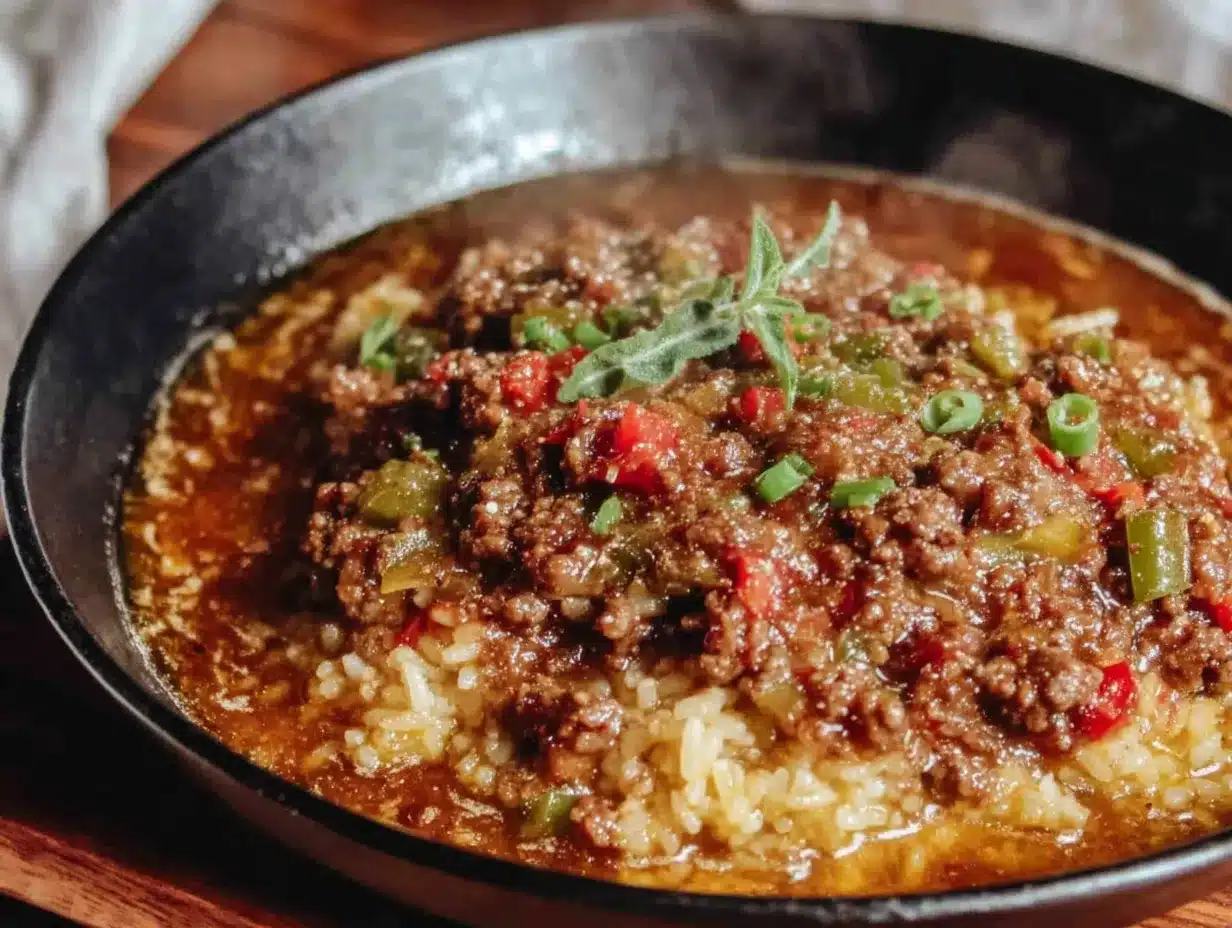
This comes together in one pot, which means less cleanup. Follow these steps carefully, especially the part about toasting the rice. It makes all the difference.
- Brown the Beef: Place your large skillet or dutch oven over medium-high heat. Add the ground beef and cook, breaking it up with your wooden spoon, until it is browned and no longer pink. This should take about 5-7 minutes. Do not drain all the fat, leave about 1 tablespoon in the pan for flavor. If you use very lean beef (93/7), you may need to add a tablespoon of olive oil here.
- Sauté the Aromatics: Reduce the heat to medium. Add the diced onion to the pan with the beef. Cook for 3-4 minutes, stirring occasionally, until the onion becomes translucent and soft. Add the minced garlic and cook for another 30 seconds until fragrant. Be careful not to burn the garlic, it will turn bitter.
- Toast the Rice: This is the most important step. Add the uncooked rice to the pan. Stir it constantly for 1-2 minutes. You want the rice grains to become slightly opaque and you should hear a faint popping sound. This toasting process locks in the starch and prevents the rice from becoming mushy later. It also adds a wonderful nutty flavor.
- Add the Tomato Paste and Spices: Push the beef and rice mixture to one side of the pan. Add the tomato paste to the empty space and cook it for 1 minute, stirring constantly. This caramelizes the paste and deepens its flavor. Then stir in the paprika, oregano, cumin, salt, and pepper. Mix everything together until the beef and rice are evenly coated.
- Add Liquids and Tomatoes: Pour in the beef broth and the undrained can of diced tomatoes. Stir everything together, scraping the bottom of the pan to release any browned bits (this is called deglazing and it adds tons of flavor). Bring the mixture to a strong simmer.
- Simmer and Cook: Once it is simmering, reduce the heat to low. Cover the skillet with a tight-fitting lid. Let it cook undisturbed for 18-20 minutes. Do not lift the lid during this time, the steam is what cooks the rice perfectly.
- Rest and Fluff: After 18-20 minutes, remove the pan from the heat. Keep the lid on and let it rest for 5 minutes. This allows the steam to finish cooking the rice and settle. After 5 minutes, remove the lid, fluff the rice with a fork to separate the grains. Taste and adjust salt and pepper if needed.
- Serve or Cool for Freezing: Serve immediately with your favorite garnishes. If you are freezing it, let the skillet cool completely to room temperature before transferring to freezer-safe containers.
Cooking Tips & Techniques
I have made this recipe at least thirty times, and I have learned a few things the hard way. Here are my best tips for perfect results every time.
The Rice Ratio is Everything: The most common mistake is using too much liquid. For long-grain white rice, the magic ratio is 1 part rice to 2 parts liquid. In this recipe, the liquid includes both the broth and the juice from the diced tomatoes. If you have a very juicy can of tomatoes, you might need to reduce the broth by a quarter cup. If the rice looks dry after 18 minutes, you can add a splash of hot broth and cook for 2 more minutes.
Don’t Skip the Toasting: I once forgot to toast the rice because I was distracted by a phone call. The result was a gummy, sticky mess that reminded me of cafeteria food. The toasting step is non-negotiable. It changes the starch structure on the surface of the grain, meaning the rice will absorb liquid without releasing excess starch into the dish.
Let It Rest: The 5-minute rest period is crucial. When you first take the lid off, the rice might look a little wet. Give it those 5 minutes, and the residual heat will absorb the remaining liquid. I ruined a batch once by stirring it too early, and it turned into a porridge-like texture. Patience pays off here.
Season in Layers: Don’t just dump all the salt in at the end. Season the beef while it browns, season the onions as they cook, and taste the broth before you add the rice. Layering the seasoning creates a more complex, well-rounded flavor.
Variations & Adaptations
This recipe is incredibly flexible. Here are a few of my favorite ways to change it up.
- Cheesy Beef & Rice Skillet: After the 5-minute rest, sprinkle 1 cup of shredded cheddar or Monterey Jack cheese over the top. Cover the pan for 2 minutes to let it melt, then stir it in. It becomes incredibly creamy and decadent.
- Mexican-Style Version: Swap the oregano and cumin for 1 tablespoon of taco seasoning. Add a can of drained black beans and a cup of frozen corn along with the broth. Serve with a dollop of sour cream and fresh salsa.
- Veggie-Packed Version: Sauté a diced bell pepper and a grated carrot along with the onion. You can also stir in a handful of fresh spinach right at the end of cooking, just until it wilts. This is a great way to sneak in extra nutrients.
- Brown Rice Adaptation: If you want to use brown rice, you need to adjust the cooking time and liquid. Use 1 cup of brown rice, 2.5 cups of beef broth, and increase the simmering time to 40-45 minutes. Keep the lid on tight.
- Spicy Kick: Add a diced jalapeño along with the garlic, or stir in 1/2 teaspoon of red pepper flakes with the other spices. A dash of hot sauce at the end also works wonders.
Serving & Storage Suggestions
This dish is wonderful fresh, but it truly shines as a leftover or freezer meal. The flavors meld together and deepen overnight.
Serving: Serve this skillet hot, straight from the pan. I love to top it with fresh chopped parsley or green onions for a pop of color. A simple side salad with a lemon vinaigrette is a perfect contrast to the richness of the beef and rice. Sometimes I serve it with warm tortillas or crusty bread to soak up any extra sauce.
Refrigerator Storage: Store leftovers in an airtight container in the refrigerator for up to 4 days. The rice will absorb more liquid as it sits, so it may seem a little drier when you reheat it. That’s normal.
Freezer Storage: This is where this recipe really excels. Let the skillet cool completely. Portion the mixture into freezer-safe quart-sized bags. Lay them flat in the freezer to save space. They will keep for up to 3 months. To thaw, place a bag in the refrigerator overnight.
Reheating: The best way to reheat this is in a skillet over medium-low heat with a splash of beef broth or water. Stir occasionally until heated through. You can also microwave it in 30-second bursts, stirring in between. The flavor actually gets better after a day or two in the fridge.
Nutritional Information & Benefits
This recipe is a balanced meal on its own. Here is an approximate nutritional breakdown per serving (based on 6 servings).
Estimated per serving: Calories: 385, Fat: 14g, Carbohydrates: 38g, Protein: 28g, Fiber: 3g, Iron: 4mg.
Health Benefits: Ground beef is an excellent source of high-quality protein, iron, and B vitamins, which are essential for energy production. The rice provides complex carbohydrates for sustained energy. The onions and garlic are packed with antioxidants and compounds that support immune health. The tomatoes are rich in lycopene, a powerful antioxidant linked to heart health.
Dietary Considerations: This recipe is naturally gluten-free and nut-free. To make it dairy-free, simply skip the optional cheese garnish. It is also relatively low in sugar, with most of the sweetness coming naturally from the onions and tomatoes.
Conclusion
This Easy Freezer-Friendly Ground Beef & Rice Skillet is more than just a recipe, it’s a strategy. It is the meal you turn to when you need dinner to be a sure thing, not a gamble. It is forgiving, it is flexible, and it delivers every single time. I love this recipe because it reminds me that good food doesn’t have to be complicated. Sometimes the best meals come from a single pot, a few pantry staples, and a little bit of patience.
I hope you give this a try and make it your own. Maybe you will add more spice, or some extra veggies, or a mountain of cheese on top. That is the beauty of a simple, solid foundation. I would love to hear how it turns out for you. Leave a comment below and let me know what variations you tried, or share a photo of your skillet creation on Pinterest. Happy cooking, friends!
Frequently Asked Questions
Can I use ground turkey or chicken instead of beef?
Absolutely. Ground turkey or chicken works perfectly. Just be aware that they are leaner, so you may need to add an extra tablespoon of olive oil to prevent the rice from sticking. The flavor will be milder, so consider adding a little extra seasoning.
Why is my rice still crunchy after 20 minutes?
This usually happens for one of two reasons. Either the heat was too low and the liquid never reached a proper simmer, or the lid was lifted during cooking, letting the steam escape. Next time, ensure the liquid is at a gentle boil before you cover the pan, and resist the urge to peek.
Can I make this in a slow cooker or Instant Pot?
You can adapt it for an Instant Pot. Use the sauté function to brown the beef and aromatics. Add the rice, broth, and tomatoes. Pressure cook on high for 5 minutes with a natural release. For a slow cooker, brown the beef first, then add everything except the rice. Cook on low for 6-8 hours, then stir in the cooked rice 20 minutes before serving.
How do I prevent the rice from getting mushy when I freeze it?
The key is to slightly undercook the rice if you are planning to freeze the entire batch. Cook it for only 15 minutes instead of 18-20. The rice will finish cooking when you reheat it. Also, make sure the mixture is completely cool before you put it in the freezer to prevent ice crystals from forming.
Can I add other vegetables to this dish?
Yes, this is a great way to use up leftover vegetables. Diced zucchini, bell peppers, or mushrooms can be sautéed with the onion. Frozen peas or corn can be stirred in during the last 5 minutes of cooking. Just be careful not to add too many watery vegetables, as they can throw off the liquid ratio.
Pin This Recipe!
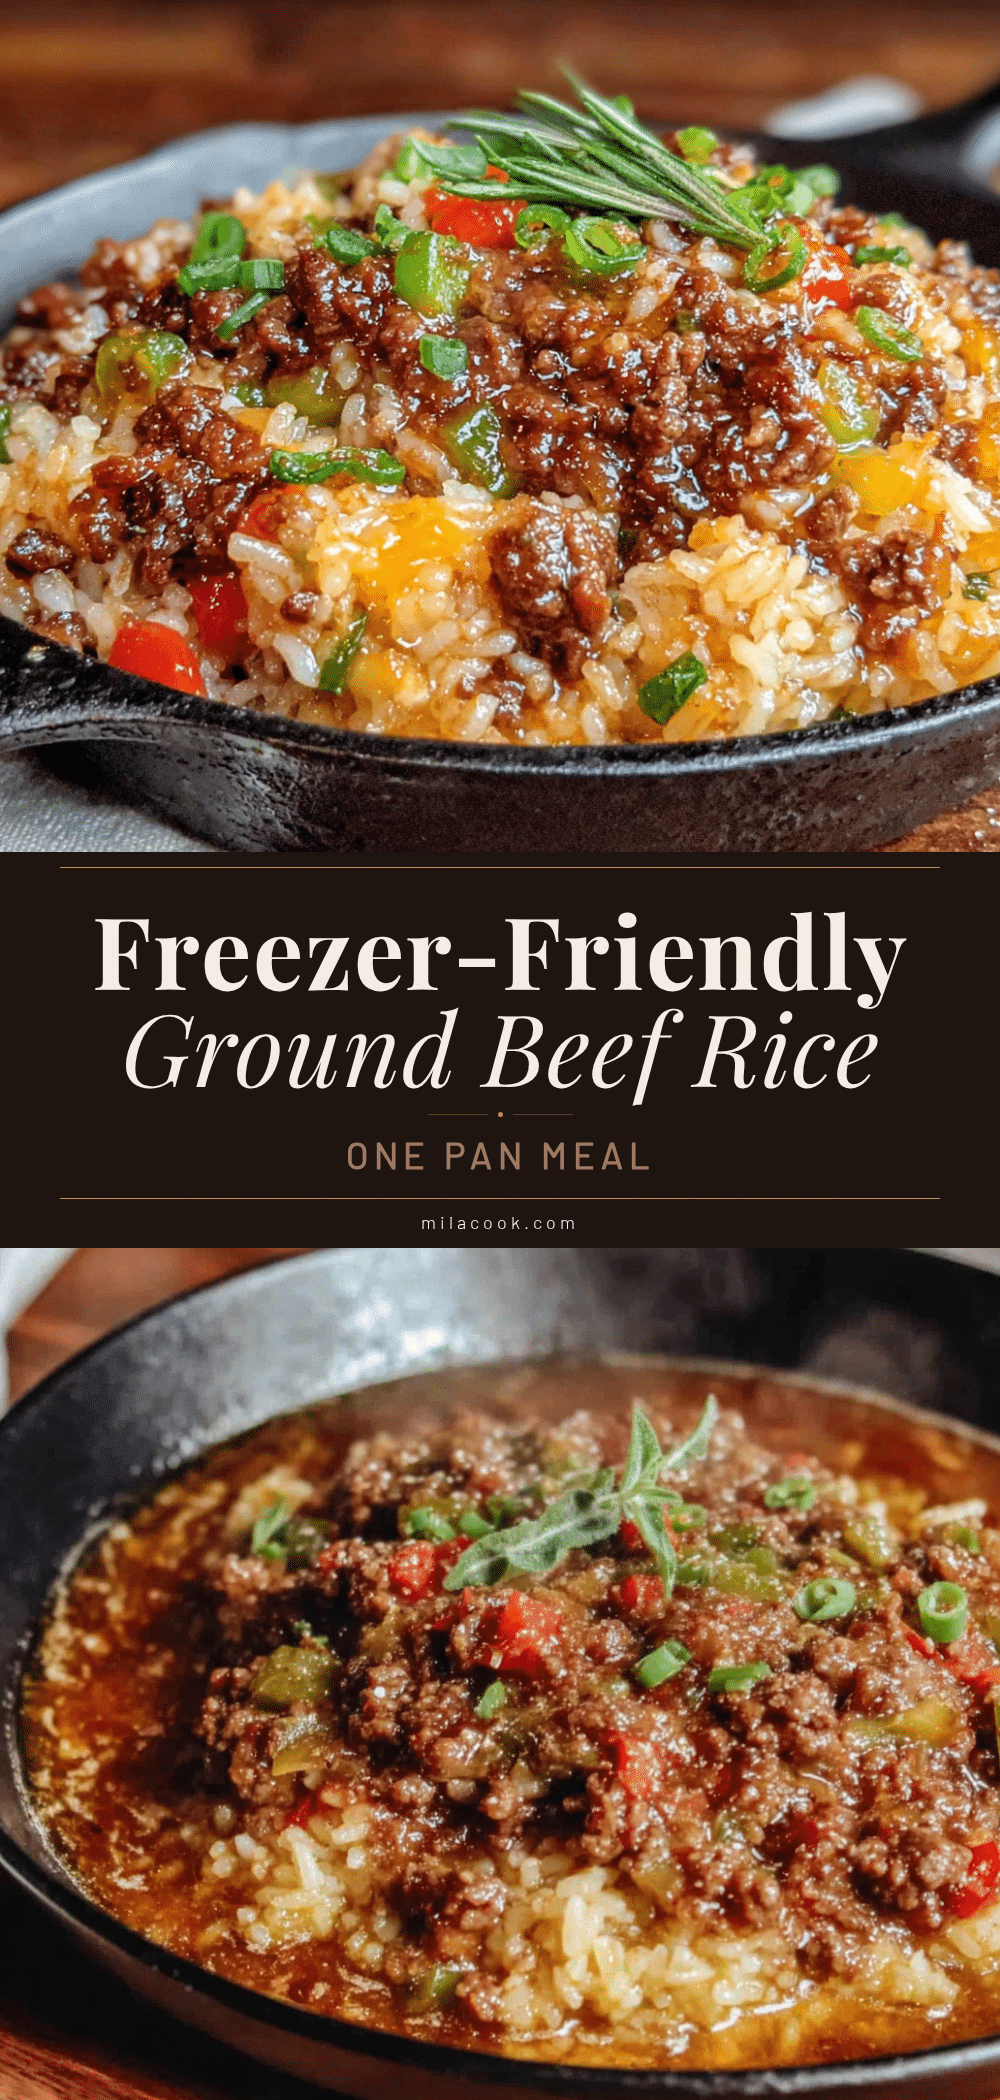
Easy Freezer-Friendly Ground Beef & Rice Skillet

This Easy Freezer-Friendly Ground Beef & Rice Skillet is a lifesaver for busy weeknights. It’s a quick, one-pot meal made with simple ingredients that comes together in about 30 minutes and freezes beautifully.
- Prep Time: 10 minutes
- Cook Time: 25 minutes
- Total Time: 35 minutes
- Yield: 6 servings 1x
- Category: Main Course
- Cuisine: American
Ingredients
- 1 pound (450g) 80/20 ground beef
- 1 cup (200g) long-grain white rice (like basmati or jasmine)
- 1 medium yellow onion, diced
- 3 cloves garlic, minced
- 2 cups (480ml) low-sodium beef broth
- 1 can (14.5 oz / 400g) diced tomatoes, undrained
- 2 tablespoons tomato paste
- 1 teaspoon sweet smoked paprika
- 1/2 teaspoon dried oregano
- 1/2 teaspoon ground cumin
- 1 teaspoon salt (or to taste)
- 1/2 teaspoon black pepper (or to taste)
- 1 tablespoon olive oil
- Optional garnishes: fresh parsley, chopped green onions, or shredded cheddar cheese
Instructions
- Brown the Beef: Place a large skillet or dutch oven over medium-high heat. Add the ground beef and cook, breaking it up with a wooden spoon, until browned and no longer pink (about 5-7 minutes). Leave about 1 tablespoon of fat in the pan.
- Sauté the Aromatics: Reduce heat to medium. Add the diced onion and cook for 3-4 minutes until translucent. Add the minced garlic and cook for 30 seconds until fragrant.
- Toast the Rice: Add the uncooked rice to the pan. Stir constantly for 1-2 minutes until the grains become slightly opaque and you hear a faint popping sound.
- Add the Tomato Paste and Spices: Push the beef and rice mixture to one side. Add the tomato paste to the empty space and cook for 1 minute, stirring constantly. Stir in the paprika, oregano, cumin, salt, and pepper until everything is evenly coated.
- Add Liquids and Tomatoes: Pour in the beef broth and undrained diced tomatoes. Stir, scraping the bottom of the pan to release any browned bits. Bring to a strong simmer.
- Simmer and Cook: Reduce heat to low, cover with a tight-fitting lid, and cook undisturbed for 18-20 minutes.
- Rest and Fluff: Remove from heat and let rest, covered, for 5 minutes. Remove the lid, fluff the rice with a fork, and adjust seasoning if needed.
- Serve or Cool for Freezing: Serve immediately with garnishes, or let cool completely before transferring to freezer-safe containers.
Notes
For best results, do not skip toasting the rice. The 5-minute rest period is crucial for perfect texture. If freezing, slightly undercook the rice (15 minutes instead of 18-20) to prevent mushiness upon reheating. For brown rice, use 2.5 cups broth and cook for 40-45 minutes.
Nutrition
- Serving Size: 1 serving (about 1.5
- Calories: 385
- Sugar: 4
- Sodium: 680
- Fat: 14
- Saturated Fat: 5
- Carbohydrates: 38
- Fiber: 3
- Protein: 28
Keywords: ground beef, rice, skillet, freezer meal, one-pot, easy dinner, weeknight dinner, meal prep



