Love this? Save it for later!
Share the inspiration with your friends
My neighbor Jen wasn’t trying to impress me. I’d stopped by to borrow a ladder—our fence had blown down in a storm the night before—and the smell of warm bread hit me before I even got to her back door. She was standing at the counter, hands dusted with flour, a stack of little sealed pockets piling up on a baking sheet. “Oh, these?” she said when I asked, barely looking up. “Just something I throw together so the kids don’t eat my granola bars for breakfast.” I stood there, ladder completely forgotten, watching her work. She wasn’t measuring anything. She wasn’t checking a recipe. She just grabbed bread, cheese, ham, and pressed it all together like it was the most obvious thing in the world. Honestly, I felt a little embarrassed by how fascinated I was. I mean, I’ve made fancy dinners that took hours, and here she was casually creating something I knew would be a game-changer in my own kitchen. She handed me one fresh off the press—still warm, the cheese just starting to ooze—and I took a bite. Maybe you’ve been there, where something so simple stops you cold. That’s what happened to me. I asked for her “method,” which she laughed at, and I’ve been making these easy ham and cheese uncrustables ever since. They’ve saved my sanity on busy mornings, lazy afternoons, and those days when cooking feels like the last thing I want to do.
Why You’ll Love This Recipe
Let me tell you—these homemade uncrustables are not just another lunch idea. They’re the kind of recipe that makes you wonder why you ever bought the store-bought version. I’ve tested this recipe at least a dozen times, tweaking the bread-to-filling ratio, trying different cheeses, and figuring out the best way to freeze them so they taste just as good as fresh. Here’s why I keep coming back to them:
- Quick & Easy: You can make a batch of 12 in under 15 minutes. That’s less time than it takes to decide what to order for takeout.
- Simple Ingredients: Bread, ham, cheese, and butter. That’s it. No weird preservatives or ingredients you can’t pronounce.
- Perfect for Busy Mornings: Grab one from the freezer, toss it in a lunchbox or toast it up, and breakfast is handled in seconds.
- Crowd-Pleaser: Kids love them, adults love them, and even picky eaters will happily eat these without complaint.
- Unbelievably Delicious: The bread gets perfectly toasty on the outside while the cheese melts into gooey perfection. It’s comfort food at its simplest.
What makes this recipe different from the rest? It’s the technique—pressing the edges just right so nothing leaks, and using the perfect bread-to-cheese ratio so every bite is balanced. This isn’t just another version of a ham and cheese sandwich. It’s your best version, the one you’ll make again and again until you’ve memorized it.
These uncrustables are the kind of thing that makes you close your eyes after the first bite. They’re comfort food reimagined—faster, freezer-friendly, but with the same soul-soothing satisfaction. Perfect for impressing your kids without stress, or turning a chaotic morning into something manageable.
What Ingredients You Will Need
This recipe uses simple, wholesome ingredients to deliver bold flavor and satisfying texture without the fuss. Most of these are probably already in your kitchen, which is exactly the point.
- White bread (soft and pillowy works best; I prefer Wonder Bread or Nature’s Own for that classic uncrustable texture)
- Deli ham (thinly sliced; honey ham or smoked ham both work great—look for Boar’s Head or Applegate for cleaner ingredients)
- American cheese (slices, not shredded; it melts perfectly and holds everything together—Kraft Singles are my go-to)
- Salted butter (softened to room temperature; adds richness and helps the bread toast beautifully)
- Optional: Dijon mustard (a thin spread adds a nice tang, but skip it if you’re feeding picky eaters)
For the best results, use bread that’s fresh but not too crusty—soft bread presses and seals better. If you want a healthier twist, swap in whole wheat bread or use low-sodium ham. I’ve tried this with turkey and Swiss cheese too, and it’s fantastic. For a dairy-free option, use vegan cheese slices and plant-based butter—just make sure the cheese melts well.
Pro tip: Look for ham that’s sliced thin but not shaved. Too thin and it gets lost in the bread; too thick and it makes the uncrustable bulky and hard to seal.
Equipment Needed
You don’t need much for this recipe, which is part of the beauty. Here’s what you’ll want to have on hand:
- Uncrustable maker or sandwich sealer (I use the Norpro Sandwich Sealer—it’s under $10 on Amazon and works perfectly)
- Rolling pin (helps flatten the bread evenly before sealing)
- Baking sheet (for freezing the uncrustables flat before bagging them)
- Parchment paper (keeps them from sticking together in the freezer)
- Freezer-safe zip-top bags (quart or gallon size, depending on how many you’re making)
- Butter knife (for spreading the butter)
If you don’t have a sandwich sealer, don’t worry. You can use a round cookie cutter or even a glass to cut the bread, then press the edges with a fork to seal them. It takes a little more time, but it works in a pinch. I’ve also used a small bowl to cut the bread when I couldn’t find my sealer—honestly, whatever works.
Preparation Method
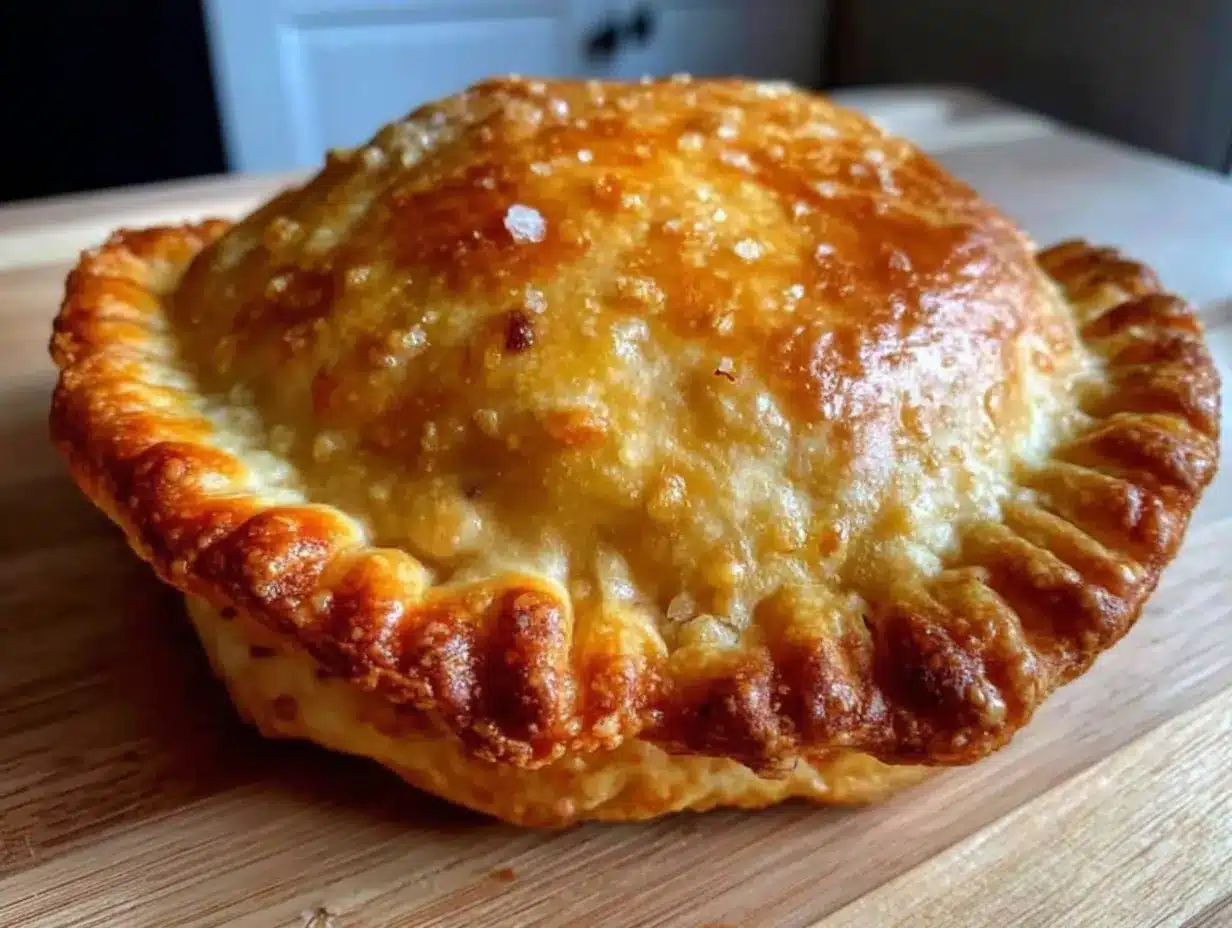
Follow these steps, and you’ll have a stack of freezer-friendly uncrustables ready to go in no time. I’ve included all the little details I wish someone had told me the first time I made these.
- Soften the butter. Take your butter out of the fridge about 30 minutes before you start, or microwave it for 10 seconds until it’s spreadable but not melted. You want it soft enough to spread easily but not so soft that it soaks into the bread.
- Lay out your bread slices. Place 12 slices of bread on a clean work surface. Use a rolling pin to gently flatten each slice—just a few rolls until it’s about ¼ inch thick. This helps the bread seal better and gives you a more even uncrustable.
- Spread the butter. Using a butter knife, spread a thin layer of softened butter on one side of each bread slice. Don’t skip this step—the butter adds flavor and helps the bread toast up golden and crispy later.
- Assemble the sandwiches. Flip half the bread slices over (buttered side down) so the unbuttered side is facing up. Place one slice of cheese on each, followed by 2-3 slices of ham folded to fit. Top with another slice of bread, buttered side up. The buttered sides should be on the outside of the sandwich.
- Seal the edges. Press your sandwich sealer firmly over each sandwich, centering it so the filling doesn’t spill out. You’ll hear a satisfying crunch as it cuts through the bread and seals the edges. If you’re using a fork, press the tines firmly around the edges to create a seal—make sure there are no gaps.
- Remove the crusts. Lift the sealer and peel away the excess bread crust. Don’t throw them away—save them for breadcrumbs or croutons, or just snack on them while you work (I definitely do).
- Flash freeze. Place the sealed uncrustables on a baking sheet lined with parchment paper, making sure they’re not touching. Pop the sheet in the freezer for 1-2 hours, or until the uncrustables are completely frozen solid. This step prevents them from sticking together when you bag them.
- Bag and store. Once frozen, transfer the uncrustables to a freezer-safe zip-top bag. Squeeze out as much air as possible before sealing, and label the bag with the date. They’ll keep for up to 3 months—though in my house, they never last that long.
A few things I’ve learned the hard way: Don’t overfill the sandwiches, or they won’t seal properly. And if your bread is too fresh, it can be a little sticky—letting it sit out for an hour helps. Also, if you notice any gaps in the seal, press the edges again with your fingers before freezing. A leaky uncrustable is a sad uncrustable.
Cooking Tips & Techniques
Over the months I’ve been making these, I’ve picked up a few tricks that make a real difference. Here’s what I wish I’d known from the start:
Don’t skip the flash freeze. I made this mistake once—just threw them all in a bag right after sealing—and ended up with a giant clump of uncrustables stuck together. The flash freeze step is non-negotiable if you want to grab them individually later.
Use room-temperature butter. Cold butter tears the bread instead of spreading smoothly. I learned this the frustrating way when I tried to rush and ended up with ragged bread edges that wouldn’t seal. Give the butter time to soften—it’s worth it.
Press firmly but not too hard. When using the sandwich sealer, you want to press down with steady, even pressure. If you press too hard, you’ll squeeze the filling out the sides. Too soft, and the edges won’t seal. It takes a few tries to get the feel, but once you do, it’s like muscle memory.
Toast or not to toast? These uncrustables are delicious straight from the freezer, thawed in the fridge overnight, or toasted. For a warm version, pop them in a toaster oven at 350°F for 5-7 minutes, or microwave for 30 seconds. The toaster oven gives you that crispy exterior—microwaving makes them soft and pillowy. Both are good, just different.
Batch size matters. I usually make 12 at a time, which fits perfectly on one baking sheet for flash freezing. If you’re making a bigger batch, work in batches so the uncrustables freeze individually before bagging.
Variations & Adaptations
One of the best things about this recipe is how easy it is to change up. Here are some variations I’ve tried and loved:
- Turkey and Swiss: Swap the ham for turkey and the American cheese for Swiss. It’s a classic combo that feels a little more grown-up.
- Ham and Cheddar: Use sharp cheddar slices instead of American for a bolder flavor. The cheddar melts beautifully and adds a nice tang.
- Vegetarian Option: Skip the ham and add roasted red peppers, spinach, and mozzarella. You can also use hummus as a spread for a protein boost.
- Spicy Version: Add a thin layer of sriracha or chipotle mayo before adding the ham. It gives the uncrustables a nice kick without being overwhelming.
- Breakfast Uncrustables: Use scrambled eggs, cheese, and cooked sausage or bacon. These are perfect for grab-and-go breakfasts—just toast them in the morning.
I’ve also tried making these with gluten-free bread, and they work surprisingly well. Just be gentle when pressing the sealer—gluten-free bread can be more fragile. For a low-carb option, use keto-friendly bread and thin-sliced cheese. The technique stays the same, and the results are just as satisfying.
Serving & Storage Suggestions
These uncrustables are incredibly versatile when it comes to serving. Here’s how I like to enjoy them:
Cold: Straight from the fridge or thawed in the lunchbox, they’re perfect for packed lunches. Pair them with apple slices, baby carrots, or a small bag of chips for a complete meal.
Toasted: For a warm, crispy version, toast the uncrustable in a toaster oven or air fryer at 350°F for 5-7 minutes. The butter on the outside creates a golden, crunchy crust that’s absolutely irresistible. Serve with a cup of tomato soup for the ultimate comfort lunch.
Microwaved: If you’re in a hurry, microwave a frozen uncrustable for 30-45 seconds. The bread will be soft and the cheese perfectly melted. It’s not as crispy as toasted, but it’s ready in under a minute.
Storage: Keep the uncrustables in a freezer-safe bag in the freezer for up to 3 months. For best quality, use them within 2 months. To thaw, transfer one to the fridge overnight, or let it sit at room temperature for about an hour. I’ve also tossed them directly into a lunchbox in the morning, and they’re thawed and ready by lunchtime.
Reheating: If you’re reheating from frozen, add an extra minute to the toasting or microwaving time. From thawed, the times above work perfectly. The flavors actually develop a little more after freezing—something about the cheese and ham melding together makes them taste even better the second time around.
Nutritional Information & Benefits
Here’s an approximate nutritional breakdown per uncrustable (based on one sandwich made with white bread, American cheese, and deli ham):
| Nutrient | Amount |
|---|---|
| Calories | 220-250 |
| Protein | 12g |
| Carbohydrates | 22g |
| Fat | 10g |
| Saturated Fat | 5g |
| Cholesterol | 30mg |
| Sodium | 650mg |
| Fiber | 1g |
| Sugar | 3g |
These uncrustables provide a good balance of protein and carbs, making them a satisfying meal or snack. The ham offers a solid source of protein, while the cheese adds calcium. If you’re watching your sodium intake, opt for low-sodium ham and cheese. For a higher fiber option, use whole wheat bread. They’re also easily adaptable for gluten-free diets with the right bread choice.
From a wellness perspective, I love that these uncrustables let me control exactly what goes into my family’s food. No preservatives, no artificial flavors—just real ingredients that I feel good about serving.
Conclusion
These easy ham and cheese uncrustables have genuinely changed how I handle busy mornings and hectic lunchtimes. They’re simple, they’re delicious, and they’re waiting for you in the freezer whenever you need them. I love that I can make a big batch on a Sunday afternoon and have breakfasts and lunches sorted for weeks.
Don’t be afraid to play around with the fillings and find your favorite combination. That’s half the fun of this recipe—making it your own. Whether you stick with classic ham and cheese or branch out into turkey and cheddar, you’re going to love having these on hand.
I’d love to hear how yours turn out! Drop a comment below and let me know what fillings you used, or tag me in your photos if you share them online. Happy cooking, and here’s to one less thing to worry about on a busy morning!
Frequently Asked Questions
Can I use any type of bread for these uncrustables?
Yes, but soft white bread works best because it seals easily and has the right texture. Whole wheat and gluten-free bread also work—just be gentle when pressing the sealer so the bread doesn’t tear.
How long do these last in the freezer?
They’ll stay fresh for up to 3 months in a sealed freezer bag. For best quality, try to use them within 2 months. Just make sure to squeeze out as much air as possible before sealing the bag.
Can I make these without a sandwich sealer?
Absolutely. Use a round cookie cutter or a glass to cut the bread, then press the edges with a fork to seal them. It takes a little more time, but the results are just as good.
Do I need to thaw them before toasting?
Nope! You can toast them straight from the freezer. Just add an extra minute or two to the toasting time. I usually do 5-7 minutes in a toaster oven at 350°F.
Can I add other ingredients like vegetables or sauces?
Yes, but be careful not to overfill the sandwiches, or they won’t seal properly. Thin slices of tomato, roasted red peppers, or a thin layer of mustard work great. Just keep the fillings relatively dry to prevent sogginess.
Pin This Recipe!
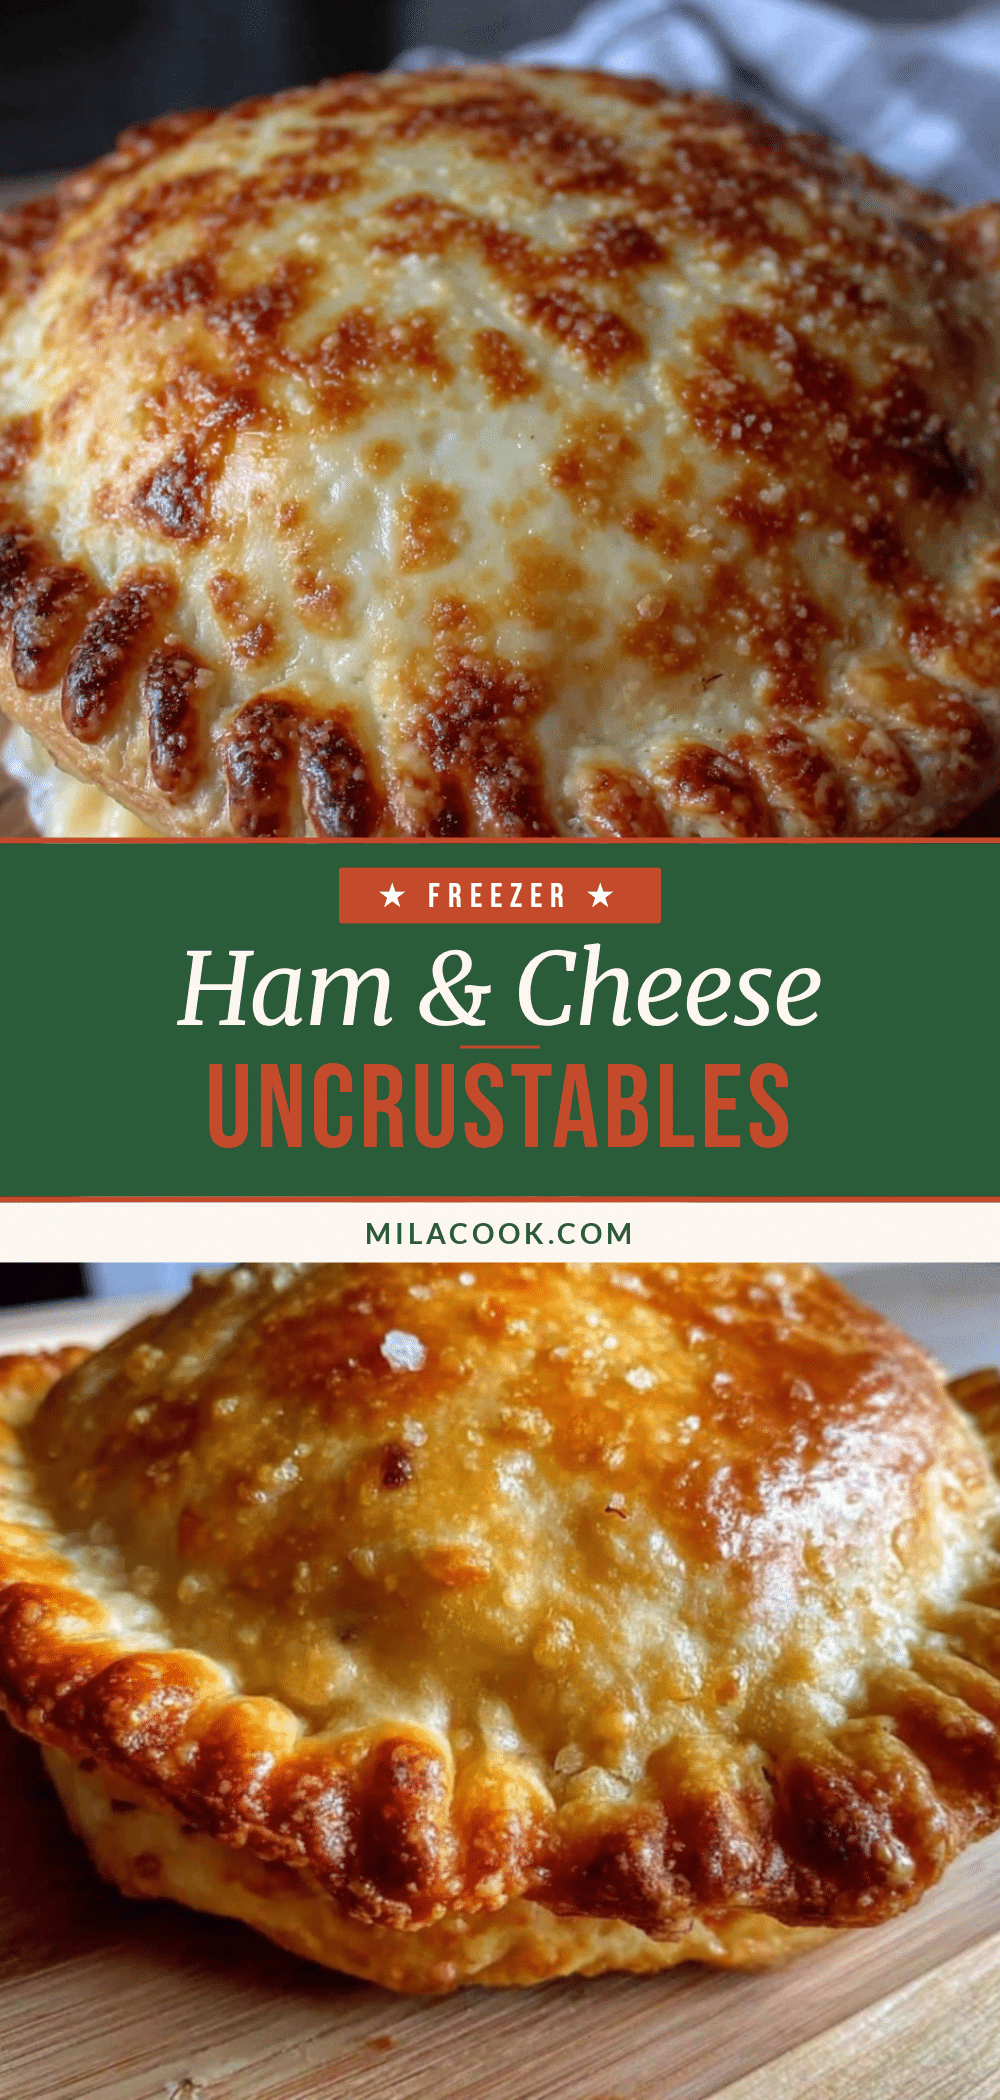
Easy Ham and Cheese Uncrustables: Best Freezer Meal

These homemade ham and cheese uncrustables are quick, freezer-friendly, and perfect for busy mornings. Made with simple ingredients, they toast up golden and crispy with gooey melted cheese inside.
- Prep Time: 15 minutes
- Cook Time: 0 minutes
- Total Time: 15 minutes (plus 1-2 hours freezing)
- Yield: 12 servings 1x
- Category: Lunch
- Cuisine: American
Ingredients
- 12 slices white bread (soft and pillowy, like Wonder Bread or Nature’s Own)
- 12 slices deli ham (thinly sliced; honey ham or smoked ham, like Boar’s Head or Applegate)
- 12 slices American cheese (like Kraft Singles)
- 4 tablespoons salted butter, softened to room temperature
- Optional: Dijon mustard (thin spread)
Instructions
- Soften the butter: Take butter out of the fridge 30 minutes before starting, or microwave for 10 seconds until spreadable but not melted.
- Lay out 12 slices of bread on a clean work surface. Use a rolling pin to gently flatten each slice to about 1/4 inch thick.
- Spread a thin layer of softened butter on one side of each bread slice.
- Flip half the bread slices over (buttered side down) so the unbuttered side is facing up. Place one slice of cheese on each, followed by 2-3 slices of ham folded to fit. Top with another slice of bread, buttered side up (buttered sides on the outside).
- Press a sandwich sealer firmly over each sandwich, centering it so the filling doesn’t spill out. If using a fork, press tines firmly around edges to seal.
- Lift the sealer and peel away excess bread crust. Save crusts for breadcrumbs or croutons.
- Place sealed uncrustables on a baking sheet lined with parchment paper, not touching. Freeze for 1-2 hours until completely frozen solid.
- Transfer frozen uncrustables to a freezer-safe zip-top bag, squeeze out air, seal, and label with date. Store for up to 3 months.
Notes
Don’t overfill sandwiches or they won’t seal properly. If bread is too fresh, let it sit out for an hour to reduce stickiness. For warm version, toast in toaster oven at 350°F for 5-7 minutes or microwave for 30 seconds. Flash freeze is essential to prevent sticking.
Nutrition
- Serving Size: 1 uncrustable
- Calories: 235
- Sugar: 3
- Sodium: 650
- Fat: 10
- Saturated Fat: 5
- Carbohydrates: 22
- Fiber: 1
- Protein: 12
Keywords: ham and cheese uncrustables, freezer meal, easy lunch, homemade uncrustables, kid-friendly, make-ahead



