Love this? Save it for later!
Share the inspiration with your friends
Introduction
My neighbor wasn’t trying to impress anyone. I’d stopped by to drop off a library book she’d lent me, and the smell—warm cinnamon, brown sugar, and something nutty—hit me before I even got through the front door. She was in the kitchen, flour dusted on her jeans, shoving a baking dish into the oven like it was no big deal.
“Oh, that’s just something I threw together for the kids,” she said, waving her hand. “Apples were getting soft.”
I stood there, honestly a little stunned. The kitchen was a mess—there was a sticky measuring cup on the counter, a few pecan shells on the floor—but the air smelled like pure comfort. She wasn’t trying to be a hero. She was just trying to use up some apples before they went bad and keep her kids happy after school.
That casualness is the whole point of this recipe. It wasn’t a production. She wasn’t following a complicated French technique. She was just being a mom, doing what moms do—making something good out of what she had. And what she made was the best apple crisp I’d ever tasted.
I asked for the recipe, and she kind of shrugged and told me the basics. I’ve tweaked it since then—added more pecans, adjusted the sugar, figured out the perfect baking time—but the heart of it is still hers. It’s the kind of dessert you make on a Tuesday, for no reason at all, and everyone acts like it’s a holiday.
Maybe you’ve been there. You’re staring at a bowl of apples that are past their prime, and you need something fast, something that’ll make the kids smile, something that doesn’t require a trip to the store. This is that recipe. Honestly, it’s so easy you’ll feel like you’re getting away with something.
Let me tell you how it came together—and how you can make it your own.
Why You’ll Love This Recipe
I’ve tested this apple crisp more times than I can count. I’ve made it for my own family, for potlucks, for neighbors who just had a baby. Every single time, it disappears. And here’s the thing—it’s not fancy. It’s not complicated. It’s just good.
- Quick & Easy: You can have this in the oven in about 15 minutes. No peeling apples perfectly, no fussing with a pastry crust. Just slice, mix, crumble, and bake.
- Simple Ingredients: Apples, oats, pecans, butter, sugar, cinnamon. That’s it. You probably have most of this in your pantry right now.
- Perfect for Family Meals: This is the dessert that makes everyone happy—picky eaters, adults, even grandparents who swear they don’t eat sweets.
- Crowd-Pleaser: I’ve brought this to five different gatherings, and I’ve never brought home leftovers. Not once.
- Unbelievably Delicious: The oat pecan crumble gets perfectly golden and crunchy, while the apples turn soft and jammy underneath. It’s the texture combo that gets people every time.
What makes this recipe different from all the other apple crisps out there? It’s the ratio. Most recipes give you too much fruit and not enough topping. This one flips that—you get a thick, generous crumble that actually stays crunchy, even the next day. And the pecans? They add this buttery richness that plain oats just can’t match.
This is comfort food, plain and simple. It’s the kind of dessert that makes you close your eyes after the first bite. It’s warm, it’s cozy, and it’s made for sharing.
What Ingredients You Will Need
This recipe uses simple, honest ingredients that work together to create something truly special. Nothing fancy, nothing hard to find. Just good, real food.
For the Apple Filling
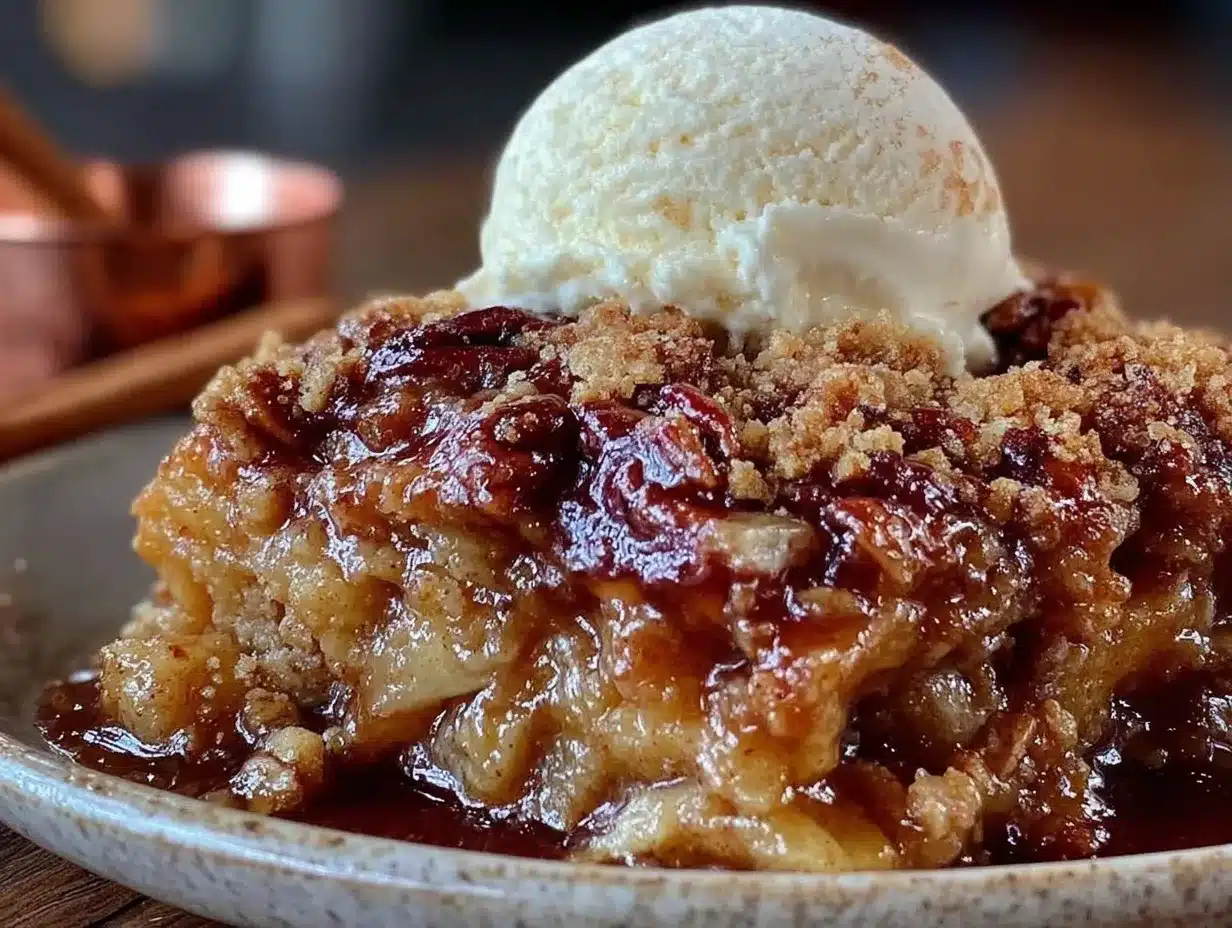
- 6 medium apples, peeled, cored, and sliced (about 6 cups) — I prefer a mix of sweet and tart, like Honeycrisp and Granny Smith
- 1/3 cup granulated sugar (60g) — just enough to sweeten without being cloying
- 1 tablespoon all-purpose flour (8g) — this helps thicken the juices so the filling isn’t runny
- 1 teaspoon ground cinnamon (3g) — the star of the show, honestly
- 1/4 teaspoon ground nutmeg (0.5g) — optional, but it adds a lovely warmth
- 1 tablespoon lemon juice (15ml) — keeps the apples from browning and brightens the flavor
For the Oat Pecan Crumble
- 1 cup old-fashioned rolled oats (90g) — not the quick-cooking kind; they get soggy
- 1/2 cup all-purpose flour (60g) — gives the crumble structure
- 1/2 cup packed brown sugar (100g) — light or dark both work; dark gives deeper flavor
- 1/2 cup chopped pecans (60g) — I like them roughly chopped so you get chunks in every bite
- 1/2 teaspoon ground cinnamon (1.5g) — because you can never have too much
- 1/4 teaspoon salt (1g) — balances the sweetness
- 1/2 cup unsalted butter, cold and cut into small cubes (113g) — cold butter is key for a crumbly texture
Ingredient Tips: For the apples, I really recommend using at least two different varieties. A mix of sweet and tart gives you a more complex flavor. If you only have one type, that’s fine too—it’ll still be delicious. I’ve made this with all Gala apples before, and my kids didn’t complain once.
For the pecans, I buy them raw and toast them lightly before chopping. It takes an extra five minutes, but the flavor is so much better. Just spread them on a baking sheet at 350°F (175°C) for 5-7 minutes, until they smell nutty. Let them cool before chopping.
Substitutions: No pecans? Use walnuts or almonds. Need it gluten-free? Use a gluten-free flour blend and certified gluten-free oats. Want to cut the sugar? You can reduce the brown sugar to 1/3 cup, but the topping won’t be quite as crunchy.
Equipment Needed
You don’t need a lot of fancy equipment for this recipe. That’s part of why I love it.
- 8×8-inch baking dish (or a 2-quart dish) — glass or ceramic works best
- Large mixing bowl — for the apple filling
- Medium mixing bowl — for the crumble topping
- Sharp knife and cutting board — for slicing apples
- Measuring cups and spoons — I use metal ones for dry ingredients and glass for liquids
- Pastry cutter or two forks — for cutting the butter into the crumble. You can also use your fingers, but work quickly so the butter doesn’t get too warm
- Rubber spatula — for mixing and scraping
Budget-Friendly Options: If you don’t have a pastry cutter, honestly, your hands work perfectly fine. Just rub the butter into the flour mixture until it looks like coarse crumbs. If you don’t have an 8×8 dish, you can use a 9-inch pie plate or even a cast-iron skillet. The baking time might change slightly, so just keep an eye on it.
My Personal Tip: I’ve made this recipe in a disposable aluminum pan before, and it worked great. The edges got a little more browned, but it was still delicious. So don’t let missing equipment stop you.
Preparation Method
Here’s how to make this kid-approved cinnamon apple crisp. I’ve broken it down step by step, with all the little details I’ve learned from making this at least twenty times.
- Preheat your oven to 350°F (175°C). Place a rack in the center position. While it’s heating, get your apples ready.
- Peel, core, and slice the apples. Slice them about 1/4-inch thick. Not too thin, or they’ll turn to mush. Not too thick, or they won’t get tender in time. I aim for slices that are roughly the same size so they cook evenly. This takes about 10 minutes if you’re slow like me.
- Make the apple filling. In a large bowl, toss the sliced apples with the granulated sugar, flour, cinnamon, nutmeg, and lemon juice. Use your hands or a spatula to really coat every slice. Let it sit while you make the crumble—this gives the apples time to release some juice.
- Make the oat pecan crumble. In a medium bowl, whisk together the oats, flour, brown sugar, chopped pecans, cinnamon, and salt. Add the cold butter cubes. Use a pastry cutter or two forks to cut the butter into the dry ingredients. You’re looking for a mixture that looks like coarse sand with some pea-sized butter pieces remaining. Don’t overmix—those little butter chunks are what make the crumble crunchy.
- Assemble the crisp. Pour the apple mixture into your greased baking dish. Spread it into an even layer. Sprinkle the crumble topping evenly over the apples. Don’t press it down—just let it sit on top. Use all of it, even if it seems like a lot. Trust me, you want that thick crumble.
- Bake for 40-45 minutes. The crisp is done when the topping is golden brown and the apple juices are bubbling up around the edges. If the topping is browning too quickly (after about 30 minutes), tent the dish loosely with foil for the remaining time.
- Let it rest for 10-15 minutes. This is the hardest part, I know. But letting it rest allows the juices to thicken up. If you serve it right away, it’ll be runny. Trust me, I’ve learned this the hard way.
- Serve warm. Scoop it into bowls and add a scoop of vanilla ice cream or a drizzle of heavy cream. The contrast between warm crisp and cold ice cream is, honestly, life-changing.
Sensory Cues: When it’s done, the kitchen should smell like a fall candle, but better. The topping should be deep golden brown, and you should see bubbles of thick, syrupy apple juice along the edges of the dish. If you tap the topping with a spoon, it should feel firm and crunchy.
Troubleshooting: If your apples are still a little firm after 45 minutes, that’s okay. Some people prefer them with a bit of bite. If they’re too firm, pop the dish back in for another 5-10 minutes. If the topping is getting too dark but the apples aren’t done, cover with foil and keep baking.
Cooking Tips & Techniques
I’ve made every mistake in the book with this recipe. Here’s what I’ve learned so you don’t have to.
Use cold butter. This is non-negotiable. If your butter is soft, the crumble will turn into a paste instead of staying crumbly. I cube my butter and pop it in the freezer for 10 minutes while I slice the apples. It makes a real difference.
Don’t overmix the crumble. I used to mix until everything looked uniform, and my crumble came out dense and heavy. Now I stop while there are still some butter chunks. Those chunks melt in the oven and create air pockets, which is what gives you that light, crunchy texture.
Slice your apples evenly. This is one of those things that seems fussy but actually matters. Thin slices cook faster, thick slices take longer. If they’re all different sizes, some will be mushy while others are still crunchy. Aim for consistent 1/4-inch slices.
Let the apples sit. After you toss them with sugar and flour, let them sit for 5-10 minutes. This draws out some liquid, which mixes with the flour and sugar to create a natural syrup. That syrup thickens as it bakes, giving you that perfect, not-runny filling.
Timing strategy: I like to make the apple filling first, then the crumble while the apples are sitting. This saves time and lets the apples macerate a bit. If you’re really organized, you can slice the apples the night before and store them in the fridge with a little lemon juice.
My biggest failure: The first time I made this, I used quick-cooking oats because that’s what I had. The topping turned into a soggy, gluey mess. Learn from me—always use old-fashioned rolled oats. They hold their shape and stay crunchy.
Variations & Adaptations
This recipe is incredibly flexible. Here are some ways I’ve changed it up over the years.
Dietary Variations:
- Gluten-Free: Use a 1:1 gluten-free flour blend and certified gluten-free oats. I’ve tried this with Bob’s Red Mill, and it worked perfectly.
- Dairy-Free: Substitute the butter with cold coconut oil or a plant-based butter. The texture will be slightly different, but still delicious.
- Lower Sugar: Reduce the brown sugar to 1/4 cup and use a sugar substitute like monk fruit sweetener in the apple filling.
Flavor Twists:
- Add dried fruit: Toss in 1/2 cup raisins or dried cranberries with the apples. They plump up as they bake and add little bursts of sweetness.
- Spice it up: Add 1/4 teaspoon cardamom or ginger to the apple mixture. It gives the crisp a more complex, chai-like flavor.
- Berry Apple Crisp: Swap 1 cup of the apples for fresh or frozen blueberries or raspberries. Reduce the sugar slightly since berries are sweeter.
Different Cooking Methods:
- Slow Cooker: Layer the apples and crumble in a slow cooker and cook on low for 3-4 hours. The topping won’t be as crunchy, but it’s still tasty.
- Air Fryer: Use a small oven-safe dish and air fry at 325°F for about 20-25 minutes. Check early to avoid burning.
My Personal Favorite Variation: I once made this with pears instead of apples when I had a bag of ripe pears that needed using. I added a tablespoon of maple syrup to the filling, and honestly, it was incredible. Pear crisp might even be better than apple crisp. Don’t tell the apples I said that.
Serving & Storage Suggestions
Serving: This crisp is best served warm, straight from the oven. Let it rest for 10-15 minutes first, then scoop it into bowls. A scoop of vanilla ice cream is the classic pairing—the cold creaminess against the warm, crunchy crisp is pure magic. If you don’t have ice cream, a drizzle of heavy cream or a dollop of whipped cream works beautifully.
For a special touch, I sometimes sprinkle a little extra cinnamon on top before serving. It makes the presentation look intentional, even if you’re just eating it on the couch in your sweatpants.
Complementary Dishes: This crisp is rich enough to stand alone, but if you’re serving it as part of a meal, it pairs well with simple things. A roast chicken dinner, a bowl of chili, or even just a cup of coffee. It’s also amazing for brunch—serve it alongside scrambled eggs and bacon for a sweet-savory combo.
Storage: Cover the baking dish tightly with foil or plastic wrap and store in the refrigerator for up to 4 days. The topping will lose some of its crunch over time, but the flavor will still be great.
Reheating: The best way to reheat is in the oven at 350°F for about 10-15 minutes. This helps restore some of the crunch. You can also microwave individual portions for 30-60 seconds, but the topping will be softer. If you’re reheating in the microwave, I recommend adding a fresh sprinkle of granola or crushed pecans on top for texture.
Freezing: You can freeze the unbaked crisp for up to 3 months. Assemble it in a freezer-safe dish, cover tightly, and freeze. Bake directly from frozen, adding about 10-15 minutes to the baking time. You can also freeze baked leftovers, but the texture won’t be quite as good.
Flavor Development: Honestly, this crisp tastes even better the next day. The flavors meld together overnight, and the apples get even more tender. If you can resist eating it all in one sitting (I rarely can), you’re in for a treat.
Nutritional Information & Benefits
Here’s the thing about apple crisp—it’s dessert, so I’m not going to pretend it’s health food. But compared to a lot of other desserts, it has some redeeming qualities.
Estimated Nutritional Values (per serving, 1/9 of recipe):
- Calories: 320
- Total Fat: 16g
- Saturated Fat: 8g
- Cholesterol: 30mg
- Sodium: 95mg
- Total Carbohydrates: 45g
- Dietary Fiber: 5g
- Sugars: 28g
- Protein: 4g
Health Benefits: The apples provide fiber and vitamin C, and the oats are a good source of soluble fiber, which is great for heart health. Pecans are packed with healthy fats and antioxidants. So while this isn’t a salad, it’s not empty calories either. It’s a dessert that gives you something back.
Dietary Considerations: This recipe can easily be made gluten-free or dairy-free (see variations above). It’s vegetarian as written. It contains nuts (pecans) and gluten (oats and flour), so it’s not suitable for those with allergies to those ingredients.
My Personal Perspective: I believe in balance. I feed my family real food most of the time, but I also believe that dessert is part of a happy life. This apple crisp is made with whole ingredients—no preservatives, no artificial flavors, nothing weird. That makes me feel good about serving it to my kids, even on a Tuesday.
Conclusion
This kid-approved cinnamon apple crisp with oat pecan crumble is more than just a recipe. It’s the dessert you make when you want to feel like a hero without actually trying very hard. It’s the dish that fills your kitchen with the smell of comfort and makes everyone gather around the table.
I love this recipe because it’s forgiving. You can use whatever apples you have, add more or less sugar, swap the nuts, and it still turns out amazing. It’s the kind of recipe that builds confidence in the kitchen. The first time you make it, you’ll follow the instructions. The second time, you’ll start experimenting. And by the third time, it’ll be yours.
So go ahead. Grab some apples, make a mess in your kitchen, and enjoy every warm, crunchy, cinnamon-y bite. And when your kids ask for seconds (they will), just smile and hand them the scoop.
I’d love to hear how it turns out! Leave a comment below and let me know if you tried any variations. Share a photo of your crisp on Pinterest and tag me—I love seeing your creations. And if you have a picky eater who surprised you by asking for thirds, definitely tell me about that. Those are my favorite stories.
Frequently Asked Questions
Can I use quick-cooking oats instead of old-fashioned oats?
I wouldn’t recommend it. Quick-cooking oats are more processed and will turn mushy during baking. Old-fashioned rolled oats hold their shape and give you that crunchy texture. If you only have quick oats, you can try it, but the topping won’t be as good.
Do I have to peel the apples?
You don’t have to, but I recommend it. The peels can get tough and chewy during baking, especially if you’re using a variety like Granny Smith. If you’re short on time or don’t mind the texture, leaving the peels on is fine. Just wash the apples well first.
Can I make this ahead of time?
Yes! You can assemble the entire crisp (without baking) up to 24 hours in advance. Cover it and store it in the refrigerator. When you’re ready to bake, add about 5-10 minutes to the baking time since you’re starting from cold. You can also bake it fully and reheat it—it’s almost as good the next day.
Why is my apple crisp runny?
This usually happens for one of two reasons: either you didn’t let it rest after baking, or your apples released too much liquid. To fix the first issue, always let the crisp rest for 10-15 minutes before serving. To fix the second, make sure you’re tossing the apples with flour before baking. The flour helps thicken the juices. If it’s still runny, you might need to add an extra tablespoon of flour next time.
Can I freeze apple crisp?
Absolutely. You can freeze it either before or after baking. To freeze unbaked, assemble the crisp in a freezer-safe dish, cover tightly, and freeze for up to 3 months. Bake directly from frozen, adding 10-15 minutes to the baking time. To freeze baked leftovers, let the crisp cool completely, then wrap it tightly and freeze. Reheat in the oven at 350°F until warmed through.
Pin This Recipe!
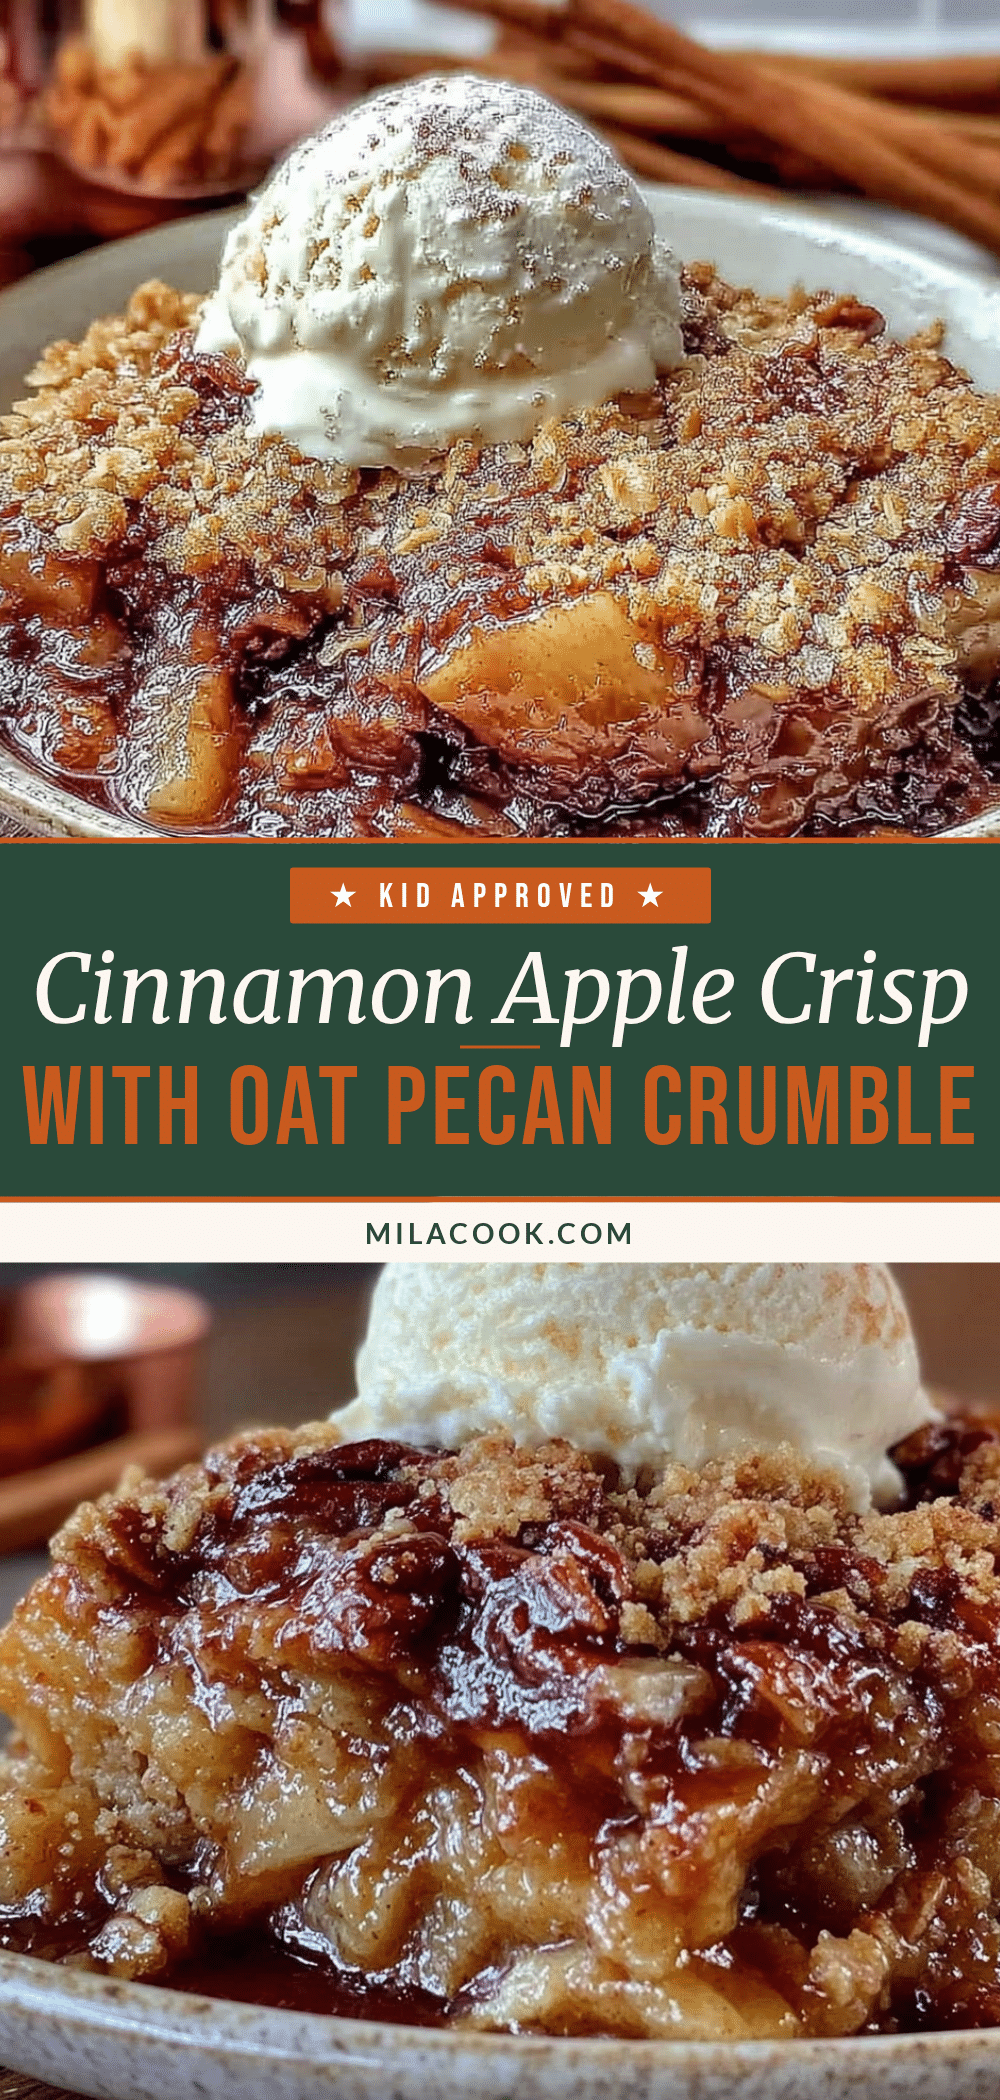
Easy Kid-Approved Cinnamon Apple Crisp Recipe

This easy kid-approved cinnamon apple crisp features a thick, crunchy oat pecan crumble over tender, jammy apples. It’s a simple, forgiving dessert made with basic ingredients that’s perfect for family meals and guaranteed to disappear.
- Prep Time: 15 minutes
- Cook Time: 40-45 minutes
- Total Time: 55-60 minutes
- Yield: 9 servings 1x
- Category: Dessert
- Cuisine: American
Ingredients
- 6 medium apples, peeled, cored, and sliced (about 6 cups)
- 1/3 cup granulated sugar (60g)
- 1 tablespoon all-purpose flour (8g)
- 1 teaspoon ground cinnamon (3g)
- 1/4 teaspoon ground nutmeg (0.5g)
- 1 tablespoon lemon juice (15ml)
- 1 cup old-fashioned rolled oats (90g)
- 1/2 cup all-purpose flour (60g)
- 1/2 cup packed brown sugar (100g)
- 1/2 cup chopped pecans (60g)
- 1/2 teaspoon ground cinnamon (1.5g)
- 1/4 teaspoon salt (1g)
- 1/2 cup unsalted butter, cold and cut into small cubes (113g)
Instructions
- Preheat your oven to 350°F (175°C). Place a rack in the center position.
- Peel, core, and slice the apples about 1/4-inch thick.
- In a large bowl, toss the sliced apples with granulated sugar, 1 tablespoon flour, 1 teaspoon cinnamon, nutmeg, and lemon juice. Let sit while making the crumble.
- In a medium bowl, whisk together oats, 1/2 cup flour, brown sugar, chopped pecans, 1/2 teaspoon cinnamon, and salt. Add cold butter cubes and cut in with a pastry cutter or two forks until mixture resembles coarse sand with some pea-sized butter pieces.
- Pour apple mixture into a greased 8×8-inch baking dish. Spread evenly. Sprinkle crumble topping evenly over apples without pressing down.
- Bake for 40-45 minutes until topping is golden brown and apple juices are bubbling around the edges. If topping browns too quickly, tent with foil after 30 minutes.
- Let rest for 10-15 minutes before serving to allow juices to thicken.
- Serve warm, optionally with vanilla ice cream or a drizzle of heavy cream.
Notes
Use cold butter for a crumbly topping. Do not overmix the crumble. Slice apples evenly for consistent cooking. Let apples sit after tossing with sugar and flour to create natural syrup. Always use old-fashioned rolled oats, not quick-cooking. For best results, let crisp rest before serving. Can be assembled up to 24 hours in advance and refrigerated. Freezes well for up to 3 months.
Nutrition
- Serving Size: 1/9 of recipe
- Calories: 320
- Sugar: 28
- Sodium: 95
- Fat: 16
- Saturated Fat: 8
- Carbohydrates: 45
- Fiber: 5
- Protein: 4
Keywords: apple crisp, cinnamon apple crisp, easy apple crisp, kid-friendly dessert, oat pecan crumble, fall dessert, apple dessert



