Love this? Save it for later!
Share the inspiration with your friends
“I wasn’t planning on making dessert that July 4th,” I admit. It was one of those scorchingly hot summer afternoons when the idea of firing up the oven felt downright impossible. The power had flickered earlier, and honestly, I was ready to surrender to the heat. But then, my neighbor Lily popped over with a grin and a bowl of fresh blueberries, saying, “Why don’t you whip up something red, white, and blue? Easy, no-bake, and perfect for the weather.”
So, there I was, in my sun-drenched kitchen, juggling a cracked mixing bowl (because, of course) and a half-opened container of cream cheese. The recipe came together almost effortlessly, and the result? A vibrant, creamy cheesecake tart that looked like it belonged on a festive parade float. The best part: no oven, no fuss, just layers of sweet, tangy, and fresh flavors that screamed summer celebration.
Maybe you’ve been there — craving something special but not wanting the hassle of complicated steps or heating up your whole house. This Easy No-Bake Red White and Blue Cheesecake Flag Tart is exactly that kind of recipe. It’s the kind of dessert that brings smiles, invites second helpings, and makes you feel like you nailed the party without breaking a sweat. Let me tell you, it’s become my go-to patriotic dessert ever since that day.
Why You’ll Love This Recipe
Honestly, this Easy No-Bake Red White and Blue Cheesecake Flag Tart is a game-changer when it comes to holiday desserts. From countless trial runs and taste tests (I’m not even mad about that), I can confidently say this recipe hits all the right notes.
- Quick & Easy: Comes together in under 30 minutes, making it perfect for last-minute celebrations or busy weekdays when you want a festive touch without the fuss.
- Simple Ingredients: You likely have everything in your pantry or fridge—cream cheese, whipped topping, and fresh fruit—nothing fancy or hard to find.
- Perfect for Patriotic Occasions: Whether it’s Independence Day, Memorial Day, or any summer gathering, this tart’s red, white, and blue colors steal the spotlight.
- Crowd-Pleaser: Kids and adults alike love it—probably because it’s creamy, fruity, and just sweet enough without being overwhelming.
- Unbelievably Delicious: The combo of a buttery graham cracker crust with that smooth cheesecake filling and fresh berries? Honestly, it hits that comfort-food spot with a fresh twist.
What sets this recipe apart from others is the no-bake method that doesn’t sacrifice texture or flavor. I’ve tested versions with heavy cream, but the whipped topping keeps it light and airy. Plus, the flag design? It’s fun to assemble and always impresses guests without needing to be a dessert pro. This tart isn’t just dessert; it’s a conversation starter and a celebration centerpiece.
What Ingredients You Will Need
This recipe keeps things straightforward, relying on simple, wholesome ingredients that come together to create bold flavor and a satisfying texture without the fuss. Most of these are pantry staples, with fresh fruit adding that patriotic pop of color.
- For the Crust:
- 1 ½ cups graham cracker crumbs (about 10 full sheets; I like using Honey Maid for a slightly sweet, sturdy base)
- ⅓ cup unsalted butter, melted (adds richness and helps the crust hold together)
- 2 tablespoons granulated sugar (balances the butter’s richness)
- For the Cheesecake Filling:
- 16 oz (450 g) cream cheese, softened (room temperature is key for smooth mixing)
- 1 cup powdered sugar (for gentle sweetness)
- 1 teaspoon vanilla extract (adds warmth and depth)
- 1 ½ cups whipped topping (like Cool Whip, keeps it light and fluffy—dairy-free options work too)
- For the Topping (Flag Design):
- 1 cup fresh blueberries (for the blue section)
- 1 ½ cups sliced strawberries (for the red stripes)
- Whipped topping or vanilla yogurt (for the white stripes if you want extra definition)
Feel free to swap out the graham crackers for gluten-free cookies if needed, or use coconut whipped topping for dairy-free and vegan adaptations. When picking berries, fresher is better—if you’re out of season, frozen fruit works fine but thaw and drain well to avoid sogginess. I usually grab my berries from the farmers market on Tuesdays—always the freshest!
Equipment Needed
- 9-inch tart pan or pie dish (removable bottom preferred for easy serving; I’ve used a standard pie dish when pressed)
- Mixing bowls (medium and large; glass or metal work great)
- Electric mixer or stand mixer (helps get that cheesecake filling silky smooth—though a sturdy whisk and some elbow grease can work in a pinch)
- Rubber spatula (for scraping down the bowl without waste)
- Measuring cups and spoons (accuracy matters here for balance)
- Knife and cutting board (for slicing strawberries neatly)
- Cooling rack (optional, but handy if you want to chill the crust before filling)
If you don’t have a tart pan, a regular pie dish is just fine. I’ve made this tart in a glass pie plate many times with no issue. For the electric mixer, handheld versions save space, but a stand mixer is a dream for hands-free mixing and makes whipping the cream topping easier. Keep your cream cheese at room temp—it’s the best tip I can share to avoid lumps and get a luxuriously smooth filling.
Preparation Method
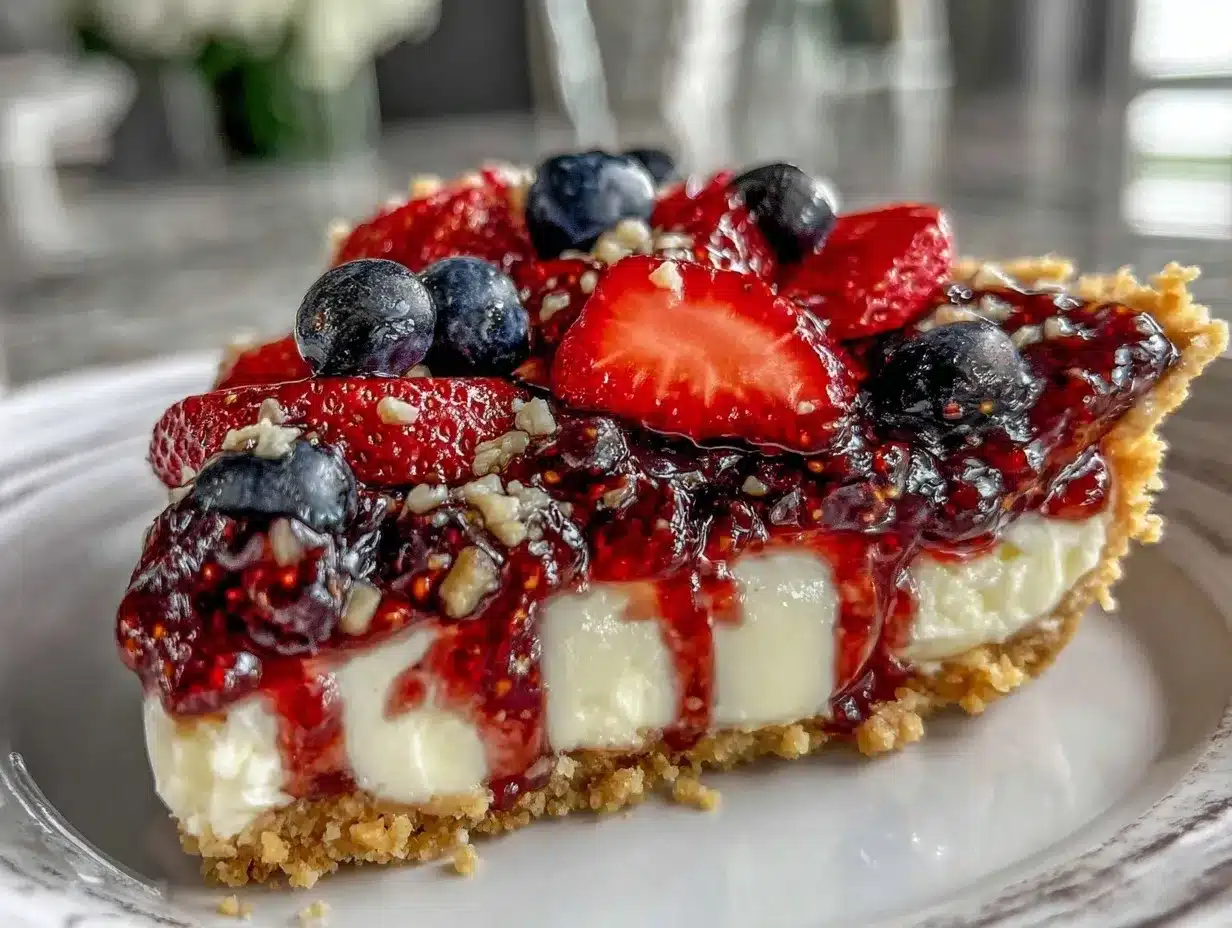
- Prep the Crust (10 minutes): In a medium bowl, combine 1 ½ cups graham cracker crumbs, ⅓ cup melted unsalted butter, and 2 tablespoons granulated sugar. Mix until the crumbs are evenly coated and resemble wet sand. Press the mixture firmly into the bottom and up the sides of your 9-inch tart pan. Use the back of a spoon or a flat-bottomed cup to compact it tightly. Chill in the fridge for at least 15 minutes to set.
- Make the Cheesecake Filling (15 minutes): In a large bowl, beat 16 oz softened cream cheese with 1 cup powdered sugar and 1 teaspoon vanilla extract until smooth and creamy. This usually takes about 3-4 minutes with an electric mixer on medium speed. Gently fold in 1 ½ cups whipped topping using a spatula—do this carefully so the mixture stays light and fluffy.
- Assemble the Tart (5 minutes): Spoon the cheesecake filling evenly over the chilled crust. Smooth the top with an offset spatula or the back of a spoon. Return the tart to the fridge for at least 30 minutes to set while you prepare the fruit.
- Prepare the Topping (10 minutes): Rinse and pat dry 1 cup blueberries and 1 ½ cups sliced strawberries. To create the flag design, place the blueberries in the upper left corner of the tart (about one-quarter of the surface). Arrange the sliced strawberries in horizontal stripes across the rest of the tart, alternating with dollops or thin lines of whipped topping or vanilla yogurt for the white stripes.
- Final Chill and Serve (minimum 1 hour): Let the tart chill for at least one hour before serving to allow flavors to meld and filling to firm up. The tart is best eaten within 24 hours for freshness.
If your cream cheese is too cold, you might end up with lumps—so take your time softening it. Also, don’t rush folding in the whipped topping; overmixing can deflate it, losing that lovely airy texture. When pressing the crust, I sometimes use a little parchment paper between the cup and crumbs to avoid sticking, which saves messy cleanups!
Cooking Tips & Techniques
Here are a few tricks I’ve picked up while testing this Easy No-Bake Red White and Blue Cheesecake Flag Tart that make all the difference.
- Softening Cream Cheese: Plan ahead and let it sit out for at least an hour. If you’re in a rush, cut it into small cubes to speed the process.
- Folding Technique: Use a gentle folding motion when adding whipped topping to keep the filling light. Think of it like tucking in a blanket rather than stirring soup.
- Crust Pressing: Press evenly and firmly to prevent crumbly edges. A flat-bottomed glass or measuring cup works wonders here.
- Fruit Prep: Dry the berries thoroughly before arranging; moisture can make the tart soggy.
- Chilling Time: Don’t skip the fridge time after assembling. It helps the tart set perfectly and makes slicing cleaner.
- Multitasking: While the crust chills, prep your fruit and soften your cream cheese. Saves time and keeps the process smooth.
I once tried rushing the chilling process because I was eager to taste, and the filling was too soft and messy. Lesson learned! Also, I’ve noticed that homemade whipped cream can replace store-bought topping for a fresher taste, but you have to whip it just right—not too soft, not too stiff.
Variations & Adaptations
This tart is quite versatile, so feel free to mix it up based on what you have, your dietary needs, or your taste buds’ whims.
- Gluten-Free Option: Swap graham crackers for gluten-free cookies or crushed nuts mixed with a bit of honey and butter for the crust.
- Dairy-Free Version: Use dairy-free cream cheese and whipped coconut cream instead of traditional dairy products. The texture will be slightly different but still delicious.
- Seasonal Fruit Switch: In fall or spring, swap the berries for sliced peaches, kiwi, or pomegranate seeds to keep the tart colorful and fresh.
- Flavor Twist: Add lemon zest or a splash of almond extract to the cheesecake filling for a subtle flavor boost.
- Personal Favorite: I sometimes sprinkle a handful of toasted coconut flakes on top for extra texture and a hint of sweetness—perfect for summer barbecues.
For a different look, you can also assemble this tart in a clear glass trifle dish, layering the crust, filling, and fruit in repeated layers. It’s a bit more casual but just as tasty!
Serving & Storage Suggestions
This cheesecake tart shines best served chilled, straight from the fridge. Slice it with a sharp knife warmed under hot water for cleaner cuts and less crumble. When presenting, a simple white plate lets the red, white, and blue colors pop beautifully.
It pairs wonderfully with a light sparkling lemonade or iced tea to balance the creamy richness. For a fuller meal, serve alongside grilled chicken or a fresh green salad.
To store, cover the tart loosely with plastic wrap or an airtight container and keep refrigerated. It stays fresh for up to 3 days, though I recommend eating within 24 hours for the best texture. You can freeze it for up to 2 weeks, but note that the fruit may lose some freshness and the texture may change slightly upon thawing.
Reheat is not recommended for this no-bake tart; just let it thaw in the fridge overnight if frozen. Interestingly, the flavors tend to meld and deepen slightly after a few hours in the fridge, making leftovers even better.
Nutritional Information & Benefits
Per serving (based on 8 servings), this tart contains approximately:
| Calories | 320 kcal |
|---|---|
| Fat | 21g |
| Carbohydrates | 27g |
| Protein | 4g |
| Sugar | 18g |
The key ingredients bring some nutritional perks: cream cheese offers calcium and protein, while berries provide antioxidants and vitamin C. Using fresh fruit adds fiber and natural sweetness, keeping this dessert lighter than many traditional cheesecakes. For those watching carbs, using a sugar substitute or almond flour crust can lower the sugar and carb content.
This tart is gluten-free if using gluten-free crust options and can be made dairy-free with ingredient swaps, making it accessible to many dietary preferences. I appreciate recipes like this that feel indulgent but still have room for mindful eating.
Conclusion
This Easy No-Bake Red White and Blue Cheesecake Flag Tart is honestly a winner in my book. It’s simple without skimping on flavor or the festive wow factor. Whether you’re racing the clock before a holiday BBQ or just want a crowd-pleasing dessert without the heat of the oven, this tart fits the bill.
Feel free to tweak the fruit or crust to match your taste or dietary needs—this recipe is forgiving and friendly. I love how it brings a splash of joy to any table and sparks compliments every time I serve it.
Give it a try, share your versions, or tell me about your favorite no-bake treats in the comments below. Let’s make patriotic desserts fun and easy together—because, honestly, we all deserve a little sweet celebration without the stress!
FAQs
Can I make this tart ahead of time?
Yes! It’s perfect for making a day in advance. Just keep it covered and refrigerated until serving.
What can I use if I don’t have graham crackers?
You can substitute digestive biscuits, vanilla wafers, or gluten-free cookies crushed finely for the crust.
Is it possible to make this tart vegan?
Absolutely. Use vegan cream cheese and coconut whipped topping, and choose a vegan cookie for the crust.
How do I keep the fruit from making the crust soggy?
Make sure to dry the berries thoroughly before placing them on the tart, and chill the tart well before serving.
Can I use frozen berries?
Yes, but thaw and drain them completely to avoid excess moisture that could soften the crust or filling.
Pin This Recipe!
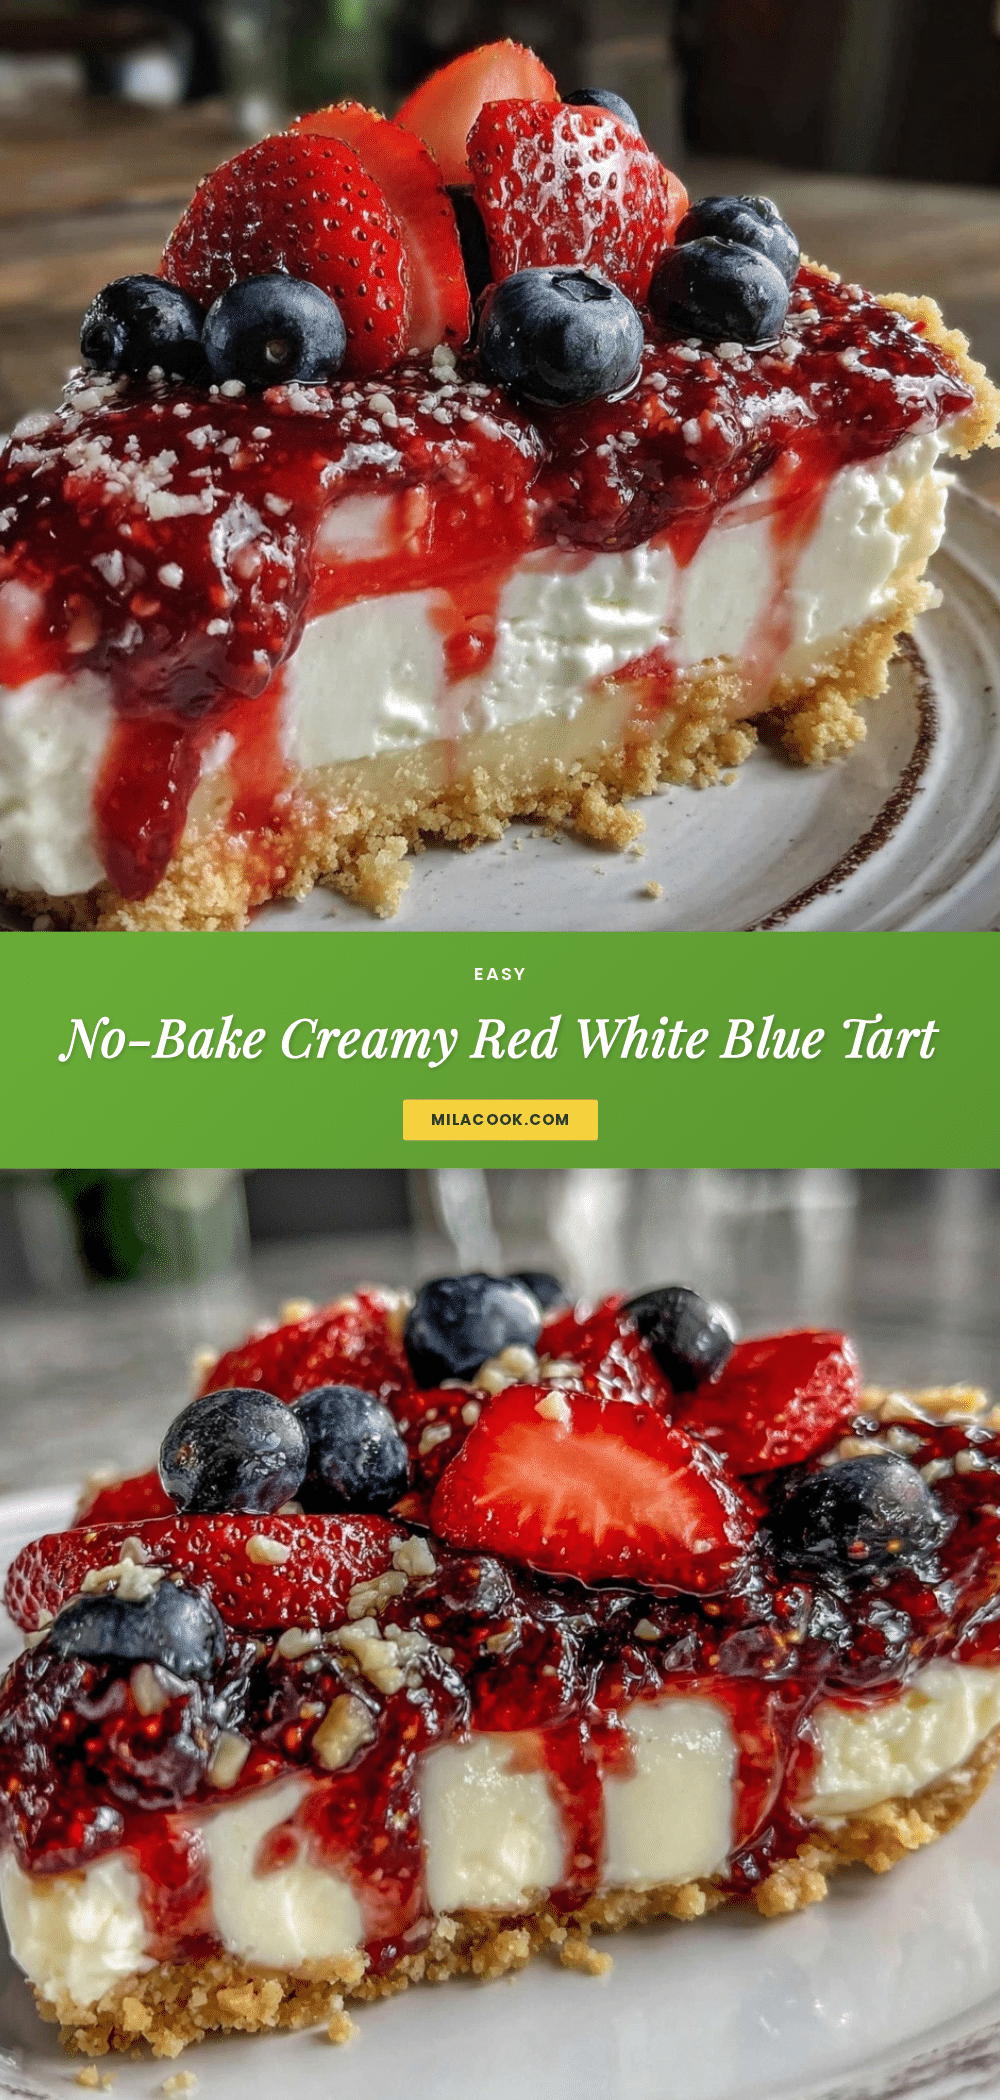
Easy No-Bake Red White and Blue Cheesecake Flag Tart
A quick and easy no-bake cheesecake tart featuring a buttery graham cracker crust, creamy cheesecake filling, and a patriotic red, white, and blue fresh berry topping. Perfect for summer celebrations without heating up your kitchen.
- Prep Time: 10 minutes
- Cook Time: 0 minutes
- Total Time: 1 hour 30 minutes
- Yield: 8 servings 1x
- Category: Dessert
- Cuisine: American
Ingredients
- 1 ½ cups graham cracker crumbs (about 10 full sheets)
- ⅓ cup unsalted butter, melted
- 2 tablespoons granulated sugar
- 16 oz (450 g) cream cheese, softened
- 1 cup powdered sugar
- 1 teaspoon vanilla extract
- 1 ½ cups whipped topping (like Cool Whip)
- 1 cup fresh blueberries
- 1 ½ cups sliced strawberries
- Whipped topping or vanilla yogurt (optional for white stripes)
Instructions
- Prep the Crust (10 minutes): In a medium bowl, combine graham cracker crumbs, melted unsalted butter, and granulated sugar. Mix until crumbs are evenly coated and resemble wet sand. Press mixture firmly into the bottom and up the sides of a 9-inch tart pan. Compact tightly using the back of a spoon or flat-bottomed cup. Chill in the fridge for at least 15 minutes to set.
- Make the Cheesecake Filling (15 minutes): In a large bowl, beat softened cream cheese with powdered sugar and vanilla extract until smooth and creamy, about 3-4 minutes with an electric mixer on medium speed. Gently fold in whipped topping using a spatula to keep mixture light and fluffy.
- Assemble the Tart (5 minutes): Spoon cheesecake filling evenly over chilled crust. Smooth the top with an offset spatula or back of a spoon. Return tart to fridge for at least 30 minutes to set while preparing fruit.
- Prepare the Topping (10 minutes): Rinse and pat dry blueberries and sliced strawberries. Place blueberries in the upper left corner of the tart (about one-quarter of the surface). Arrange sliced strawberries in horizontal stripes across the rest of the tart, alternating with dollops or thin lines of whipped topping or vanilla yogurt for white stripes.
- Final Chill and Serve (minimum 1 hour): Chill tart for at least one hour before serving to allow flavors to meld and filling to firm up. Best eaten within 24 hours for freshness.
Notes
Keep cream cheese at room temperature to avoid lumps. Use gentle folding motion when adding whipped topping to keep filling light and airy. Press crust firmly and evenly to prevent crumbly edges. Dry berries thoroughly before arranging to avoid sogginess. Chill tart well after assembling for best texture and cleaner slices. Can substitute gluten-free cookies for crust and dairy-free whipped topping for dietary adaptations.
Nutrition
- Serving Size: 1 slice (1/8 of tart
- Calories: 320
- Sugar: 18
- Fat: 21
- Carbohydrates: 27
- Protein: 4
Keywords: no-bake cheesecake, patriotic dessert, July 4th dessert, red white and blue tart, easy cheesecake, summer dessert



