Love this? Save it for later!
Share the inspiration with your friends
“I wasn’t expecting much when I first tried making no-cook sandwiches,” my friend Lena told me one Saturday afternoon as we sat at her sunlit kitchen table. She was always the type to fuss over recipes, meticulously chopping, sautéing, and baking. But that day, she was rushing to get a quick lunch before heading to a pottery class, and honestly, she just grabbed whatever was in the fridge and slapped it between two slices of bread. The result? A surprisingly fresh, vibrant sandwich that tasted like summer had decided to crash her hectic afternoon.
That moment stuck with me because it reminded me that sometimes, the best meals don’t need a stove or oven. You know that feeling when you want something tasty but can’t be bothered with a complicated process? That’s exactly where easy no-cook sandwiches come in. No stress, no heat, just fresh ingredients and flavors that pop.
Maybe you’ve been there too — hungry, short on time, and not wanting to order takeout again. This recipe collection of easy no-cook sandwiches for beginners is exactly what I started making after that day with Lena. I mean, it’s perfect for anyone who’s new to the kitchen or just needs a delicious fix without the fuss. Plus, these sandwiches are fresh, colorful, and packed with goodness, making lunch or a quick snack something to look forward to.
Let me tell you, there was one afternoon when I forgot to buy deli meat, and I threw together a version with just ripe avocado, crisp veggies, and a little cheese. It turned out so good I had to make it again the next day. So, whether you’re a total beginner or just craving something fresh and easy, these sandwiches have your back.
Why You’ll Love This Recipe
After testing dozens of combinations, these easy no-cook sandwiches for beginners have become my go-to for quick, satisfying meals. Here’s why I’m confident you’ll love them as much as I do:
- Quick & Easy: All recipes come together in under 15 minutes — perfect for busy mornings or last-minute lunches.
- Simple Ingredients: Most ingredients are pantry staples or easy-to-find fresh produce, so no special grocery trips needed.
- Perfect for Any Occasion: Whether it’s a casual picnic, office lunch, or light dinner, these sandwiches fit the bill.
- Crowd-Pleaser: Kids, adults, picky eaters — these fresh combos always get thumbs up.
- Unbelievably Delicious: The vibrant flavors and satisfying textures come together in ways that are surprisingly gourmet.
What sets these sandwiches apart is the way I layer simple ingredients to balance creaminess, crunch, and a hint of tang. For example, blending cottage cheese with fresh herbs for an ultra-smooth spread or adding a splash of zesty lemon juice to brighten the flavors. It’s not just slapping stuff between bread — it’s about bringing out the best from easy, fresh ingredients.
This isn’t just food to fill you up; it’s the kind of sandwich that makes you pause, smile, and maybe even close your eyes after the first bite. I keep making these recipes because they turn the ordinary sandwich into something memorable without any hassle. You’ll find yourself reaching for these again and again, trust me.
What Ingredients You Will Need
This recipe collection uses simple, wholesome ingredients to deliver fresh flavor and satisfying texture without fuss. Most are pantry staples or easy-to-find fresh produce, so beginners won’t feel overwhelmed.
- Breads: Choose fresh sandwich bread, crusty baguette slices, whole grain wraps, or gluten-free bread if preferred.
- Spreads & Bases:
- Cream cheese, softened (adds creaminess)
- Hummus (classic or flavored varieties)
- Cottage cheese, small-curd, blended with herbs for smoothness
- Avocado, ripe and mashed (adds richness and healthy fats)
- Greek yogurt mixed with lemon and garlic for a tangy spread
- Fresh Vegetables:
- Cucumber, thinly sliced (adds crunch and refreshment)
- Tomatoes, ripe and juicy
- Bell peppers, thinly sliced for sweetness and color
- Spinach or mixed greens for freshness
- Red onion, thin slices (optional, for a little bite)
- Sprouts or microgreens for garnish and subtle peppery flavor
- Cheeses:
- Cheddar, sliced or shredded
- Feta, crumbled (adds tanginess)
- Mozzarella, fresh slices
- Protein Options:
- Sliced deli meats like turkey, ham, or chicken breast (optional)
- Hard-boiled eggs, sliced
- Chickpeas, lightly mashed for vegetarian protein
- Seasonings & Extras:
- Fresh herbs like basil, dill, or parsley
- Lemon juice (brightens flavors)
- Salt and pepper to taste
- Olive oil drizzle (optional)
- Mustard or light vinaigrette for tang
For best results, I recommend using good-quality fresh bread from your local bakery or trusted brands like Pepperidge Farm for sandwich bread. When selecting vegetables, the fresher the better — especially cucumber and tomatoes. If you want to swap out any dairy, almond or coconut-based spreads work well.
Equipment Needed
- Sharp knife for slicing vegetables and bread
- Cutting board (preferably separate for veggies and bread)
- Mixing bowl for blending spreads or mashing avocado
- Spoon or small spatula for spreading
- Measuring spoons for seasonings
- Optional: food processor or blender for super smooth spreads
If you don’t have a food processor, no worries — a fork and a little muscle will do for mashing avocado or blending cottage cheese. I’ve made these sandwiches countless times with just basic kitchen tools, so don’t feel you need fancy gadgets. A serrated bread knife is helpful to get clean slices without squashing the bread, especially for softer loaves.
For beginners, I suggest keeping your workspace tidy by prepping ingredients in small bowls first — makes assembly smoother and less intimidating.
Preparation Method

- Prepare the spreads: In a small bowl, mash the avocado until smooth. Alternatively, blend cottage cheese with chopped fresh herbs, lemon juice, salt, and pepper until creamy. If using hummus or cream cheese, have it softened and ready to spread. (5 minutes)
- Slice the vegetables: Thinly slice cucumber, tomatoes, bell peppers, and onions to your preferred thickness. The thinner, the easier to bite into. Arrange sliced vegetables on a plate for easy assembly. (5-7 minutes)
- Prepare proteins (if using): Slice deli meats or hard-boiled eggs. For chickpeas, lightly mash with a fork and season with salt and a dash of olive oil. (5 minutes)
- Toast the bread (optional): For a warm crunch without cooking ingredients, lightly toast the bread slices. This step is optional but adds great texture and prevents sogginess. (2-3 minutes)
- Assemble the sandwiches: Spread your chosen base evenly on one side of the bread. Layer the proteins (if using), then add vegetables and cheese. Season lightly with salt, pepper, and a drizzle of olive oil or mustard if desired. (5 minutes)
- Close and slice: Place the second slice of bread on top, press gently, and slice in half diagonally for a classic presentation. Use a serrated knife to avoid squishing your masterpiece. (2 minutes)
- Serve immediately: These sandwiches are best enjoyed fresh but can be wrapped tightly and refrigerated if needed. (Serve within 2 hours for optimal freshness)
Pro tip: If you’re making multiple sandwiches for a picnic or gathering, prepare all ingredients ahead and assemble right before serving to keep bread from getting soggy. And don’t forget to taste your spread before assembling — sometimes a pinch more salt or a squeeze of lemon makes all the difference!
Cooking Tips & Techniques
Even though these sandwiches don’t require cooking, a few kitchen tricks make them shine:
- Layer thoughtfully: Place wetter ingredients like tomatoes between cheese and bread to keep the bread from getting soggy quickly.
- Balance textures: Combine creamy spreads with crunchy veggies for a satisfying bite every time.
- Season each layer: Don’t just salt the sandwich at the end. Lightly season spreads, veggies, and proteins individually to build deeper flavor.
- Use fresh bread: Stale or dry bread can ruin the experience. If you only have day-old bread, toast it to bring back some life.
- Mind the moisture: Pat vegetables dry with a paper towel if they’re very juicy to avoid sogginess.
- Get creative with spreads: Mixing a bit of pesto or mustard into cream cheese or hummus can add a burst of flavor with minimal effort.
- Practice knife skills: Thin, even slices make assembly easier and a nicer texture when eating.
I remember once rushing through the layering and ending up with a soggy mess because I skipped the drying step on tomatoes. Lesson learned — a quick pat down goes a long way. Also, multitasking by prepping spreads while slicing veggies saves precious minutes.
Variations & Adaptations
These easy no-cook sandwiches are incredibly versatile. Here are some ways to customize:
- Vegetarian option: Use hummus or avocado as the base and add sliced hard-boiled eggs or chickpeas for protein.
- Low-carb adaptation: Swap the bread for large lettuce leaves or collard greens to make fresh wraps.
- Seasonal twist: Add fresh berries or thin apple slices in fall and summer versions for a sweet crunch.
- Spicy kick: Mix in a dash of hot sauce or sprinkle red pepper flakes into your spread.
- Dairy-free version: Use dairy-free cream cheese alternatives or mashed avocado spreads, and skip cheese or use plant-based cheese.
Once, I tried spreading a bit of fig jam on the bread before layering savory ingredients, and it surprisingly worked beautifully to add a subtle sweetness. Feel free to experiment and make these sandwiches your own.
Serving & Storage Suggestions
Serve these sandwiches fresh at room temperature or slightly chilled. They’re perfect for casual meals or packed lunches. Pair them with crisp side salads, crunchy pickles, or a light soup for a well-rounded meal.
If you need to store leftovers, wrap sandwiches tightly in plastic wrap or place in an airtight container and refrigerate for up to 24 hours. Avoid assembling sandwiches earlier than necessary to prevent soggy bread — keep ingredients separate until ready to eat.
For reheating, these sandwiches are best served fresh but can be warmed gently in a panini press or toaster oven if you used sturdy bread. Note that ingredients like lettuce or avocado don’t reheat well, so add those fresh after warming.
Flavors tend to meld nicely if you let the sandwich sit wrapped for 10-15 minutes before eating, especially if you used spreads with herbs or lemon.
Nutritional Information & Benefits
These easy no-cook sandwiches offer a balanced mix of macronutrients and fresh produce, depending on your ingredient choices. A typical sandwich provides approximately:
| Nutrient | Amount (per serving) |
|---|---|
| Calories | 350-450 kcal |
| Protein | 15-25 g |
| Carbohydrates | 30-40 g |
| Fat | 10-18 g |
| Fiber | 5-8 g |
Key health benefits come from fresh vegetables, healthy fats in avocado and olive oil, and lean proteins like turkey or eggs. Many ingredients offer antioxidants, vitamins, and minerals.
These sandwiches can be easily adapted for gluten-free, vegetarian, or dairy-free diets. Be mindful of allergens like wheat, dairy, or nuts depending on your ingredient choices.
From a wellness perspective, these sandwiches provide satisfying nourishment that doesn’t leave you feeling weighed down — ideal for keeping energy up during busy days.
Conclusion
So, there you have it — easy no-cook sandwiches for beginners that are fresh, delicious, and totally doable without breaking a sweat. Whether you’re new to cooking or just want a simple meal that tastes vibrant and satisfying, these recipes have you covered.
Feel free to mix and match ingredients based on what you have or what you love. I’ve found that the joy is in the simplicity — fresh bread, a creamy spread, crisp veggies, and a little seasoning can make a meal that feels special.
Honestly, these sandwiches have become my quick-fix comfort food, especially on hectic days when time is tight but taste can’t be compromised. I can’t wait to hear how you make them your own!
Don’t forget to share your favorite combinations or tips in the comments below — I love seeing how you bring these easy sandwiches to life. Happy sandwich making!
FAQs
Can I make these sandwiches ahead of time?
It’s best to prepare ingredients ahead but assemble sandwiches just before eating to avoid soggy bread. If you need to pack them, wrap tightly and eat within 24 hours.
What’s the best bread to use for no-cook sandwiches?
Fresh sandwich bread, crusty baguettes, or whole grain wraps work well. Toasting slightly can help prevent sogginess.
How can I keep sandwiches from getting soggy?
Pat juicy vegetables dry, layer wetter ingredients between cheese and bread, and assemble right before eating.
Are these sandwiches suitable for vegetarians?
Absolutely! Use plant-based spreads, cheeses, and proteins like chickpeas or eggs to keep them vegetarian-friendly.
Can I freeze these sandwiches?
No-cook sandwiches don’t freeze well due to fresh ingredients and bread texture. It’s better to prepare fresh or store components separately for quick assembly.
Pin This Recipe!
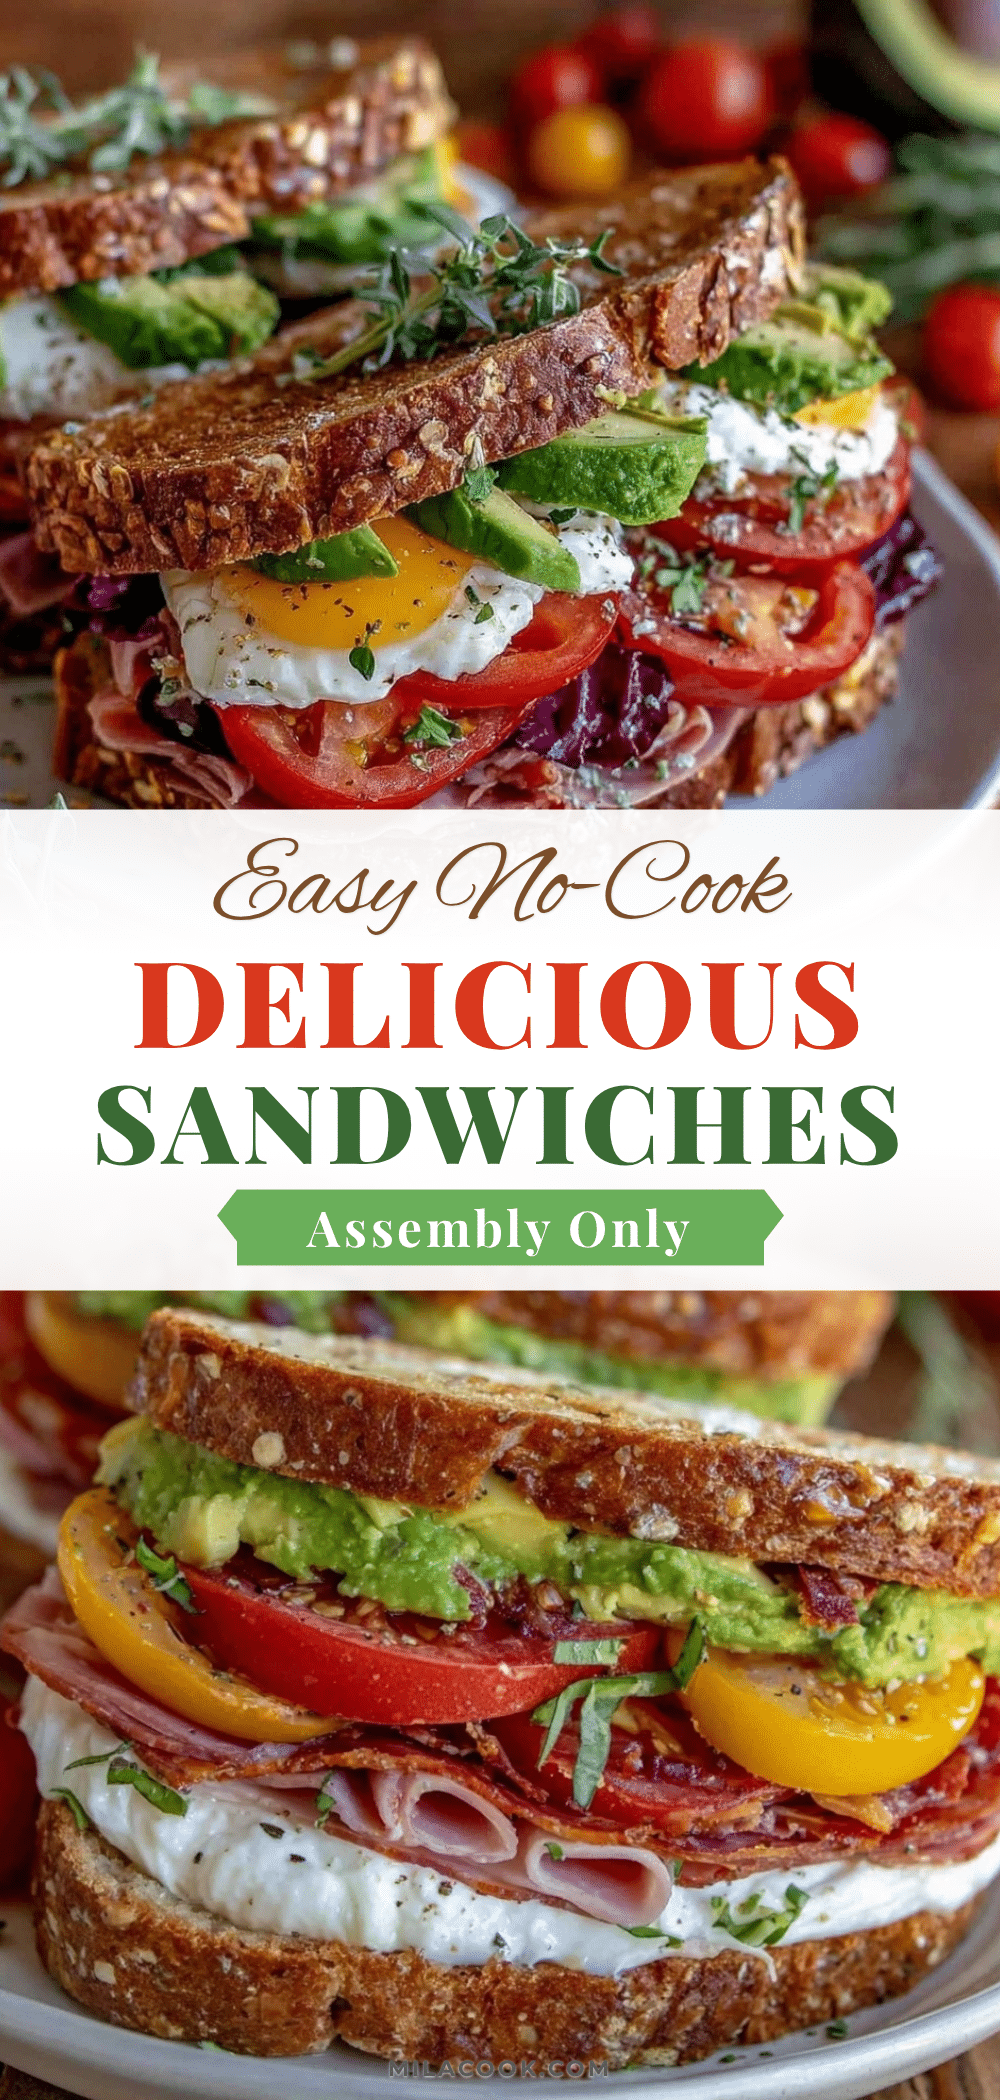
Easy No-Cook Sandwiches for Beginners

A collection of fresh, vibrant, and easy no-cook sandwich recipes perfect for beginners and quick meals. These sandwiches combine simple ingredients for a delicious, hassle-free lunch or snack.
- Prep Time: 15 minutes
- Cook Time: 0 minutes
- Total Time: 15 minutes
- Yield: 2 sandwiches
- Category: Main Course
- Cuisine: American
Ingredients
- Fresh sandwich bread, crusty baguette slices, whole grain wraps, or gluten-free bread
- Cream cheese, softened
- Hummus (classic or flavored varieties)
- Cottage cheese, small-curd, blended with herbs
- Avocado, ripe and mashed
- Greek yogurt mixed with lemon and garlic
- Cucumber, thinly sliced
- Tomatoes, ripe and juicy
- Bell peppers, thinly sliced
- Spinach or mixed greens
- Red onion, thin slices (optional)
- Sprouts or microgreens
- Cheddar cheese, sliced or shredded
- Feta cheese, crumbled
- Mozzarella, fresh slices
- Sliced deli meats like turkey, ham, or chicken breast (optional)
- Hard-boiled eggs, sliced
- Chickpeas, lightly mashed
- Fresh herbs like basil, dill, or parsley
- Lemon juice
- Salt and pepper to taste
- Olive oil drizzle (optional)
- Mustard or light vinaigrette
Instructions
- Prepare the spreads: Mash avocado until smooth or blend cottage cheese with fresh herbs, lemon juice, salt, and pepper until creamy. Have hummus or cream cheese softened and ready to spread. (5 minutes)
- Slice the vegetables: Thinly slice cucumber, tomatoes, bell peppers, and onions. Arrange on a plate for assembly. (5-7 minutes)
- Prepare proteins (if using): Slice deli meats or hard-boiled eggs. Lightly mash chickpeas with salt and olive oil. (5 minutes)
- Toast the bread (optional): Lightly toast bread slices for texture and to prevent sogginess. (2-3 minutes)
- Assemble the sandwiches: Spread chosen base on one side of bread. Layer proteins, vegetables, and cheese. Season with salt, pepper, and drizzle olive oil or mustard if desired. (5 minutes)
- Close and slice: Place second bread slice on top, press gently, and slice diagonally using a serrated knife. (2 minutes)
- Serve immediately: Best enjoyed fresh but can be wrapped and refrigerated for up to 2 hours.
Notes
Use fresh bread and vegetables for best results. Pat juicy vegetables dry to avoid soggy bread. Toast bread lightly if using day-old bread. Assemble sandwiches just before eating to maintain freshness. Experiment with spreads and seasonings for variety.
Nutrition
- Serving Size: 1 sandwich
- Calories: 350450
- Sugar: 36
- Sodium: 400600
- Fat: 1018
- Saturated Fat: 35
- Carbohydrates: 3040
- Fiber: 58
- Protein: 1525
Keywords: no-cook sandwiches, easy sandwiches, beginner recipes, quick lunch, fresh sandwiches, vegetarian sandwiches, healthy sandwiches



