Love this? Save it for later!
Share the inspiration with your friends
“I don’t do fancy cookies,” my roommate declared for years. Just the plain, boring ones—no frills, no fuss. Then one chilly Saturday afternoon, I thought I’d try something a little different and baked a batch of Perfect ABC Letter Cookies with Glossy Royal Icing. I wasn’t aiming to convert anyone, honestly. I just wanted a quiet project to occupy the afternoon. But by evening, I caught her sneaking back to the kitchen, icing finger in hand, eyes wide with surprise. She admitted, maybe not grudgingly, that these cookies were something else.
What changed her mind? It wasn’t just the sweet vanilla scent wafting through the apartment or the playful shapes lining the cooling rack. It was that glossy royal icing—smooth, shiny, just the right snap—that made these cookies almost too pretty to eat. Yet, eat we did, faster than I expected. Maybe you’ve been there, doubting a recipe only to find it quietly wins you over. Well, this one stayed with us, showing up on holiday trays and birthday tables, a simple pleasure with a little show-off charm.
Let me tell you, the journey from skeptic to fan was slow but steady. There were a few messy moments—like when I cracked the bowl while mixing the icing or forgot to chill the dough before rolling—but those little imperfections made it all the more real. This recipe isn’t about perfection; it’s about that satisfying feeling when something turns out better than expected, especially when you least expect it.
Why You’ll Love This Recipe
After testing countless cookie recipes and royal icing techniques, this one stands out for all the right reasons. It’s not just a cookie; it’s an experience—one that’s approachable, reliable, and actually fun to make.
- Quick & Easy: Ready in under 90 minutes, perfect for last-minute baking urges or special occasions.
- Simple Ingredients: Pantry staples like butter, sugar, and eggs, with a few common baking essentials for the icing.
- Perfect for Gifts & Parties: Whether you’re labeling a kid’s lunchbox or decorating for a baby shower, these alphabet cookies add a personal touch.
- Crowd-Pleaser: Kids love picking their initials, adults admire the glossy finish, and everyone enjoys the buttery bite.
- Unbelievably Delicious: The cookie base is crisp but tender, balanced perfectly by the sweet, smooth royal icing that sets with a satisfying snap.
This isn’t just another cookie recipe thrown online. The royal icing tutorial included is chef-tested to achieve that glossy, flood-like finish without the usual cracks or dullness. Plus, the cookie dough recipe is forgiving, so you won’t feel like you’re baking in a chemistry lab. Honestly, it’s the kind of baking that reminds you why simple ingredients, when treated right, make the best treats.
What Ingredients You Will Need
This recipe uses simple, wholesome ingredients to deliver bold flavor and that smooth texture you want without fuss. Most are pantry staples, and substitutions are easy if you need them. Here’s what you’ll need:
- For the Cookie Dough:
- Unsalted butter, softened (adds richness and tenderness)
- Granulated sugar (for sweetness and slight crunch)
- Large egg, room temperature (helps bind the dough)
- Vanilla extract (for warm, aromatic flavor)
- All-purpose flour (look for a soft, finely milled brand for best texture)
- Baking powder (a pinch to give a gentle lift)
- Salt (balances the sweetness)
- For the Glossy Royal Icing:
- Powdered sugar, sifted (for smooth icing)
- Pasteurized egg whites or meringue powder (use meringue powder for convenience and safety)
- Fresh lemon juice or clear vanilla extract (adds brightness and helps set the icing)
- Water (to adjust consistency)
- Gel food coloring (optional, for vibrant letters)
If you’re after gluten-free cookies, swapping all-purpose flour with almond or oat flour works well, though the texture will be a bit different. I like King Arthur for reliable flour, and Wilton gel colors for bright, stable icing hues. Frozen egg whites are a handy standby if you don’t want to crack fresh eggs, and meringue powder is a lifesaver if you worry about raw egg safety.
Equipment Needed
Here’s what helped me get those perfect shapes and shiny icing without hassle:
- Rolling pin: A smooth, weighted one works best to get even thickness.
- Alphabet cookie cutters: Choose a set with clear, sharp edges for clean letters.
- Baking sheets: Non-stick or lined with parchment paper to prevent sticking.
- Mixing bowls: One large bowl for dough, one medium for icing.
- Electric mixer or stand mixer: Makes beating butter and mixing icing much easier.
- Piping bags and small round tips: For precise icing outlines and flooding.
- Toothpicks or scribe tool: Handy for smoothing icing or fixing small mistakes.
If you don’t have alphabet cutters, you can use sturdy kitchen knives to cut rectangles and write letters freehand with icing. I once ran out of parchment and used a silicone baking mat instead—worked just fine but watch out for sliding!
Preparation Method
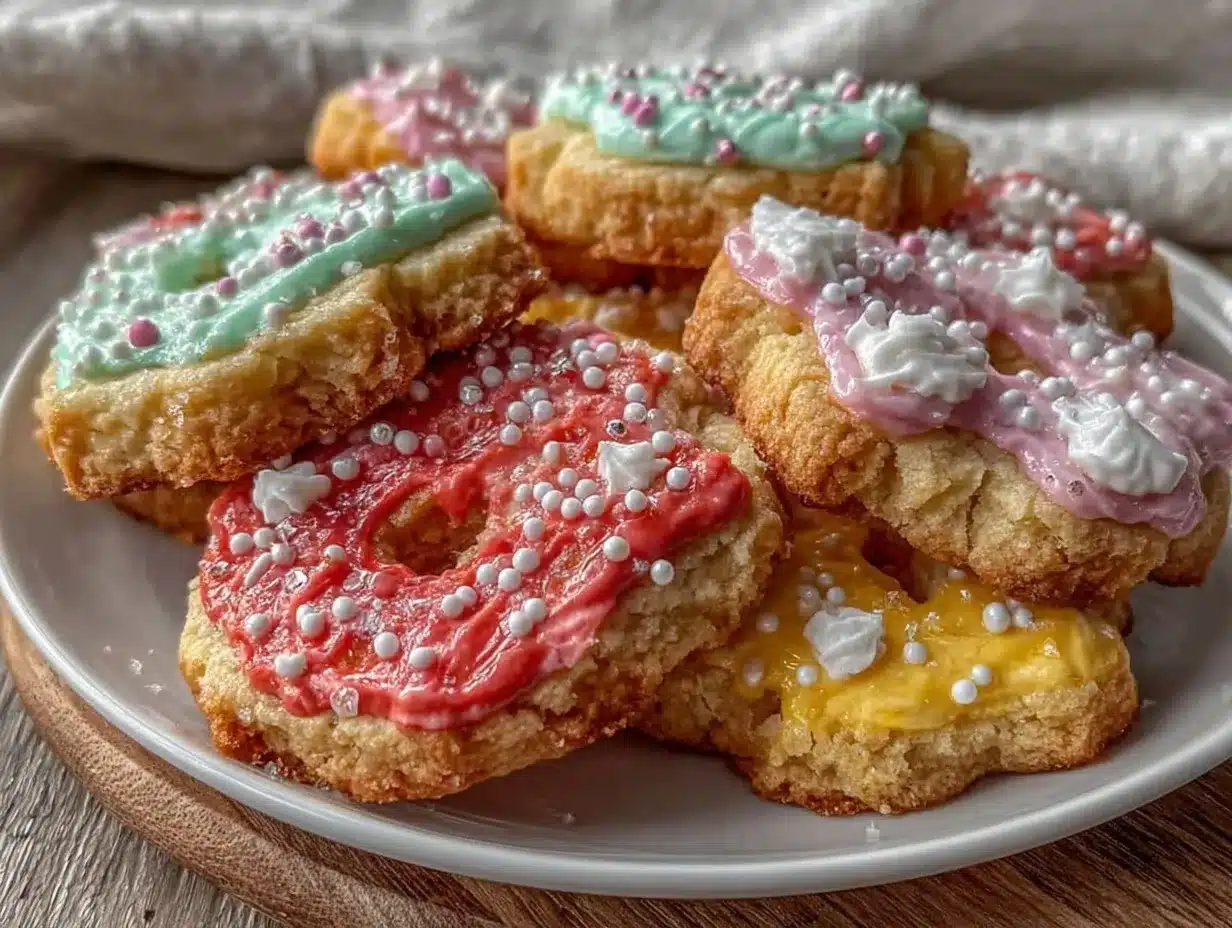
- Make the Dough (15 minutes): In a large bowl, cream 1 cup (227g) softened unsalted butter with 1 cup (200g) granulated sugar until fluffy. Add 1 large egg and 1 teaspoon vanilla extract; mix until combined.
- Combine Dry Ingredients (5 minutes): In a separate bowl, whisk together 3 cups (375g) all-purpose flour, 1 teaspoon baking powder, and ½ teaspoon salt.
- Mix Wet and Dry (5 minutes): Gradually add dry ingredients to the wet mixture. Stir until the dough just comes together—it should be soft but not sticky. If too sticky, add a tablespoon more flour.
- Chill the Dough (at least 1 hour): Wrap the dough in plastic wrap and refrigerate. This step is key for neat cookie shapes and prevents spreading.
- Preheat Oven and Prepare Baking Sheet: Heat oven to 350°F (175°C). Line baking sheets with parchment paper.
- Roll and Cut Cookies (15 minutes): On a lightly floured surface, roll out dough to about ¼ inch (6mm) thickness. Use alphabet cutters to press out letters, then transfer carefully to baking sheet.
- Bake (10-12 minutes): Bake until edges just start to turn golden. Cool on baking sheet for 5 minutes, then move to wire rack to cool completely before icing.
- Prepare Royal Icing: In a medium bowl, beat 3 cups (360g) powdered sugar with 3 tablespoons meringue powder and 6 tablespoons water. Add lemon juice (about 1 tsp) or vanilla extract. Beat until stiff peaks form, adjusting water to get a thick but pipeable consistency.
- Color and Pipe: Divide icing into small bowls and tint with gel colors if desired. Use piping bags fitted with small round tips to outline each cookie letter, then flood inside with thinner icing (thin with water to a consistency that spreads smoothly).
- Let Icing Set: Allow cookies to dry at room temperature for several hours or overnight. Avoid stacking until fully hardened.
Pro tip: If your icing starts to crust in the bowl while you’re working, cover it with a damp cloth to keep it moist. Also, practice on a spare cookie to get the hang of flooding before tackling your whole batch.
Cooking Tips & Techniques
Getting those perfect ABC Letter Cookies with Glossy Royal Icing isn’t rocket science, but there are a few tricks I swear by:
- Chill your dough: Patience here means cookies hold their shape instead of spreading into blobs.
- Roll evenly: Use guides or spacers on your rolling pin to keep thickness consistent. Uneven cookies bake unevenly.
- Use meringue powder: It’s more stable and safer than raw egg whites, especially if you’re gifting cookies.
- Control icing consistency: For outlining, keep it thick so it holds shape. For flooding, thin it with water until it spreads smoothly but isn’t runny.
- Work in small batches: I mix small amounts of icing at a time to avoid drying out.
- Let icing dry completely: Resist the urge to stack or package cookies before icing sets fully; it can smudge or stick.
- Fix mistakes quickly: Use a damp toothpick or scribe tool to nudge icing into place while wet.
I once ignored chilling the dough and ended up with cookies that looked more like puddles than letters—lesson learned the hard way! Also, timing helps: bake one sheet while you prep the next batch for efficiency. Trust me, these little habits save a ton of frustration.
Variations & Adaptations
Want to make these cookies your own? Here are some fun ideas:
- Flavor Twists: Add lemon or almond extract to the dough for subtle flavor changes. Or swap vanilla for orange zest for a fresh note.
- Diet-Friendly: Use gluten-free flour blends for allergy-friendly treats. Swap butter with coconut oil for dairy-free versions (texture will be slightly different).
- Color & Design: Experiment with different icing colors or add edible glitter for sparkle. You can also pipe tiny dots or stripes for extra flair.
- Alternative Shapes: Instead of letters, use numbers or simple shapes like stars alongside for birthdays or holidays.
- Cooking Method: If you don’t want to roll dough, try pressing it into silicone alphabet molds and baking those for a quicker, uniform shape.
One time, I swapped half the flour for oat flour and added cinnamon to the dough—resulting in a cozy, nutty cookie that disappeared fast at a fall gathering. Feel free to play around and make the recipe truly yours.
Serving & Storage Suggestions
These cookies are best served at room temperature once the icing has set. They look charming arranged on a platter, spelling out names or messages—perfect for parties or afternoon tea.
Pair them with a simple cup of tea, coffee, or cold milk to balance the sweetness. They also work nicely as edible gift tags or party favors.
Store baked and iced cookies in an airtight container at room temperature for up to 5 days. For longer storage, freeze un-iced cookies for up to 3 months; add icing after thawing.
When reheating or softening slightly, warm briefly in a low oven (250°F/120°C) for 5 minutes. Be careful not to melt the icing.
Flavors actually deepen if you let them sit a day or two, so making these ahead can pay off in taste.
Nutritional Information & Benefits
Each cookie (depending on size) contains approximately 120 calories, with 6 grams of fat and 15 grams of carbohydrates. They provide a modest amount of protein from eggs and butter.
The primary ingredients like butter and eggs contribute essential fats and protein, while the powdered sugar adds sweetness without complex carbs.
For gluten-free or dairy-free adaptations, the recipe can be adjusted to fit dietary needs without losing much in taste or texture.
While these cookies aren’t a health food, they make a joyful treat that fits well within balanced eating when enjoyed mindfully.
Conclusion
So, if you’ve been skeptical about decorating cookies or intimidated by royal icing, this Perfect ABC Letter Cookies with Glossy Royal Icing recipe is a friendly way in. It’s approachable, forgiving, and genuinely rewarding when those shiny letters come together so nicely.
Don’t be afraid to tweak colors, flavors, or shapes to your liking. Baking is as much about personal touches as it is about following steps.
I keep coming back to this recipe because it mixes the fun of creativity with the comfort of buttery, sweet treats. Plus, watching someone’s face light up when they see their initial beautifully iced? That’s worth every sticky finger and frosting smudge.
Give it a try, share your results, or tell me how you made it your own—I’d love to hear your stories and tips!
FAQs about Perfect ABC Letter Cookies with Glossy Royal Icing
- Can I use store-bought royal icing instead of making my own? Yes, but homemade royal icing tends to have a fresher taste and better consistency for that glossy finish.
- How do I prevent the icing from cracking? Make sure to keep the icing covered when not using and avoid adding too much water. Dry cookies fully before stacking or packaging.
- Can these cookies be frozen after decorating? It’s best to freeze undecorated cookies. Decorated ones might get damaged or lose their shine after freezing and thawing.
- How long does royal icing take to dry? Typically, it sets firm in 2-4 hours at room temperature, but overnight drying is best for full hardness.
- What if my dough is too sticky to roll out? Chill it longer or add a little extra flour, but be careful not to add too much or cookies will be tough.
Pin This Recipe!
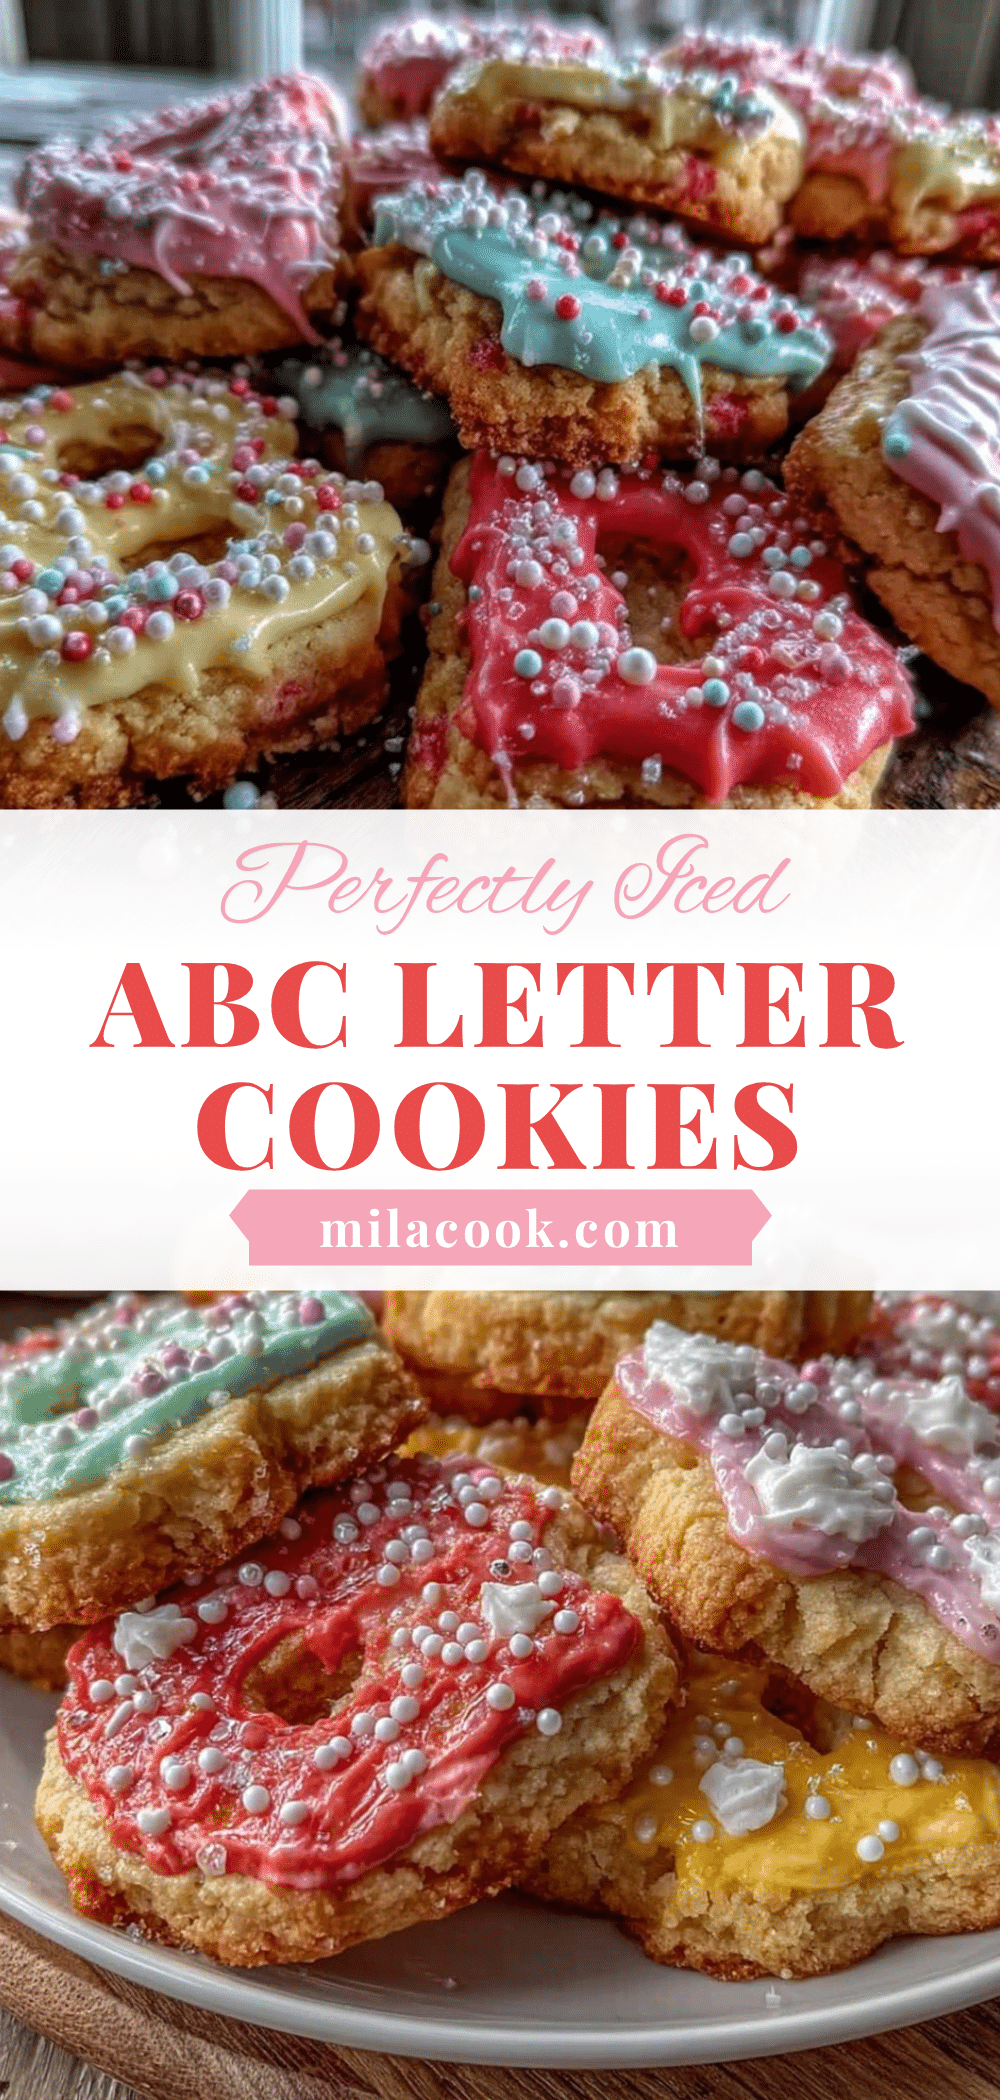
Perfect ABC Letter Cookies with Glossy Royal Icing

A simple and approachable recipe for buttery alphabet cookies topped with smooth, glossy royal icing that sets with a satisfying snap. Perfect for gifts, parties, and personalizing treats.
- Prep Time: 25 minutes
- Cook Time: 10-12 minutes
- Total Time: 1 hour 45 minutes
- Yield: About 24 cookies (depending on size) 1x
- Category: Dessert
- Cuisine: American
Ingredients
- 1 cup (227g) unsalted butter, softened
- 1 cup (200g) granulated sugar
- 1 large egg, room temperature
- 1 teaspoon vanilla extract
- 3 cups (375g) all-purpose flour
- 1 teaspoon baking powder
- ½ teaspoon salt
- 3 cups (360g) powdered sugar, sifted
- 3 tablespoons meringue powder
- 6 tablespoons water
- 1 teaspoon fresh lemon juice or clear vanilla extract
- Gel food coloring (optional)
Instructions
- Make the Dough (15 minutes): In a large bowl, cream 1 cup (227g) softened unsalted butter with 1 cup (200g) granulated sugar until fluffy. Add 1 large egg and 1 teaspoon vanilla extract; mix until combined.
- Combine Dry Ingredients (5 minutes): In a separate bowl, whisk together 3 cups (375g) all-purpose flour, 1 teaspoon baking powder, and ½ teaspoon salt.
- Mix Wet and Dry (5 minutes): Gradually add dry ingredients to the wet mixture. Stir until the dough just comes together—it should be soft but not sticky. If too sticky, add a tablespoon more flour.
- Chill the Dough (at least 1 hour): Wrap the dough in plastic wrap and refrigerate. This step is key for neat cookie shapes and prevents spreading.
- Preheat Oven and Prepare Baking Sheet: Heat oven to 350°F (175°C). Line baking sheets with parchment paper.
- Roll and Cut Cookies (15 minutes): On a lightly floured surface, roll out dough to about ¼ inch (6mm) thickness. Use alphabet cutters to press out letters, then transfer carefully to baking sheet.
- Bake (10-12 minutes): Bake until edges just start to turn golden. Cool on baking sheet for 5 minutes, then move to wire rack to cool completely before icing.
- Prepare Royal Icing: In a medium bowl, beat 3 cups (360g) powdered sugar with 3 tablespoons meringue powder and 6 tablespoons water. Add lemon juice (about 1 tsp) or vanilla extract. Beat until stiff peaks form, adjusting water to get a thick but pipeable consistency.
- Color and Pipe: Divide icing into small bowls and tint with gel colors if desired. Use piping bags fitted with small round tips to outline each cookie letter, then flood inside with thinner icing (thin with water to a consistency that spreads smoothly).
- Let Icing Set: Allow cookies to dry at room temperature for several hours or overnight. Avoid stacking until fully hardened.
Notes
Chill dough for at least 1 hour to prevent spreading. Use meringue powder for safer and more stable royal icing. Keep icing covered with a damp cloth to prevent crusting while working. Let icing dry completely before stacking or packaging. Practice flooding on a spare cookie before decorating the whole batch.
Nutrition
- Serving Size: 1 cookie
- Calories: 120
- Fat: 6
- Carbohydrates: 15
Keywords: ABC cookies, royal icing, alphabet cookies, glossy icing, easy cookies, party cookies, gift cookies, baking tutorial