Love this? Save it for later!
Share the inspiration with your friends
“I wasn’t expecting to find the perfect graduation treat recipe at a community center bake sale,” I admitted as I watched my friend Lisa happily hand out these charming diploma-shaped sugar cookies, each decorated with precision and vibrant color-block royal icing. The scent of fresh vanilla and sugary sweetness filled the air, and honestly, I was hooked before I even took a bite. Lisa confessed she whipped them up last minute, inspired by the chaos of graduation season and her lack of time to make anything complicated.
It was a Wednesday afternoon, and I was there helping set up for the local art exhibit, when the cookies appeared like little certificates of celebration. The way the icing shimmered with crisp lines and bold blocks of color made each cookie look like a tiny masterpiece. You know that feeling when a simple idea turns into something unexpectedly delightful? That’s exactly what happened with these diplomas-shaped sugar cookies, and I knew I had to recreate them for my own graduation party.
Let me tell you, the process wasn’t flawless at first. I forgot the baking powder once, and the cookies came out a little too dense (lesson learned!). But after a few tries, I nailed the dough texture and mastered the royal icing technique that gives those clean, color-blocked edges. Maybe you’ve been there, staring at your piping bags, wondering how to get a smooth finish without smudges. This recipe stayed with me because it’s simple enough for last-minute celebrations yet impressive enough to wow a crowd. Plus, the diploma shape adds that perfect touch of festivity that everyone appreciates.
Why You’ll Love This Recipe
Honestly, these perfect diploma-shaped sugar cookies with color-block royal icing have become my go-to for any graduation occasion, and here’s why:
- Quick & Easy: The dough comes together in under 15 minutes, and with a little drying time, you can decorate and have these ready within a day — perfect when you’re juggling party prep.
- Simple Ingredients: No fancy or hard-to-find items here. Just classic pantry staples like flour, sugar, butter, and eggs, along with a few basics for the royal icing.
- Perfect for Celebrations: Whether it’s a school ceremony, a virtual graduation party, or a festive send-off, these cookies fit the bill beautifully.
- Crowd-Pleaser: Kids and adults alike love them, partly because the icing isn’t overly sweet but has that delightful smooth texture and pretty presentation.
- Unbelievably Delicious: The sugar cookie base is buttery and tender, with just the right hint of vanilla — a perfect canvas for the colorful icing.
What sets this recipe apart? The color-block royal icing technique isn’t just pretty—it’s practical. I’ve tested this method to make decorating more manageable without sacrificing that professional look. Plus, the diploma shape is a clever nod to the occasion, making these cookies more than just dessert; they’re a keepsake at the party table.
Trust me, after the first bite, you’ll understand why these cookies stick around in your recipe box. They’re comfort food with a sprinkle of celebration magic.
What Ingredients You Will Need
This recipe uses straightforward, wholesome ingredients to deliver that classic sugar cookie taste with a smooth, vibrant royal icing finish. Most of these are pantry staples, and I’ll note a few swaps if you need them.
- For the Sugar Cookie Dough:
- 2 ¾ cups (345g) all-purpose flour, sifted (I recommend King Arthur for consistent texture)
- 1 teaspoon baking powder
- ½ teaspoon salt
- 1 cup (227g) unsalted butter, softened (use European-style butter for richer flavor)
- 1 ½ cups (300g) granulated sugar
- 1 large egg, room temperature
- 2 teaspoons pure vanilla extract (fresh is best, but store-bought works fine)
- For the Color-Block Royal Icing:
- 3 cups (360g) powdered sugar, sifted
- 2 tablespoons meringue powder (or 2 egg whites if you prefer fresh)
- 5 tablespoons (75ml) warm water, adjust for consistency
- Gel food coloring in desired colors (AmeriColor or Wilton brands work well for vibrant hues)
- Optional: a few drops of vanilla or almond extract for flavor
Ingredient tips: If you want a gluten-free version, almond flour can replace up to half the all-purpose flour, but expect a slightly different texture. For dairy-free, swap butter with an equal amount of coconut oil or vegan margarine, though the flavor will shift a bit.
Equipment Needed
- Mixing bowls – Medium and large sizes for dough and icing
- Electric hand mixer or stand mixer – This makes creaming butter and mixing icing much easier
- Rolling pin – I like a non-stick one for even dough thickness
- Diploma-shaped cookie cutter – If you don’t have one, a rectangle cutter with rounded edges works fine
- Baking sheets lined with parchment paper or silicone mats – For even baking and easy cleanup
- Piping bags and small round piping tips (size #1 or #2) – Essential for the fine details in color-block icing
- Toothpicks or scribe tool – Helpful for smoothing icing edges and fixing small mistakes
If you’re on a budget, disposable piping bags work just fine, and you can improvise with zip-top bags by snipping a corner. I’ve kept a set of basic cookie cutters for years, and they’re worth it for quick access when inspiration hits.
Preparation Method
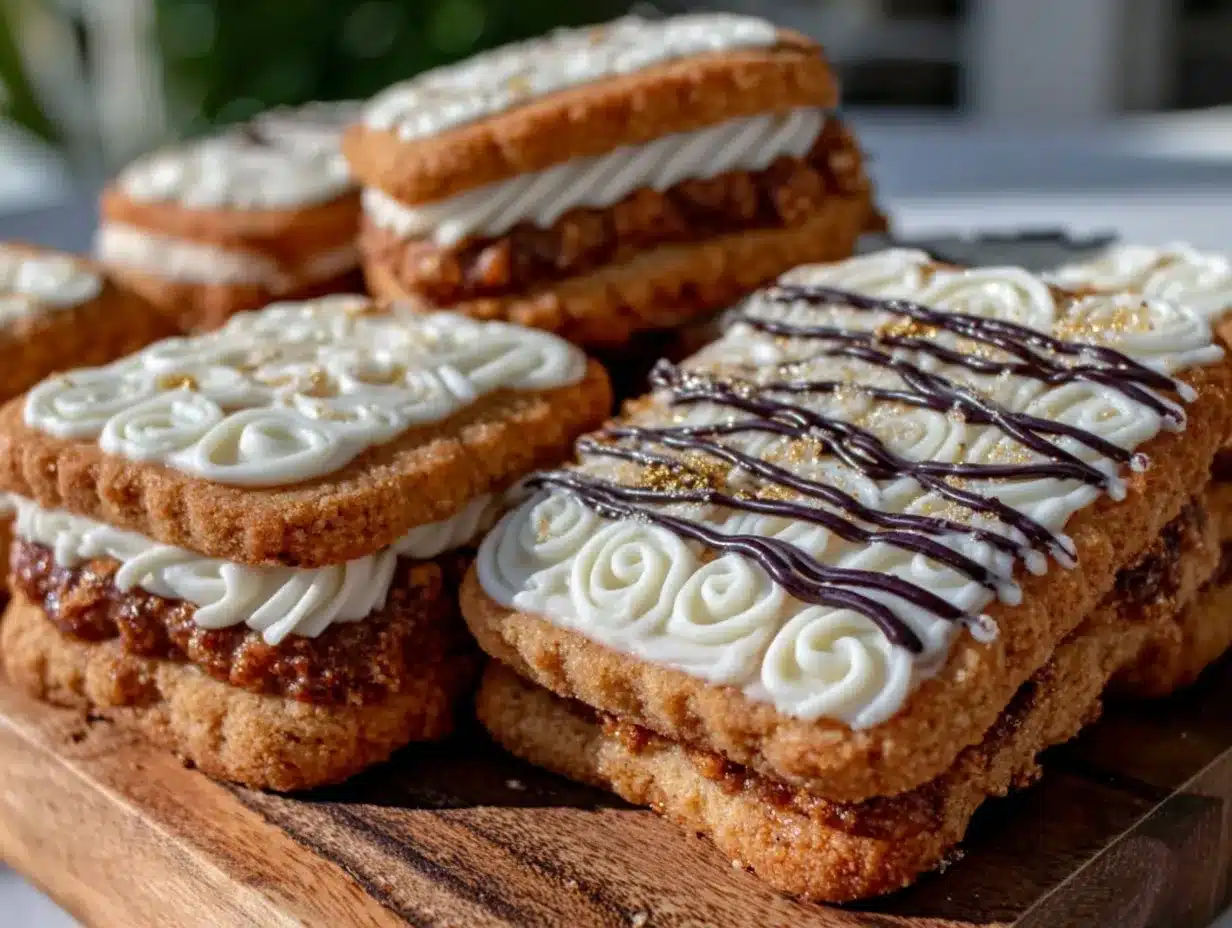
- Mix the Dry Ingredients: In a medium bowl, whisk together the sifted flour, baking powder, and salt. Set aside. (This step takes about 5 minutes.)
- Cream Butter and Sugar: Using a mixer, beat the softened butter and granulated sugar on medium speed for 3-4 minutes until light and fluffy. This is key for tender cookies.
- Add Egg and Vanilla: Beat in the egg and vanilla extract until fully combined. The mixture might look a little curdled at this point, but that’s normal.
- Incorporate Dry Ingredients: Gradually add the flour mixture to the wet ingredients, mixing on low speed until just combined. Avoid overmixing — you want a soft dough that holds together but isn’t tough.
- Chill the Dough: Wrap the dough in plastic wrap and chill for at least 1 hour. This helps prevent spreading while baking and makes rolling easier.
- Preheat Oven and Prepare Baking Sheets: Heat your oven to 350°F (175°C). Line your baking sheets with parchment or silicone mats.
- Roll and Cut: On a lightly floured surface, roll the dough to about ¼ inch (6 mm) thickness. Use the diploma-shaped cutter to cut out cookies, transferring them carefully to the baking sheet.
- Bake: Bake for 8–10 minutes or until edges just start to turn golden. The centers should remain light. Remove from oven and cool completely on wire racks.
- Prepare Royal Icing: In a clean bowl, combine powdered sugar, meringue powder, and warm water. Beat until stiff peaks form, about 5-7 minutes. Adjust consistency with water or sugar for outlining (thicker) and flooding (thinner) icing.
- Color Your Icing: Divide icing into separate bowls and add gel coloring to each. Stir well. Remember, a little goes a long way!
- Pipe and Color-Block: Outline the diploma shape with the thick icing first. Let it set for 10 minutes. Then flood sections with different colors, carefully filling blocks without mixing. Use a toothpick to guide icing to edges and pop air bubbles.
- Let Dry: Let the cookies dry at room temperature for several hours or overnight. This step is crucial for clean, non-sticky icing.
Pro tip: If your icing seems too runny, add more powdered sugar; too thick, add a few drops of warm water. And don’t rush the drying process—it really makes a difference in that crisp finish.
Cooking Tips & Techniques
When it comes to sugar cookies, the texture can make or break the experience. I learned the hard way that chilling the dough is not optional if you want neat edges and no spreading.
For the royal icing, patience is everything. Piping the outline first creates a dam for the flood icing, helping you achieve those sharp color blocks without unwanted blending. I usually let my outline dry a bit before flooding, which keeps colors crisp and clean.
Common mistake? Overmixing the dough or icing. It can introduce air bubbles, leading to cracks or craters on your cookie surface.
Also, multitasking helps. While cookies bake and cool, you can prep your icing colors to save time. But don’t get distracted—icing dries quickly once piped, so work steadily.
One personal tip: sometimes the flood icing sets unevenly. Using a toothpick to gently smooth the surface right after flooding fixes that instantly.
Variations & Adaptations
This recipe is flexible enough for all kinds of adaptations:
- Dietary: Swap all-purpose flour for gluten-free flour blends and use egg replacers if needed. Coconut oil works as a butter substitute for dairy-free diets.
- Seasonal: Change the icing colors to match school colors, or add edible gold dust for a luxe touch during holiday graduations.
- Flavor Twists: Add lemon zest or almond extract to the dough for a subtle flavor upgrade. I once added a pinch of cinnamon for a cozy fall graduation party, and it was a hit.
- Different Shapes: Use this dough and icing technique for other celebration shapes like stars or caps if diplomas aren’t your thing.
Personally, I’ve tried piping a monogram or year on the diploma cookies after the base icing dried, which adds a nice personalized touch for guests.
Serving & Storage Suggestions
Serve these cookies at room temperature to enjoy the full flavor and the perfect texture contrast between crumbly cookie and smooth royal icing. They look wonderful arranged on a platter with fresh flowers or alongside a refreshing lemonade or iced tea for outdoor parties.
Store cookies in an airtight container with parchment layers between to prevent sticking. They stay fresh for up to a week at room temperature, or you can freeze them for longer storage. If frozen, thaw in the container to avoid condensation on the icing.
Reheat gently if you prefer warm cookies — a few seconds in the microwave usually does the trick, but be careful not to melt the icing.
Over time, the flavors meld beautifully, making leftover cookies even tastier the next day.
Nutritional Information & Benefits
Each cookie (about 3 inches or 7.5 cm) contains approximately:
| Calories | Total Fat | Carbohydrates | Protein |
|---|---|---|---|
| 150 kcal | 7g | 22g | 1g |
The key ingredients like butter provide a source of healthy fats, and the moderate sugar content makes these a treat rather than a daily snack. The recipe is naturally gluten-free adaptable, and free from nuts unless you add extracts that contain them.
From a wellness perspective, I appreciate that these cookies don’t rely on artificial flavors or preservatives, making them a cleaner choice for celebrations.
Conclusion
If you’re looking for a delightful way to celebrate graduation with a personal touch, these perfect diploma-shaped sugar cookies with color-block royal icing fit the bill beautifully. They’re straightforward enough for bakers of all skill levels but give you that impressive finish that says you cared enough to make something special.
Feel free to play with colors, flavors, and details to make them your own. I love how this recipe brings people together, sharing smiles and sweet moments over a little piece of edible celebration.
Give them a try, and please share your decorating twists or stories—I’d love to hear how your batch turns out. Here’s to many more delicious celebrations!
FAQs
Can I make the dough ahead of time?
Yes! You can prepare the dough and chill it for up to 48 hours before rolling and baking. Just make sure it’s well wrapped to avoid drying out.
How do I prevent royal icing from cracking?
Cracking often happens if the icing dries too fast or is too thick. Use the right consistency and allow cookies to dry slowly at room temperature, avoiding drafts.
Can I use powdered egg whites instead of fresh eggs?
Absolutely! Meringue powder or powdered egg whites are safer and more stable options for royal icing and can be found in most baking stores.
What if I don’t have a diploma-shaped cookie cutter?
No worries. A rectangular cutter with rounded corners or even a simple rectangle shape works perfectly fine for this recipe.
How long do the cookies keep their freshness?
Stored in an airtight container at room temperature, they remain fresh for about a week. For longer storage, freezing is recommended.
Before you go, you might enjoy trying my lemon-glazed sugar cookies for a citrus twist or the classic vanilla sugar cookies that use a similar dough base, both perfect for celebrations.
Pin This Recipe!
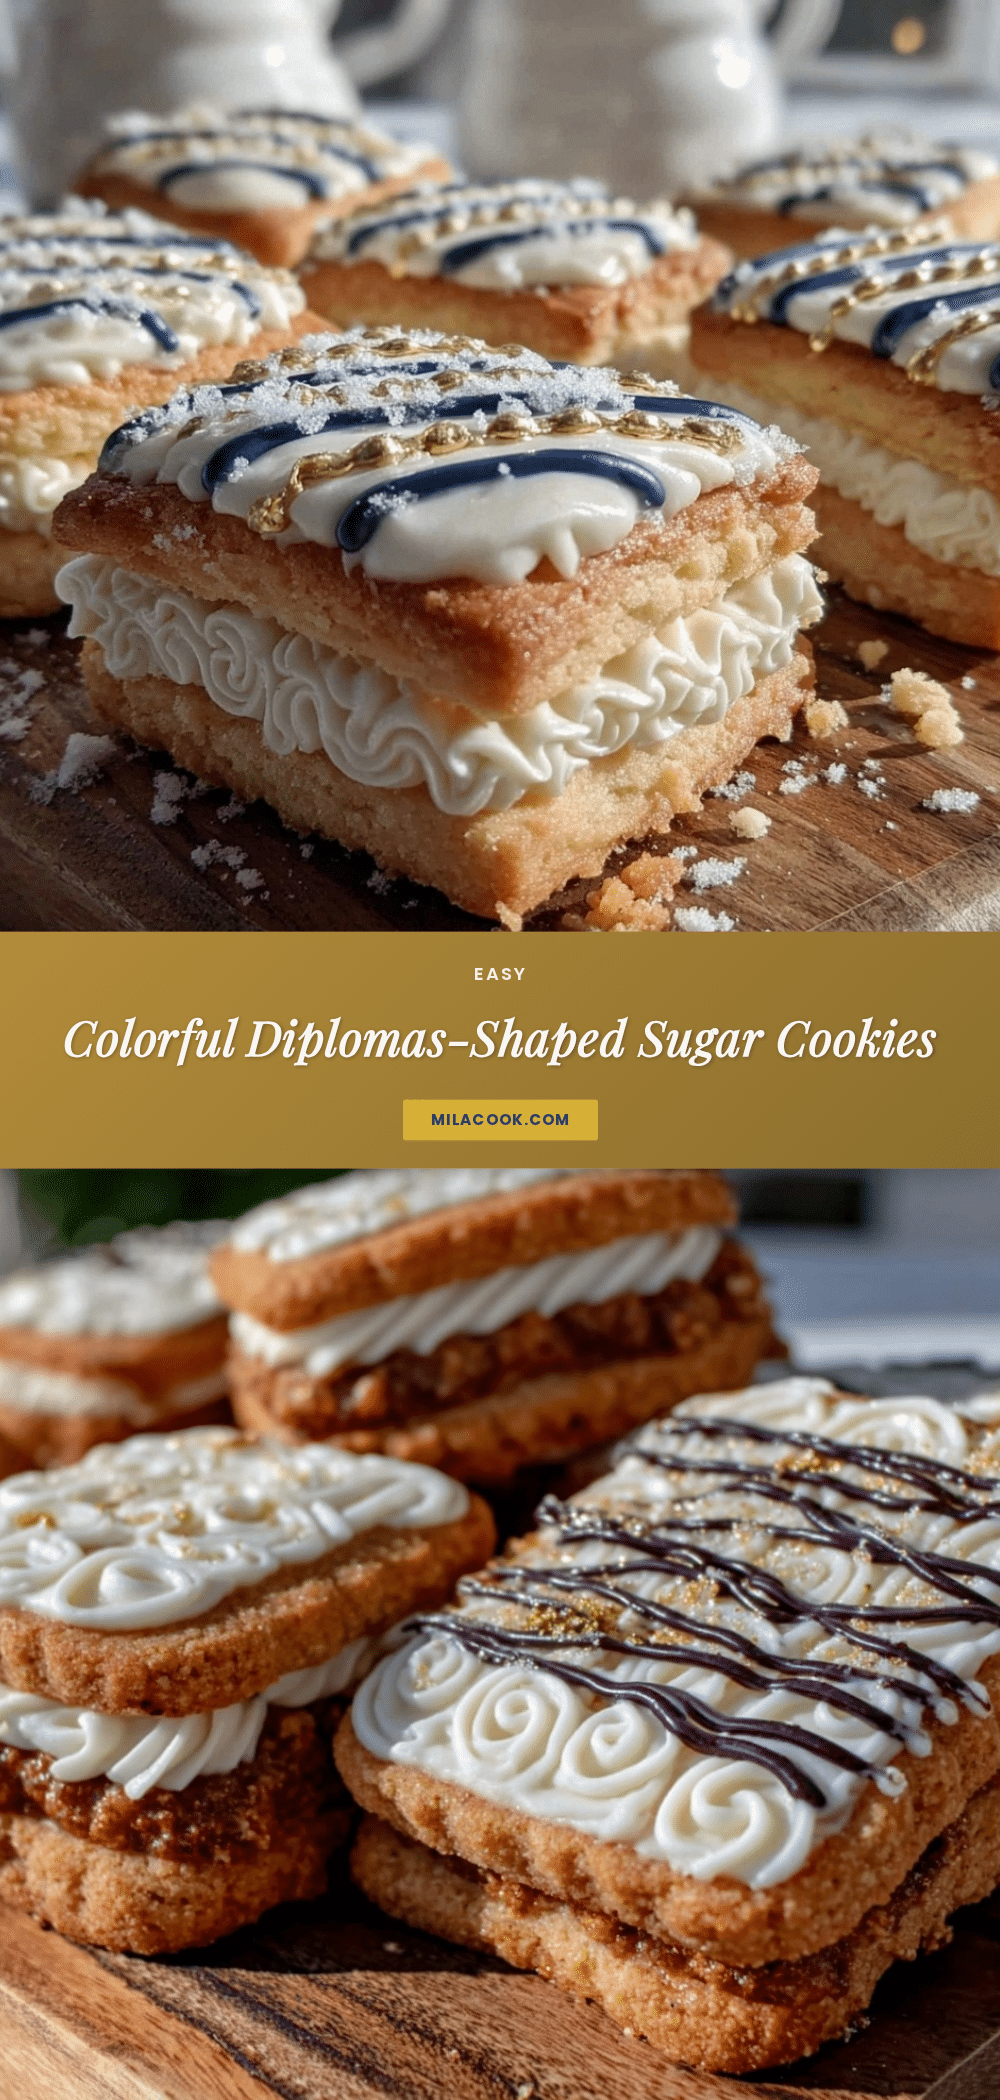
Perfect Diploma-Shaped Sugar Cookies Easy Color-Block Royal Icing Tutorial

These charming diploma-shaped sugar cookies feature a buttery, tender base with vibrant color-block royal icing, perfect for graduation celebrations and easy enough for last-minute baking.
- Prep Time: 15 minutes
- Cook Time: 10 minutes
- Total Time: 1 hour 25 minutes
- Yield: 24 cookies 1x
- Category: Dessert
- Cuisine: American
Ingredients
- 2 ¾ cups (345g) all-purpose flour, sifted
- 1 teaspoon baking powder
- ½ teaspoon salt
- 1 cup (227g) unsalted butter, softened
- 1 ½ cups (300g) granulated sugar
- 1 large egg, room temperature
- 2 teaspoons pure vanilla extract
- 3 cups (360g) powdered sugar, sifted
- 2 tablespoons meringue powder (or 2 egg whites)
- 5 tablespoons (75ml) warm water, adjust for consistency
- Gel food coloring in desired colors
- Optional: a few drops of vanilla or almond extract for flavor
Instructions
- Mix the sifted flour, baking powder, and salt in a medium bowl; set aside.
- Beat softened butter and granulated sugar on medium speed for 3-4 minutes until light and fluffy.
- Add egg and vanilla extract; beat until fully combined.
- Gradually add the flour mixture to the wet ingredients, mixing on low speed until just combined.
- Wrap dough in plastic wrap and chill for at least 1 hour.
- Preheat oven to 350°F (175°C). Line baking sheets with parchment paper or silicone mats.
- Roll dough on a lightly floured surface to about ¼ inch (6 mm) thickness.
- Cut out diploma shapes using a diploma-shaped cookie cutter and transfer to baking sheets.
- Bake for 8–10 minutes until edges start to turn golden; cool completely on wire racks.
- Prepare royal icing by combining powdered sugar, meringue powder, and warm water; beat until stiff peaks form (5-7 minutes). Adjust consistency as needed.
- Divide icing into bowls and add gel food coloring; stir well.
- Outline diploma shapes with thick icing; let set for 10 minutes.
- Flood sections with different colors carefully, using a toothpick to guide icing and pop air bubbles.
- Let cookies dry at room temperature for several hours or overnight for a crisp finish.
Notes
Chilling the dough is essential to prevent spreading and achieve neat edges. For royal icing, pipe the outline first to create a dam before flooding to keep colors crisp. Adjust icing consistency carefully to avoid cracking. Let cookies dry slowly at room temperature, avoiding drafts. Dough can be prepared and chilled up to 48 hours ahead. Store cookies in an airtight container with parchment layers; freeze for longer storage.
Nutrition
- Serving Size: 1 cookie (about 3 in
- Calories: 150
- Fat: 7
- Carbohydrates: 22
- Protein: 1
Keywords: sugar cookies, graduation cookies, diploma cookies, royal icing, color-block icing, easy sugar cookies, celebration cookies



