Love this? Save it for later!
Share the inspiration with your friends
“Why can’t we just use brown butter instead of regular butter in these cookies?” my friend’s daughter asked during our impromptu cookie-baking session last August. I started to explain why that wouldn’t work — then stopped. Honestly, the idea had me skeptical at first. Brown butter? Wouldn’t it overpower the delicate sweetness we needed for back-to-school sugar cookies? But you know that feeling when you decide to trust a kid’s intuition? That’s exactly what happened.
After all, I was supposed to be the teacher here, guiding a picky 9-year-old through the art of decorating simple sugar cookies with pencil designs for her classroom party. Instead, I ended up learning far more than I intended. The brown butter gave these cookies a nutty, caramel-like depth that regular butter could never touch. And the frosting? Smooth, just sweet enough, and perfect for drawing colorful pencils with edible markers.
There was a moment when the power flickered and the mixer stopped mid-whip, sending a small cloud of powdered sugar into the air — a mess that made us both laugh and pause. We kept going, and by the end of the afternoon, those pencil-decorated cookies became the talk of the party. I still make these Perfect Frosted Brown Butter Pencil-Decorated Back-to-School Sugar Cookies every year now. Maybe you’ve been there, doubting a twist on a classic, only to find it’s exactly what the recipe needed. Let me tell you, these cookies hold that same magic.
Why You’ll Love This Recipe
Having tested countless sugar cookie recipes, this one truly stands out in my kitchen and on my recipe list. Let me share why this Perfect Frosted Brown Butter Sugar Cookies recipe is a back-to-school winner you’ll want to keep on hand:
- Quick & Easy: Ready in under an hour, these cookies fit perfectly into hectic school mornings or last-minute classroom treats.
- Simple Ingredients: No need for specialty shops — pantry staples like butter, sugar, and flour come together effortlessly here.
- Perfect for Back-to-School: The pencil decoration theme is ideal for celebrating new beginnings and impressing teachers and classmates alike.
- Crowd-Pleaser: Kids adore the fun pencil designs, while parents appreciate the rich, buttery flavor that’s not overly sweet.
- Unbelievably Delicious: The brown butter transforms these from ordinary sugar cookies into something with a toasted, almost caramel-like complexity.
What makes this recipe different? Instead of the usual plain sugar cookie, the brown butter adds a depth of flavor that you’ll notice in every bite. Plus, the frosting recipe is crafted for smoothness and durability — perfect for detailed pencil drawings that won’t smudge or crack. This isn’t just another sugar cookie recipe; it’s one that’s tested, loved, and a bit of a conversation starter.
Honestly, it’s the kind of cookie that makes you close your eyes after the first bite and smile. Whether you’re sending them with your kids or hosting a casual after-school gathering, these cookies bring comfort and creativity together in a way that feels just right.
What Ingredients You Will Need
This recipe uses simple, wholesome ingredients to deliver bold flavor and satisfying texture without the fuss. Most of these you probably have on hand, and a few tips on selecting the best versions will help you get the tastiest results.
- Unsalted butter (1 cup / 227 g): Browned for a nutty flavor — I recommend using European-style butter like Kerrygold for richness.
- Granulated sugar (3/4 cup / 150 g): Classic white sugar to keep the cookies sweet without heaviness.
- Light brown sugar (1/4 cup / 50 g): Adds moisture and a subtle caramel note that complements the brown butter.
- Large egg (1, room temperature): Helps bind the dough and adds tenderness.
- Pure vanilla extract (1 teaspoon): For depth of flavor — I prefer Nielsen-Massey for its rich aroma.
- All-purpose flour (2 1/2 cups / 312 g): The backbone of the dough; sifted before use ensures a soft texture.
- Baking powder (1 teaspoon): Provides a slight lift without puffing the cookies too much.
- Salt (1/2 teaspoon): Balances sweetness and enhances flavor.
- Powdered sugar (2 cups / 240 g): For the frosting — use a fine, clump-free brand like Domino for smooth icing.
- Milk (2-3 tablespoons / 30-45 ml): Adds spreadability to the frosting (whole milk preferred for creaminess).
- Light corn syrup (1 tablespoon / 15 ml): Gives frosting sheen and prevents cracking.
- Food coloring markers or gel colors: For the pencil decorations — I like AmeriColor gel for vibrant, smooth application.
For substitutions, you can swap all-purpose flour for a gluten-free blend (just check for xanthan gum included), and use dairy-free butter and coconut milk for a vegan-friendly version. If you’re feeling adventurous, try swapping light brown sugar for coconut sugar for a deeper flavor profile.
Equipment Needed
- Mixing bowls: At least two — one for wet ingredients and one for dry.
- Electric hand mixer or stand mixer: For creaming butter and sugars smoothly. A stand mixer like a KitchenAid is ideal but a hand mixer works fine.
- Heavy-bottomed skillet or saucepan: To brown the butter carefully without burning.
- Measuring cups and spoons: Accurate measurements mean consistent results.
- Rolling pin: For rolling out cookie dough evenly — a silicone rolling pin helps prevent sticking.
- Parchment paper or silicone baking mats: To line baking sheets and prevent sticking.
- Cookie cutters (round or pencil shapes): I use a classic 3-inch circle cutter for cookies, then decorate pencils on top.
- Offset spatula or butter knife: For spreading frosting smoothly.
- Edible food markers or fine brushes: To create pencil drawings on the frosting.
If you don’t have a rolling pin, a clean bottle can work in a pinch. And for browning butter, patience is key — I’ve scorched it a few times, so keep a close eye and stir often. A light wooden spoon is my go-to for stirring because it doesn’t conduct heat too much.
Preparation Method
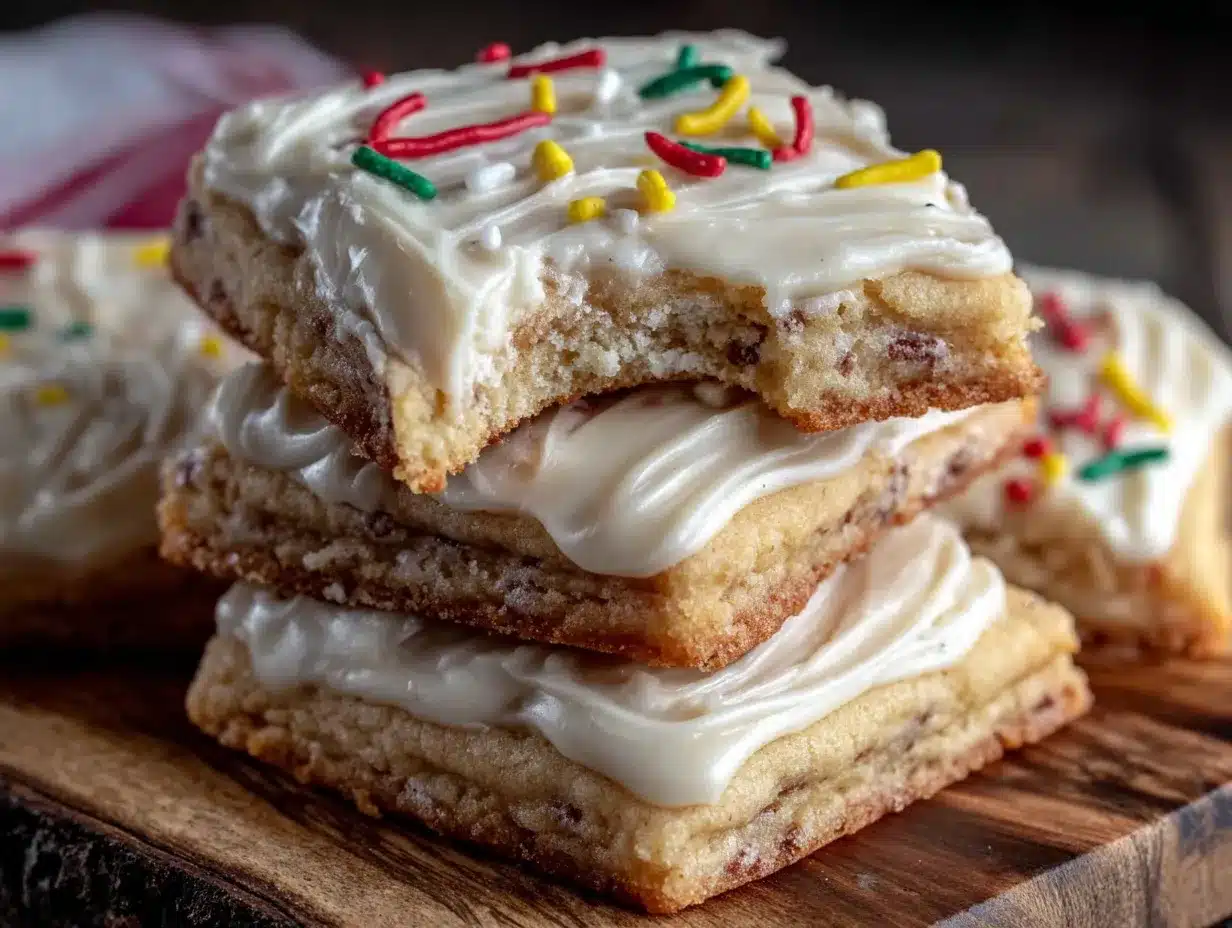
- Brown the butter: In a heavy-bottomed skillet over medium heat, melt 1 cup (227 g) unsalted butter. Stir constantly as the butter foams and then turns a golden brown with nutty aroma, about 5-7 minutes. Watch closely to avoid burning. Remove from heat and let cool slightly.
- Cream sugars and butter: In a large mixing bowl, combine the browned butter (cooled but still liquid), 3/4 cup (150 g) granulated sugar, and 1/4 cup (50 g) light brown sugar. Beat with an electric mixer on medium speed until fluffy, about 2 minutes.
- Add egg and vanilla: Beat in 1 large room-temperature egg and 1 teaspoon pure vanilla extract until fully incorporated.
- Mix dry ingredients: In another bowl, whisk together 2 1/2 cups (312 g) all-purpose flour, 1 teaspoon baking powder, and 1/2 teaspoon salt.
- Combine wet and dry: Gradually add the dry ingredients to the wet, mixing on low speed until dough forms. If dough feels too sticky, chill in the fridge for 20 minutes to firm up.
- Roll out dough: Lightly flour your work surface and roll dough to about 1/4-inch (6 mm) thickness. Use a 3-inch round cookie cutter to cut shapes and place them on parchment-lined baking sheets, spacing about 2 inches apart.
- Bake: Preheat oven to 350°F (175°C). Bake cookies for 10-12 minutes, until edges are just starting to turn golden but centers remain pale. Remove and cool completely on wire racks.
- Prepare frosting: In a bowl, sift 2 cups (240 g) powdered sugar. Add 2 tablespoons (30 ml) milk and 1 tablespoon (15 ml) light corn syrup. Stir until smooth and glossy. Add a third tablespoon of milk if frosting is too thick.
- Frost cookies: Use an offset spatula or butter knife to spread a thin, even layer of frosting on each cooled cookie. Let the icing set for about 20 minutes to become firm but not hard.
- Decorate pencils: Using edible food coloring markers or fine brushes dipped in gel colors, draw pencil shapes, erasers, and lines on the frosting. Allow decorations to dry fully before stacking or packaging.
Tip: If the frosting gets too thick as you work, add a teaspoon of milk to loosen it up. The cookies should feel firm but still tender — if they crisp too much, reduce baking time by a minute next round. I found chilling the dough really helps with clean edges and less spreading.
Cooking Tips & Techniques
Brown butter can be intimidating, but here’s what I’ve learned from trial and error: keep the heat medium or lower, stir constantly, and watch for that subtle nutty aroma and golden color. If you smell burning, pull it off immediately. The browned butter is the flavor star, so don’t rush this step.
When rolling out dough, flour your surface lightly but don’t over-flour, or cookies may dry out. Chill the dough if it gets too warm — it makes cutting shapes so much cleaner. I once skipped chilling and ended up with misshapen cookies. Lesson learned!
For frosting, mixing in light corn syrup is a game changer — it gives a shiny surface and keeps the icing from cracking as it dries. Spread frosting thinly for pencil drawings; thick layers can crack or smudge. Let the frosting set fully before decorating to get crisp lines.
Finally, take your time with decorating. If you’re new to edible markers, practice on parchment first. The pencil decorations are what make these cookies special, so a steady hand goes a long way. And if you mess up, honestly, a little imperfection adds character — just ask my son who proudly displays his “unique” pencil designs.
Variations & Adaptations
- Flavor twist: Add a teaspoon of almond extract along with vanilla for a subtle nutty aroma that pairs beautifully with brown butter.
- Seasonal swaps: Swap pencil decorations with apples or chalkboards for fall-themed school events or holidays.
- Dietary adaptations: Use a gluten-free all-purpose flour blend and dairy-free butter to make these cookies allergy-friendly.
- Cooking method: Try baking in mini muffin tins for bite-sized cookie cups—perfect for dipping in milk.
- Personal variation: Once, I added finely chopped toasted pecans to the dough for some crunch — it was a hit with the adults at the party!
Serving & Storage Suggestions
Serve these Perfect Frosted Brown Butter Sugar Cookies at room temperature to enjoy the full range of flavors and the soft, tender crumb. They pair wonderfully with a glass of cold milk, or for a grown-up twist, a cup of chai tea or coffee.
Store cookies in an airtight container at room temperature for up to 3 days. If you want to keep them longer, wrap individually in plastic wrap and freeze for up to 2 months. When reheating, let cookies thaw fully at room temperature. Avoid microwaving as it can soften the frosting too much.
Interestingly, the flavor deepens a bit after a day, with the brown butter notes becoming more pronounced. It’s like the cookies settle into their back-to-school groove, ready to delight anyone lucky enough to grab one!
Nutritional Information & Benefits
Each cookie (depending on size) roughly contains:
| Calories | 150-180 |
|---|---|
| Fat | 7-9 g (mainly from butter) |
| Carbohydrates | 20-22 g |
| Protein | 1-2 g |
The brown butter adds a rich source of healthy fats and antioxidants formed during the browning process. Using real butter also provides fat-soluble vitamins like A and E. This recipe can be made gluten-free and dairy-free, making it accessible for many dietary needs.
From a wellness perspective, these cookies serve as a thoughtful treat that balances comfort and nutrition better than many store-bought options. Plus, the joy of decorating together adds a social and emotional boost that’s just as important.
Conclusion
Honestly, these Perfect Frosted Brown Butter Pencil-Decorated Back-to-School Sugar Cookies are worth every minute spent making them. They bring an unexpected twist to classic sugar cookies, marrying rich, nutty flavors with fun, creative pencil designs that celebrate new school beginnings.
Feel free to tweak the decorations or swap ingredients to suit your family’s tastes — that’s part of the fun! For me, these cookies are more than a recipe; they’re a sweet reminder that sometimes, the best ideas come from listening and trying something new, even when I thought I knew better.
If you bake these, I’d love to hear how your pencil designs turned out or if you’ve added your own spin. Share your stories, photos, or questions in the comments below — let’s keep the back-to-school spirit delicious and creative!
Here’s to a tasty start to the school year and many cookie-filled celebrations ahead.
FAQs
Can I make the cookie dough ahead of time?
Yes! You can prepare the dough and refrigerate it for up to 48 hours before rolling and baking. Just bring it to room temperature before rolling out.
What if I don’t have edible food markers for decorating?
You can use gel food coloring with a fine paintbrush or even colored royal icing piped in pencil shapes. Just allow extra drying time.
How do I prevent brown butter from burning?
Use medium heat and stir continuously. Remove from heat as soon as you see the butter turn golden with a nutty aroma.
Can these cookies be frozen after decorating?
It’s best to freeze cookies before frosting and decorating. Once decorated, freezing can cause the frosting to crack or smear.
Is it possible to make this recipe vegan?
Yes, substitute dairy butter with vegan butter and use a flax egg or commercial egg replacer. Use plant-based milk for frosting as well.
Pin This Recipe!
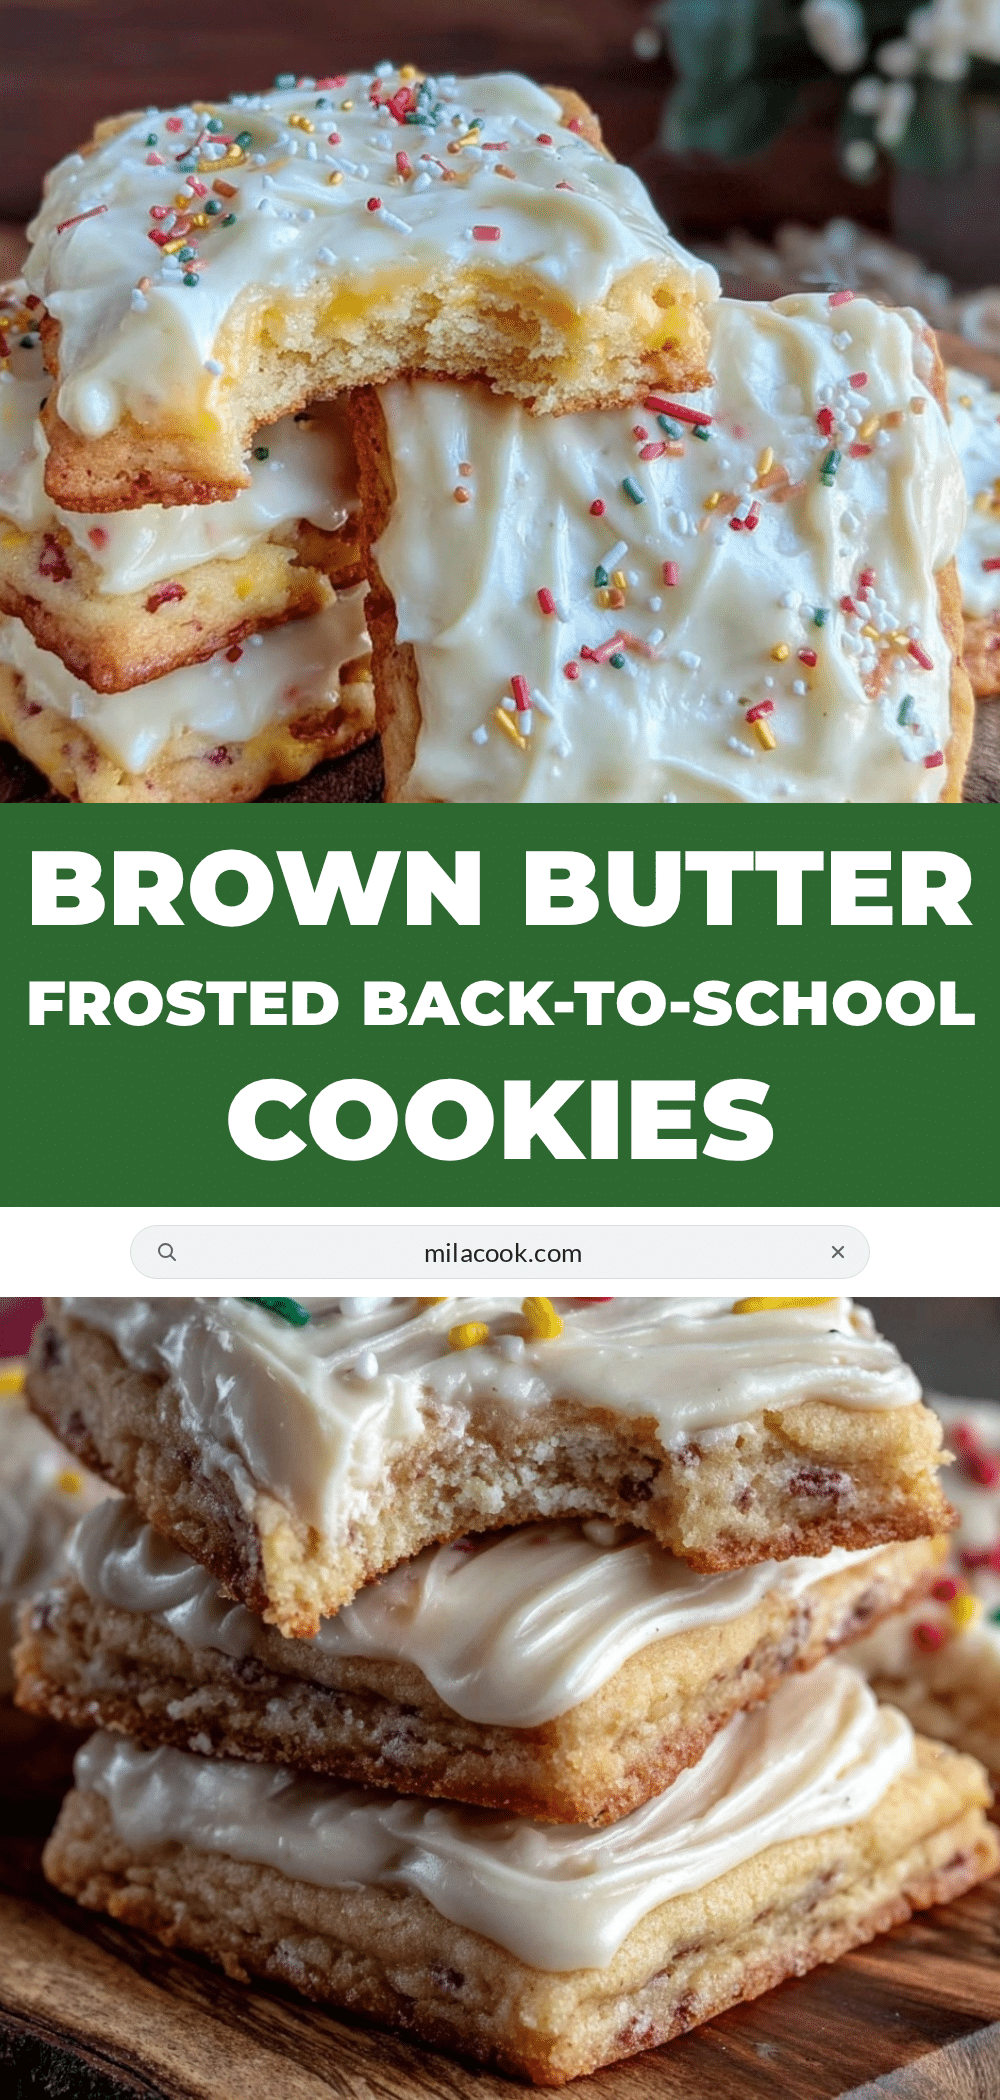
Perfect Frosted Brown Butter Sugar Cookies
These back-to-school sugar cookies feature a nutty, caramel-like depth from brown butter and a smooth, durable frosting perfect for pencil decorations.
- Prep Time: 20 minutes
- Cook Time: 12 minutes
- Total Time: 45 minutes
- Yield: 24 cookies 1x
- Category: Dessert
- Cuisine: American
Ingredients
- 1 cup (227 g) unsalted butter, browned
- 3/4 cup (150 g) granulated sugar
- 1/4 cup (50 g) light brown sugar
- 1 large egg, room temperature
- 1 teaspoon pure vanilla extract
- 2 1/2 cups (312 g) all-purpose flour, sifted
- 1 teaspoon baking powder
- 1/2 teaspoon salt
- 2 cups (240 g) powdered sugar
- 2–3 tablespoons (30–45 ml) milk, whole preferred
- 1 tablespoon (15 ml) light corn syrup
- Food coloring markers or gel colors for decoration
Instructions
- Brown the butter: In a heavy-bottomed skillet over medium heat, melt 1 cup (227 g) unsalted butter. Stir constantly as the butter foams and then turns a golden brown with nutty aroma, about 5-7 minutes. Remove from heat and let cool slightly.
- Cream sugars and butter: In a large mixing bowl, combine the browned butter (cooled but still liquid), 3/4 cup (150 g) granulated sugar, and 1/4 cup (50 g) light brown sugar. Beat with an electric mixer on medium speed until fluffy, about 2 minutes.
- Add egg and vanilla: Beat in 1 large room-temperature egg and 1 teaspoon pure vanilla extract until fully incorporated.
- Mix dry ingredients: In another bowl, whisk together 2 1/2 cups (312 g) all-purpose flour, 1 teaspoon baking powder, and 1/2 teaspoon salt.
- Combine wet and dry: Gradually add the dry ingredients to the wet, mixing on low speed until dough forms. If dough feels too sticky, chill in the fridge for 20 minutes to firm up.
- Roll out dough: Lightly flour your work surface and roll dough to about 1/4-inch (6 mm) thickness. Use a 3-inch round cookie cutter to cut shapes and place them on parchment-lined baking sheets, spacing about 2 inches apart.
- Bake: Preheat oven to 350°F (175°C). Bake cookies for 10-12 minutes, until edges are just starting to turn golden but centers remain pale. Remove and cool completely on wire racks.
- Prepare frosting: In a bowl, sift 2 cups (240 g) powdered sugar. Add 2 tablespoons (30 ml) milk and 1 tablespoon (15 ml) light corn syrup. Stir until smooth and glossy. Add a third tablespoon of milk if frosting is too thick.
- Frost cookies: Use an offset spatula or butter knife to spread a thin, even layer of frosting on each cooled cookie. Let the icing set for about 20 minutes to become firm but not hard.
- Decorate pencils: Using edible food coloring markers or fine brushes dipped in gel colors, draw pencil shapes, erasers, and lines on the frosting. Allow decorations to dry fully before stacking or packaging.
Notes
Keep heat medium or lower when browning butter and stir constantly to avoid burning. Chill dough if too sticky for cleaner cookie shapes. Use light corn syrup in frosting for sheen and to prevent cracking. Let frosting set fully before decorating. Dough can be refrigerated up to 48 hours before baking. Freeze undecorated cookies for up to 2 months.
Nutrition
- Serving Size: 1 cookie
- Calories: 165
- Sugar: 14
- Sodium: 90
- Fat: 8
- Saturated Fat: 5
- Carbohydrates: 21
- Fiber: 0.5
- Protein: 1.5
Keywords: brown butter sugar cookies, back to school cookies, frosted sugar cookies, pencil decorated cookies, easy sugar cookies, brown butter baking