Love this? Save it for later!
Share the inspiration with your friends
“You know that feeling when the Fourth of July fireworks are about to start, and you want something festive, cool, and just a little bit nostalgic to enjoy? Well, this recipe for Perfect Red White and Blue Ice Cream Sandwiches with Homemade Sugar Cookies came out of exactly that kind of moment. I was at a last-minute neighborhood BBQ on a sweltering summer evening—no dessert planned, just the usual chips and watermelon. Then, my friend Jen, who’s the queen of quick, crowd-pleasing treats, pulled out these colorful ice cream sandwiches she’d whipped up in under an hour.”
Honestly, the way the cool vanilla ice cream met the soft, buttery sugar cookies—tinted with red and blue sprinkles—felt like a little celebration in every bite. I remember accidentally knocking over the container of sprinkles (classic me), and instead of a mess, it turned into a fun decorating moment with the kids. The neighborhood kids went wild for them, and the adults kept sneaking handfuls when they thought no one was watching.
Maybe you’ve been there—needing a festive dessert that’s easy, impressive, and screams summer fun. This recipe stuck with me because it’s not just a dessert; it’s a memory you can make again and again. Plus, the homemade sugar cookies are surprisingly simple to make, and they hold up perfectly without getting soggy. Let me tell you, these ice cream sandwiches are the kind of treat that closes the day with a smile and makes you want to plan the next celebration around them.”
Why You’ll Love This Recipe
- Quick & Easy: Comes together in under 45 minutes, perfect for last-minute summer gatherings or spontaneous dessert cravings.
- Simple Ingredients: You probably already have everything in your pantry—no fancy or hard-to-find stuff required.
- Perfect for Summer Celebrations: Ideal for Independence Day, Memorial Day, or any backyard party where you want to impress without stress.
- Crowd-Pleaser: Kids adore the colorful sprinkles and creamy ice cream, adults love the nostalgic homemade sugar cookie taste.
- Unbelievably Delicious: The balance of the soft, buttery cookie with the smooth, cold ice cream is pure magic.
This isn’t just another ice cream sandwich recipe—it’s the one I keep coming back to because the cookies are soft yet sturdy, and the sprinkle decorating adds that festive vibe that feels special without extra effort. Plus, the vanilla ice cream melts just right, making every bite a perfect combo of creamy and crumbly. Honestly, after trying a few other versions, this one nailed the texture and flavor balance that makes you savor each mouthful.
Whether you’re hosting a casual BBQ or just want a fun, colorful treat to brighten your day, this recipe hits the spot every time. It’s comfort food with a twist, the kind that makes you close your eyes and smile after the first bite. And trust me, once you try these, you’ll want to make them a summer tradition.
What Ingredients You Will Need
This recipe uses simple, wholesome ingredients to deliver bold flavor and satisfying texture without the fuss. Most are pantry staples, and the festive sprinkles add that red, white, and blue charm effortlessly.
- For the Sugar Cookies:
- 2 ¾ cups (345 g) all-purpose flour
- 1 teaspoon baking soda
- ½ teaspoon baking powder
- ½ teaspoon salt
- 1 cup (227 g) unsalted butter, softened (I like Kerrygold for richness)
- 1 ½ cups (300 g) granulated sugar
- 1 large egg, room temperature
- 1 teaspoon pure vanilla extract
- ½ teaspoon almond extract (optional, but adds a lovely depth)
- Red, white, and blue sprinkles for decoration (use your favorite festive mix)
- For the Ice Cream Sandwiches:
- 1 quart (946 ml) vanilla ice cream, slightly softened (Haagen-Dazs or a local creamy brand works great)
Ingredient Tips: For the best cookie texture, use room temperature butter and egg. If you want a dairy-free version, swap the butter for a plant-based alternative and use coconut or almond milk ice cream. Fresh homemade cookies really make a difference here, but if you’re short on time, a sturdy store-bought sugar cookie can work in a pinch. Also, if you’re making these around patriotic holidays, the sprinkles add a fun touch but you can switch to any color scheme for other occasions.
Equipment Needed
- Mixing bowls (medium and large)
- Electric mixer or stand mixer (helps cream butter and sugar smoothly, but you can mix by hand if needed)
- Baking sheets lined with parchment paper or silicone baking mats
- Cookie scoop or tablespoon for portioning dough evenly
- Rolling pin (optional, if you prefer rolled sugar cookies)
- Spatula for folding and spreading
- Sharp knife or cookie cutter (if you want perfectly shaped cookies)
- Freezer-safe container or tray for assembling and storing ice cream sandwiches
Personally, I find using a silicone baking mat invaluable because it prevents sticking and makes cleanup a breeze. For the mixer, a hand mixer works fine, but a stand mixer saves your arms when making bigger batches. If you don’t have a rolling pin, I sometimes use a clean wine bottle—works in a pinch! When assembling, a flat spatula makes sandwiching the ice cream much easier.
Preparation Method
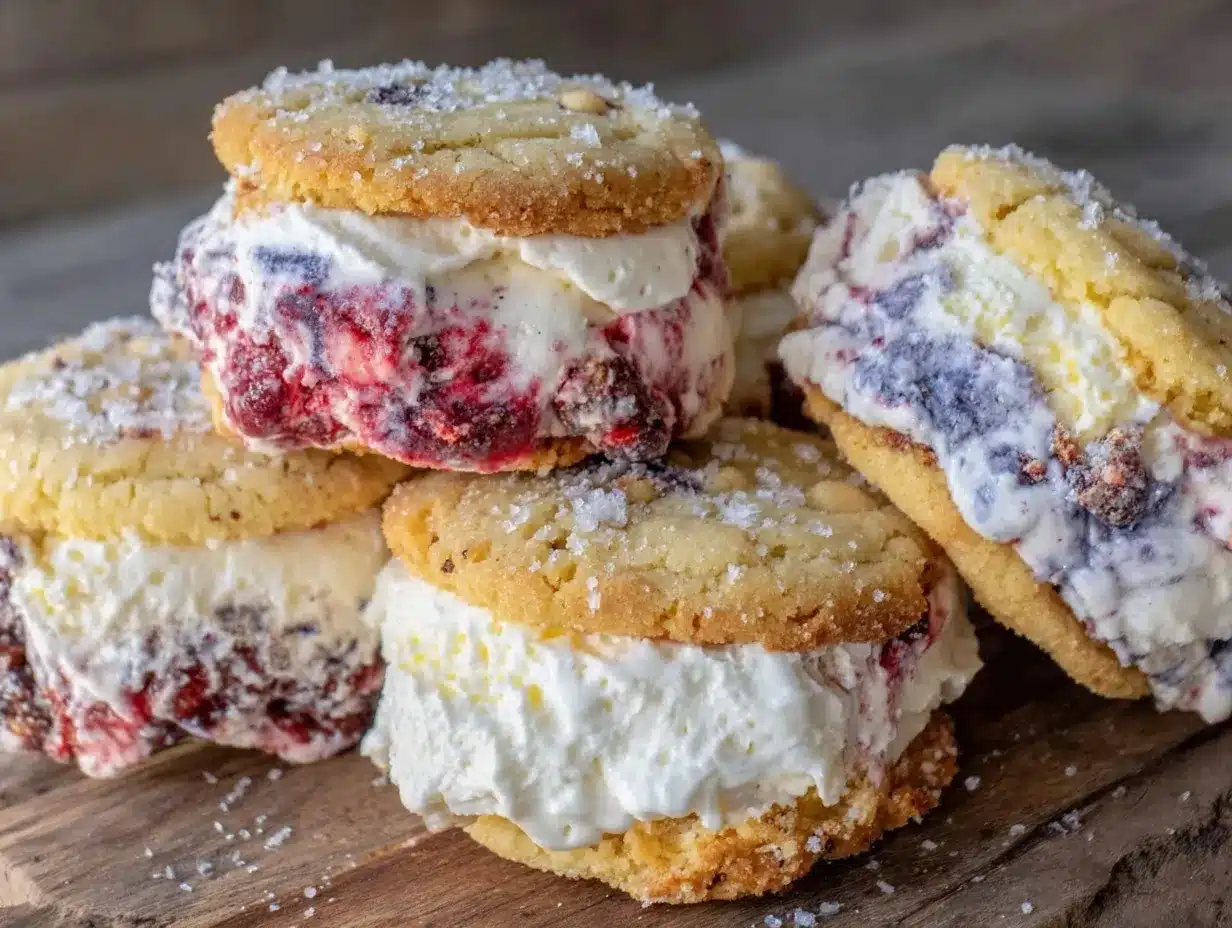
- Preheat your oven to 375°F (190°C). Line two baking sheets with parchment paper or silicone mats to ensure the cookies bake evenly and don’t stick.
- Mix dry ingredients. In a medium bowl, whisk together 2 ¾ cups (345 g) all-purpose flour, 1 teaspoon baking soda, ½ teaspoon baking powder, and ½ teaspoon salt. Set aside.
- Cream butter and sugar. In a large bowl, beat 1 cup (227 g) softened unsalted butter and 1 ½ cups (300 g) granulated sugar with an electric mixer on medium speed until light and fluffy—about 3-4 minutes. This step is key for soft cookies, so don’t rush it.
- Add egg and extracts. Beat in 1 large room temperature egg, 1 teaspoon vanilla extract, and ½ teaspoon almond extract (if using). Scrape down the bowl as needed to mix everything evenly.
- Combine wet and dry. Gradually add the flour mixture to the wet ingredients, mixing on low speed until just combined. Avoid overmixing to keep cookies tender.
- Portion the dough. Use a cookie scoop or tablespoon to drop dough balls (about 1.5 tablespoons each) onto the prepared baking sheets, spacing them about 2 inches apart.
- Add sprinkles. Gently press red, white, and blue sprinkles onto the tops of each dough ball for that festive look. Don’t be shy—this is the fun part!
- Bake cookies. Place baking sheets in the oven and bake for 8-10 minutes, or until edges are just golden. The centers will look soft but will firm up as they cool.
- Cool cookies. Let the cookies rest on the baking sheet for 5 minutes before transferring to wire racks to cool completely. This step prevents breakage during assembly.
- Prepare ice cream. While cookies cool, slightly soften 1 quart (946 ml) vanilla ice cream at room temperature for about 5-10 minutes. It should be scoopable but not melted.
- Assemble sandwiches. Place a generous scoop of ice cream on the flat side of one cookie, then gently press another cookie on top to create a sandwich. Repeat with remaining cookies and ice cream.
- Freeze sandwiches. Arrange assembled sandwiches on a tray or container and freeze for at least one hour to firm up before serving.
Pro Tip: If your cookies are too soft to handle, chill them for 10 minutes before sandwiching ice cream. Also, don’t skip the cooling stage—it really helps prevent crumbling.
Cooking Tips & Techniques
One trick that makes these sugar cookies so tender yet sturdy is creaming the butter and sugar for a full 3-4 minutes. That airiness traps moisture, giving the cookies a perfect soft crumb. Also, resist the urge to overmix after adding flour; overworking dough can make cookies tough.
When baking, keep an eye on the cookies. I’ve learned from experience that ovens vary widely—mine runs hot, so I pull them out at 8 minutes to avoid crisp edges. The cookies might look underdone in the center, but they’ll firm up as they cool.
Softening ice cream slightly before assembly is crucial. Too hard, and it tears the cookies; too soft, and the sandwiches melt too quickly. I usually set the ice cream on the counter while cookies bake, timing it just right.
For decorating, I use a light hand pressing sprinkles on top instead of mixing them into the dough. This keeps the dough texture intact and the colors vibrant on top. And honestly, the sprinkle mess that happens when kids help decorate is part of the fun!
Variations & Adaptations
- Flavor Twists: Swap vanilla ice cream for strawberry or blueberry to amp the red and blue flavors even more.
- Gluten-Free Option: Use a 1:1 gluten-free baking flour blend instead of all-purpose flour. I’ve tried Bob’s Red Mill with great results.
- Dairy-Free Version: Replace butter with vegan margarine and use coconut milk ice cream for a creamy, allergy-friendly treat.
- Alternative Shapes: Use star-shaped cookie cutters for a festive look that’s perfect for holiday parties.
- Personal Favorite: I once added a sprinkle of cinnamon to the cookie dough for a subtle warmth that paired beautifully with the vanilla ice cream—highly recommend trying it!
Serving & Storage Suggestions
Serve these ice cream sandwiches straight from the freezer for the best texture and appearance. If you’re serving at a party, keep them on a cold tray or frozen platter to avoid melting. They pair wonderfully with a cold glass of lemonade or iced tea on a hot day.
Store leftover sandwiches in an airtight container in the freezer for up to two weeks. To reheat slightly, let them sit at room temperature for 5 minutes before enjoying. This softens the ice cream just enough without melting it.
Flavors meld nicely if you prepare these a day ahead, making them great for prepping in advance for celebrations. Just pop them back in the freezer before guests arrive for that fresh, cool bite.
Nutritional Information & Benefits
Each ice cream sandwich roughly contains around 300-350 calories, depending on portion size and ice cream brand. The cookies provide carbohydrates and some fat from butter, while the ice cream adds calcium and protein.
Using real butter and quality vanilla extract boosts flavor without the need for artificial additives. For those watching sugar intake, you can reduce sugar slightly in cookies or opt for lower-sugar ice cream varieties.
This treat is naturally gluten-containing unless you use a gluten-free flour alternative. It’s a fun occasional indulgence that also brings joy and celebration to the table—sometimes that’s just as important as nutrition!
Conclusion
If you’re looking for a festive, fun, and downright tasty dessert that’s perfect for any summer gathering, these Perfect Red White and Blue Ice Cream Sandwiches with Homemade Sugar Cookies are your go-to. The homemade cookies bring that soft, buttery nostalgia, while the vanilla ice cream keeps things cool and creamy.
Feel free to customize the sprinkles, ice cream flavors, or cookie shapes to match your event or personal taste. Honestly, I love making these because they’re simple enough to whip up on a whim but impressive enough to make you feel like a dessert rockstar.
Give this recipe a try, and don’t forget to share your own twists or memories in the comments—I’m always excited to hear how you make it your own! Here’s to sweet moments and joyful bites. Happy baking!
FAQs
Can I make the sugar cookies ahead of time?
Yes! You can bake the sugar cookies up to two days in advance and store them in an airtight container at room temperature. Just assemble the ice cream sandwiches right before serving for the best texture.
What’s the best way to soften ice cream for assembling sandwiches?
Leave the ice cream out at room temperature for about 5-10 minutes until it’s scoopable but not melted. This makes spreading easier and prevents tearing the cookies.
Can I freeze the assembled ice cream sandwiches?
Absolutely. Place them on a tray in the freezer for at least an hour to firm up, then transfer to an airtight container for up to two weeks.
What if I don’t have red and blue sprinkles?
No worries! You can use any sprinkles or even mini chocolate chips for decoration. The cookies taste just as good without sprinkles too.
How do I prevent the cookies from getting soggy?
Make sure the cookies are completely cooled before adding ice cream. Also, freeze the sandwiches for at least an hour before serving to keep them firm and prevent sogginess.
Pin This Recipe!
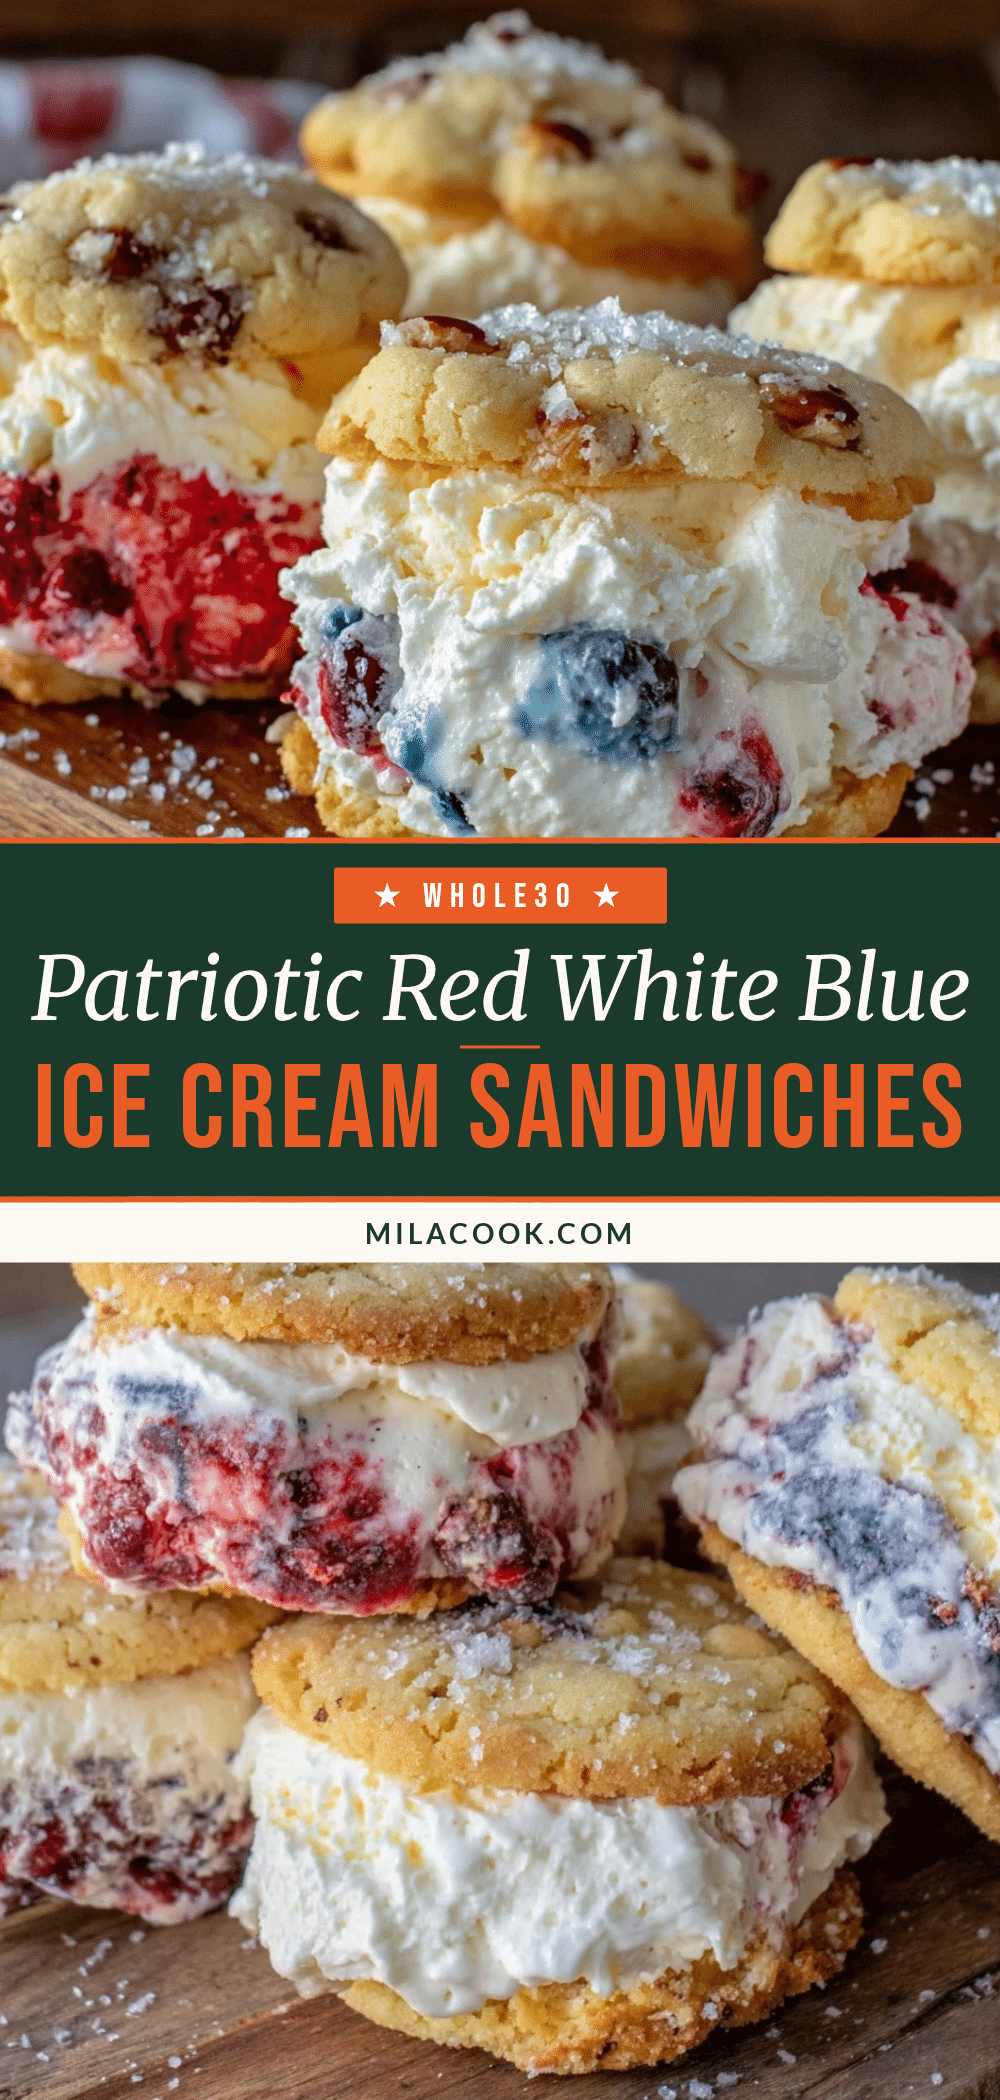
Perfect Red White and Blue Ice Cream Sandwiches Recipe with Easy Homemade Sugar Cookies

Festive and nostalgic ice cream sandwiches made with soft, buttery homemade sugar cookies decorated with red, white, and blue sprinkles, perfect for summer celebrations.
- Prep Time: 15 minutes
- Cook Time: 10 minutes
- Total Time: 45 minutes
- Yield: 12 servings 1x
- Category: Dessert
- Cuisine: American
Ingredients
- 2 ¾ cups (345 g) all-purpose flour
- 1 teaspoon baking soda
- ½ teaspoon baking powder
- ½ teaspoon salt
- 1 cup (227 g) unsalted butter, softened
- 1 ½ cups (300 g) granulated sugar
- 1 large egg, room temperature
- 1 teaspoon pure vanilla extract
- ½ teaspoon almond extract (optional)
- Red, white, and blue sprinkles for decoration
- 1 quart (946 ml) vanilla ice cream, slightly softened
Instructions
- Preheat your oven to 375°F (190°C). Line two baking sheets with parchment paper or silicone mats.
- In a medium bowl, whisk together flour, baking soda, baking powder, and salt. Set aside.
- In a large bowl, beat softened butter and granulated sugar with an electric mixer on medium speed until light and fluffy, about 3-4 minutes.
- Beat in the egg, vanilla extract, and almond extract (if using). Scrape down the bowl as needed.
- Gradually add the flour mixture to the wet ingredients, mixing on low speed until just combined. Avoid overmixing.
- Use a cookie scoop or tablespoon to drop dough balls (about 1.5 tablespoons each) onto the prepared baking sheets, spacing about 2 inches apart.
- Gently press red, white, and blue sprinkles onto the tops of each dough ball.
- Bake for 8-10 minutes, or until edges are just golden. Centers will look soft but will firm up as they cool.
- Let cookies rest on the baking sheet for 5 minutes, then transfer to wire racks to cool completely.
- While cookies cool, slightly soften vanilla ice cream at room temperature for 5-10 minutes until scoopable but not melted.
- Place a generous scoop of ice cream on the flat side of one cookie, then gently press another cookie on top to create a sandwich. Repeat with remaining cookies and ice cream.
- Arrange assembled sandwiches on a tray or container and freeze for at least one hour to firm up before serving.
Notes
Use room temperature butter and egg for best cookie texture. Slightly soften ice cream before assembling to prevent tearing cookies. Chill cookies if too soft before sandwiching. Store assembled sandwiches in airtight container in freezer up to two weeks. For dairy-free, use plant-based butter and coconut or almond milk ice cream. For gluten-free, substitute with gluten-free baking flour blend.
Nutrition
- Serving Size: 1 ice cream sandwich
- Calories: 325
- Sugar: 28
- Sodium: 150
- Fat: 15
- Saturated Fat: 9
- Carbohydrates: 42
- Fiber: 1
- Protein: 4
Keywords: ice cream sandwiches, sugar cookies, Fourth of July dessert, summer dessert, homemade cookies, festive dessert, red white and blue, easy dessert