Love this? Save it for later!
Share the inspiration with your friends
This was supposed to be a simple red velvet poke cake for a last-minute Fourth of July gathering. I grabbed the wrong gelatin packets—blueberry instead of cherry—and the fridge was already packed with my neighbor’s homemade potato salad. Honestly, I was halfway through mixing the white chocolate pudding layer when the power blinked off for a solid minute. What came out of that kitchen chaos was nothing like the plan—and better. The red, white, and blue layers settled into a cool, creamy no-bake dessert that somehow had the perfect balance of fruity, sweet, and creamy flavors without me even realizing it until the first bite.
Let me tell you, I almost tossed it out because it looked so weird in that glass dish. But then my friend Sarah, who has zero patience for poked cakes (she calls them “poke disasters”), took a forkful and paused. That pause turned into a slow smile—and then a request for the recipe. Maybe you’ve been there, trying to pull off a patriotic dessert that looks festive but ends up more like a science experiment gone sideways.
What stuck with me was how this easy, no-bake layered jello poke cake felt like a cool breeze on a hot summer day. It didn’t require turning on the oven, and it looked impressive enough for family picnics or neighborhood potlucks. I keep making it every summer now because it’s the kind of dessert that surprises you—not just with how simple it is but with how it somehow tastes like a celebration in every spoonful.
Why You’ll Love This Recipe
After trying countless variations and tweaks, this Perfect Red White and Blue No-Bake Layered Jello Poke Cake has earned its spot as a go-to dessert for patriotic holidays and casual get-togethers. I’ve tested it over several summers, and it’s always a hit, no matter who’s at the table.
- Quick & Easy: Comes together in under 30 minutes, ideal when you’re juggling last-minute plans or unexpected guests.
- Simple Ingredients: Uses pantry staples and easy-to-find jello flavors—no fancy trips needed!
- Perfect for Patriotic Celebrations: Great for Independence Day, Memorial Day, or any occasion that calls for red, white, and blue flair.
- Crowd-Pleaser: Kids love the colorful layers, and adults appreciate the creamy, refreshing texture.
- Unbelievably Delicious: The combination of fruity jello, creamy pudding, and moist cake creates a dessert that’s light but satisfying.
What sets this recipe apart is the no-bake approach to the pudding layer and the use of poke cake technique that ensures each bite bursts with flavor. Plus, the layering is foolproof—perfect for cooks who want an impressive dessert without the stress. Honestly, it’s one of those recipes that makes you close your eyes after the first bite, savoring that nostalgic summer feeling. Whether you’re hosting a backyard barbecue or bringing a dish to a potluck, this jello poke cake wins hearts without fuss.
What Ingredients You Will Need
This recipe uses simple, wholesome ingredients to deliver bold flavor and satisfying texture without the fuss. Most items are pantry staples, and you can easily swap out a few based on what you have on hand.
- For the Cake Layer:
- Box of white cake mix (I recommend Betty Crocker for best moistness)
- Ingredients called for on the cake mix box (usually water, oil, and eggs)
- For the Jello Layers:
- 1 package (3 oz / 85 g) cherry-flavored gelatin (red layer)
- 1 package (3 oz / 85 g) blueberry-flavored gelatin (blue layer)
- 1 package (3 oz / 85 g) lemon or pineapple-flavored gelatin (white layer)
- 2 cups (475 ml) boiling water (to dissolve gelatin)
- 2 cups (475 ml) cold water (to mix with gelatin)
- For the Creamy Pudding Layer:
- 1 package (3.4 oz / 96 g) instant vanilla pudding mix
- 2 cups (480 ml) cold milk (whole milk works best, but 2% is fine)
- 1 cup (240 ml) heavy whipping cream, whipped to soft peaks (adds richness and fluffiness)
- For the Topping:
- 1 cup (240 ml) heavy whipping cream, whipped with 2 tbsp sugar (or to taste)
- Fresh blueberries and strawberries for garnish (optional but recommended for that fresh pop)
Ingredient Tips: You can swap the white cake mix with gluten-free cake mix if needed. For a dairy-free version, substitute heavy cream with coconut cream and milk with almond or oat milk. I usually shop at my local grocery store, but you can find quality gelatin and pudding mixes at specialty stores or online.
Equipment Needed
- 9×13-inch (23×33 cm) baking pan (glass or metal works fine)
- Mixing bowls – one large for cake batter, one for pudding, and several for jello
- Electric mixer or hand whisk (to whip the cream and pudding)
- Measuring cups and spoons
- Spatula or spoon for folding whipped cream into pudding
- Fork or skewer (for poking the cake)
- Whisk (for mixing jello and pudding)
- Optional: cooling rack (if you want to cool cake faster before poking)
If you don’t have an electric mixer, a sturdy whisk and a bit of elbow grease work perfectly. I’ve made this cake with both and honestly, the mixer just saves time but isn’t mandatory. For budget-friendly options, glass pans are easier to clean and slightly more forgiving than metal ones, especially for a no-bake dessert like this.
Preparation Method
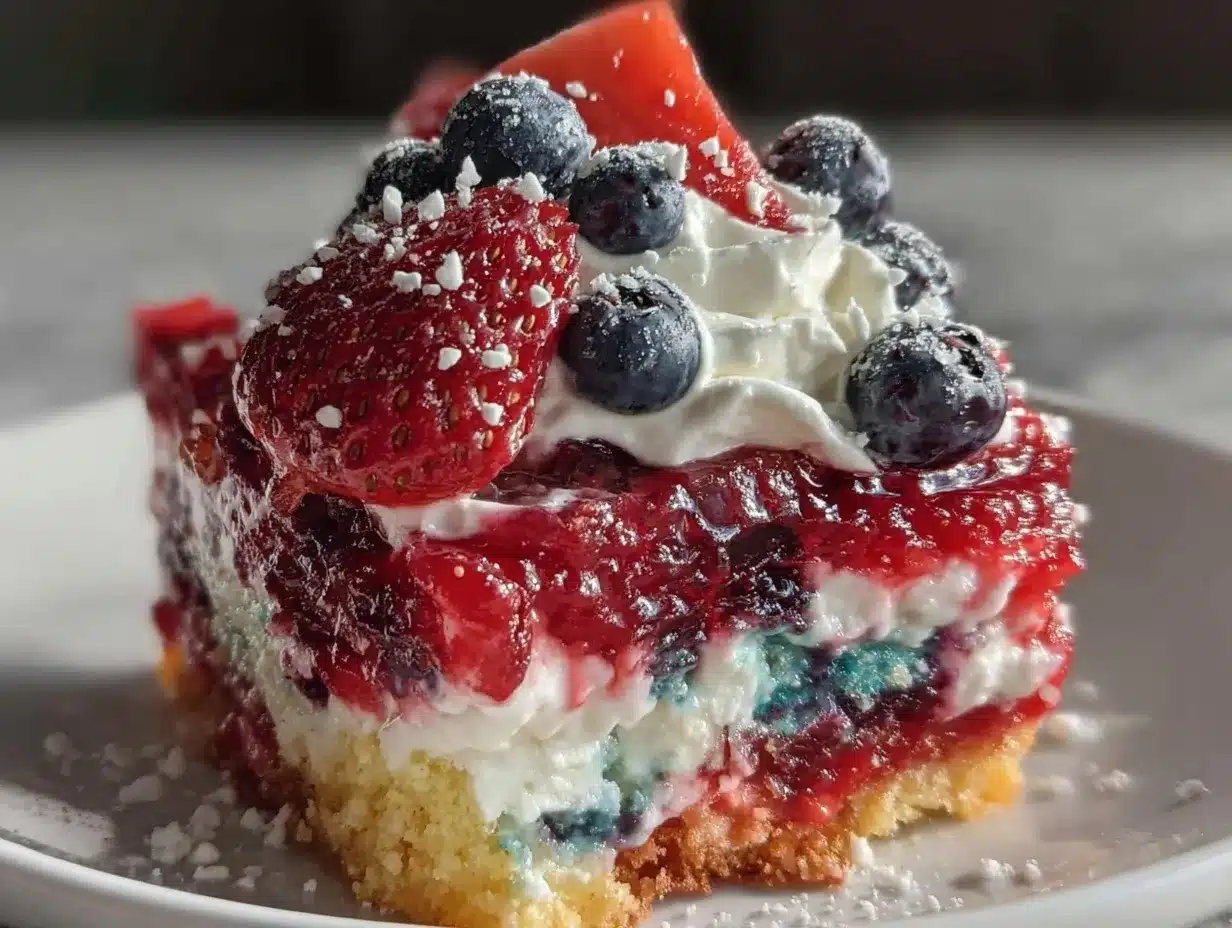
- Prepare and Bake the Cake (30-35 minutes): Preheat your oven to 350°F (175°C). Follow the cake mix box instructions to prepare the batter—usually combining the white cake mix with water, oil, and eggs. Pour the batter evenly into the 9×13-inch baking pan. Bake for 30-35 minutes or until a toothpick inserted in the center comes out clean. Let the cake cool completely, about 1 hour (you can speed this up by placing it on a cooling rack).
- Poke the Cake: Once cooled, use a fork or skewer to poke holes all over the cake, about 1 inch (2.5 cm) apart. The holes should go deep but not all the way through the bottom. This step is crucial—it lets the jello soak in and create that signature poke cake texture.
- Prepare the Jello Layers (about 10 minutes each): For each gelatin flavor (red, white, blue), dissolve the 3 oz (85 g) packet in 2 cups (475 ml) boiling water. Stir until completely dissolved. Add 2 cups (475 ml) cold water to each and chill slightly to cool but not set—about 10-15 minutes in the fridge. The gelatin should be cool enough to pour but still liquid.
- Layer the Jello: Pour the cherry (red) gelatin evenly over the cake, filling the poke holes and covering the surface. Refrigerate until the gelatin is just set but still slightly tacky—about 45 minutes to 1 hour. Repeat this process with the lemon or pineapple (white) gelatin, then the blueberry (blue) gelatin, allowing each layer to set similarly before adding the next. This layering creates the patriotic effect.
- Prepare the Pudding Layer (10 minutes): While the last jello layer sets, whisk the instant vanilla pudding mix with 2 cups (480 ml) cold milk until thickened (about 2 minutes). Gently fold in 1 cup (240 ml) whipped cream to lighten the texture. Spread this creamy pudding layer evenly over the fully set jello layers.
- Add the Whipped Cream Topping: Top the cake with a layer of sweetened whipped cream. Use a spatula to create soft peaks or smooth swirls. Garnish with fresh blueberries and sliced strawberries for that extra festive touch.
- Chill Before Serving: Refrigerate the entire cake for at least 2 hours to let all layers meld and flavors settle. The cake is best served cold, and it can be stored covered in the fridge for up to 3 days.
Pro Tip: If you find the gelatin layers are setting too quickly while pouring, warm them slightly over a pan of hot water to keep them pourable. Also, be patient between layers—rushing this step can cause colors to bleed and ruin the neat stripes.
Cooking Tips & Techniques
Let me be honest: the first time I tried a poke cake, I poked too deep and ended up with a soggy mess. The key is to poke just deep enough to let the jello seep in but not so deep that the cake loses structure. A standard fork works better than a skewer for this, by the way.
Whipping the cream to soft peaks before folding it into the pudding makes all the difference. It lightens the pudding and gives the whole layered poke cake a fluffy, dreamy texture that’s not too heavy. I once skipped this step, and the pudding layer was a dense blob—definitely less appealing.
Timing matters—each jello layer needs to be tacky, not fully set, before pouring the next. You want the layers to stick but not mix. Setting a timer helps here because it’s easy to get distracted (trust me, I’ve forgotten mid-way and had to start over).
Also, chilling the cake fully before poking helps it hold together better. If you try to poke a warm cake, it crumbles and makes a mess.
Don’t rush the chilling at the end. This cake benefits from some patient fridge time so the flavors marry and the layers firm up perfectly.
Variations & Adaptations
- Dietary Variation: Use a gluten-free white cake mix and swap heavy cream for coconut cream to make this poke cake both gluten-free and dairy-free.
- Flavor Twist: Instead of lemon gelatin for the white layer, try pineapple or even a creamy coconut pudding layer for a tropical vibe.
- Seasonal Adaptation: In summer, top the cake with fresh raspberries and blackberries instead of blueberries and strawberries for a different berry mix.
- Cooking Method Change: For a fun twist, you can make mini poke cakes in muffin tins—adjust baking time to 15-18 minutes and layer with the same jello and pudding steps.
- Personal Favorite Variation: I once swapped the instant pudding for homemade vanilla custard and it added a rich, silky touch that felt extra indulgent but took more time.
Serving & Storage Suggestions
This no-bake layered jello poke cake is best served chilled, straight from the fridge. The cool temperature keeps the layers firm and refreshing. I like to slice it into squares and serve with a dollop of extra whipped cream on the side. It pairs wonderfully with iced tea or lemonade for a classic summer combo.
Store leftovers covered tightly in the refrigerator for up to 3 days. The flavors actually deepen after a day, making it a great make-ahead dessert. If you want to freeze it, wrap tightly in plastic wrap and foil, then thaw overnight in the fridge before serving. Keep in mind the whipped cream topping is best fresh, so you might want to add that after thawing.
One thing I’ve noticed is that the jello layers soften a bit over time, turning the cake almost mousse-like. Some people love that texture, but if you prefer firmer layers, serve within 24 hours.
Nutritional Information & Benefits
This Perfect Red White and Blue No-Bake Layered Jello Poke Cake is a light dessert option compared to many heavy cakes. Each serving (approximate 1/12th of the cake) contains about 250 calories, with moderate sugar and fat from the whipped cream and pudding layers.
The gelatin layers provide a fun fruit flavor with minimal calories, and the white cake base offers simple carbs and some protein from eggs. Using real fruit toppings adds a dose of vitamins and antioxidants. For those watching carbs, you can reduce sugar by choosing sugar-free gelatin and pudding mixes.
Keep in mind this recipe contains dairy and gluten unless substitutions are made, so it’s not suitable for those with allergies to those ingredients without adjustment. I appreciate this dessert for its balance—sweet, but not overwhelming—and for how it brings some freshness and fun to traditional summer sweets.
Conclusion
If you’re looking for a festive, easy-to-make dessert that never fails to impress, this Perfect Red White and Blue No-Bake Layered Jello Poke Cake is a winner. It’s the kind of recipe that feels special without the fuss, perfect for patriotic holidays or anytime you want a splash of color and flavor on the table.
Don’t hesitate to make it your own—swap flavors, add fresh fruit, or try different toppings to suit your taste. I love this recipe because it’s forgiving, fun, and always brings a little happy chaos to the kitchen (in the best way!).
Give it a try, and please share your thoughts or any personal twists you come up with—I’m always excited to hear how this celebratory dessert makes its way into your summer traditions. Happy baking (or rather, no-baking)!
Frequently Asked Questions
Can I make this poke cake ahead of time?
Absolutely! This cake tastes even better after chilling overnight. Just be sure to cover it well in the fridge to keep it fresh.
Can I use homemade cake instead of a mix?
Yes, a homemade white or yellow cake will work perfectly. Just make sure it’s fully cooled before poking and layering.
What if I don’t have all three jello flavors?
You can use any two colors or even one flavor, but the layered red, white, and blue look is what makes this cake festive. Feel free to experiment with your favorite flavors!
How do I prevent the jello layers from mixing?
Chill each jello layer until it’s just set and tacky before adding the next. Pour gently and slowly to maintain distinct layers.
Is there a way to make this cake vegan?
Yes! Use a vegan cake mix, substitute gelatin with agar agar, and replace dairy pudding and whipped cream with plant-based alternatives like coconut pudding and coconut whipped cream.
Pin This Recipe!
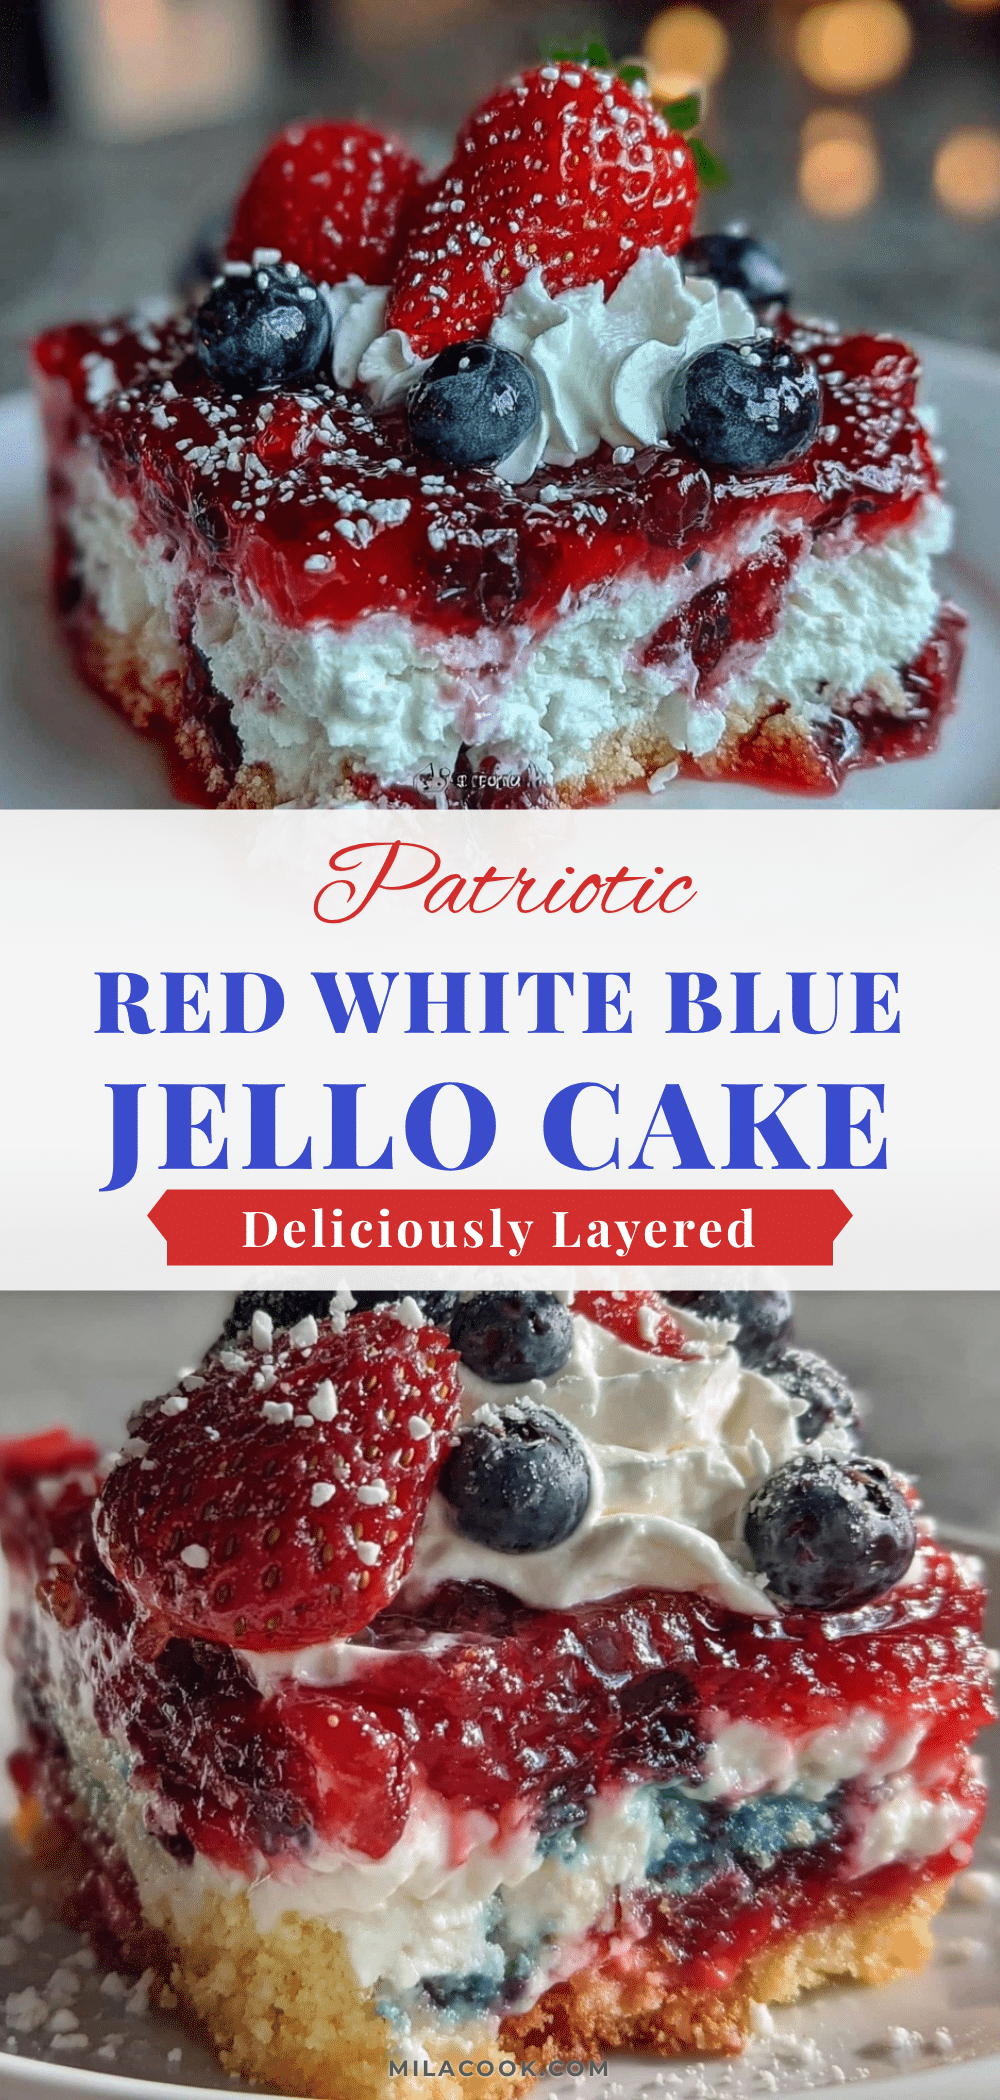
Perfect Red White and Blue No-Bake Layered Jello Poke Cake
A quick and easy no-bake patriotic dessert featuring layers of red, white, and blue gelatin, creamy pudding, and moist white cake. Perfect for summer celebrations and potlucks.
- Prep Time: 20 minutes
- Cook Time: 30-35 minutes
- Total Time: 3 hours 15 minutes
- Yield: 12 servings 1x
- Category: Dessert
- Cuisine: American
Ingredients
- Box of white cake mix (e.g., Betty Crocker)
- Ingredients called for on the cake mix box (usually water, oil, and eggs)
- 1 package (3 oz / 85 g) cherry-flavored gelatin (red layer)
- 1 package (3 oz / 85 g) blueberry-flavored gelatin (blue layer)
- 1 package (3 oz / 85 g) lemon or pineapple-flavored gelatin (white layer)
- 2 cups (16 fl oz / 475 ml) boiling water (to dissolve gelatin)
- 2 cups (16 fl oz / 475 ml) cold water (to mix with gelatin)
- 1 package (3.4 oz / 96 g) instant vanilla pudding mix
- 2 cups (16 fl oz / 480 ml) cold milk (whole or 2%)
- 1 cup (8 fl oz / 240 ml) heavy whipping cream, whipped to soft peaks
- 1 cup (8 fl oz / 240 ml) heavy whipping cream, whipped with 2 tbsp sugar (for topping)
- Fresh blueberries and strawberries for garnish (optional)
Instructions
- Preheat oven to 350°F (175°C). Prepare the white cake batter according to the box instructions using water, oil, and eggs.
- Pour batter evenly into a 9×13-inch baking pan and bake for 30-35 minutes or until a toothpick inserted in the center comes out clean.
- Let the cake cool completely, about 1 hour. Use a cooling rack to speed cooling if desired.
- Once cooled, poke holes all over the cake about 1 inch apart using a fork or skewer, making sure not to poke all the way through.
- For each gelatin flavor (red, white, blue), dissolve the 3 oz packet in 2 cups boiling water. Stir until dissolved.
- Add 2 cups cold water to each gelatin mixture and chill in the fridge for 10-15 minutes until cool but still liquid.
- Pour the cherry (red) gelatin evenly over the cake, filling the poke holes and covering the surface. Refrigerate until just set but tacky, about 45 minutes to 1 hour.
- Repeat the layering process with the lemon or pineapple (white) gelatin, then the blueberry (blue) gelatin, allowing each layer to set similarly before adding the next.
- Whisk the instant vanilla pudding mix with 2 cups cold milk until thickened, about 2 minutes.
- Gently fold in 1 cup whipped cream to lighten the pudding texture.
- Spread the creamy pudding layer evenly over the fully set jello layers.
- Top the cake with sweetened whipped cream, smoothing or creating soft peaks with a spatula.
- Garnish with fresh blueberries and sliced strawberries if desired.
- Refrigerate the entire cake for at least 2 hours before serving to let layers meld and flavors settle.
Notes
Poke holes about 1 inch apart but not all the way through the cake to avoid sogginess. Chill each gelatin layer until tacky before adding the next to prevent colors from bleeding. Whip cream to soft peaks before folding into pudding for a light texture. Cake is best served chilled and can be stored covered in the fridge for up to 3 days. For dairy-free or gluten-free versions, substitute ingredients accordingly.
Nutrition
- Serving Size: 1 slice (1/12th of c
- Calories: 250
- Sugar: 22
- Sodium: 220
- Fat: 12
- Saturated Fat: 7
- Carbohydrates: 32
- Fiber: 0.5
- Protein: 3
Keywords: no-bake, poke cake, patriotic dessert, red white and blue, jello cake, layered dessert, easy summer dessert, Fourth of July dessert



