Love this? Save it for later!
Share the inspiration with your friends
“The Fourth of July party was in three hours and I’d completely blanked on the dessert,” I muttered, staring at my nearly empty fridge. Everyone else was bringing these elaborate pies and layered trifles that probably took days to prepare. I had… well, a box of cake mix and some cream cheese in the fridge. Honestly, I felt like a total disaster.
So there I was, frantically mixing red velvet batter with one hand while my phone buzzed with updates about the party playlist. The kitchen looked like a tornado had passed through—there was flour everywhere, and at one point, I cracked the mixing bowl. Classic me. But somehow, amidst the chaos, I managed to whip up what would become my show-stopping red velvet flag cake with cream cheese frosting.
Maybe you’ve been there, you know? When the clock’s ticking, and you’re not quite sure how you’ll pull it off. But this recipe? It’s that unexpected hero. Not only did it come together fast, but it turned out to be the centerpiece of the party—everyone kept asking where I got it. And no, it wasn’t some fancy bakery creation, just humble ingredients and a dash of last-minute hustle.
That cracked bowl and the frantic mixing? They’re part of the charm now. This cake stuck with me because it’s proof that sometimes pressure makes the best kind of magic. Plus, the creamy, tangy frosting paired with the moist, tender red velvet layers feels like a little celebration in every bite. So, let me take you through how to make this simple but stunning dessert that’s perfect for when you want to impress without the stress.
Why You’ll Love This Recipe
Honestly, this show-stopping red velvet flag cake with cream cheese frosting has become my go-to for any get-together where I want to shine without spending hours in the kitchen. I’ve tested this recipe through many rushed parties and casual family dinners, and it never disappoints. Here’s why it’s a keeper:
- Quick & Easy: Comes together in under 90 minutes from start to finish—ideal for busy days or last-minute plans.
- Simple Ingredients: You probably already have everything on hand—no need for fancy, hard-to-find items.
- Perfect for Celebrations: Whether it’s a patriotic holiday, birthday, or neighborhood BBQ, this cake’s striking flag design adds that wow factor.
- Crowd-Pleaser: Kids, adults, picky eaters—you name it, everyone loves the moist crumb and tangy frosting combo.
- Unbelievably Delicious: The cream cheese frosting is silky smooth with just the right amount of tang, perfectly balancing the subtly chocolatey red velvet.
What sets this recipe apart? The layering technique and the way the frosting is applied give it that iconic flag look that’s both festive and fun. Plus, I’ve tweaked the frosting to be a little lighter and less sweet than your usual cream cheese version, so it doesn’t overpower the cake. It’s comfort food with a festive twist—you’ll find yourself closing your eyes after the first bite, savoring that classic red velvet charm.
And honestly, this cake has saved me more times than I can count—from forgotten desserts to unexpected guests. It’s the kind of recipe you keep in your back pocket, knowing it’ll always impress without stress.
What Ingredients You Will Need
This recipe uses simple, wholesome ingredients to deliver bold flavor and a satisfying texture without any fuss. Most of these are pantry staples or common fridge finds, and substitutions are easy if you need them.
- For the Red Velvet Cake:
- All-purpose flour – 2 ½ cups (320g)
- Granulated sugar – 1 ½ cups (300g)
- Unsweetened cocoa powder – 2 tablespoons (use a good quality Dutch-processed cocoa for richer flavor)
- Baking soda – 1 teaspoon
- Salt – ½ teaspoon
- Buttermilk – 1 cup (240ml), room temperature (substitute with milk + 1 tbsp vinegar if needed)
- Vegetable oil – 1 cup (240ml) (I prefer a neutral oil like canola or sunflower)
- Large eggs – 2, room temperature
- Red food coloring – 2 tablespoons (gel food coloring works best for vibrant color without thinning batter)
- Vanilla extract – 1 teaspoon
- White vinegar – 1 teaspoon
- For the Cream Cheese Frosting:
- Cream cheese – 16 oz (450g), softened (I recommend Philadelphia brand for smooth texture)
- Unsalted butter – ½ cup (115g), softened
- Powdered sugar – 4 cups (480g), sifted
- Vanilla extract – 1 teaspoon
- Pinch of salt (to balance sweetness)
Feel free to swap all-purpose flour for gluten-free flour blend if needed, and use dairy-free cream cheese and butter alternatives to make this recipe vegan-friendly. In summer, fresh strawberries or blueberries can be added between layers for an extra burst of freshness.
Equipment Needed
- Two 9-inch (23 cm) round cake pans – non-stick or well-greased works best
- Mixing bowls – medium and large sizes
- Electric mixer or stand mixer – for smooth batter and frosting (a hand whisk can work, but it takes more elbow grease!)
- Measuring cups and spoons – accurate measuring helps get the texture right
- Rubber spatula – for scraping bowls and folding ingredients
- Cooling racks – to cool cakes evenly and quickly
- Offset spatula or butter knife – for frosting the cake smoothly
- Toothpick or skewer – to check cake doneness
If you’re on a budget, basic metal cake pans and a hand mixer will do just fine. I personally like silicone spatulas for their flexibility, and a stand mixer really saves time, especially when whipping the frosting. Keeping your cream cheese and butter softened to room temperature makes the whole frosting process easier—trust me, I’ve learned the hard way when cold ingredients cause lumpy frosting!
Preparation Method
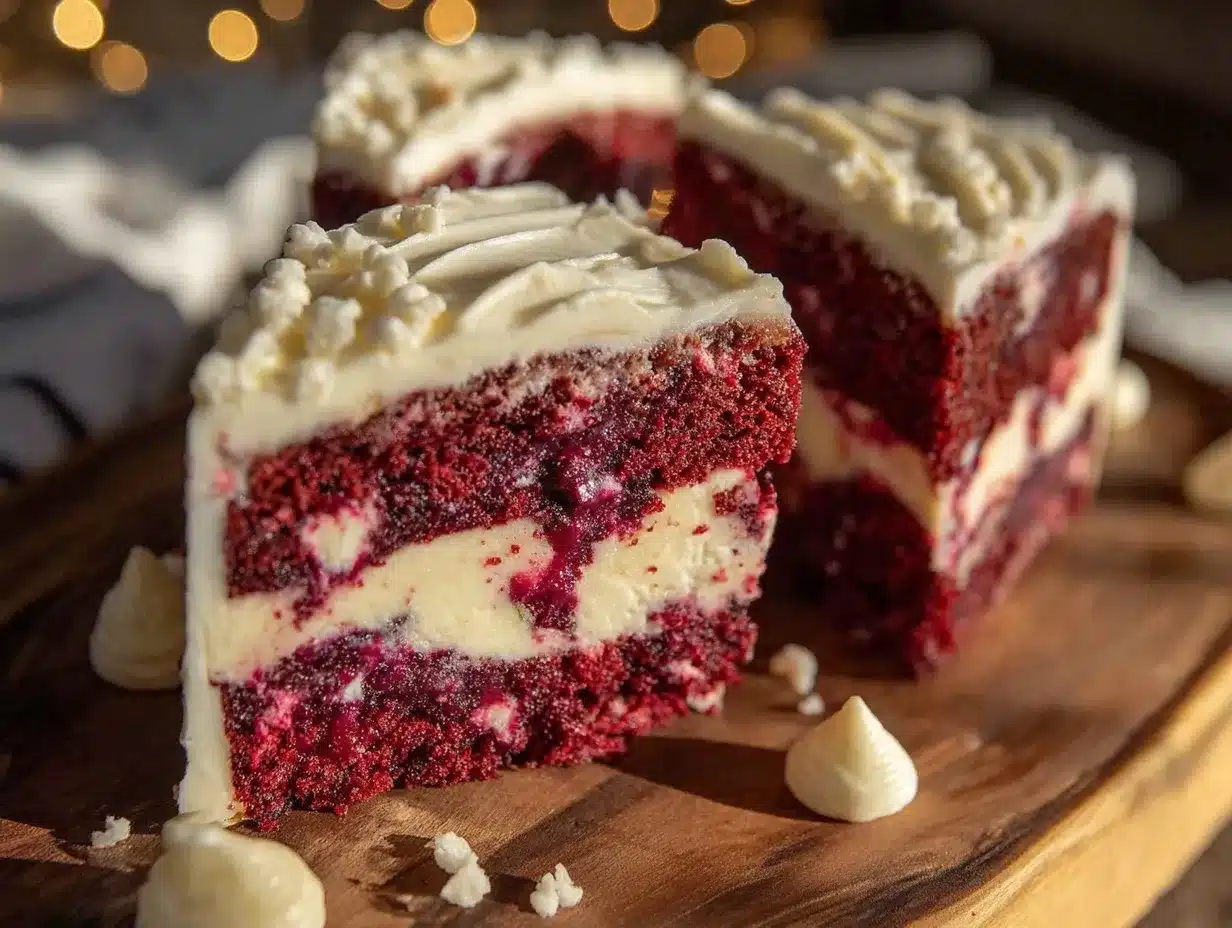
- Preheat and Prep Pans (10 minutes): Preheat your oven to 350°F (175°C). Grease two 9-inch round cake pans with butter or non-stick spray, then lightly dust with flour or line with parchment paper for easy release.
- Mix Dry Ingredients (5 minutes): In a large bowl, sift together 2 ½ cups (320g) of all-purpose flour, 1 ½ cups (300g) granulated sugar, 2 tablespoons cocoa powder, 1 teaspoon baking soda, and ½ teaspoon salt. Give it a good whisk to combine evenly.
- Combine Wet Ingredients (5 minutes): In a separate bowl, whisk 1 cup (240ml) buttermilk, 1 cup (240ml) vegetable oil, 2 large eggs, 2 tablespoons red food coloring, 1 teaspoon vanilla extract, and 1 teaspoon white vinegar until smooth and vibrant red.
- Combine Wet and Dry (3–5 minutes): Slowly pour the wet mixture into the dry ingredients, stirring gently with a spatula or mixer on low speed. Mix just until combined—overmixing can make the cake tough. The batter should be smooth and thick, with a deep red hue.
- Divide and Bake (25–30 minutes): Pour the batter evenly into the two prepared pans. Tap the pans gently on the counter to release any air bubbles. Bake in the preheated oven for 25–30 minutes or until a toothpick inserted in the center comes out clean.
- Cool Completely (1 hour): Let the cakes cool in the pans for 10 minutes, then run a knife around the edges and invert them onto cooling racks. Cool completely before frosting—this step is crucial to keep the frosting from melting.
- Prepare Frosting (10 minutes): Beat 16 oz (450g) softened cream cheese and ½ cup (115g) softened butter together until creamy and smooth. Gradually add 4 cups (480g) powdered sugar and 1 teaspoon vanilla extract, beating until fluffy. Add a pinch of salt to balance the sweetness.
- Assemble the Flag Cake (15 minutes): Trim the tops of the cakes if they’re domed to create flat layers. Cut one cake into strips to create the red and white stripes of the flag. Arrange the stripes on a serving platter, spreading a thin layer of frosting between each strip. Use the second cake to create the blue canton area by cutting a square and frosting it with a tinted blue cream cheese frosting if desired (mix in a tiny bit of blue food coloring). Finish frosting the entire cake, smoothing edges and top.
- Chill and Serve (30 minutes): Chill the assembled cake in the fridge for at least 30 minutes to let the frosting set before slicing. This helps keep those clean, sharp flag lines intact.
If the frosting feels too soft, pop it in the fridge for 10 minutes before frosting. Also, don’t skip the step of cooling the cake completely; warm cake plus cream cheese frosting equals a messy disaster (trust me, I’ve been there). The visual of the flag design is what makes this cake truly show-stopping, so take your time with the assembly.
Cooking Tips & Techniques
Making a red velvet flag cake that looks as good as it tastes requires some tricks I’ve picked up over the years.
- Use Gel Food Coloring: Liquid food coloring can thin your batter and dull the color. Gel or paste kinds deliver that bold red without making your batter runny.
- Softened Ingredients: Make sure your cream cheese and butter are softened but not melted before frosting. Cold ingredients cause lumps; melted can make frosting runny.
- Don’t Overmix: When combining wet and dry ingredients, mix until just combined. Overmixing develops gluten and leads to dense cake, which is a bummer for red velvet.
- Trim Cake Layers: For that crisp flag look, leveling your cakes by trimming domed tops helps layers stack evenly without slipping.
- Chill Before Serving: Chilling the cake after frosting firms it up, making slicing cleaner and presentation sharper.
- Multitask Wisely: While the cakes bake, prep your frosting and clean up. I always find this helps speed things along and keeps me sane.
One time, I rushed the cooling step and ended up with a frosting meltdown all over my counter. Lesson learned: patience pays off here. Also, don’t skimp on whisking the frosting—it needs to be fluffy to balance the cake’s crumb. These little details make all the difference between good and show-stopping.
Variations & Adaptations
This cake is versatile and easy to adapt depending on dietary needs, seasons, or flavor preferences.
- Gluten-Free: Swap all-purpose flour for a 1:1 gluten-free baking flour blend. Just be sure it contains xanthan gum for structure.
- Vegan Option: Use dairy-free cream cheese and butter alternatives, substitute eggs with flax eggs (1 tbsp flaxseed meal + 3 tbsp water per egg), and use a plant-based milk mixed with vinegar for buttermilk.
- Flavor Twists: Add a teaspoon of espresso powder to the batter to deepen the cocoa flavor, or swirl in some raspberry puree between layers for a fruity kick.
- Blueberry Flag: Replace the blue section’s frosting with fresh blueberry compote mixed into cream cheese for a natural tint and flavor.
- Mini Flag Cakes: Make this recipe in smaller pans or cupcake form for individual servings—perfect for picnics or kids’ parties.
I once made this with a friend who swapped the cream cheese frosting for a mascarpone whipped cream topping, and it was insanely light and lovely. Don’t hesitate to get creative!
Serving & Storage Suggestions
Serve your flag cake chilled or at room temperature, depending on your preference. The flavors mellow and the frosting softens beautifully when left out for 15–20 minutes.
- For presentation, place the cake on a large white or rustic wooden board to let the colors really pop.
- Complement the cake with a simple cup of coffee, iced tea, or a sparkling berry mocktail for a festive vibe.
- Leftovers can be stored tightly wrapped in plastic wrap or an airtight container in the refrigerator for up to 4 days.
- To freeze, wrap the cake in plastic wrap and then foil; freeze for up to 3 months. Thaw overnight in the fridge before serving.
- Reheat slices slightly in the microwave (10–15 seconds) if you like your frosting a bit softer—just watch carefully to avoid melting.
Flavors often develop and deepen after a day or two in the fridge, so if you can wait, it’s worth it. The cream cheese frosting keeps the cake moist and fresh, making this a perfect make-ahead dessert for big gatherings.
Nutritional Information & Benefits
This red velvet flag cake with cream cheese frosting is a treat, but it also has some nutritional perks thanks to key ingredients.
- Each serving (1/12 cake slice) contains approximately 350 calories, with a balance of carbs, fats, and protein.
- Cream cheese provides calcium and protein, while eggs add essential nutrients like vitamin B12 and choline.
- Using buttermilk adds a slight tang and supports digestion due to probiotics.
- For those watching gluten, substituting with gluten-free flour makes this dessert accessible without sacrificing taste.
- While it’s not a health food, this cake is made with real ingredients, no artificial preservatives, and can fit into a balanced diet when enjoyed in moderation.
Personally, I like knowing that this cake satisfies both my sweet tooth and my desire for something homemade and wholesome. It’s comfort food that feels a little special but doesn’t come with guilt.
Conclusion
If you’re looking for a dessert that turns heads but won’t keep you in the kitchen all day, this show-stopping red velvet flag cake with cream cheese frosting is exactly what you need. It’s simple enough to whip up in a pinch but impressive enough to be the star of any celebration.
Feel free to tweak the flavors, try my variations, or make it your own special version. Honestly, there’s something magical about the way this cake brings people together—whether it’s a last-minute potluck or a planned holiday feast.
I love this recipe because it reminds me that sometimes, the best dishes come from those moments of chaos and creativity. So go ahead, give it a try, and don’t forget to share how your cake turned out—I can’t wait to hear your stories!
FAQs
How do I make sure the red velvet cake stays moist?
Using buttermilk and oil instead of butter helps keep the cake tender and moist. Also, avoid overbaking by checking with a toothpick a few minutes before the timer goes off.
Can I make this cake ahead of time?
Yes! Bake the layers a day ahead and store them wrapped tightly in the fridge. Assemble and frost the cake on the day you plan to serve.
What’s the best way to get the flag design on the cake?
Cut one cake into strips and alternate with frosting to create the stripes. Use a square piece from the second cake for the blue canton, optionally tinted with blue food coloring in the frosting.
Can I use store-bought cream cheese frosting?
You can, but homemade frosting tastes fresher and lets you control sweetness and texture. If using store-bought, soften it and whip it with a bit of butter or cream to lighten up.
Is there a way to make this cake dairy-free?
Yes! Use dairy-free cream cheese and butter alternatives, plant-based milk with vinegar for buttermilk, and egg substitutes like flax eggs for a vegan-friendly version.
Pin This Recipe!
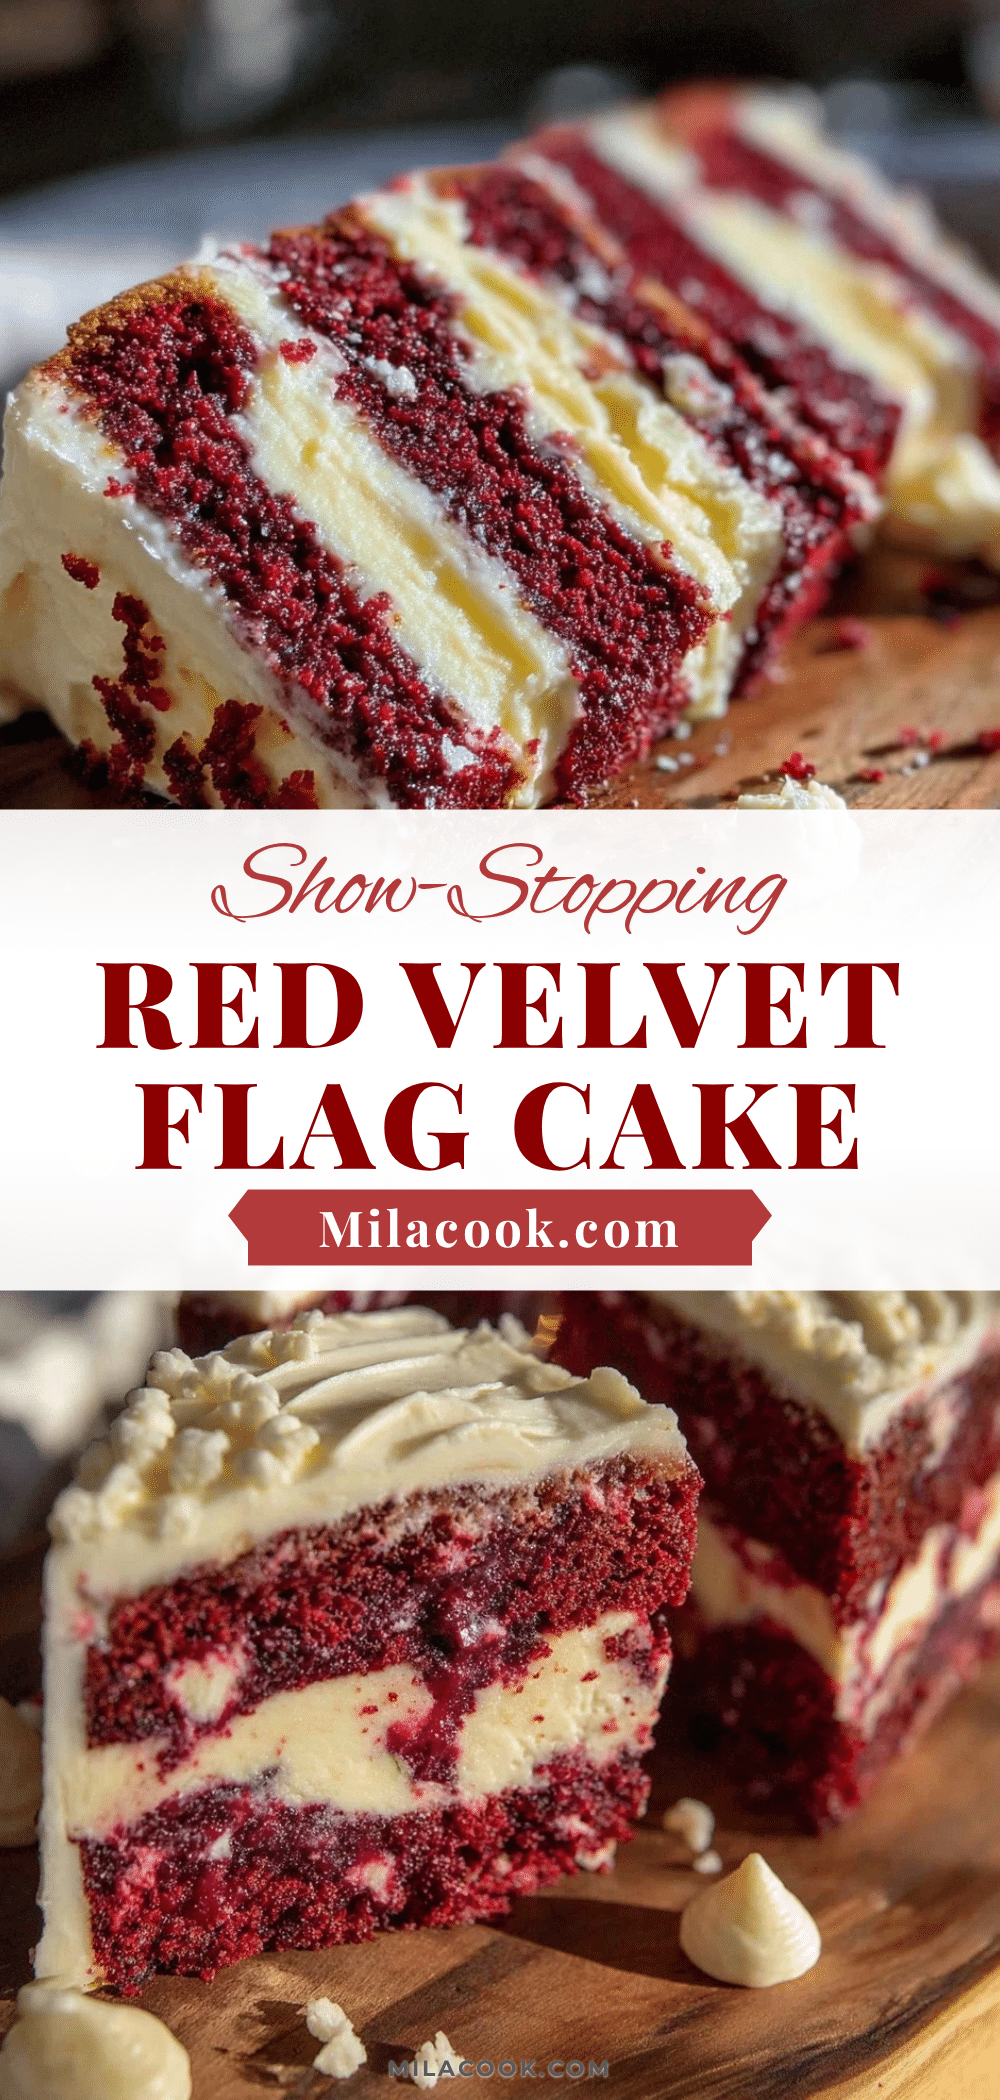
Show-Stopping Red Velvet Flag Cake Recipe with Easy Cream Cheese Frosting
A quick and easy red velvet flag cake with moist layers and silky cream cheese frosting, perfect for celebrations and last-minute parties.
- Prep Time: 30 minutes
- Cook Time: 30 minutes
- Total Time: 1 hour 30 minutes
- Yield: 12 servings
- Category: Dessert
- Cuisine: American
Ingredients
- All-purpose flour – 2 ½ cups (320g)
- Granulated sugar – 1 ½ cups (300g)
- Unsweetened cocoa powder – 2 tablespoons
- Baking soda – 1 teaspoon
- Salt – ½ teaspoon
- Buttermilk – 1 cup (240ml), room temperature (substitute with milk + 1 tbsp vinegar if needed)
- Vegetable oil – 1 cup (240ml)
- Large eggs – 2, room temperature
- Red food coloring – 2 tablespoons (gel food coloring recommended)
- Vanilla extract – 1 teaspoon
- White vinegar – 1 teaspoon
- Cream cheese – 16 oz (450g), softened
- Unsalted butter – ½ cup (115g), softened
- Powdered sugar – 4 cups (480g), sifted
- Vanilla extract – 1 teaspoon
- Pinch of salt
Instructions
- Preheat your oven to 350°F (175°C). Grease two 9-inch round cake pans with butter or non-stick spray, then lightly dust with flour or line with parchment paper.
- In a large bowl, sift together flour, sugar, cocoa powder, baking soda, and salt. Whisk to combine evenly.
- In a separate bowl, whisk buttermilk, vegetable oil, eggs, red food coloring, vanilla extract, and white vinegar until smooth and vibrant red.
- Slowly pour the wet mixture into the dry ingredients, stirring gently with a spatula or mixer on low speed until just combined.
- Pour the batter evenly into the two prepared pans. Tap pans gently to release air bubbles.
- Bake for 25–30 minutes or until a toothpick inserted in the center comes out clean.
- Let the cakes cool in the pans for 10 minutes, then invert onto cooling racks and cool completely.
- Beat softened cream cheese and butter together until creamy and smooth. Gradually add powdered sugar, vanilla extract, and salt, beating until fluffy.
- Trim domed tops of cakes to create flat layers. Cut one cake into strips for flag stripes and arrange on a platter with thin layers of frosting between strips.
- Cut a square from the second cake for the blue canton and frost with cream cheese frosting tinted with blue food coloring if desired.
- Finish frosting the entire cake, smoothing edges and top.
- Chill the assembled cake in the fridge for at least 30 minutes before slicing.
Notes
Use gel food coloring for vibrant red without thinning batter. Ensure cream cheese and butter are softened but not melted to avoid lumpy frosting. Do not overmix batter to keep cake tender. Chill cake after frosting for clean slices. Can substitute gluten-free flour and dairy-free alternatives for dietary needs.
Nutrition
- Serving Size: 1 slice (1/12 of cak
- Calories: 350
- Sugar: 32
- Sodium: 280
- Fat: 18
- Saturated Fat: 7
- Carbohydrates: 45
- Fiber: 1
- Protein: 4
Keywords: red velvet cake, flag cake, cream cheese frosting, patriotic dessert, easy cake recipe, celebration cake, Fourth of July dessert