Love this? Save it for later!
Share the inspiration with your friends
“I wasn’t supposed to be cooking dinner that night,” I admit, laughing at the memory. It was a hectic Wednesday, and my roommate had just dashed out to an emergency meeting, leaving me with the daunting task of making something edible with almost nothing. Honestly, I was staring down a bag of plain white rice, convinced that my days of perfectly cooked rice were over after a few sad, sticky disasters. But then, as I fiddled nervously with the pot on the stove, something clicked. The steam, the gentle bubbling, the way the grains separated as I fluffed it with a fork—it was like magic had quietly happened right there in my kitchen.
That night, I discovered the simple stovetop method for fluffy rice that even beginners like me could trust. It wasn’t a fancy trick or some complicated gadget. Just a little patience, a few precise measurements, and a bit of love. Maybe you’ve been there too—watching a pot of rice turn into a gluey mess, wondering why this basic staple feels so complicated. This recipe is here to change all that.
Since then, this straightforward technique has become my go-to whenever I need a reliable side dish or a base for an impromptu stir-fry. I even remember the cracked bowl I nearly dropped in my excitement the first time it turned out right. If you’ve ever felt intimidated by making rice on the stove, let me tell you—this method will stick with you too. So, let’s get cooking and make that perfect fluffy rice happen in your kitchen.
Why You’ll Love This Simple Fluffy Rice Recipe
After countless attempts and kitchen adventures, this simple fluffy rice recipe stands out for a bunch of reasons. It’s not just about making rice—it’s about making rice that feels like a little victory every time you serve it.
- Quick & Easy: Ready in just about 20 minutes, it fits perfectly into busy weeknight routines and last-minute meal plans.
- Simple Ingredients: Only rice, water, salt, and a bit of oil or butter—no need for exotic pantry items or extra shopping trips.
- Perfect for Any Occasion: Whether you’re serving a comforting dinner or prepping for a casual potluck, fluffy rice never goes out of style.
- Crowd-Pleaser: It’s amazing how something so simple wins over both kids and adults alike, every single time.
- Unbelievably Delicious: The texture is just right—light, fluffy, and with each grain perfectly separate, giving you that comforting mouthfeel you crave.
What really makes this recipe different? The secret is in the exact water-to-rice ratio and the gentle simmering technique that locks in moisture without turning your rice mushy. I’ve tested this method over and over, tweaking small details (like resting time and lid tightness) to get it just right. Honestly, it’s the kind of recipe that makes you close your eyes after the first bite and smile.
Plus, it’s forgiving enough for beginners yet reliable enough to become your kitchen staple. I love how it turns a simple side into the heart of a meal, and I bet you’ll feel the same once you try it.
What Ingredients You Will Need
This simple fluffy rice recipe uses just a few everyday ingredients to create that perfect texture and flavor. These pantry staples are easy to find and easy to swap if needed.
- Long-grain white rice: 1 cup (about 200 grams) – I prefer brands like Lundberg or Mahatma for consistent texture.
- Water: 1 ¾ cups (420 ml) – precise measurement is key here for fluffy results.
- Salt: ½ teaspoon – enhances flavor without overpowering.
- Butter or oil: 1 tablespoon (unsalted butter or neutral oil like canola or vegetable oil) – adds a subtle richness and helps keep grains separate.
Optional but recommended:
- Bay leaf or a small piece of cinnamon stick: for gentle aromatic notes (remove before serving).
- Chicken or vegetable broth: substitute all or part of the water for extra flavor.
Substitution tips:
- Use brown rice with 2 ½ cups (600 ml) water and a longer cooking time for a whole-grain version.
- Swap butter for olive oil or coconut oil for different flavor profiles or dietary needs.
- For gluten-free or allergy-conscious diets, this recipe is naturally safe as-is.
Equipment Needed
- Medium saucepan with a tight-fitting lid: A heavy-bottomed pan works best to prevent burning and ensure even heat distribution. I’ve found my trusty 2-quart stainless steel pan to be perfect.
- Measuring cups and spoons: For accurate water and rice ratios—don’t eyeball it!
- Fine-mesh strainer or sieve: Ideal for rinsing rice thoroughly to remove excess starch.
- Fork: For fluffing the rice gently after cooking.
If you don’t have a heavy-bottomed pan, a nonstick saucepan with a snug lid will do. Just be careful with heat settings to avoid scorching. Also, keeping a kitchen timer or smartphone nearby helps nail the cooking time perfectly.
Preparation Method
- Rinse the rice: Place 1 cup (200 g) of long-grain white rice in a fine-mesh strainer and rinse under cold running water. Rub the grains gently with your fingers to remove surface starch until the water runs clear. This prevents gummy rice. Drain well. (5 minutes)
- Combine ingredients: In your medium saucepan, add the rinsed rice, 1 ¾ cups (420 ml) water, ½ teaspoon salt, and 1 tablespoon butter or oil. If using, add the bay leaf or cinnamon stick now. Stir gently to combine. (2 minutes)
- Bring to a boil: Place the pan over medium-high heat and bring the mixture to a rolling boil. You should see bubbles and steam rising, but keep an eye so it doesn’t boil over. (5 minutes)
- Simmer gently: Once boiling, immediately reduce the heat to the lowest setting, cover the pan with the lid, and let it simmer undisturbed for 18 minutes. Avoid lifting the lid or stirring during this time. This step traps steam and cooks the rice evenly.
- Rest off heat: After 18 minutes, turn off the heat but keep the lid on. Let the rice rest for 10 minutes—this lets residual steam finish the job and results in fluffier grains.
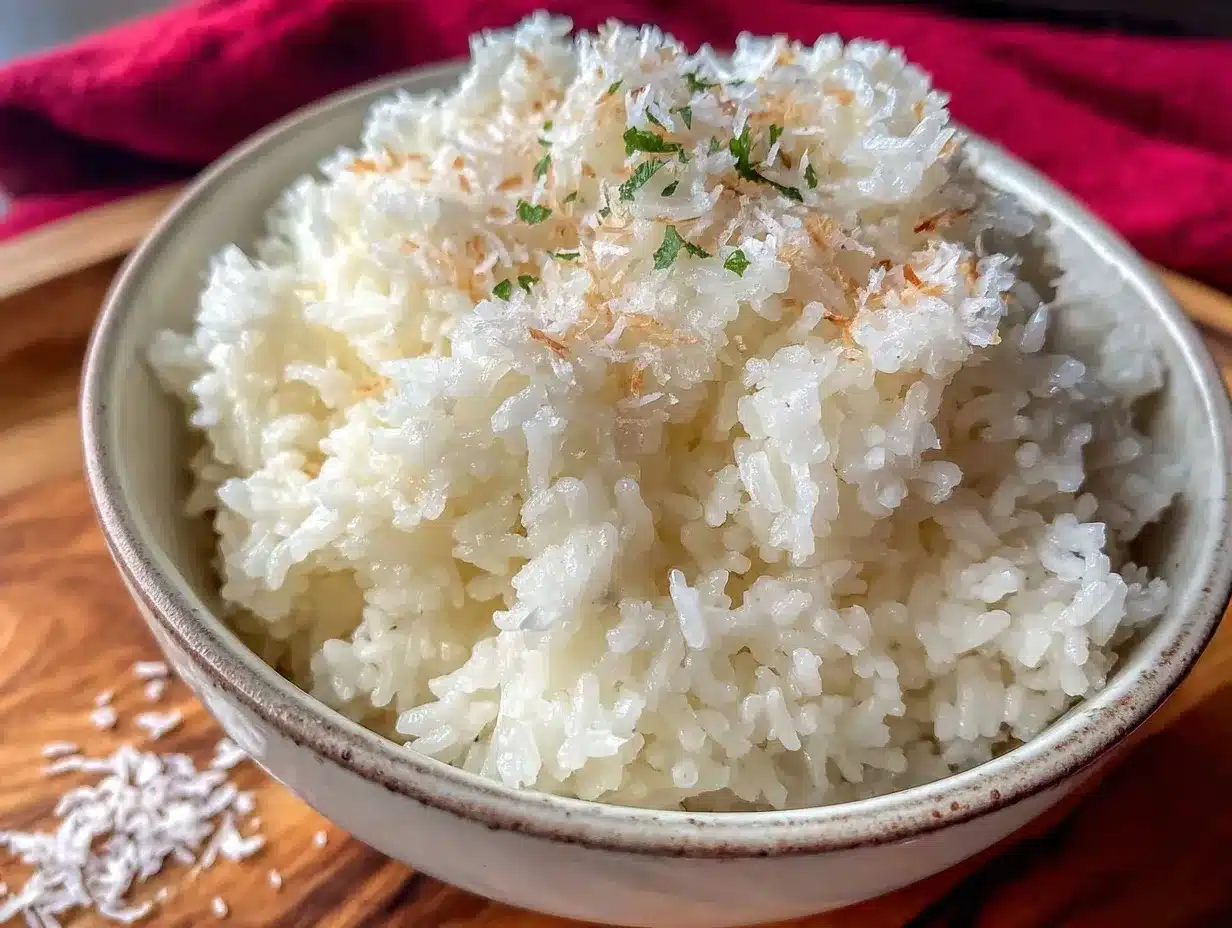
- Fluff and serve: Remove the lid, discard any bay leaf or cinnamon stick, and gently fluff the rice with a fork to separate the grains. It should look light, separate, and inviting. (2 minutes)
Pro tip: If you notice your rice is still a bit crunchy or wet after the resting period, cover again and let it sit for a few more minutes. Patience really pays off here.
Cooking Tips & Techniques
Cooking rice on the stovetop can seem tricky, but a few insider tips make it almost foolproof.
- Rinsing matters: Rinsing rice removes excess starch that causes clumping. I always skip this step once and regret the sticky mess!
- Watch your heat: Boil on medium-high, then immediately drop to the lowest simmer. Too high heat means burned bottoms; too low means undercooked rice.
- Lid on tight: A snug lid traps steam perfectly. If your lid isn’t tight-fitting, use a clean kitchen towel under it to seal gaps (just be cautious of fire hazards).
- No peeking: Resist the urge to lift the lid while cooking. Every time you lift it, steam escapes and can lead to uneven cooking.
- Resting is key: Let the rice sit off heat after cooking to finish absorbing moisture. This step makes a huge difference in fluffiness.
I once tried stirring the rice mid-simmer because I thought it needed it—big mistake. It ended up gummy and mushy. Learning to trust the process (and the timer) really helped me nail this recipe.
Variations & Adaptations
- Brown Rice Version: Use 1 cup (185 g) brown rice with 2 ½ cups (600 ml) water. Simmer for 40-45 minutes and rest for 10 minutes. The nuttier flavor is a great twist.
- Herbed Rice: Add fresh chopped herbs like parsley or cilantro right before fluffing for a fresh, vibrant finish.
- Garlic Butter Rice: Sauté 1-2 minced garlic cloves in the butter before adding water and rice for an aromatic upgrade.
- Vegetable Broth Swap: Replace water with vegetable or chicken broth to add savory depth.
- Allergen-Friendly: Naturally gluten-free and vegan if using oil instead of butter.
Personally, I love the garlic butter tweak for a cozy weeknight dinner, especially paired with roasted chicken or grilled veggies.
Serving & Storage Suggestions
Serve your fluffy rice warm as a side dish to curries, stir-fries, or grilled meats. It also makes a fantastic base for bowls and fried rice recipes.
- Presentation: Fluff the rice one last time before plating to keep it light and airy.
- Storage: Store leftover rice in an airtight container in the refrigerator for up to 4 days.
- Freezing: You can freeze cooked rice in freezer bags for up to 3 months. Thaw overnight in the fridge before reheating.
- Reheating: Sprinkle a little water over the rice and cover while microwaving or gently reheat in a pan with a splash of water to restore moisture.
- Flavor development: Rice tends to firm up and dry a bit in the fridge, but reheating gently brings back softness and flavor.
Nutritional Information & Benefits
One serving (about 1 cup cooked) of this simple fluffy rice recipe contains roughly:
| Nutrient | Amount |
|---|---|
| Calories | 200 kcal |
| Carbohydrates | 45 g |
| Protein | 4 g |
| Fat | 1.5 g |
| Fiber | 0.6 g |
| Sodium | 300 mg (varies with salt added) |
This recipe offers a gluten-free, low-fat carbohydrate source that fuels your energy. Using brown rice adds more fiber and nutrients if you want a heartier option. The small amount of butter or oil adds healthy fats and richness without overloading calories.
Conclusion
This simple fluffy rice recipe is a game-changer for anyone who’s ever struggled with stovetop rice. It’s straightforward, reliable, and turns out perfectly every time when you follow the steps. I love how it takes just a handful of ingredients and transforms them into a comforting, versatile dish that fits so many meals.
Feel free to customize it with herbs, broth, or garlic to suit your taste. Honestly, once you get this down, rice stops being a kitchen challenge and becomes a blank canvas for your favorite flavors. If you give it a try, let me know how it goes—I’m always excited to hear your twists and tips!
And hey, if you’re looking for other easy side dishes, you might like the crispy garlic chicken recipe I shared last month or the quick roasted vegetable Mediterranean salad that pairs beautifully with rice. Cooking should be fun and approachable, and this fluffy rice recipe is a perfect place to start.
FAQs About Simple Fluffy Rice
How do I prevent my rice from sticking to the pot?
Using a heavy-bottomed pan and rinsing the rice well helps a lot. Also, keep the heat low during simmering and don’t lift the lid while cooking.
Can I use jasmine or basmati rice with this method?
Yes! Jasmine and basmati need slightly less water (about 1 ½ cups per cup of rice) and a shorter resting time, but the method remains the same.
Why is my rice sometimes mushy or gummy?
Usually, it’s from too much water, stirring during cooking, or not rinsing the rice well. Stick to the water ratio and avoid peeking while it simmers.
Can I make this rice ahead of time?
Absolutely. Cooked rice stores well in the fridge for up to 4 days and freezes nicely. Just reheat with a splash of water to keep it moist.
Is this method suitable for brown rice?
Yes, but brown rice requires more water (about 2 ½ cups) and a longer cooking and resting time—around 40-45 minutes simmering plus 10 minutes resting.
Pin This Recipe!
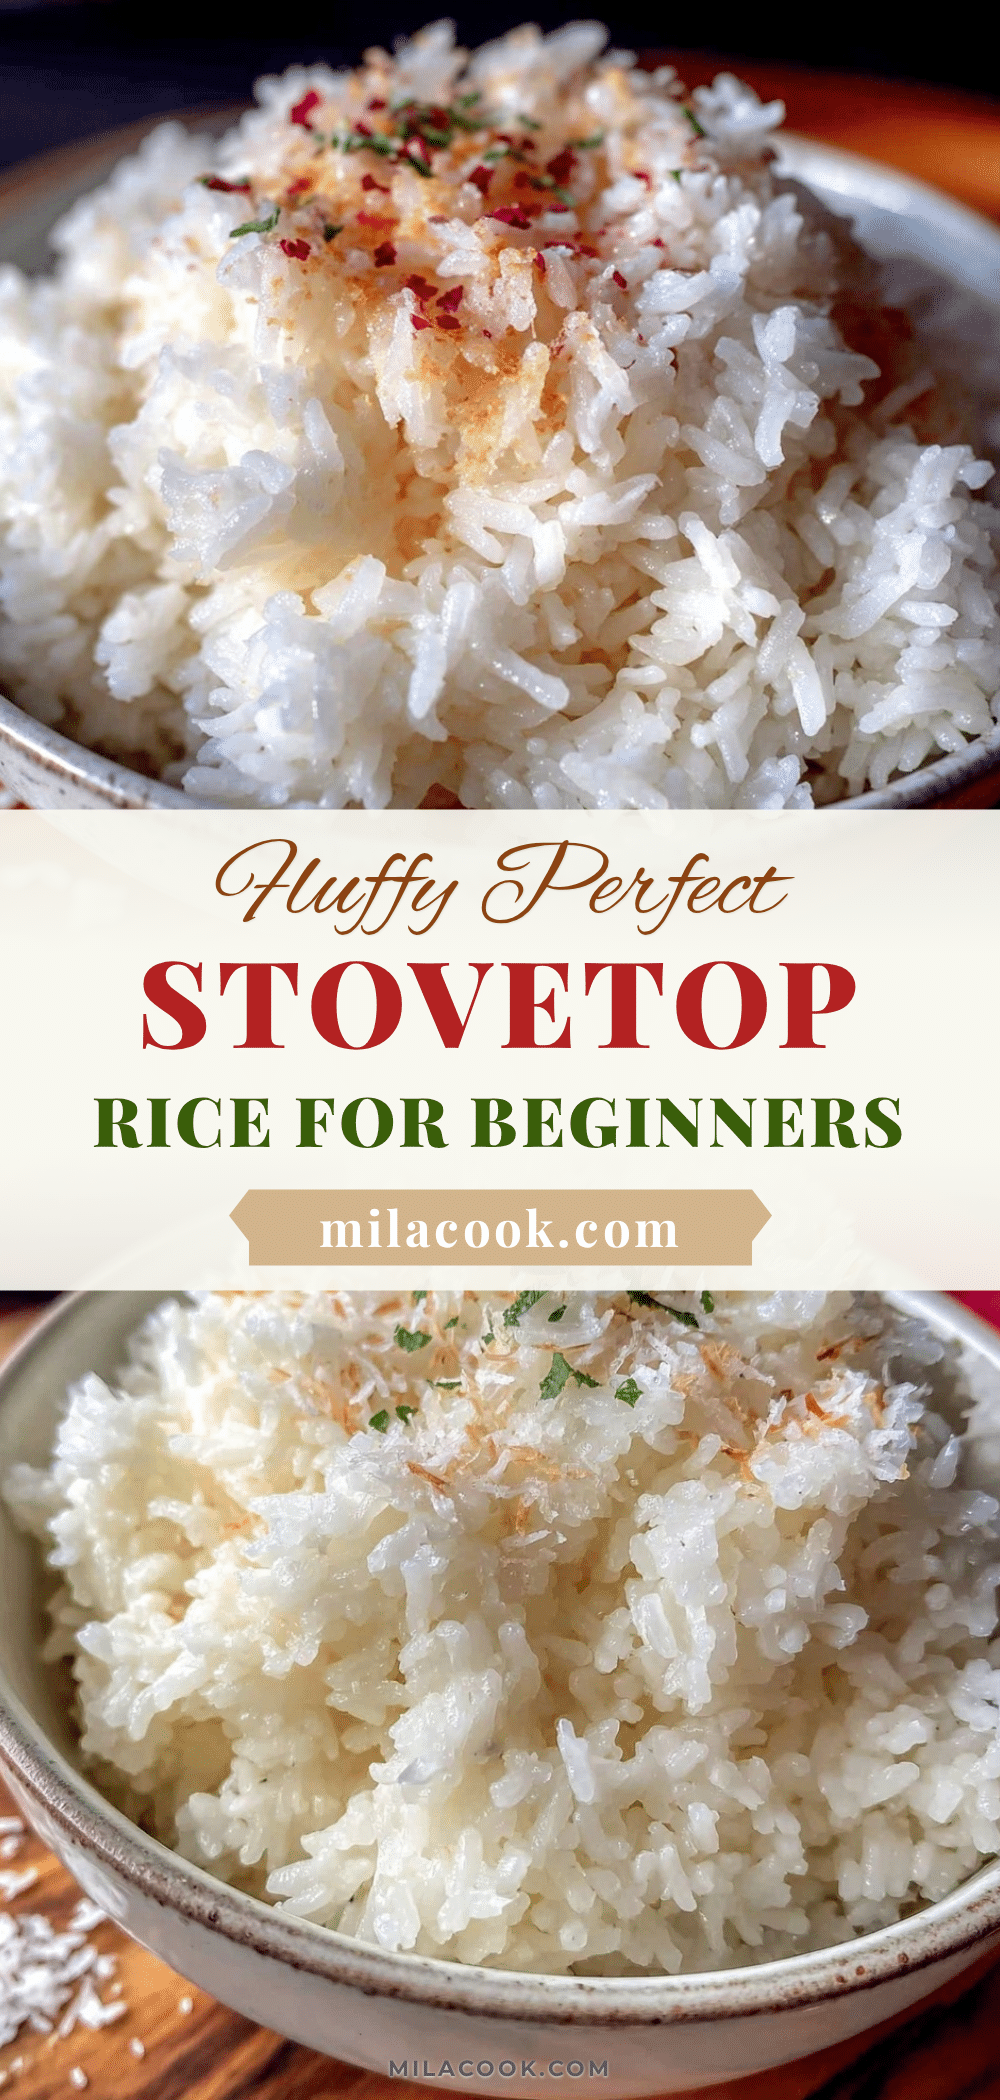
Simple Fluffy Rice Recipe Easy Stovetop Method for Beginners
A straightforward stovetop method for perfectly fluffy rice that even beginners can master. This recipe uses simple ingredients and precise measurements to achieve light, separate grains every time.
- Prep Time: 7 minutes
- Cook Time: 23 minutes
- Total Time: 30 minutes
- Yield: 4 servings 1x
- Category: Side Dish
- Cuisine: American
Ingredients
- 1 cup long-grain white rice (about 200 grams)
- 1 ¾ cups water (420 ml)
- ½ teaspoon salt
- 1 tablespoon unsalted butter or neutral oil (canola or vegetable oil)
- Optional: bay leaf or a small piece of cinnamon stick (remove before serving)
- Optional: chicken or vegetable broth (can substitute all or part of the water)
Instructions
- Rinse the rice: Place 1 cup (200 g) of long-grain white rice in a fine-mesh strainer and rinse under cold running water. Rub the grains gently with your fingers to remove surface starch until the water runs clear. Drain well. (5 minutes)
- Combine ingredients: In your medium saucepan, add the rinsed rice, 1 ¾ cups (420 ml) water, ½ teaspoon salt, and 1 tablespoon butter or oil. If using, add the bay leaf or cinnamon stick now. Stir gently to combine. (2 minutes)
- Bring to a boil: Place the pan over medium-high heat and bring the mixture to a rolling boil. Watch carefully to prevent boiling over. (5 minutes)
- Simmer gently: Once boiling, immediately reduce the heat to the lowest setting, cover the pan with the lid, and let it simmer undisturbed for 18 minutes. Avoid lifting the lid or stirring during this time.
- Rest off heat: After 18 minutes, turn off the heat but keep the lid on. Let the rice rest for 10 minutes to finish cooking with residual steam.
- Fluff and serve: Remove the lid, discard any bay leaf or cinnamon stick, and gently fluff the rice with a fork to separate the grains. (2 minutes)
Notes
Rinsing rice removes excess starch and prevents clumping. Use a heavy-bottomed pan to avoid burning. Do not lift the lid while simmering to keep steam trapped. Let rice rest off heat to finish cooking and achieve fluffiness. If rice is still crunchy or wet after resting, cover and let sit a few more minutes.
Nutrition
- Serving Size: About 1 cup cooked r
- Calories: 200
- Sodium: 300
- Fat: 1.5
- Saturated Fat: 0.8
- Carbohydrates: 45
- Fiber: 0.6
- Protein: 4
Keywords: fluffy rice, stovetop rice, easy rice recipe, beginner rice recipe, simple rice, long grain rice, rice side dish