Love this? Save it for later!
Share the inspiration with your friends
There used to be a tiny, windowless bakery called The Wicked Crumb on Essex Street that made the crispiest ghost meringue cookies you ever saw. When they suddenly closed their doors in late October, leaving behind only a “Thank You” sign and the smell of burnt sugar, I was devastated. I mean, honestly, I think I cried over a cookie. It wasn’t just a cookie; it was the perfect Halloween treat that tasted like vanilla dreams and felt like light as air.
After about twelve tries — and a lot of broken egg whites and sad, flat meringues — I finally got it. I remember standing in my kitchen at 2 a.m., watching the oven timer tick down, holding my breath. When I pulled that tray out, they were there. White, crisp, with those little chocolate chip eyes staring back at me. I took a bite and it shattered perfectly. No chew. No goo. Just pure, crispy magic.
I’m not supposed to play favorites with recipes, but this one holds a special place in my heart. Maybe you’ve been there, staring at a failed recipe, wondering if you’ll ever get it right. Let me tell you, it’s worth the effort. These cookies are the kind of thing that makes your kitchen smell amazing and your guests go wild. I keep making them because they remind me of that little bakery and the joy of finally cracking the code.
Why You’ll Love This Recipe
Experience Meets Simplicity
Meringue can seem intimidating, but I’ve tested this method until it was foolproof. The secret isn’t fancy equipment; it’s patience and temperature control. This isn’t just another Halloween cookie; it’s a lesson in precision that pays off in every bite.
Key Benefits
- Quick & Easy Prep: The actual mixing time is under 5 minutes. The rest is just waiting for the oven to do its work. Perfect for busy weeknights or last-minute party prep.
- Simple Ingredients: You likely already have egg whites, sugar, vanilla, and chocolate chips in your pantry. No fancy grocery trips needed.
- Perfect for Halloween: These are the ultimate festive treat. They look spooky but taste sweet and innocent. Great for potlucks, classroom parties, or cozy dinners.
- Crowd-Pleaser: Kids love the ghost shape, and adults love the crisp texture. It’s a hit with everyone, even those who think they don’t like meringue.
- Unbelievably Delicious: The texture is next-level. It dissolves on your tongue, leaving just a hint of vanilla and a bit of chocolate. It’s comfort food reimagined.
What Makes This Different
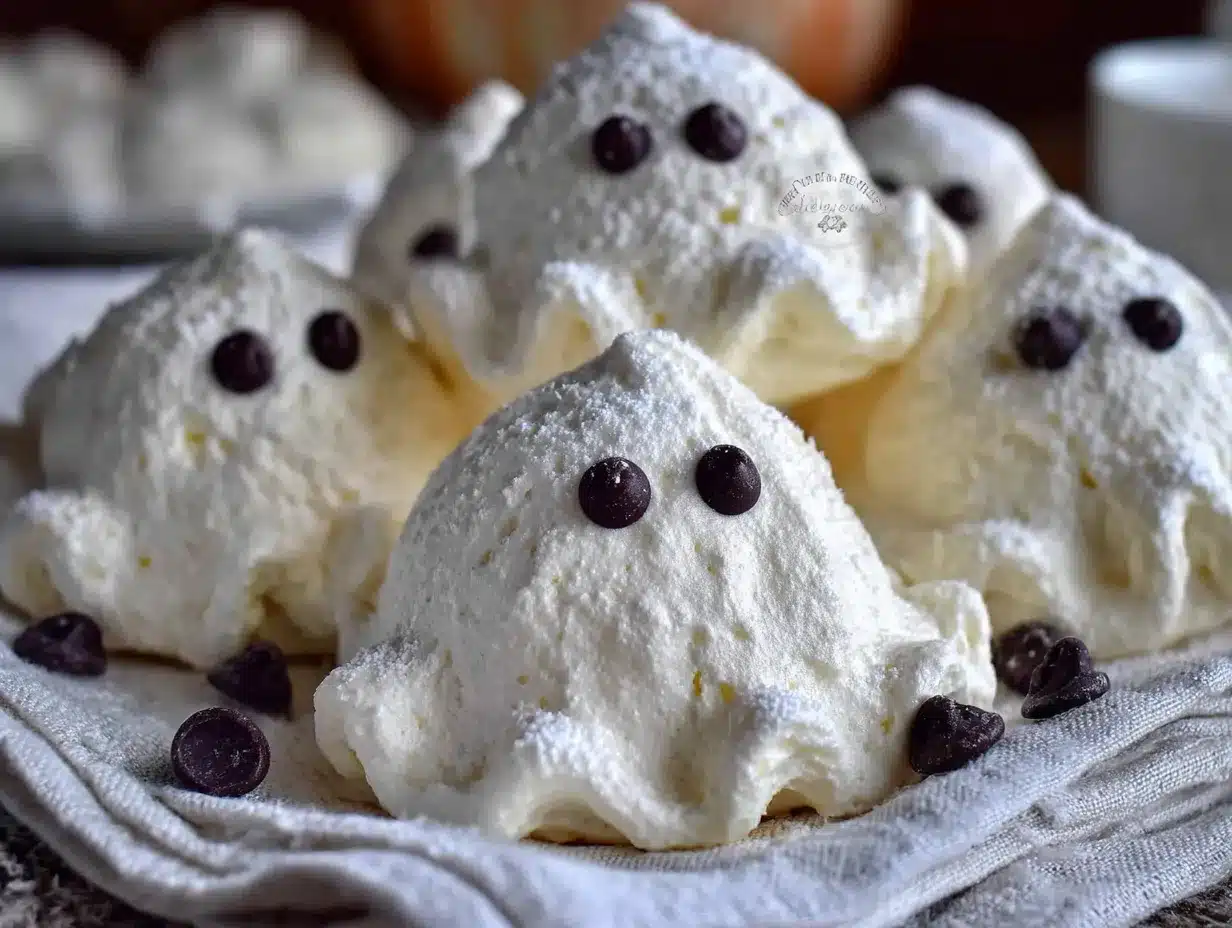
Most meringue recipes leave a slight chew. This one is baked low and slow to ensure it’s bone-dry and shatteringly crisp. I’ve swapped standard sugar for a mix that includes a touch of cornstarch to prevent clumping and ensure that perfect snap. It’s not just a version; it’s the best version. This recipe isn’t just good—it’s the kind that makes you close your eyes after the first bite. It’s simple, elegant, and surprisingly impressive for how little effort it takes.
What Ingredients You Will Need
This recipe uses simple, wholesome ingredients to deliver bold flavor and satisfying texture without the fuss. The magic lies in the purity of the components. Since meringue is essentially just whipped egg whites and sugar, every ingredient matters. If you use old eggs, the whites won’t whip up properly. If your sugar is lumpy, your meringue will be grainy.
Here is what you need to gather:
For the Meringue Base
- Large Egg Whites: 3 large egg whites, room temperature. Cold eggs are harder to whip. I recommend using pastured eggs for a richer yellow yolk (which you’ll separate out) and cleaner white.
- Granulated Sugar: ¾ cup (150g). Do not substitute with brown sugar or honey; they contain moisture that will ruin the crispiness. I personally prefer C&H Pure Cane Sugar for its consistent grain size.
- Cornstarch: 1 tablespoon. This is the secret weapon. It helps stabilize the meringue and keeps it crisp by absorbing any ambient humidity. It also prevents the cookies from sticking to the parchment paper.
- Vanilla Extract: 1 teaspoon. Use pure vanilla extract, not imitation. I love Nielsen-Massey for its intense flavor profile. It adds that classic bakery smell.
- Cream of Tartar: ¼ teaspoon. This acid helps stabilize the egg whites, allowing them to hold their shape better. It’s cheap and essential for beginners.
For the Ghost Eyes
- Mini Chocolate Chips: 2-3 tablespoons. Mini chips are perfect because they are small enough to fit on a tiny ghost face. Dark chocolate chips work too if you want a less sweet look.
- White Chocolate Chips: Optional, for contrast.
Substitution Notes
If you are vegan, this recipe is tricky. Aquafaba (chickpea water) can be used, but it requires different whipping techniques and often results in a chewier texture. For gluten-free diets, this recipe is naturally gluten-free, just ensure your chocolate chips are certified gluten-free. In summer, swap in a bit of lemon zest for a refreshing twist, though vanilla is classic.
Equipment Needed
You don’t need much, but having the right tools makes a huge difference.
- Baking Sheets: Two large sheets. Light-colored metal sheets are best because they reflect heat. Dark sheets can burn the bottoms. If you only have dark sheets, line them with double parchment paper.
- Parchment Paper: Essential. Do not use wax paper; it will melt. Parchment ensures easy removal and cleanup.
- Electric Mixer: A hand mixer or stand mixer is highly recommended. Whipping egg whites by hand is possible but takes a lot of arm strength and time. I use a KitchenAid, but any reliable mixer works.
- Piping Bag or Ziploc Bag: A piping bag with a round tip gives the best ghost shape. A Ziploc bag with the corner cut off works in a pinch.
- Small Spoon: For scooping the meringue if you aren’t piping.
Pro Tip: Make sure your mixing bowl is completely clean and dry. Even a tiny drop of yolk or water can prevent the whites from whipping up. I once lost an entire batch because I washed my bowl in a sink that still had soap residue. Lesson learned!
Preparation Method
Step 1: Prepare the Oven and Pans (5 Minutes)
Preheat your oven to 200°F (95°C). This low temperature is crucial. It dries out the meringue without browning it. Line your baking sheets with parchment paper. If your parchment curls up, use a tiny bit of meringue under the corners to hold it down.
Step 2: Whip the Egg Whites (3 Minutes)
Place your egg whites in a clean, dry mixing bowl. Add the cream of tartar. Start mixing on medium speed until the whites become foamy. This looks like shaggy clouds. Be patient; don’t rush to high speed yet.
Step 3: Add the Sugar Gradually (5 Minutes)
With the mixer running on medium-high, slowly pour in the sugar, one tablespoon at a time. Let each tablespoon incorporate before adding the next. This takes about 5 minutes. If you add it too fast, you won’t get stiff peaks. Add the vanilla extract now.
Step 4: Check for Stiff Peaks (1 Minute)
Stop the mixer and lift the whisk. The meringue should stand up in a sharp peak. If it droops, keep whipping for another 30 seconds. The mixture should look glossy and smooth, like marshmallow fluff. Rub a little between your fingers; it should feel completely smooth, not gritty. If it feels gritty, you need more time.
Step 5: Pipe the Ghosts (5 Minutes)
Scoop the meringue into your piping bag. Pipe small mounds onto the parchment paper. To make them look like ghosts, pipe a round base, then a slightly smaller round on top. You can drag a spoon down the side to create a “tail” or just leave it round. They don’t need to be perfect. Place two mini chocolate chips on each for eyes. Press them in slightly so they stick.
Step 6: Bake and Cool (1 Hour 30 Minutes)
Place the trays in the oven. Bake for 1 hour and 15 minutes. After 45 minutes, rotate the trays for even baking. The cookies are done when they are dry to the touch and lift off the paper easily. Turn off the oven and leave the cookies inside with the door cracked open for another 15-30 minutes. This residual heat ensures they are fully crisp. Let them cool completely before handling.
Cooking Tips & Techniques
Avoiding Common Mistakes
The biggest mistake people make is not whipping the meringue long enough. Under-whipped meringues spread and become chewy. Over-whipped meringues become grainy and dry. Aim for that glossy, stiff peak stage. Another common error is using a wet bowl. I always wipe my bowl with a paper towel and a splash of vinegar to ensure it’s grease-free.
Personal Failure Lesson
I once tried to speed up the process by increasing the oven temperature. The outside browned, but the inside was still sticky. It tasted like burnt sugar and raw egg. Never rush the drying process. Low and slow is the only way to get that shatteringly crisp texture.
Timing and Multitasking
Since the active time is so short, use the baking time to clean up. Wash your bowls and utensils while the cookies dry. It’s also a good time to prep other Halloween treats. The meringues are stable, so you can make them a day or two in advance.
Consistency Tips
If your kitchen is humid, meringues can take longer to dry. On rainy days, I sometimes add an extra 15 minutes to the bake time. If you’re unsure, tap a cookie; it should make a hollow, crisp sound.
Variations & Adaptations
Dietary Adjustments
For a gluten-free option, ensure your chocolate chips are certified gluten-free. The rest of the recipe is naturally gluten-free. For a lower-sugar version, you can use a stevia-based baking blend, but the texture will be different—it may be more brittle and less chewy.
Flavor Twists
Try adding a teaspoon of almond extract for a marzipan-like flavor. Or, mix in a tablespoon of cocoa powder for chocolate ghost cookies. For a festive twist, use red and green mini chocolate chips for Christmas.
Seasonal Variations
In summer, add a pinch of cinnamon for a warm, spiced ghost. In winter, use peppermint chips instead of chocolate for a refreshing kick.
Personal Favorite
My favorite variation is adding a tiny drop of food coloring to the meringue before piping. Pastel pink or blue ghosts look adorable and still taste just as good. It’s a nice change from the classic white.
Serving & Storage Suggestions
Serving Ideas
Serve these cookies on a platter with a Halloween theme. They pair well with hot cocoa or coffee. The crisp texture contrasts nicely with warm drinks. You can also use them as cake toppers for Halloween-themed desserts.
Storage Instructions
Store the cookies in an airtight container at room temperature for up to two weeks. If your kitchen is humid, add a packet of silica gel or a slice of bread to the container to absorb moisture. The bread keeps the cookies crisp without changing their flavor.
Reheating
You don’t need to reheat them. If they lose their crunch, you can place them in a 200°F oven for 10 minutes to refresh them. Let them cool before storing again.
Flavor Development
The flavors stay consistent over time. The vanilla and chocolate remain fresh, but the texture is best within the first week. After that, they may soften slightly if not stored properly.
Nutritional Information & Benefits
Each cookie contains approximately 15-20 calories, making them a light treat. They are low in fat and protein, but high in carbohydrates from the sugar. For those watching their sugar intake, these should be enjoyed in moderation. The recipe is naturally gluten-free, which is a benefit for those with celiac disease or gluten sensitivity. However, always check your chocolate chips for hidden gluten. The egg whites provide a small amount of protein. Overall, these are a fun, low-calorie Halloween treat that doesn’t weigh you down.
Conclusion
These Crispy Ghost Meringue Cookies are worth the effort. They are simple, elegant, and perfect for Halloween. I love making them because they bring back memories of The Wicked Crumb and the joy of baking. Try this recipe and let me know how they turn out. Share your photos on social media and tag me. I’d love to see your spooky creations. Happy baking, and stay crispy!
FAQs
Can I use egg whites from a carton?
Yes, but fresh egg whites whip better. Carton whites may have stabilizers that affect the texture. If you use them, whip them longer to ensure stiff peaks.
Why did my meringues spread?
This usually happens if the oven temperature is too high or if the meringue wasn’t whipped enough. Make sure you have stiff peaks before piping.
How do I know when they are done?
They should be dry to the touch and lift off the parchment paper easily. If they stick, they need more time.
Can I make these ahead of time?
Yes, they can be made up to two weeks in advance if stored in an airtight container.
What if I don’t have a piping bag?
You can use a Ziploc bag with the corner cut off. Or, use two spoons to scoop small mounds onto the parchment paper.
Pin This Recipe!
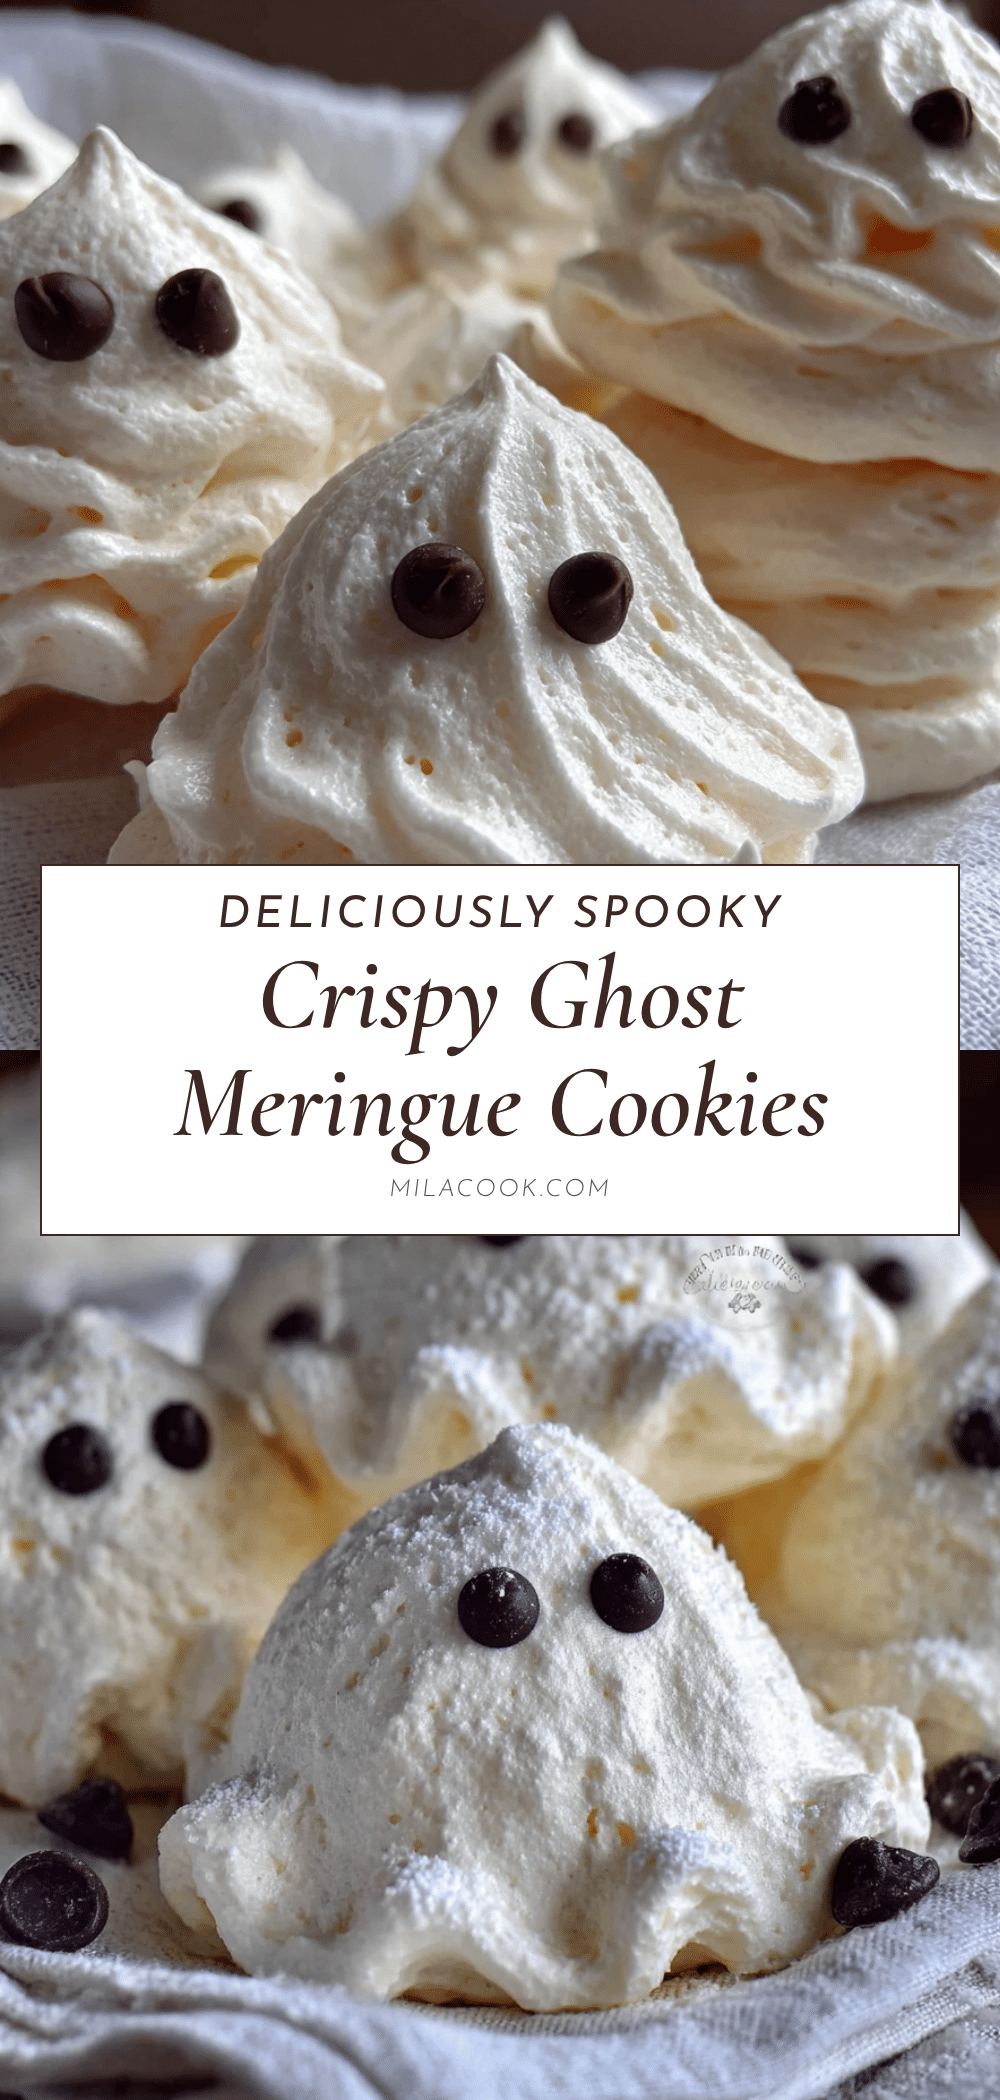
Crispy Ghost Meringue Cookies: 5-Min Easy Halloween Treat

These shatteringly crisp ghost meringue cookies are a simple, elegant Halloween treat that requires only five minutes of prep time. Baked low and slow, they deliver a light, airy texture with a hint of vanilla and chocolate chip eyes.
- Prep Time: 5 minutes
- Cook Time: 1 hour 15 minutes
- Total Time: 1 hour 20 minutes
- Yield: Approximately 12-15 cookies 1x
- Category: Dessert
- Cuisine: American
Ingredients
- 3 large egg whites, room temperature
- 3/4 cup (150g) granulated sugar
- 1 tablespoon cornstarch
- 1 teaspoon pure vanilla extract
- 1/4 teaspoon cream of tartar
- 2–3 tablespoons mini chocolate chips
- White chocolate chips (optional, for contrast)
Instructions
- Preheat oven to 200°F (95°C). Line two large baking sheets with parchment paper.
- Place egg whites and cream of tartar in a clean, dry mixing bowl. Whip on medium speed until foamy.
- With mixer on medium-high, slowly add sugar one tablespoon at a time, allowing each to incorporate before adding the next (approx. 5 minutes). Add vanilla extract.
- Whip until stiff, glossy peaks form. The mixture should feel smooth, not gritty, when rubbed between fingers.
- Pipe small mounds onto parchment paper to form ghost shapes (a round base with a smaller round on top). Press two mini chocolate chips onto each for eyes.
- Bake for 1 hour and 15 minutes, rotating trays halfway through. Cookies are done when dry to the touch and lift easily.
- Turn off oven and leave cookies inside with the door cracked open for 15-30 minutes to cool and crisp further.
- Let cool completely before handling or storing.
Notes
Ensure all equipment is completely clean and dry, as any grease or water will prevent egg whites from whipping. Use room temperature egg whites for best volume. If the kitchen is humid, add extra baking time. Store in an airtight container with a slice of bread or silica gel packet to maintain crispness.
Nutrition
- Serving Size: 1 cookie
- Calories: 18
- Sugar: 4
- Carbohydrates: 4
Keywords: Halloween, meringue, cookies, ghost, crispy, easy, gluten-free, vegan option, baking, holiday treats



