Love this? Save it for later!
Share the inspiration with your friends
I was standing in aisle four of the grocery store last November when the sharp, cold scent of crushed peppermint hit me — and suddenly I was seven at my Aunt Clara’s kitchen table.
The memory didn’t creep up on me. It slammed into me like a freezer door left open too long. I could smell the melted chocolate, that heavy, sweet cocoa butter aroma that used to cling to her cardigan. I could hear the specific *clink-clink* of her spoon against the ceramic bowl, a rhythm I had completely forgotten until that exact second.
Aunt Clara passed away three years ago, but her holiday rituals remain stubbornly alive in my muscle memory. She didn’t bake. She didn’t believe in the oven. For her, Christmas magic happened on the stovetop and in the fridge. This recipe is my attempt to recreate that exact feeling, not just the dish. It’s an attempt to capture the quiet chaos of a kitchen filled with relatives who are too loud and too close, all while trying to make something perfect.
I mean, honestly, who has the patience for precise tempering when you have a toddler pulling at your apron strings? That’s why this no-bake approach works so well. It’s forgiving. It’s messy. It’s real.
You know that feeling when you take a bite of something and it instantly transports you? That’s what I’m chasing here. The crunch of the bark, the creamy melt of the fudge, the sharp kick of mint. It’s comfort food, but cooler. Literally and figuratively.
Maybe you’ve been there, standing in front of an open fridge at 2 AM, hoping a snack will fix a bad day. Or maybe you’re just looking for a holiday treat that doesn’t require a degree in pastry arts. Either way, this crispy no-bake peppermint bark fudge is your answer.
I’ve made this a dozen times since that grocery store epiphany. Sometimes I get the layers wrong. Sometimes I spill chocolate on the counter. But the taste? It’s always the same. It’s always her.
Why You’ll Love This Recipe
Let’s be real for a second. Holiday baking can be a nightmare. You’re juggling cookies, pies, casseroles, and probably a turkey that refuses to cook evenly. Adding a complex fudge recipe to that list feels like punishment. This crispy no-bake peppermint bark fudge changes the game entirely.
It’s not just another sweet treat. It’s a lifesaver. Here is why this specific combination of textures and flavors has earned a permanent spot in my holiday rotation:
- Zero Oven Required: Seriously, you don’t need to turn on the oven. This keeps your kitchen cool and avoids the stress of timing multiple dishes. It’s perfect for small apartments or when the weather outside is already freezing.
- The Crunch Factor: Most fudge is soft. This is different. By folding in crushed peppermint candies and cereal, you get a satisfying snap that mimics actual peppermint bark. It adds a textural element that keeps you coming back for more.
- Simple Ingredients: You likely have most of this in your pantry right now. Chocolate chips, condensed milk, peppermint extract, and crushed candies. No fancy French ingredients or hard-to-find spices. Just good, honest stuff.
- Make-Ahead Magic: This fudge needs to chill, which means you can make it days in advance. This is crucial for holiday hosting. You can prep it while you’re sleeping, and it’s ready when your guests arrive.
- Visual Appeal: The white chocolate layer with green and red specks looks stunning. It’s naturally festive and requires zero decorating skills. It looks like you spent hours on it, but you spent twenty minutes.
What makes this recipe stand out from the rest is the balance. Too much mint can taste like toothpaste. Too much chocolate can be cloying. This recipe nails the ratio. The condensed milk adds a creamy, caramel-like sweetness that softens the sharp mint, while the cereal adds a surprising crunch that breaks up the richness.
I tested this version after failing with a traditional stovetop fudge that seized up and turned into a rocky mess. This no-bake method is foolproof. It’s reliable. It’s the kind of recipe that makes you look like a hero in the kitchen, even if you’re wearing pajamas.
It’s comfort food reimagined for the modern, busy holiday season. Healthier? Maybe not. But it’s less stressful, and that has its own kind of health benefit.
What Ingredients You Will Need
This recipe relies on a few key components to create that signature crispy, creamy, minty experience. The beauty here is in the simplicity. You aren’t looking for exotic spices or rare chocolates. You’re looking for quality basics that play well together.
Here is what you need to gather before you start. I’ve broken it down by layer so you know exactly what goes where.
For the Base Fudge Layer
- Semi-Sweet Chocolate Chips (2 cups): I prefer Ghirardelli or Guittard for their consistent melt. Avoid the cheap baking chips if you can help it; they often have waxy additives that ruin the smooth texture.
- Sweetened Condensed Milk (1 can, 14 oz): This is the binder. It adds sweetness and creaminess. Do not use evaporated milk; the sugar content is crucial for the fudge structure.
- Peppermint Extract (1 teaspoon): Use real extract, not the cheap imitation stuff. The flavor needs to be potent enough to cut through the chocolate. A little goes a long way.
- Crushed Peppermint Candies (1/2 cup): These add the crunch. You can buy pre-crushed or crush them yourself. Save some extra for the top layer for decoration.
- Unsalted Butter (2 tablespoons): This adds a little extra richness and helps emulsify the chocolate. Room temperature is best.
For the Top White Chocolate Layer
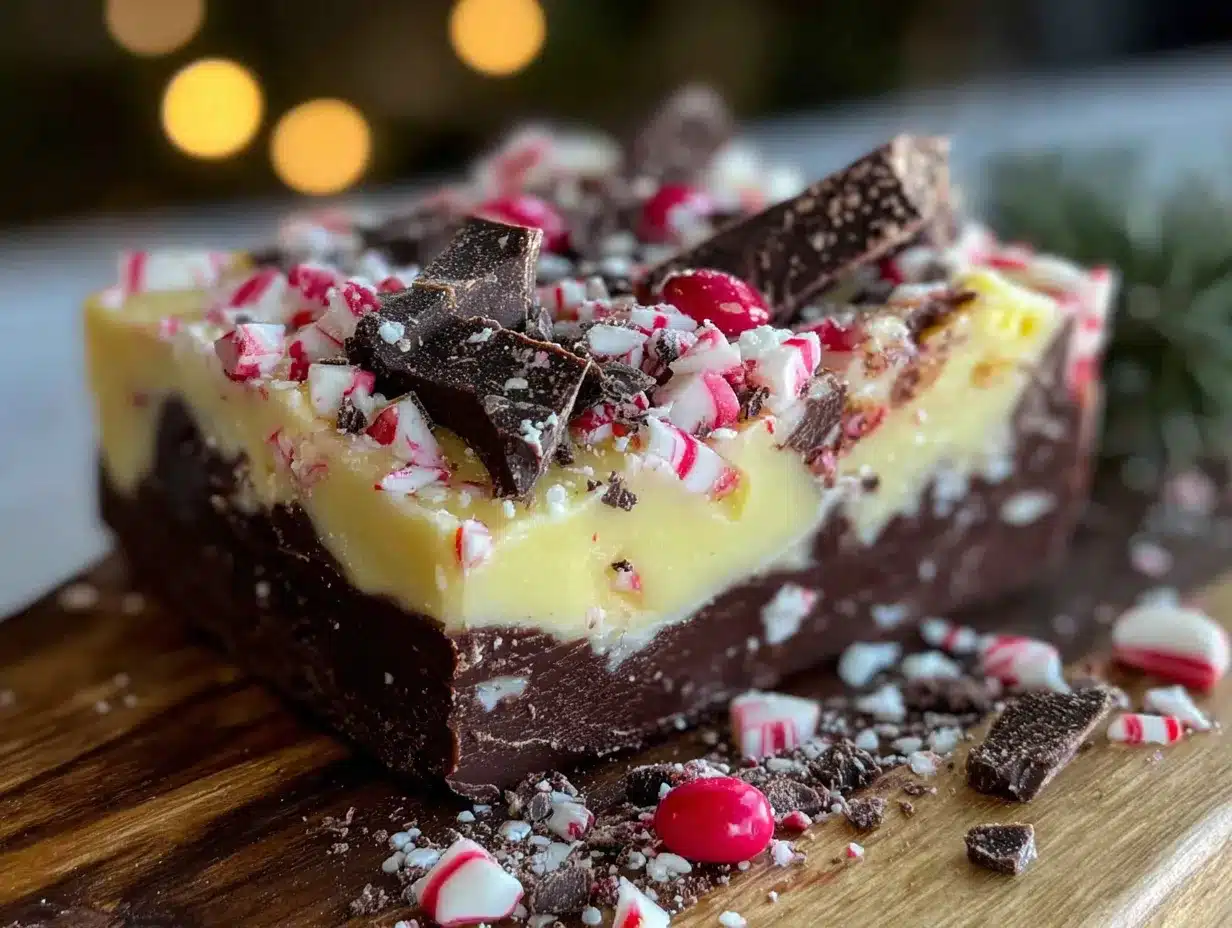
- White Chocolate Chips (2 cups): Again, quality matters here. Look for chips that contain real cocoa butter. If they are too pale, your contrast with the red and green will be less striking.
- Heavy Cream (2-3 tablespoons): This thins the white chocolate to make it spreadable. Be careful not to add too much, or it will become a sauce instead of a layer.
- Red and Green Food Coloring (Gel preferred): Gel coloring is better because it doesn’t add liquid, which can seize the chocolate. A tiny dab is all you need.
- Extra Crushed Peppermint (1/4 cup): For that classic bark look on top.
Substitutions and Tips
If you are dairy-free, you can use coconut milk-based chocolate chips, though the texture will be slightly firmer. For a gluten-free option, ensure your crushed candies are certified gluten-free, as some hard candies use wheat starch. I also recommend buying a bag of mini peppermint patties and crushing them; they have a better mint-to-chocolate ratio than hard candies.
Equipment Needed
You don’t need a lot of fancy gear for this, but having the right tools makes the process smoother.
- 8×8 Inch Baking Pan: Line this with parchment paper, leaving an overhang on the sides. This is non-negotiable for easy removal. Grease it lightly first.
- Double Boiler or Heatproof Bowl: You can use a glass or metal bowl set over a pot of simmering water. Ensure the bottom of the bowl doesn’t touch the water.
- Microwave-Safe Bowl: If you choose the microwave method, a large bowl is essential to prevent splattering.
- Silicone Spatula: A flexible spatula is great for scraping every bit of chocolate out of the bowl. It also helps with mixing without overworking the chocolate.
- Rolling Pin or Ziploc Bag: To crush the peppermint candies. A heavy rolling pin works best, but a bag and a hammer work in a pinch.
- Offset Spatula: Helpful for spreading the thin top layer of white chocolate evenly.
Avoid using non-stick spray directly on the chocolate; it can cause it to seize. Parchment paper is your best friend here.
Preparation Method
Making this crispy no-bake peppermint bark fudge is straightforward, but attention to detail matters. Follow these steps carefully for the best texture.
- Prep Your Pan: Line an 8×8 inch baking pan with parchment paper. Leave a significant overhang on the long sides so you can lift the fudge out later. Lightly grease the parchment with butter or cooking spray.
- Crush the Peppermints: Place 3/4 cup of peppermint candies in a ziploc bag. Use a rolling pin to crush them into small, uneven pieces. You want bits, not powder. Set aside 1/4 cup for the top layer.
- Melt the Chocolate Base: In a double boiler over low heat, combine the semi-sweet chocolate chips, butter, and condensed milk. Stir constantly until smooth. This takes about 5-7 minutes. Do not rush this. If the chocolate gets too hot, it will seize. Remove from heat.
- Add Flavor and Crunch: Stir in the peppermint extract and the crushed peppermint candies. Mix until evenly distributed. The mixture will be thick and glossy.
- Press into Pan: Pour the mixture into the prepared pan. Use a spatula to press it down firmly and evenly. You want a solid base. Place the pan in the refrigerator for 20 minutes to set. This is crucial before adding the next layer.
- Melt the White Chocolate: In a clean bowl, melt the white chocolate chips with heavy cream. Heat in 30-second intervals, stirring between each, until smooth. Alternatively, use a double boiler. Divide the melted white chocolate into two small bowls.
- Add Color: Add a tiny amount of red gel food coloring to one bowl and green to the other. Mix until you achieve your desired shade. Start with less color; you can always add more.
- Layer the Top: Remove the base from the fridge. Spoon the red and white chocolate alternately over the set base. Use a toothpick or skewer to swirl the colors together slightly for a marbled effect. Do not over-mix; you want distinct patches of color.
- Add Final Crunch: Sprinkle the reserved crushed peppermint candies over the wet white chocolate layer. Press them in gently.
- Chill Completely: Return the pan to the refrigerator for at least 2 hours, or until the top layer is completely hard. This step requires patience, but it ensures clean cuts.
- Cut and Serve: Lift the fudge out of the pan using the parchment overhang. Cut into squares or rectangles. Enjoy immediately or store in an airtight container.
Cooking Tips & Techniques
Even simple recipes can go wrong if you ignore the basics. Here are some tips from my own kitchen failures to help you succeed.
- Watch the Heat: Chocolate is sensitive. If you use the microwave, go slow. High heat burns chocolate instantly. Low and slow is the only way.
- Dry Bowls: Ensure all your bowls are completely dry. Even a drop of water can cause chocolate to seize and become grainy. This happened to me once, and I had to throw it away. Don’t be me.
- Don’t Overmix: When folding in the crushed candies, mix just enough to distribute them. Overmixing can break the candies into dust, losing the crunch.
- Color Control: Gel food coloring is potent. Add it drop by drop. If you add too much, your fudge will taste like chemicals and look neon.
- Temperature Matters: If your kitchen is very hot, the fudge might soften quickly. Keep it in the fridge until serving. This is especially important during the holidays when kitchens get warm from other cooking.
I once tried to rush the chilling process by putting it in the freezer. The result was a cracked surface and a soggy bottom. Always use the fridge. It sets evenly.
Variations & Adaptations
While the classic peppermint version is my favorite, this recipe is flexible. Here are a few ways to tweak it.
- Dark Chocolate Twist: Swap the semi-sweet chocolate for dark chocolate (70% cocoa). This reduces the sweetness and makes the mint flavor pop more. Great for adults who prefer less sugar.
- White Chocolate Base: For a true “bark” look, make the entire bar white chocolate with red and green swirls. Add crushed red velvet cake crumbs for a festive twist.
- Mint Chip Cookie Variation: Add crushed peppermint cookies (like Thin Mints) to the base layer instead of hard candies. This changes the texture to be more cake-like.
- Gluten-Free: Use certified gluten-free chocolate chips and crushed candies. Most hard peppermint candies are naturally gluten-free, but always check the label.
- Dairy-Free: Use coconut milk condensed milk and dairy-free chocolate chips. The texture will be slightly firmer but still delicious.
I’ve also tried adding a layer of peanut butter cups in the middle for a salty-sweet contrast. It’s risky but rewarding. Just ensure the peanut butter layer is thin so it doesn’t overpower the mint.
Serving & Storage Suggestions
This fudge is best served cold. The cold temperature enhances the mint flavor and keeps the texture crisp.
- Storage: Store in an airtight container in the refrigerator for up to two weeks. Place parchment paper between layers to prevent sticking.
- Freezing: You can freeze this fudge for up to three months. Wrap individual pieces in plastic wrap and place them in a freezer bag. Thaw in the fridge overnight before serving.
- Serving: Cut into small squares. This is a rich treat, so small portions are best. Serve with hot coffee or tea to cut the richness.
- Gift Idea: This makes a great gift. Place squares in a decorative tin lined with parchment. Tie with a red ribbon and add a tag with the recipe name.
The flavors meld together over time, so it often tastes better on day three than day one. The mint permeates the chocolate more deeply.
Nutritional Information & Benefits
While this is definitely a treat, it’s worth noting the components.
- Sugar: High sugar content due to condensed milk and chocolate chips. Enjoy in moderation.
- Fat: High fat content from chocolate and butter. This provides energy and satiety.
- Mint: Peppermint can aid digestion and soothe upset stomachs, which is helpful after a heavy holiday meal.
- Allergens: Contains dairy and possibly gluten (depending on candies). Check labels carefully.
I try to balance this treat with plenty of water and light meals on the days I make it. It’s not a health food, but it’s a joy food. And that matters too.
Conclusion
This crispy no-bake peppermint bark fudge is more than just a recipe. It’s a memory. It’s a way to keep Aunt Clara’s spirit alive in my kitchen. But even if you don’t have that specific connection, it’s a fantastic holiday treat.
It’s easy, it’s delicious, and it’s visually stunning. You don’t need to be a professional baker to make it. You just need patience and a love for mint.
I encourage you to try it. Customize it. Make it yours. Add your favorite candies. Change the colors. The base recipe is a solid foundation for creativity.
Please share your results in the comments. I’d love to see your variations. Did you add peanut butter? Did you use dark chocolate? Let me know. And if you make this, tag me on social media. I love seeing your creations.
Happy holidays, and happy eating. May your kitchen be full of laughter and your fridge full of delicious treats.
Frequently Asked Questions
Can I use milk chocolate instead of semi-sweet?
Yes, you can. Milk chocolate is sweeter and has a milder flavor. It will result in a softer fudge. You may need to chill it longer to ensure it sets properly.
Why did my chocolate seize?
Chocolate seizes when it comes into contact with water or steam. Ensure your bowls and utensils are completely dry. Also, avoid overheating the chocolate. Low heat is key.
How long does it take to set?
The base layer takes about 20 minutes to set in the fridge. The final layer takes at least 2 hours to harden completely. Patience is essential for clean cuts.
Can I make this ahead of time?
Yes, this is perfect for making ahead. You can make it up to two weeks in advance. Store it in the refrigerator in an airtight container. It actually tastes better after a day or two.
What if I don’t have gel food coloring?
You can use liquid food coloring, but use it sparingly. Liquid coloring can thin the chocolate and affect the setting process. Add it drop by drop and mix well. Gel is preferred for its intensity and lack of liquid.
Pin This Recipe!
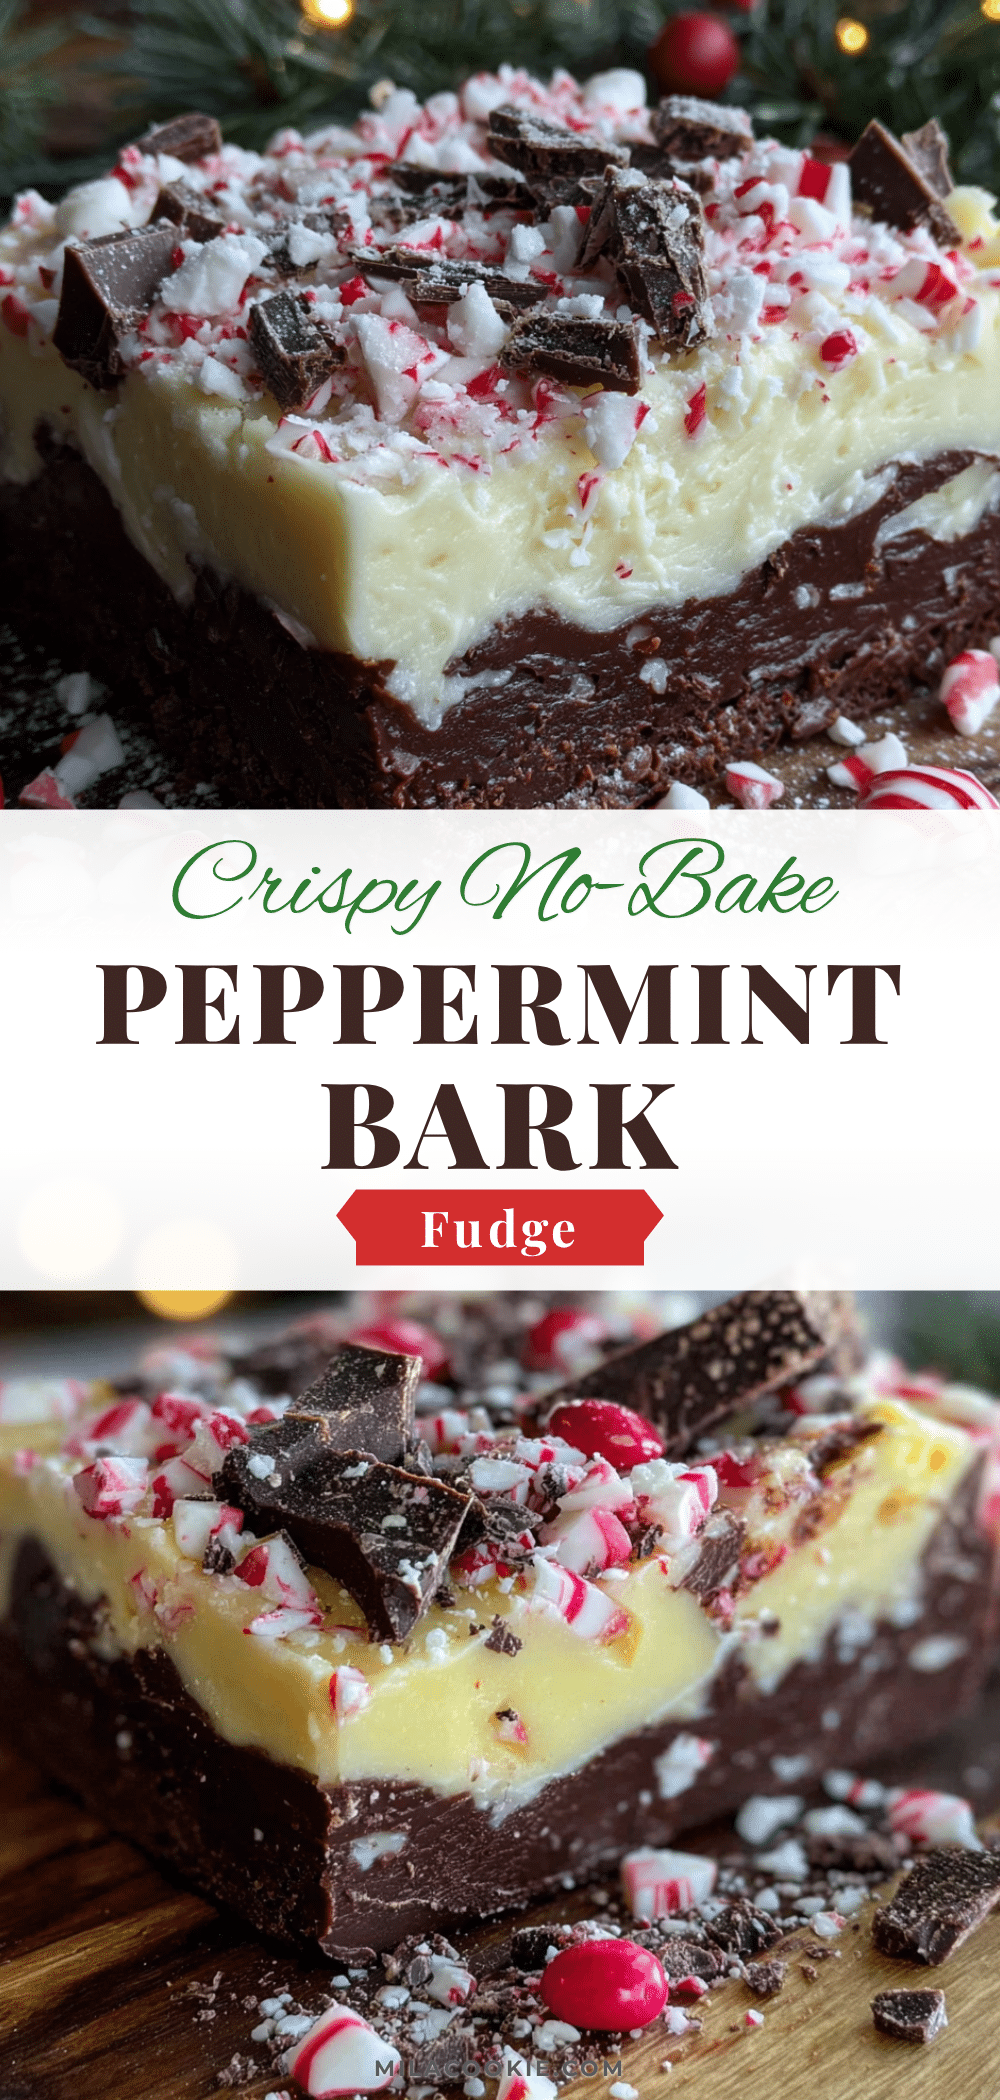
Crispy No-Bake Peppermint Bark Fudge: Easy Holiday Treat

A nostalgic, no-bake holiday dessert featuring layers of creamy peppermint fudge and white chocolate bark with a satisfying crunch from crushed peppermint candies and cereal.
- Prep Time: 20 minutes
- Cook Time: 0 minutes
- Total Time: 2 hours 20 minutes
- Yield: 16 servings 1x
- Category: Dessert
- Cuisine: American
Ingredients
- 2 cups semi-sweet chocolate chips
- 1 can (14 oz) sweetened condensed milk
- 1 teaspoon peppermint extract
- 3/4 cup crushed peppermint candies (plus 1/4 cup reserved for topping)
- 2 tablespoons unsalted butter
- 2 cups white chocolate chips
- 2–3 tablespoons heavy cream
- Red and green gel food coloring
Instructions
- Line an 8×8 inch baking pan with parchment paper, leaving an overhang on the sides, and lightly grease.
- Crush 3/4 cup of peppermint candies into small, uneven pieces using a rolling pin or bag.
- Melt semi-sweet chocolate chips, butter, and condensed milk in a double boiler over low heat, stirring constantly until smooth (5-7 minutes).
- Remove from heat and stir in peppermint extract and crushed peppermint candies.
- Press the mixture firmly into the prepared pan and refrigerate for 20 minutes to set.
- Melt white chocolate chips with heavy cream in 30-second intervals or a double boiler until smooth.
- Divide melted white chocolate into two bowls and add red and green gel food coloring to each.
- Remove the base from the fridge and spoon the colored white chocolate alternately over the base, swirling slightly with a toothpick.
- Sprinkle the reserved 1/4 cup crushed peppermint candies over the wet top layer.
- Refrigerate for at least 2 hours until completely hard.
- Lift out using parchment overhang and cut into squares.
Notes
Ensure all bowls are completely dry to prevent chocolate from seizing. Use gel food coloring to avoid adding excess liquid. For a gluten-free option, ensure candies are certified gluten-free. For dairy-free, use coconut milk-based chocolate chips and condensed milk.
Nutrition
- Serving Size: 1 square
- Calories: 280
- Sugar: 24
- Sodium: 25
- Fat: 18
- Saturated Fat: 11
- Carbohydrates: 28
- Fiber: 2
- Protein: 3
Keywords: peppermint bark, no-bake fudge, holiday dessert, Christmas treats, mint chocolate, easy dessert, make-ahead dessert



