Love this? Save it for later!
Share the inspiration with your friends
This was supposed to be a pumpkin spice latte. I had the espresso ready, the milk steaming, and a brand-new bottle of store-bought pumpkin syrup that I’d grabbed on a whim. But when I unscrewed the cap, that syrupy, artificial smell hit me like a wall of candy corn—sweet, yes, but also strangely chemical. I couldn’t do it. I mean, I’d spent good money on that bottle, but the thought of pouring it into my morning coffee honestly made me cringe. So there I was, at 6:30 AM on a Tuesday, with a craving for fall in a cup and a pantry that definitely didn’t have any fancy ingredients.
Let me tell you, staring at a sad bottle of syrup and a perfectly good shot of espresso is a specific kind of breakfast tragedy. I almost just gave up and made plain black coffee, but then I remembered the can of pumpkin puree I’d bought for a pie I never got around to making. It was sitting right next to the sweetened condensed milk I’d accidentally bought instead of evaporated milk last month. (You know that feeling when you grab the wrong can? Yeah, that was me.) I figured, what’s the worst that could happen? I dumped a spoonful of pumpkin, a glug of that sweetened condensed milk, and a splash of vanilla into a jar, shook it like I was trying to win a contest, and poured it into my coffee.
The first sip was… confusing. It wasn’t a latte, and it wasn’t coffee with milk. It was this creamy, perfectly spiced, deeply comforting thing that tasted exactly like fall feels. I honestly laughed out loud in my empty kitchen. That accidental combination of three pantry staples turned into the best pumpkin coffee I’d had all season—no fancy equipment, no weird ingredients, and zero regrets about that bottle of syrup I finally threw away. This Easy 3-Ingredient Homemade Pumpkin Coffee Creamer is now the only way I start a cool autumn morning, and once you try it, you’ll probably feel the same way.
Why You’ll Love This Recipe
I’ve tested a lot of pumpkin creamers over the years—some were too watery, others were clumpy, and most store-bought versions are packed with preservatives and artificial flavors. This one? It’s different. Here’s why this Easy 3-Ingredient Homemade Pumpkin Coffee Creamer has become my absolute favorite:
- Quick & Easy: It takes less than five minutes to make. No cooking, no straining, no complicated steps. Just shake or whisk, and you’re done.
- Simple Ingredients: You need pumpkin puree, sweetened condensed milk, and vanilla extract. That’s it. No fancy grocery trips required.
- Perfect for Fall Mornings: This creamer turns an ordinary cup of coffee into a cozy autumn ritual. It’s great for busy weekdays or lazy weekend brunches.
- Crowd-Pleaser: I’ve made this for family gatherings and friends, and everyone asks for the recipe. Kids and adults both love the smooth, spiced flavor.
- Unbelievably Delicious: The texture is silky, and the pumpkin flavor is natural and warm—not fake or overpowering. It’s comfort in a mug.
What makes this recipe stand out from the dozens of other pumpkin creamers out there is the simplicity. I’m not using heavy cream, half-and-half, or any complicated emulsifiers. The sweetened condensed milk does all the heavy lifting, creating a rich, creamy base that blends perfectly with coffee. And because you control the ingredients, you can adjust the sweetness and pumpkin flavor to your liking. This isn’t just another copycat recipe—it’s the easiest, most reliable version I’ve ever made.
Honestly, this creamer is the kind that makes you close your eyes after the first sip. It’s that good. It turns a simple morning coffee into something you actually look forward to, and it makes impressing guests effortless. You just pour it into their cup and watch their face light up.
What Ingredients You Will Need
This Easy 3-Ingredient Homemade Pumpkin Coffee Creamer uses simple, wholesome ingredients to deliver that cozy fall flavor without any fuss. You probably already have most of these in your pantry. Let’s break down what you need and why each one matters.
Main Ingredients
- Pumpkin Puree (¼ cup): Make sure you grab pure pumpkin puree, not pumpkin pie filling. The filling has added sugar and spices that will throw off the flavor. I prefer Libby’s brand for its smooth, consistent texture, but any 100% pure pumpkin works. If you have leftover puree from another recipe, this is a perfect way to use it up.
- Sweetened Condensed Milk (½ cup): This is the secret to the creamer’s rich, silky texture. It adds sweetness and thickness without needing any additional sugar or cream. I’ve tried using evaporated milk with added sugar, but it’s just not the same—the condensed milk creates that luxurious mouthfeel. For a dairy-free option, you can find sweetened condensed coconut milk at most grocery stores.
- Vanilla Extract (1 teaspoon): Use pure vanilla extract if you can—it makes a noticeable difference in flavor. The vanilla rounds out the pumpkin and adds a warm, aromatic note. Imitation vanilla works in a pinch, but the flavor will be a bit one-dimensional.
Optional Add-Ins
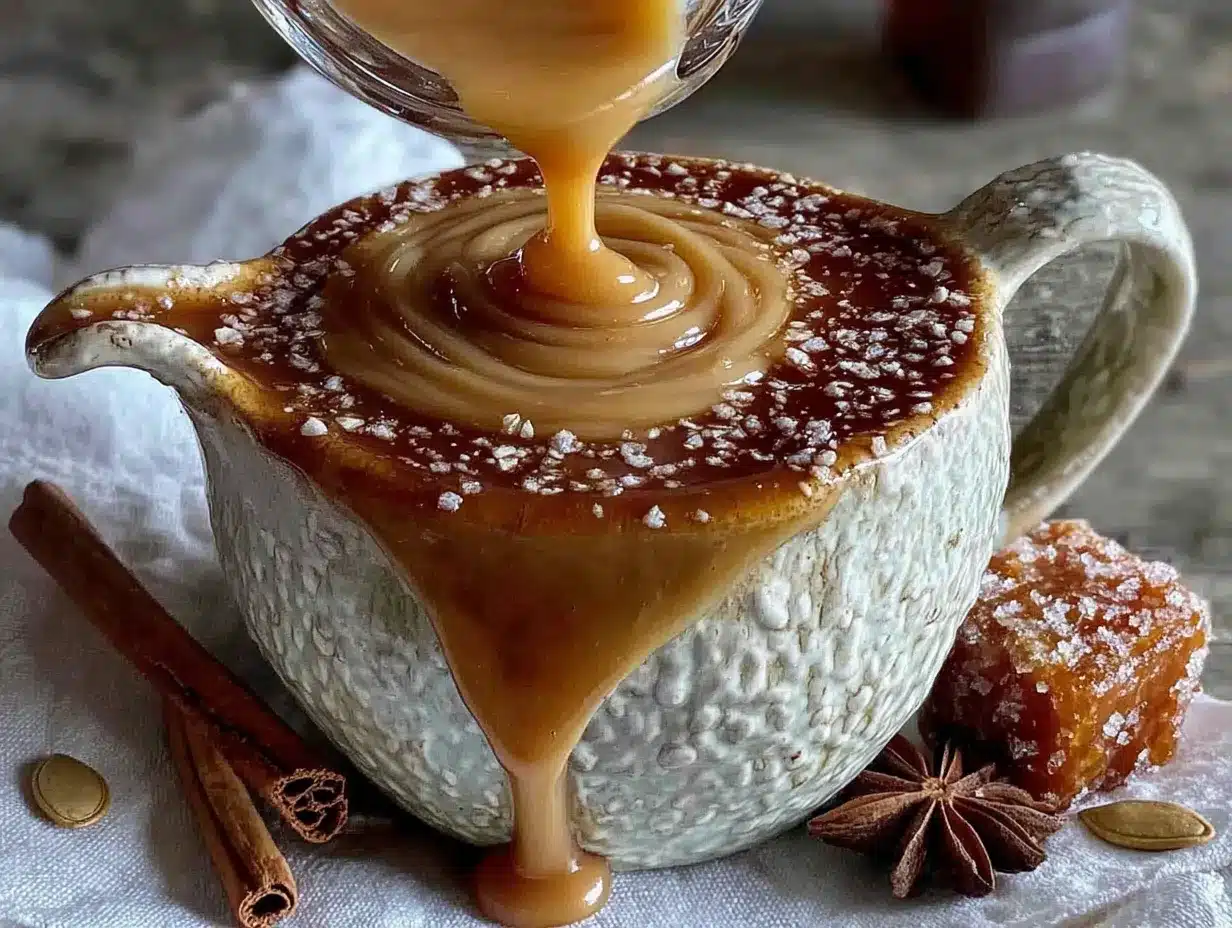
- Pumpkin Pie Spice (½ teaspoon): If you want a stronger spice flavor, add a pinch of pumpkin pie spice or a mix of cinnamon, nutmeg, and ginger. I usually skip this because the pumpkin puree already has a mild earthiness, but it’s a nice touch if you like a bolder taste.
- Maple Syrup (1 tablespoon): For a deeper, more complex sweetness, swap out a tablespoon of the sweetened condensed milk for maple syrup. It adds a lovely autumnal flavor that pairs beautifully with pumpkin.
- Pinch of Salt: A tiny pinch of salt can balance the sweetness and enhance the pumpkin flavor. Don’t skip this if you’re using unsalted pumpkin puree.
I always recommend using full-fat sweetened condensed milk for the best texture. The low-fat versions tend to be thinner and don’t emulsify as well with the coffee. And when it comes to the pumpkin puree, I’ve found that organic brands sometimes have a slightly deeper color and flavor, but any standard can works perfectly.
Equipment Needed
You don’t need any fancy gadgets for this Easy 3-Ingredient Homemade Pumpkin Coffee Creamer. Here’s what you’ll need:
- A Small Jar or Bottle: A 12-ounce mason jar or any glass bottle with a tight-fitting lid works great. I use a reused glass syrup bottle because it pours nicely. Just make sure it’s clean and dry.
- A Whisk or Fork: If you don’t have a jar with a lid, you can whisk the ingredients together in a small bowl. A fork works in a pinch, but a small whisk is easier for breaking up any pumpkin clumps.
- A Measuring Cup and Spoons: Accuracy matters here—too much pumpkin and the creamer gets thick; too little and you won’t taste it. I use standard measuring cups and spoons.
- A Spoon for Tasting: Trust me, you’ll want to taste test before pouring it into your coffee. Adjust the sweetness or pumpkin flavor to your preference.
That’s it. No blender, no saucepan, no strainer. If you have a jar and a spoon, you’re ready to go. I’ve made this creamer in a hotel room with a plastic cup and a butter knife, and it still turned out delicious. The simplicity is honestly the best part.
Preparation Method
Making this Easy 3-Ingredient Homemade Pumpkin Coffee Creamer is almost too simple. Here’s the step-by-step process, with a few tips I’ve learned along the way.
- Gather Your Ingredients: Measure out ¼ cup of pumpkin puree, ½ cup of sweetened condensed milk, and 1 teaspoon of vanilla extract. Make sure the pumpkin puree is at room temperature—cold puree is harder to mix and can create lumps. If it’s straight from the fridge, let it sit on the counter for 10 minutes.
- Combine in a Jar: Add the pumpkin puree, sweetened condensed milk, and vanilla extract to your jar or bottle. If you’re adding pumpkin pie spice or maple syrup, add it now. Don’t worry if it looks a little chunky at first—that’s normal.
- Shake or Whisk: Screw the lid on tightly and shake vigorously for about 30 seconds. You want the mixture to be completely smooth and uniform in color. If you’re using a bowl, whisk until no streaks of pumpkin remain. I usually shake it for a bit, then check the bottom of the jar for any stubborn clumps of pumpkin. If I see any, I give it another 10 seconds of shaking.
- Taste and Adjust: Dip a clean spoon into the creamer and give it a taste. It should be sweet and creamy with a gentle pumpkin flavor. If you want more pumpkin, add another tablespoon of puree and shake again. If it’s too sweet, add a splash of regular milk or a pinch of salt to balance it out.
- Pour and Enjoy: Pour 2-3 tablespoons of the creamer into your hot coffee and stir. Start with less—you can always add more. The creamer will swirl into the coffee beautifully, creating a lovely marbled effect. I like to pour it slowly and watch it blend.
- Store the Rest: Keep the remaining creamer in the refrigerator for up to one week. The mixture will thicken slightly as it chills, so give it a quick shake before each use. If it gets too thick, let it sit at room temperature for 5 minutes or add a tiny splash of milk to thin it out.
One thing I learned the hard way: don’t try to mix the creamer directly in your coffee cup. The pumpkin puree doesn’t dissolve instantly, so you’ll end up with clumps of pumpkin floating on top. Mixing it in a separate jar first ensures a smooth, lump-free creamer every time. Also, if you’re using a bottle with a narrow neck, pour the creamer through a small funnel to avoid spills—I learned that one after cleaning up a sticky counter.
Cooking Tips & Techniques
After making this Easy 3-Ingredient Homemade Pumpkin Coffee Creamer more times than I can count, I’ve picked up a few tricks that make it even better. Here are my best tips:
- Room Temperature Ingredients Are Key: Cold pumpkin puree is stiff and hard to mix. Let it sit out for 10-15 minutes before starting. This small step makes a huge difference in how smoothly the creamer comes together.
- Don’t Over-Shake: You want the mixture to be smooth, but shaking it for too long can incorporate air bubbles, making the creamer slightly foamy. Thirty seconds of vigorous shaking is plenty. If you see bubbles, let the creamer rest for a minute before using.
- Use a Fine-Mesh Strainer (Optional): If you’re a perfectionist like me, you can strain the creamer through a fine-mesh sieve before storing it. This catches any tiny pumpkin fibers that didn’t break down. It’s not necessary, but it gives you an ultra-smooth texture.
- Double the Batch: This recipe makes about ¾ cup of creamer, which is enough for 4-6 cups of coffee. If you’re serving a crowd or want to have it on hand for the week, double the ingredients. It stores beautifully.
- Heat It Gently: For an extra cozy experience, warm the creamer slightly before adding it to your coffee. Pour it into a small saucepan and heat over low heat for 1-2 minutes, stirring constantly. Don’t boil it—you just want it warm. This makes the creamer blend even more smoothly into hot coffee.
I once made the mistake of using cold creamer straight from the fridge in a hot cup of coffee, and it created little curds of dairy. Not a great look. Letting the creamer come to room temperature or warming it gently prevents that. Also, if you’re using a dairy-free sweetened condensed milk, know that it might separate slightly when stored. Just give it a good shake before each use, and it’ll come back together.
Variations & Adaptations
One of the best things about this Easy 3-Ingredient Homemade Pumpkin Coffee Creamer is how customizable it is. Here are some of my favorite variations:
- Dairy-Free Version: Swap the regular sweetened condensed milk for a dairy-free version made from coconut or oat milk. I’ve tried both, and the coconut version adds a subtle tropical note that actually pairs beautifully with pumpkin. Just be aware that coconut-based creamers are thinner, so you might want to use a bit more.
- Spiced Pumpkin Creamer: Add ½ teaspoon of pumpkin pie spice or a mix of ¼ teaspoon cinnamon, ⅛ teaspoon nutmeg, and a pinch of ginger. This gives the creamer a bolder, more traditional pumpkin spice flavor. I love this version for chilly mornings when I want extra warmth.
- Maple Pumpkin Creamer: Replace 2 tablespoons of the sweetened condensed milk with pure maple syrup. The maple adds a rich, woodsy sweetness that’s absolutely delicious with pumpkin. This is my go-to variation during the peak of fall.
- Less Sweet Version: If you prefer a less sweet coffee, use only ¼ cup of sweetened condensed milk and add ¼ cup of regular milk or heavy cream. You’ll lose some of the thickness, but the flavor will still be lovely. You can also add a pinch of salt to cut the sweetness.
- Protein-Packed Version: Add a scoop of vanilla or unflavored collagen powder to the jar before shaking. It dissolves easily and adds a protein boost to your morning coffee without changing the flavor much. I’ve done this on busy mornings when I need extra staying power.
I once tried a version with canned coconut cream instead of sweetened condensed milk, and it was surprisingly good—very rich and decadent, but also quite thick. I had to thin it out with a splash of almond milk. It’s a fun experiment if you’re feeling adventurous, but for everyday use, I stick with the original recipe.
Serving & Storage Suggestions
This Easy 3-Ingredient Homemade Pumpkin Coffee Creamer is best served fresh, but it stores beautifully for the week ahead. Here’s how I handle it:
- Serving Temperature: Pour the creamer into hot coffee for the best experience. The heat helps the flavors meld together. If you’re making iced coffee, add the creamer first, then pour the cold coffee over it, and stir well. The creamer blends better when it’s not ice-cold.
- How Much to Use: Start with 2 tablespoons per 8-ounce cup of coffee. Adjust based on your sweetness preference. I like mine on the sweeter side, so I use about 3 tablespoons. You can always add more, but you can’t take it out!
- Storage: Store the creamer in an airtight jar or bottle in the refrigerator for up to one week. The mixture will thicken as it chills, so give it a good shake before each use. If it gets too thick, let it sit at room temperature for 5 minutes or add a splash of milk.
- Freezing: You can freeze the creamer in an ice cube tray for up to 3 months. Pop out a cube or two and drop them directly into your hot coffee. This is perfect for meal prep or if you want to enjoy pumpkin coffee in the middle of summer. Just note that the texture might be slightly grainier after freezing, but the flavor is still great.
- Flavor Development: The flavors actually deepen and meld together after a day or two in the fridge. I’ve found that the creamer tastes even better on day two. So don’t worry if you make it ahead of time—it only gets better.
I like to store my creamer in a small glass bottle with a pour spout, which makes it easy to add to my coffee without mess. It also looks pretty sitting on the counter, which is a nice bonus. Just remember to shake it before each use, as the pumpkin puree can settle at the bottom.
Nutritional Information & Benefits
Here’s a rough estimate of the nutritional breakdown for 2 tablespoons of this Easy 3-Ingredient Homemade Pumpkin Coffee Creamer (made with full-fat sweetened condensed milk):
| Nutrient | Amount per 2 tbsp |
|---|---|
| Calories | 90 |
| Total Fat | 2g |
| Saturated Fat | 1.5g |
| Carbohydrates | 16g |
| Sugar | 15g |
| Protein | 2g |
| Vitamin A | 15% DV |
While this creamer is definitely a treat (it’s sweetened, after all), it does have some redeeming qualities. Pumpkin puree is packed with vitamin A, which supports eye health and immune function. It also contains fiber and antioxidants. The sweetened condensed milk provides a small amount of calcium and protein. If you’re watching your sugar intake, you can use a sugar-free sweetened condensed milk or reduce the amount you use in your coffee.
For a lighter option, try using half the amount of creamer and supplementing with regular milk or unsweetened almond milk. You’ll still get that lovely pumpkin flavor without the extra sugar. I personally love that this recipe lets me control exactly what goes into my coffee—no preservatives, artificial flavors, or weird thickeners. Just real, simple ingredients.
Conclusion
This Easy 3-Ingredient Homemade Pumpkin Coffee Creamer is proof that you don’t need a long ingredient list or complicated techniques to make something truly special. It started as a happy accident in my kitchen, but it’s become a fall staple that I genuinely look forward to every morning. The creamy texture, the warm pumpkin flavor, and the fact that it takes less than five minutes to make—it’s hard to beat.
I encourage you to make this your own. Adjust the sweetness, add your favorite spices, or try a dairy-free version. The beauty of this recipe is that it’s forgiving and flexible. And once you taste that first sip of pumpkin-spiced coffee made with your own homemade creamer, you’ll never go back to the store-bought stuff.
I’d love to hear how it turns out for you! Drop a comment below and let me know if you tried any variations, or share a photo of your pumpkin coffee on social media. Don’t forget to pin this recipe for later, and happy fall sipping!
Frequently Asked Questions
Can I use pumpkin pie filling instead of pumpkin puree?
I wouldn’t recommend it. Pumpkin pie filling has added sugar, spices, and sometimes thickeners that will make your creamer overly sweet and alter the flavor. Stick with 100% pure pumpkin puree for the best results. If you only have pumpkin pie filling on hand, reduce the sweetened condensed milk by half to balance the sweetness.
How long does this creamer last in the fridge?
It stays fresh for up to one week when stored in an airtight container in the refrigerator. The flavors actually deepen after a day or two, so don’t worry if you make it ahead. Just give it a good shake before each use, as the pumpkin puree can settle at the bottom.
Can I make this creamer without sweetened condensed milk?
Yes, but the texture will be different. You can substitute with heavy cream and a sweetener like maple syrup or honey, but the creamer won’t be as thick or creamy. For a lighter version, use ¼ cup of sweetened condensed milk and ¼ cup of regular milk. The flavor will still be lovely, just less indulgent.
Why is my creamer lumpy?
Lumps usually happen when the pumpkin puree is too cold or when you don’t shake it long enough. Make sure your pumpkin puree is at room temperature before mixing, and shake vigorously for at least 30 seconds. If you still see lumps, pour the creamer through a fine-mesh strainer to remove them.
Can I use this creamer in iced coffee?
Absolutely! For iced coffee, I recommend adding the creamer to the glass first, then pouring the cold coffee over it, and stirring well. If you add cold creamer to cold coffee, it blends more smoothly than when added to hot coffee. You can also make pumpkin coffee ice cubes by freezing the creamer in an ice cube tray and dropping them into your iced coffee.
Pin This Recipe!
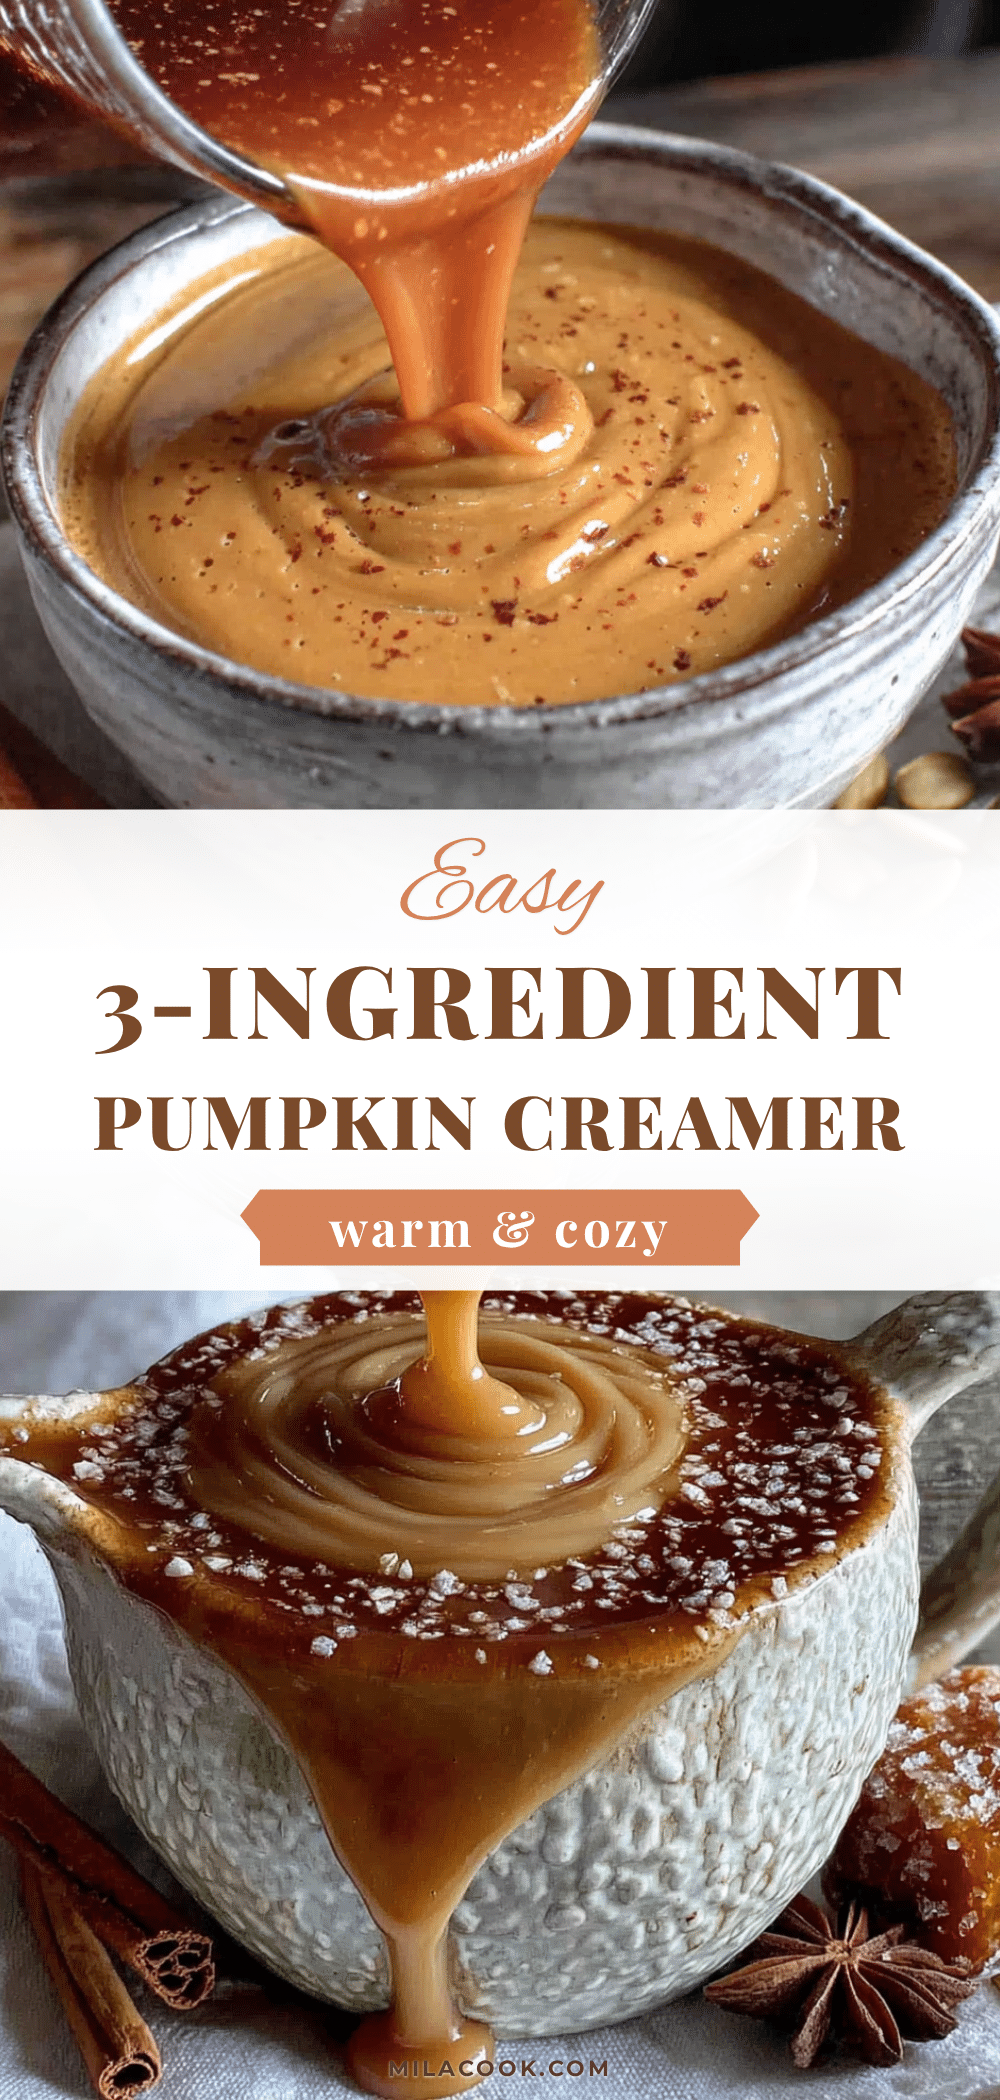
Easy 3-Ingredient Homemade Pumpkin Coffee Creamer

This creamy, perfectly spiced pumpkin coffee creamer comes together in just 5 minutes with only 3 simple ingredients. It’s the easiest way to enjoy a cozy fall coffee without any artificial flavors or preservatives.
- Prep Time: 5 minutes
- Cook Time: 0 minutes
- Total Time: 5 minutes
- Yield: 4-6 servings 1x
- Category: Beverage
- Cuisine: American
Ingredients
- ¼ cup pumpkin puree (100% pure, not pumpkin pie filling)
- ½ cup sweetened condensed milk
- 1 teaspoon vanilla extract
- ½ teaspoon pumpkin pie spice (optional)
- 1 tablespoon maple syrup (optional)
- Pinch of salt (optional)
Instructions
- Gather your ingredients: Measure out ¼ cup of pumpkin puree, ½ cup of sweetened condensed milk, and 1 teaspoon of vanilla extract. Make sure the pumpkin puree is at room temperature.
- Combine in a jar: Add the pumpkin puree, sweetened condensed milk, and vanilla extract to your jar or bottle. If you’re adding pumpkin pie spice or maple syrup, add it now.
- Shake or whisk: Screw the lid on tightly and shake vigorously for about 30 seconds until the mixture is completely smooth and uniform in color. If using a bowl, whisk until no streaks of pumpkin remain.
- Taste and adjust: Dip a clean spoon into the creamer and taste. If you want more pumpkin, add another tablespoon of puree and shake again. If it’s too sweet, add a splash of regular milk or a pinch of salt.
- Pour and enjoy: Pour 2-3 tablespoons of the creamer into your hot coffee and stir. Start with less and add more to taste.
- Store the rest: Keep the remaining creamer in the refrigerator for up to one week. Shake well before each use.
Notes
Use room temperature pumpkin puree for smoother mixing. The creamer will thicken as it chills; let it sit at room temperature for 5 minutes or add a splash of milk to thin it out. For a dairy-free version, use sweetened condensed coconut milk. The flavors deepen after a day or two in the fridge.
Nutrition
- Serving Size: 2 tablespoons
- Calories: 90
- Sugar: 15
- Sodium: 30
- Fat: 2
- Saturated Fat: 1.5
- Carbohydrates: 16
- Protein: 2
Keywords: pumpkin coffee creamer, homemade creamer, 3-ingredient creamer, fall coffee, pumpkin spice, easy creamer recipe



