Love this? Save it for later!
Share the inspiration with your friends
I was trying to fix a cracked ceramic mug with some epoxy glue last Tuesday afternoon when Marcus, the barista from the corner shop, walked in. He didn’t say anything at first. He just watched me fumble with the tiny pieces, my hands shaking slightly from too much coffee and not enough sleep. Then he slid a small, wax-paper-wrapped bundle across the counter. It was warm. “You look like you need something sweet that isn’t store-bought,” he said, his voice low and calm. He had brought over a batch of his grandmother’s red velvet cookies, a recipe he’d picked up during a summer internship in New Orleans. The conversation that followed wasn’t about baking techniques; it was about how his grandmother always added a pinch of salt to cut the sweetness, a trick she learned from a neighbor who ran the local bakery. I took one bite, and the soft, chewy texture instantly melted away the stress of the morning. That recipe arrived through a quiet moment of kindness, not through a formal class. I adapted it slightly by using buttermilk for extra tang, respecting his original method while making it fit my own kitchen. I’m not supposed to play favorites with recipes, but these red velvet crinkle cookies have a special place in my heart. They remind me that the best food comes from human connection. Maybe you’ve been there, feeling overwhelmed and finding comfort in a simple, shared treat. Honestly, there is something magical about that first bite of a soft chewy red velvet crinkle cookie that just makes everything feel okay. I keep making them because they bring people together, just like Marcus did for me.
Why You’ll Love This Recipe
Let’s be honest, finding a cookie that is both visually stunning and perfectly chewy can feel like a quest for the holy grail. I have spent years testing dozens of red velvet cookie recipes, and most of them end up either too cakey or too crisp around the edges. This version is different because it strikes that perfect balance. The texture is incredibly soft, almost like a brownie, with a crackly sugar coating that gives it that classic crinkle appearance. This isn’t just another version of a classic; it is the best version I have ever made. The secret lies in the ratio of brown sugar to white sugar, which keeps the cookies moist for days, and the addition of a touch of cocoa powder that deepens the red color without overpowering the flavor.
- Quick & Easy: These cookies come together in under 30 minutes of active time. You don’t need to chill the dough for hours, which is perfect for busy weeknights or last-minute cravings.
- Simple Ingredients: You likely already have everything in your kitchen. No fancy grocery trips are needed; just standard pantry staples like flour, sugar, cocoa, and buttermilk.
- Perfect for Holidays: These are great for potlucks, cozy dinners, or holiday mornings. The red and white colors make them look festive and professional.
- Crowd-Pleaser: They always get rave reviews from kids and adults alike. The mild cocoa flavor is approachable, while the red color adds a fun visual element.
- Unbelievably Delicious: The texture and flavor combo is next-level comfort food. The slight tang from the buttermilk balances the sweetness perfectly.
This recipe is the kind that makes you close your eyes after the first bite. It’s comfort food reimagined—easier than traditional red velvet cake but with the same soul-soothing satisfaction. Perfect for impressing guests without stress, or turning a simple afternoon snack into something memorable. You know that feeling when you pull a tray of cookies out of the oven and the whole house smells amazing? This recipe delivers that every single time.
What Ingredients You Will Need
This recipe uses simple, wholesome ingredients to deliver bold flavor and satisfying texture without the fuss. The key to getting that vibrant red color and soft chew is choosing the right components. You don’t need expensive specialty items, but quality matters. For example, I recommend using a high-quality red food coloring gel for the best color intensity. Liquid food coloring can throw off the moisture balance, so stick to gel or paste.
For the Dough
- Unsalted butter: 1 cup (2 sticks), softened to room temperature. This adds richness and helps create a tender crumb.
- Granulated white sugar: 1 cup. This helps create the crackly exterior when rolled in sugar.
- Brown sugar: 1 cup, packed. Light or dark brown sugar works, but dark adds a deeper molasses note. This is crucial for the chewy texture.
- Large eggs: 2, room temperature. Eggs provide structure and moisture.
- Vanilla extract: 1 tablespoon. Use pure vanilla for the best flavor.
- Buttermilk: 1/2 cup. This adds tang and tenderness. If you don’t have buttermilk, you can make a substitute with milk and vinegar.
- Red food coloring: 1-2 teaspoons of gel food coloring. This is optional but recommended for that classic vibrant look.
- All-purpose flour: 2 1/2 cups. This is the main structure of the cookie.
- Cocoa powder: 2 tablespoons, unsweetened. This enhances the red color and adds a subtle chocolate flavor.
- Baking soda: 1 teaspoon. This helps the cookies spread and rise.
- Salt: 1/2 teaspoon. This balances the sweetness and enhances the other flavors.
For the Coating
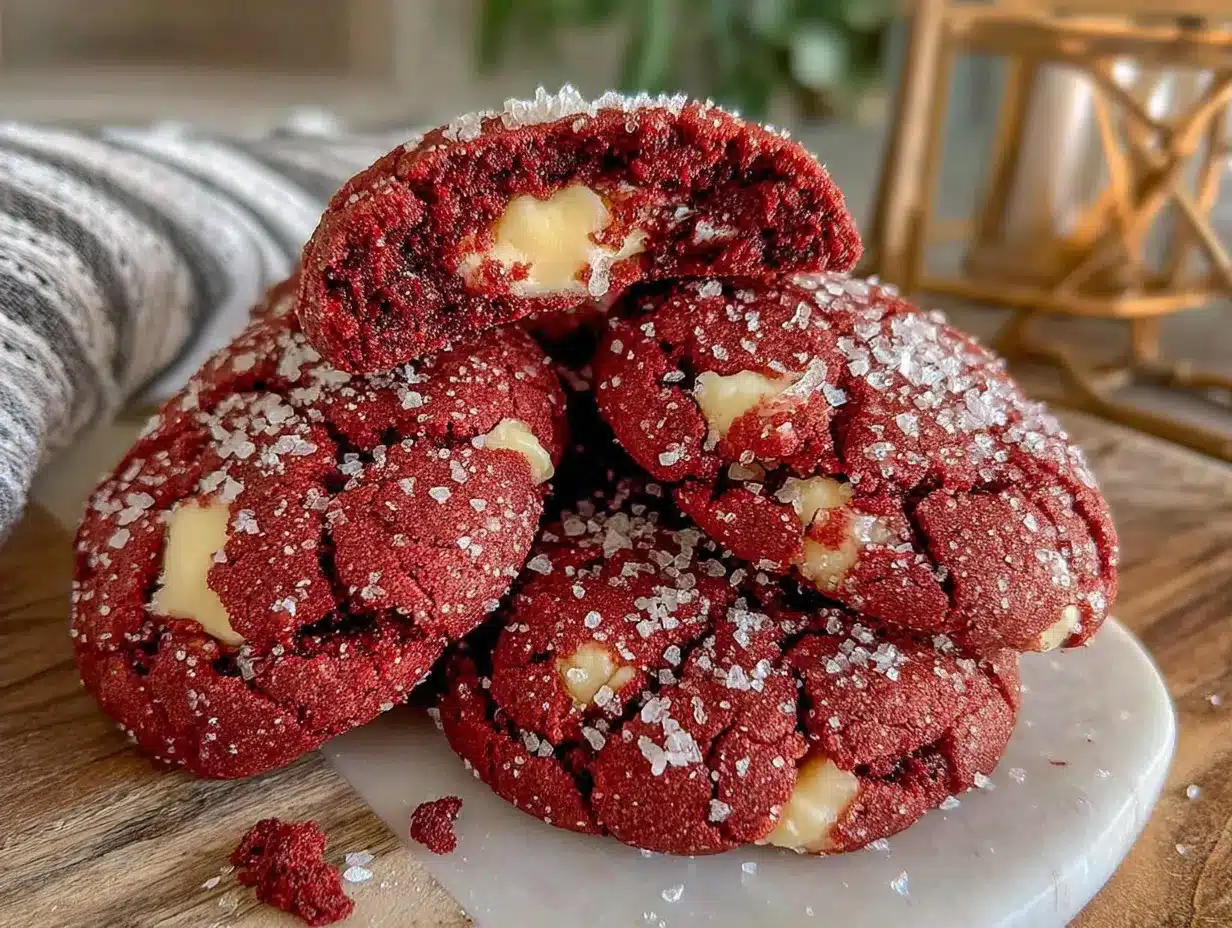
- Granulated white sugar: 1/2 cup. For rolling the dough balls to create the crinkle effect.
I personally prefer using McCormick gel food coloring because it is highly concentrated and doesn’t add extra liquid to the dough. When sourcing your cocoa powder, look for a natural, unsweetened variety. In summer, you might find that the butter softens faster, so keep an eye on the dough consistency. If the dough feels too sticky, you can add a tablespoon of flour at a time. For a gluten-free option, you can swap the all-purpose flour with a 1:1 gluten-free flour blend, though the texture may be slightly different.
Equipment Needed
You don’t need a lot of fancy gadgets to make these cookies. A standard stand mixer or a hand mixer will make creaming the butter and sugars much easier. If you don’t have a mixer, you can do it by hand, but it will take a bit more elbow grease. A large mixing bowl is essential, preferably one with a spout for easy pouring. You will also need two baking sheets lined with parchment paper or silicone baking mats. I personally love silicone mats because they provide even heating and make cleanup a breeze. They are a bit more expensive upfront, but they last for years. A cookie scoop is highly recommended for uniform sizing. This ensures that all cookies bake at the same rate. If you don’t have a scoop, use a tablespoon to measure out the dough. A small bowl for the rolling sugar is also helpful. Make sure your oven is calibrated correctly, as oven temperatures can vary. A simple oven thermometer can help you avoid under or over-baking.
Preparation Method
- Preheat and Prep: Preheat your oven to 350°F (175°C). Line two large baking sheets with parchment paper or silicone mats. This step takes about 2 minutes. Make sure your butter is softened but not melted. If it’s too warm, the cookies will spread too much.
- Cream Butter and Sugars: In a large bowl, beat the softened butter, granulated sugar, and brown sugar together until light and fluffy. This should take about 3-4 minutes. If using a hand mixer, use medium speed. This step incorporates air into the dough, which helps with texture.
- Add Wet Ingredients: Add the eggs one at a time, beating well after each addition. Mix in the vanilla extract and buttermilk. Add the red food coloring at this stage. Beat until everything is fully combined. The mixture should be smooth and vibrant red. This takes about 2 minutes.
- Mix Dry Ingredients: In a separate medium bowl, whisk together the flour, cocoa powder, baking soda, and salt. This ensures that the leavening agent is evenly distributed. It takes about 1 minute.
- Combine Wet and Dry: Gradually add the dry ingredients to the wet ingredients. Mix on low speed until just combined. Do not overmix, or the cookies will become tough. The dough should be thick and slightly sticky. This takes about 2 minutes.
- Chill the Dough: Cover the bowl with plastic wrap and refrigerate the dough for at least 30 minutes. This step is crucial for preventing the cookies from spreading too much. While you wait, set out the 1/2 cup of granulated sugar for rolling.
- Scoop and Roll: Use a cookie scoop or tablespoon to portion out the dough. Roll each ball in the granulated sugar until fully coated. Place them on the prepared baking sheets, leaving about 2 inches between each cookie. This step takes about 10-15 minutes.
- Bake: Bake for 10-12 minutes. The cookies should look slightly underbaked in the center but set around the edges. They will continue to cook on the hot baking sheet after removal. Do not overbake, or they will lose their chewiness.
- Cool: Let the cookies cool on the baking sheet for 5 minutes before transferring them to a wire rack. This allows them to set. Enjoy warm or at room temperature.
Cooking Tips & Techniques
One of the most common mistakes people make with crinkle cookies is overbaking them. I learned this the hard way when I first tried this recipe; I pulled them out when they looked perfect, only to find they were dry an hour later. The key is to pull them out when they still look soft and slightly undercooked in the middle. They will firm up as they cool. Another tip is to ensure your butter is at the right temperature. If it’s too cold, it won’t cream properly. If it’s too warm, the cookies will spread. Room temperature is ideal. Also, don’t skip the chilling step. It helps the flavors meld and prevents excessive spreading. If you are in a rush, you can freeze the dough balls for 15 minutes instead of refrigerating. This is a great trick for quick batches. When rolling the dough in sugar, make sure each ball is fully coated. This creates that beautiful crackly effect. If some spots are bare, the cookie won’t crinkle as much. Finally, use a cookie scoop for uniform size. This ensures even baking, so you don’t end up with some cookies done and others still raw.
Variations & Adaptations
While the classic red velvet flavor is delicious, there are many ways to adapt this recipe. You can add 1/2 cup of white chocolate chips to the dough for a sweeter, creamier twist. This is my personal favorite variation. For a nutty flavor, add 1/2 cup of chopped pecans or walnuts. If you want a more intense chocolate flavor, increase the cocoa powder to 3 tablespoons. For a dairy-free version, use plant-based butter and almond milk instead of buttermilk. You can also swap the red food coloring for natural beet powder for a more natural approach, though the color will be less vibrant. For a gluten-free option, use a 1:1 gluten-free flour blend. These adaptations allow you to customize the cookies to suit different dietary needs and taste preferences. I once made a batch with orange zest and white chocolate chips, and it was surprisingly refreshing. Don’t be afraid to experiment.
Serving & Storage Suggestions
These cookies are best served at room temperature, where their soft texture shines. You can serve them with a cold glass of milk or a cup of coffee. For a festive touch, pair them with whipped cream or a scoop of vanilla ice cream. To store, keep the cookies in an airtight container at room temperature for up to 5 days. They stay soft and chewy for several days if stored properly. For longer storage, you can freeze the baked cookies for up to 3 months. Place them in a single layer in a freezer-safe container, separated by parchment paper. To reheat, warm them in the microwave for 10-15 seconds. The flavors develop over time, becoming richer and more complex after a day or two. I always find they taste even better the next day.
Nutritional Information & Benefits
Each cookie contains approximately 150 calories, with 7g of fat, 20g of carbohydrates, and 2g of protein. These values are estimates and can vary based on size and specific ingredients used. The cocoa powder provides antioxidants, and the buttermilk adds calcium. These cookies are not particularly low-carb or gluten-free unless modified. They are best enjoyed as an occasional treat. From a wellness perspective, I find that baking allows me to control the sugar content and use quality ingredients. Homemade cookies can be a healthier alternative to store-bought versions, which often contain preservatives and artificial ingredients. Moderation is key, and sharing these cookies with loved ones adds a social benefit that is good for mental health.
Conclusion
These soft chewy red velvet crinkle cookies are definitely worth trying. They are easy to make, delicious, and visually appealing. I encourage you to customize them with your favorite add-ins like white chocolate chips or nuts. I love this recipe because it brings back memories of shared moments and simple joys. Whether you are baking for a holiday party or just craving something sweet, these cookies will satisfy. Please share your creations with me by leaving a comment below. I would love to hear how they turned out for you. Happy baking, and enjoy every bite!
FAQs
Why are my red velvet cookies flat?
This usually happens if the butter is too warm or if the dough wasn’t chilled long enough. Make sure your butter is softened but not melted, and chill the dough for at least 30 minutes before baking.
Can I use liquid food coloring instead of gel?
It is not recommended. Liquid food coloring adds extra moisture to the dough, which can affect the texture. Gel food coloring is more concentrated and doesn’t alter the dough consistency.
How do I store leftover cookies?
Store them in an airtight container at room temperature for up to 5 days. For longer storage, freeze them in a freezer-safe container for up to 3 months.
Can I make these cookies gluten-free?
Yes, you can substitute the all-purpose flour with a 1:1 gluten-free flour blend. The texture may be slightly different, but they will still be delicious.
Can I add chocolate chips to the dough?
Absolutely! Adding 1/2 cup of white chocolate chips is a popular variation that adds a sweet, creamy contrast to the red velvet flavor.
Pin This Recipe!
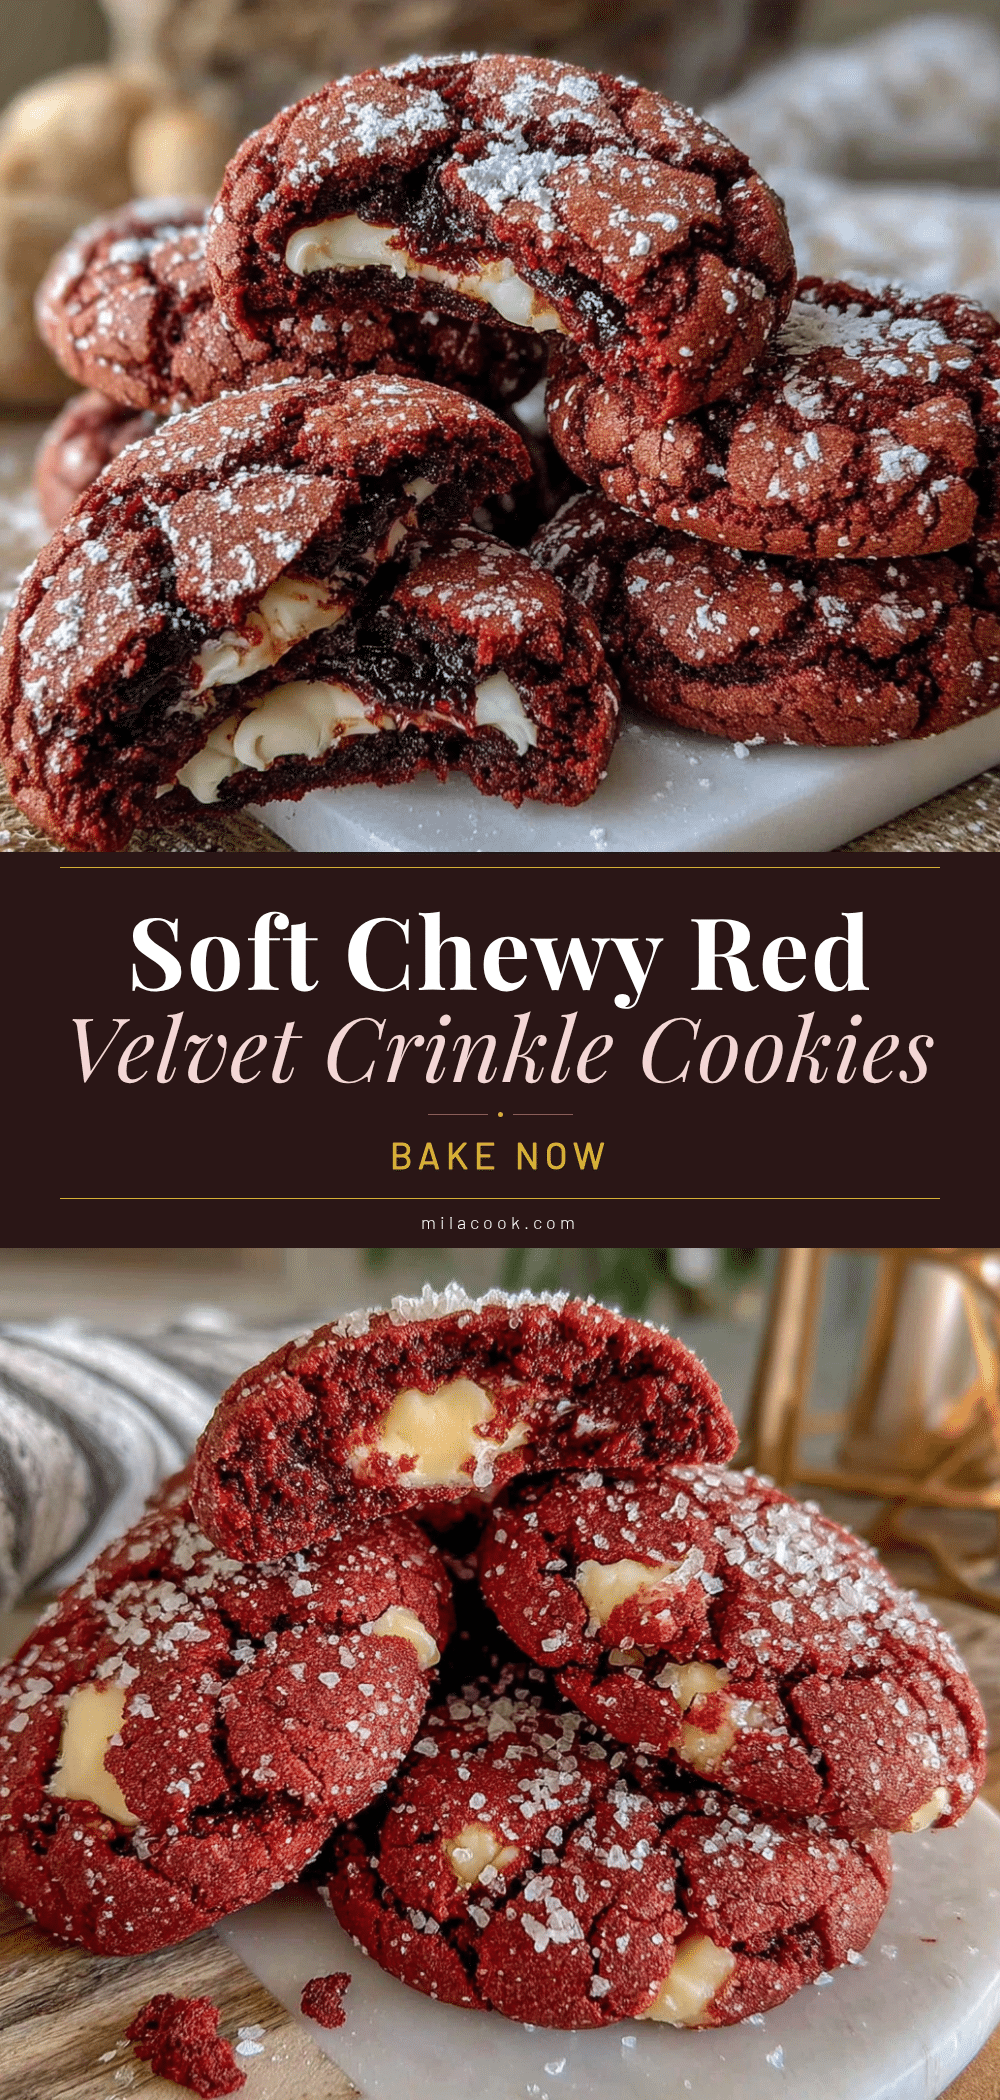
Soft Chewy Red Velvet Crinkle Cookies
These soft, chewy red velvet crinkle cookies feature a crackly sugar coating and a tender, brownie-like texture. Made with simple pantry staples like buttermilk and cocoa powder, they are easy to prepare and perfect for holidays or everyday treats.
- Prep Time: 30 minutes
- Cook Time: 10-12 minutes
- Total Time: 45 minutes
- Yield: Approximately 24 cookies 1x
- Category: Dessert
- Cuisine: American
Ingredients
- 1 cup (2 sticks) unsalted butter, softened to room temperature
- 1 cup granulated white sugar
- 1 cup packed brown sugar (light or dark)
- 2 large eggs, room temperature
- 1 tablespoon pure vanilla extract
- 1/2 cup buttermilk
- 1–2 teaspoons red gel food coloring
- 2 1/2 cups all-purpose flour
- 2 tablespoons unsweetened cocoa powder
- 1 teaspoon baking soda
- 1/2 teaspoon salt
- 1/2 cup granulated white sugar (for rolling)
Instructions
- Preheat oven to 350°F (175°C). Line two large baking sheets with parchment paper or silicone mats.
- In a large bowl, beat the softened butter, granulated sugar, and brown sugar together until light and fluffy (about 3-4 minutes).
- Add eggs one at a time, beating well after each addition. Mix in vanilla extract, buttermilk, and red food coloring until fully combined and smooth.
- In a separate medium bowl, whisk together flour, cocoa powder, baking soda, and salt.
- Gradually add dry ingredients to wet ingredients, mixing on low speed until just combined. Do not overmix.
- Cover the bowl with plastic wrap and refrigerate the dough for at least 30 minutes.
- Portion dough using a cookie scoop or tablespoon. Roll each ball in the 1/2 cup of granulated sugar until fully coated.
- Place dough balls on prepared baking sheets, leaving about 2 inches between each cookie.
- Bake for 10-12 minutes. Cookies should look slightly underbaked in the center but set around the edges.
- Let cookies cool on the baking sheet for 5 minutes before transferring to a wire rack to cool completely.
Notes
Ensure butter is softened but not melted to prevent excessive spreading. Chilling the dough is crucial for texture and shape. Use gel food coloring for best color intensity without altering dough consistency. For gluten-free option, substitute all-purpose flour with a 1:1 gluten-free blend. Cookies stay fresh in an airtight container for up to 5 days.
Nutrition
- Serving Size: 1 cookie
- Calories: 150
- Sugar: 14
- Sodium: 120
- Fat: 7
- Saturated Fat: 4
- Carbohydrates: 20
- Fiber: 1
- Protein: 2
Keywords: red velvet cookies, crinkle cookies, soft chewy cookies, easy cookie recipe, holiday baking, buttermilk cookies, red velvet dessert



